

Hey, it’s tutorial time! I’ve been having a lot of fun dreaming up making pieces of lingerie inspired by images in Pinterest (I have a biiig lingerie inspo board there if you ever feel like you need some eye candy) lately so I’ll try to post a tutorial periodically on this topic. For me it’s interesting to see how to alter the patterns to make something I’ve seen in ready to wear and while it’s a cool challenge for me, I think it can be something interesting for you to see too! I’m always repeating myself but I’ll say it again: I really want to offer possibilities to alter my patterns (or really, any patterns) so you can get the most out of them! I also think that even when the particular style isn’t for you, you can still learn a ton of techniques when reading through sewing tutorials so if you’re as geeky as I am about sewing you can probably learn a thing or two and maybe someday when you want to create your own custom pieces, you can use some of these tips you’ve learnt along the way. So let's dive in, here’s a tutorial to create cute ruffles for Vera panties!
Hola, es la hora de tutorial! Últimamente he estado muy entretenida pensando en hacer piezas de lencería inspiradas por fotos en Pinterest (tengo una carpeta muuuy grande de lencería allí si alguna vez quieres ver cosas bonitas) así que intentaré subir tutoriales sobre ese tema por aquí. Me parece muy interesante modificar patrones para hacer piezas inspiradas por lencería de marcas de moda y mientras es una prueba guay para mí, pienso que puede ser algo interesante de ver para vosotras también! Siempre me repito pero lo digo otra vez: de verdad me gustaría poder ofrecer posibilidades para modificar mis patrones (o cualquier patrón la verdad) para poder sacar lo máximo del corte que más os guste! También pienso que aunque un estilo particular no sea algo que te guste, aún así puedes aprender un montón de técnicas si lees los tutoriales y si eres igual de empollona como yo sobre los temas de costura, puedes probablemente aprender bastantes cosas y un día cuando hagas algo para ti puedes usar estos conocimientos que has adquirido en el camino. Así que empezamos, aquí va el tutorial sobre cómo hacer frunces para la braguita Vera.

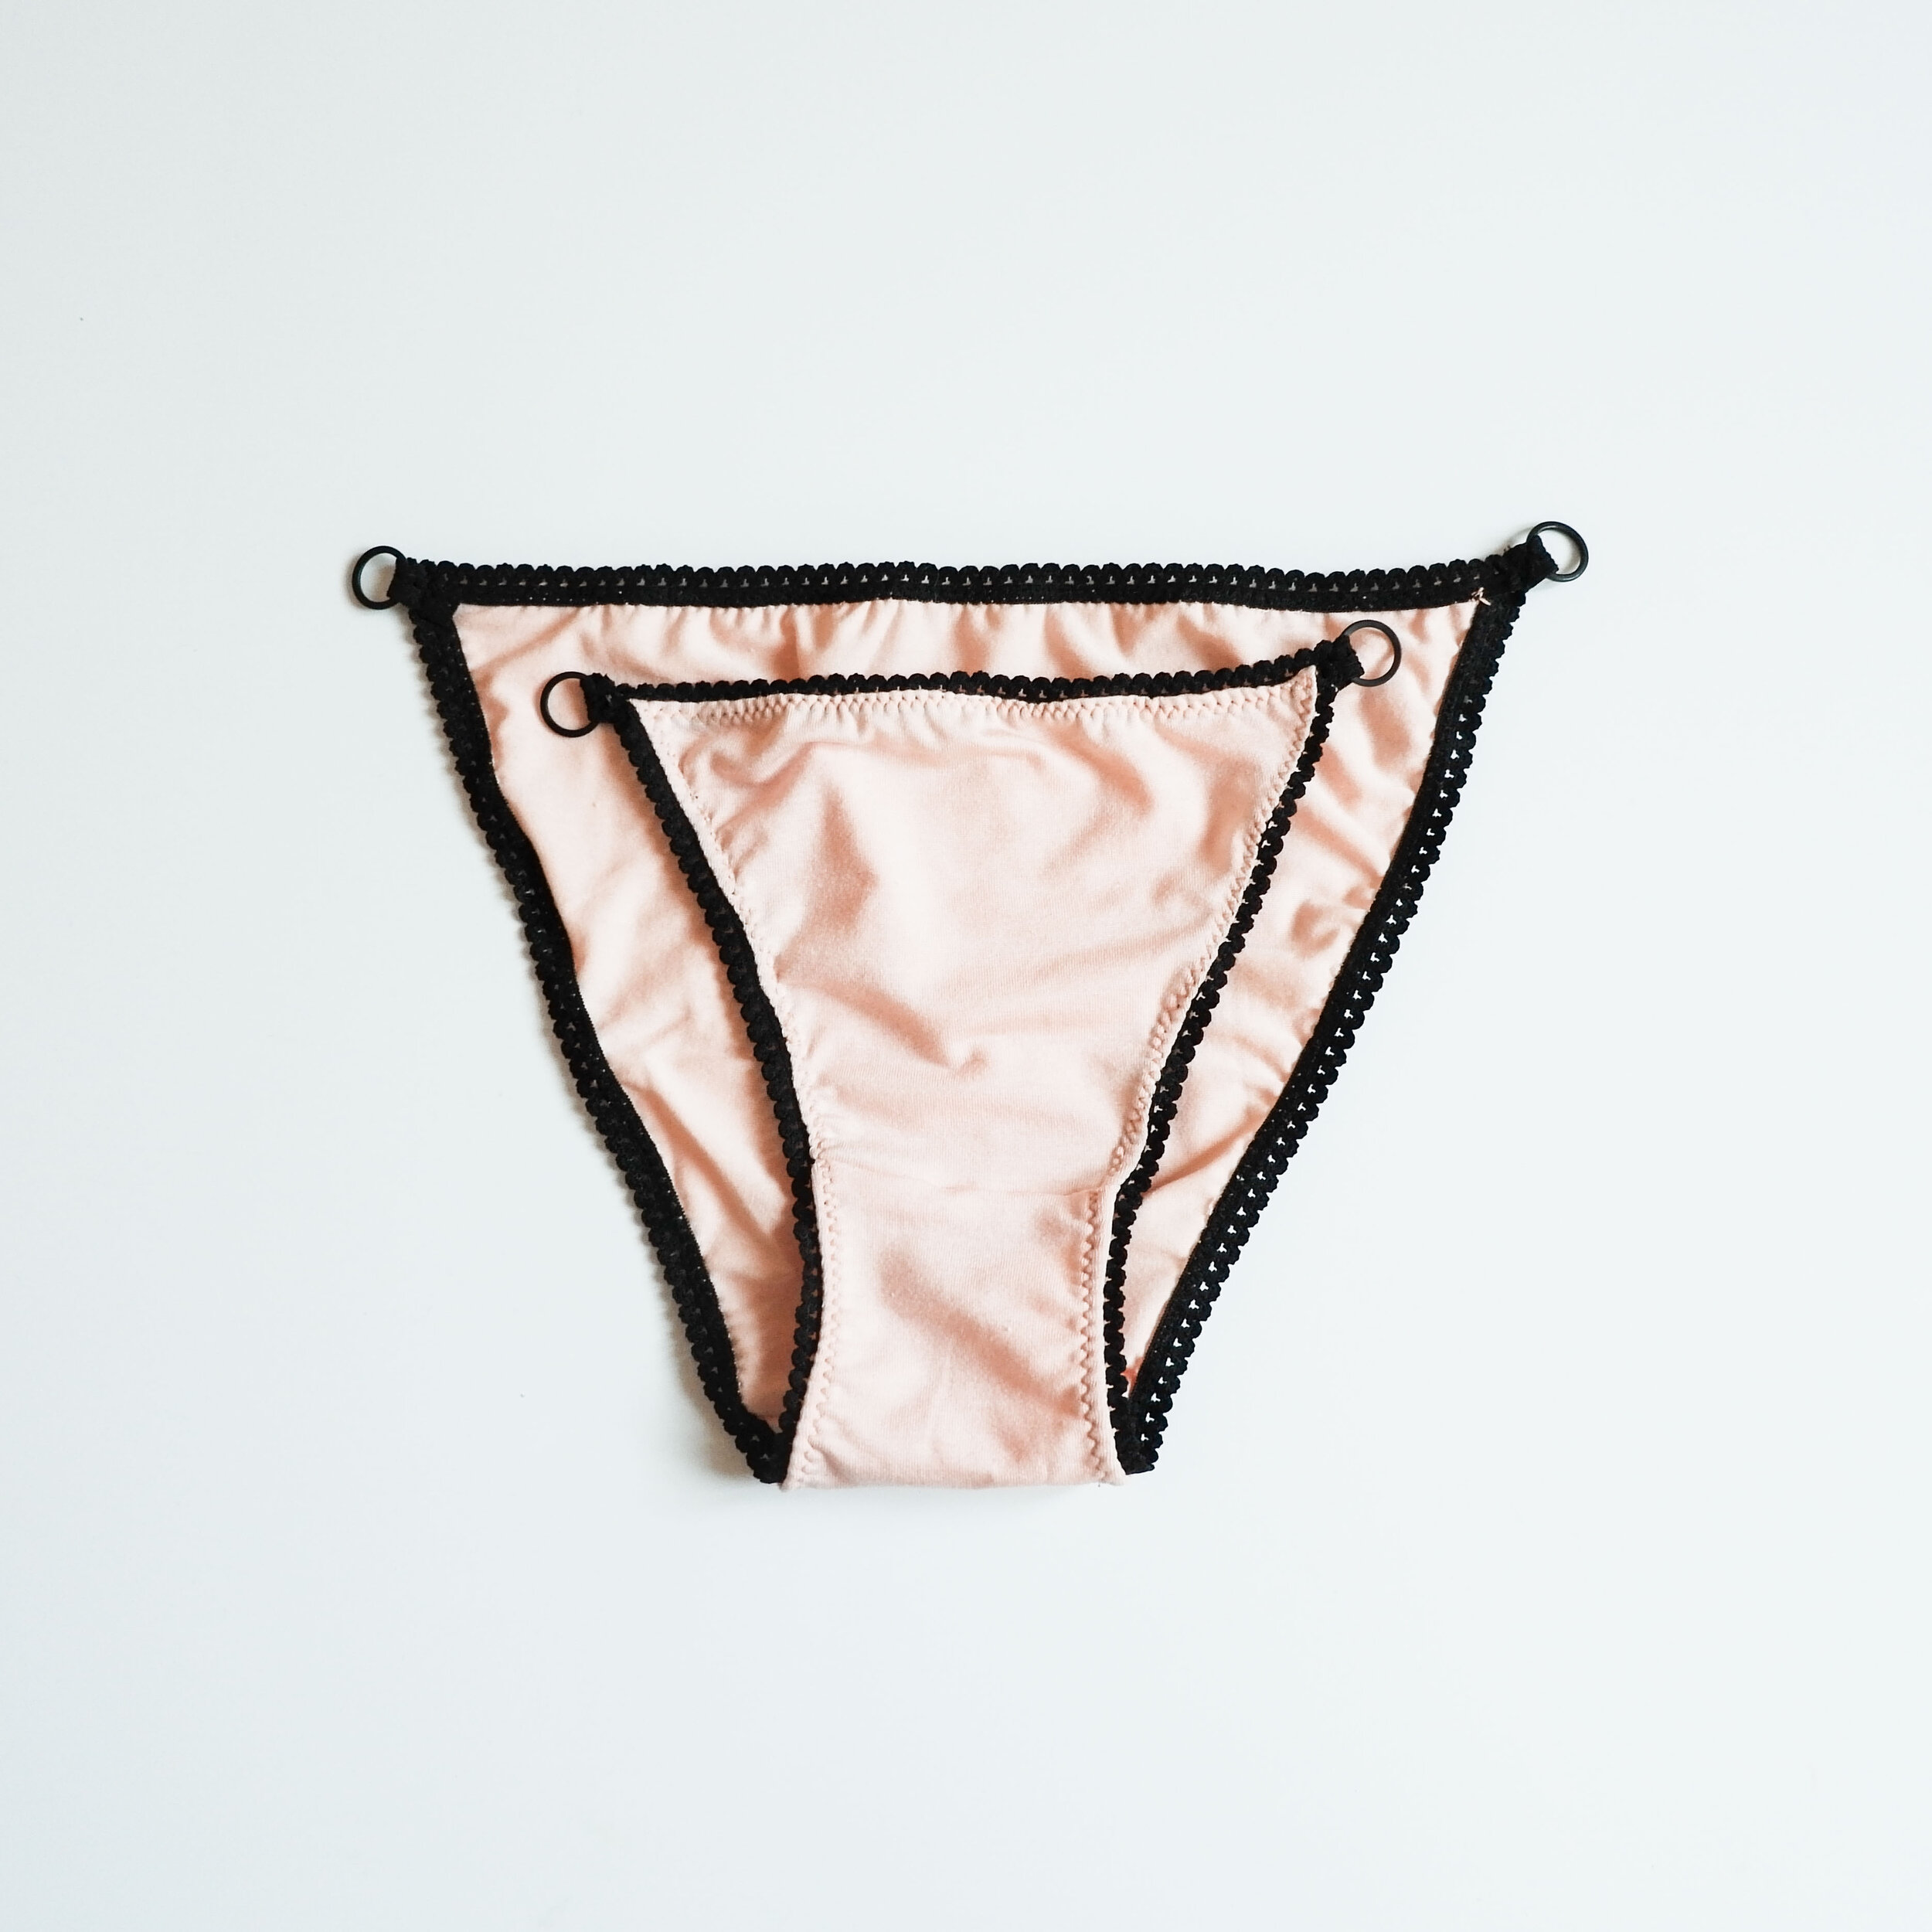
This is a simple alteration that gives a super cute touch to already super cute Veras, hehe. I’ve used viscose knit for the panties but you can of course use lace as in the original version of this pattern. When you use knit fabric or mesh or whatever fabric without scallops on the back, remember to add 6 mm (¼ in) to the back leg opening seam allowance as there’s no seam allowance there. You can also use FOE for contrast, it looks very cute! In that case as always with FOE just remove all the seam allowances on the openings. First sew the pieces together as usual and apply the elastics as usual (leaving the 1 cm (⅜ in) extra on the waist elastic to attach rings).
Es una modificación muy sencillo que da un toque super cuqui a las braguitas Vera que ya de por sí son muy cuquis, jeje. He usado punto de viscosa para las braguitas pero obviamente puedes usar encaje tal como viene en el patrón original. Si usas telas de punto o tul o lo que sea que no tenga puntilla para el trasero, recuerda que tienes que añadir los 6 mm de margen de costura en las aberturas de las piernas porque allí no hay margen de costura. También puedes usar FOE (bies elástico) para el contraste, queda muy mono! En este caso como siempre, elimina todos los márgenes de costura en las aberturas. Une las piezas como siempre y cose los elásticos también (dejando 1 cm de extra en la cinturilla para unir las anillas después).
Attach rings as usual.
Une las anillas como siempre.

Now let’s go with the ruffle. In this case I’ve used stretch lace and I’ve cut the piece in a way that it will have a wider part in the center and it goes to zero in the beginning and in the end. When you are making this version of Vera panties you’ve probably already tried out the version 3 and you know the strap elastic length you need for the sides. In this case the elastic won’t be regulable (like the strap elastic) so you need to know your preferred length. I want the elastic to be 10 cm (4 in) long so I’m cutting the lace piece 20 cm (8 in) wide in total as it will be gathered first. For the widest part I measured 5 cm (2 in) and then just freehanded the curve. This is my choice but you can make this piece narrower if you want. Cut two of these pieces out.
Ahora vamos con los frunces. En este caso he usado puntilla elástica y he cortado la pieza de tal manera que la parte central es más ancho y los lados se disminuyen a cero. Si haces esta versión de Vera es que probablemente ya habrás probado la versión 3 y sabes el largo de elástico que necesitas para los lados. En este caso el elástico no va a ser regulable (como los tirantes) así que tienes que saber el largo que te va bien. Yo quiero un elástico de 10 cm así que corto la pieza de encaje 20 cm de ancho en total ya que primero se frunce. Para la parte más ancha he medido 5 cm y después hice la curva a ojo. Es mi preferencia, puedes hacer la pieza más estrecha si lo prefieres. Corta dos de estas piezas.

Now sew a long straight stitch over the curve of the lace to gather that part of the ruffle. Gather the piece so this edge measures 15 cm (6 in). I prefer to use the gathering to reduce some of the length and then reduce the rest with the elastic in the next step.
Ahora cose una línea de puntada recta y larga en la parte de la curva para fruncir. Frunce la pieza tirando del hilo hasta que ésta mida 15 cm. Prefiero usar este método para fruncir un poco ahora y el resto con el elástico en el siguiente paso.

Cut a piece of lingerie elastic 12 cm long (5 in), it’s the 10 cm (4 in) I need for the length of my side elastic + 2 cm (1 in or a bit less) to be able to fold the elastic under once I attach it to the rings. Sew the elastic on with two passes of zig-zag as you usually do when sewing lingerie elastics. Make sure you first leave the first 1 cm (⅜ in) free, then pull the elastic to gather the lace and sew it in place and then leave the other 1 cm (⅜ in) free. Although it seems you have to pull the elastic a lot, I found it’s the exact amount to create a nice ruffle. You can use FOE for that too, it would look very cute!
Corta el elástico de 12 cm largo, los 10 cm son para el largo de elástico que necesito + 2 cm para las anillas. Cose el elástico con dos pasadas de zig-zag como siempre cuando coses elásticos de lencería. Primero deja 1 cm de elástico sin coser, después tira del elástico para fruncir con él el resto de encaje y deja en el otro extremos 1 cm libre. Aunque parece que tienes que estirar mucho el elástico, va a quedar bien para crear un frunce bonito. Puedes usar también FOE para eso, quedaría muy mono!

Once you have the ruffle ready just attach it to the rings on both sides and you are done! As I’m a real sucker for the black + pink combo I’m really loving this result :) I hope you liked this tutorial and that you’ll try out the Vera panties pattern, if you want to learn about more pattern alterations you can get my ebook about hacking patterns for panties (free when you subscribe to my weekly newsletter!).
Cuando tengas los dos frunces hechos coselos a las anillas y ya está! Como tengo una debilidad por negro + rosa me encanta el resultado :) Espero que te haya gustado este tutorial y que pruebes el patrón de la braguita Vera, si quieres ver más modificaciones puedes leer mi libro electrónico sobre coser braguitas (es gratis si te apuntas a mi newsletter semanal!).


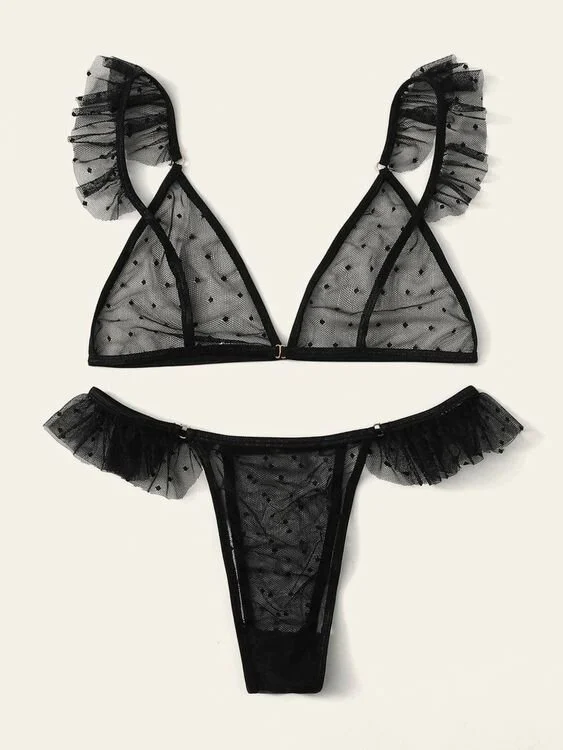
Also, check out these images from Pinterest for more inspiration for ruffles. You can also try it out with mesh, it would look so cute! Just cut out a piece of mesh in the same way or as a strip with the same width instead of making it curved. I should definitely try out the mesh ruffles, these polka dots look amazing!
Mira también a estos imágenes de Pinterest para más inspiración de frunces. Puedes probar a hacerlo también con tul, quedaría muy mono! Simplemente corta una tira de tul de la misma manera o en una tira de un mismo ancho. Debería definitivamente hacer algo con frunces de tul, el ejemplo de lunares queda super bonito!
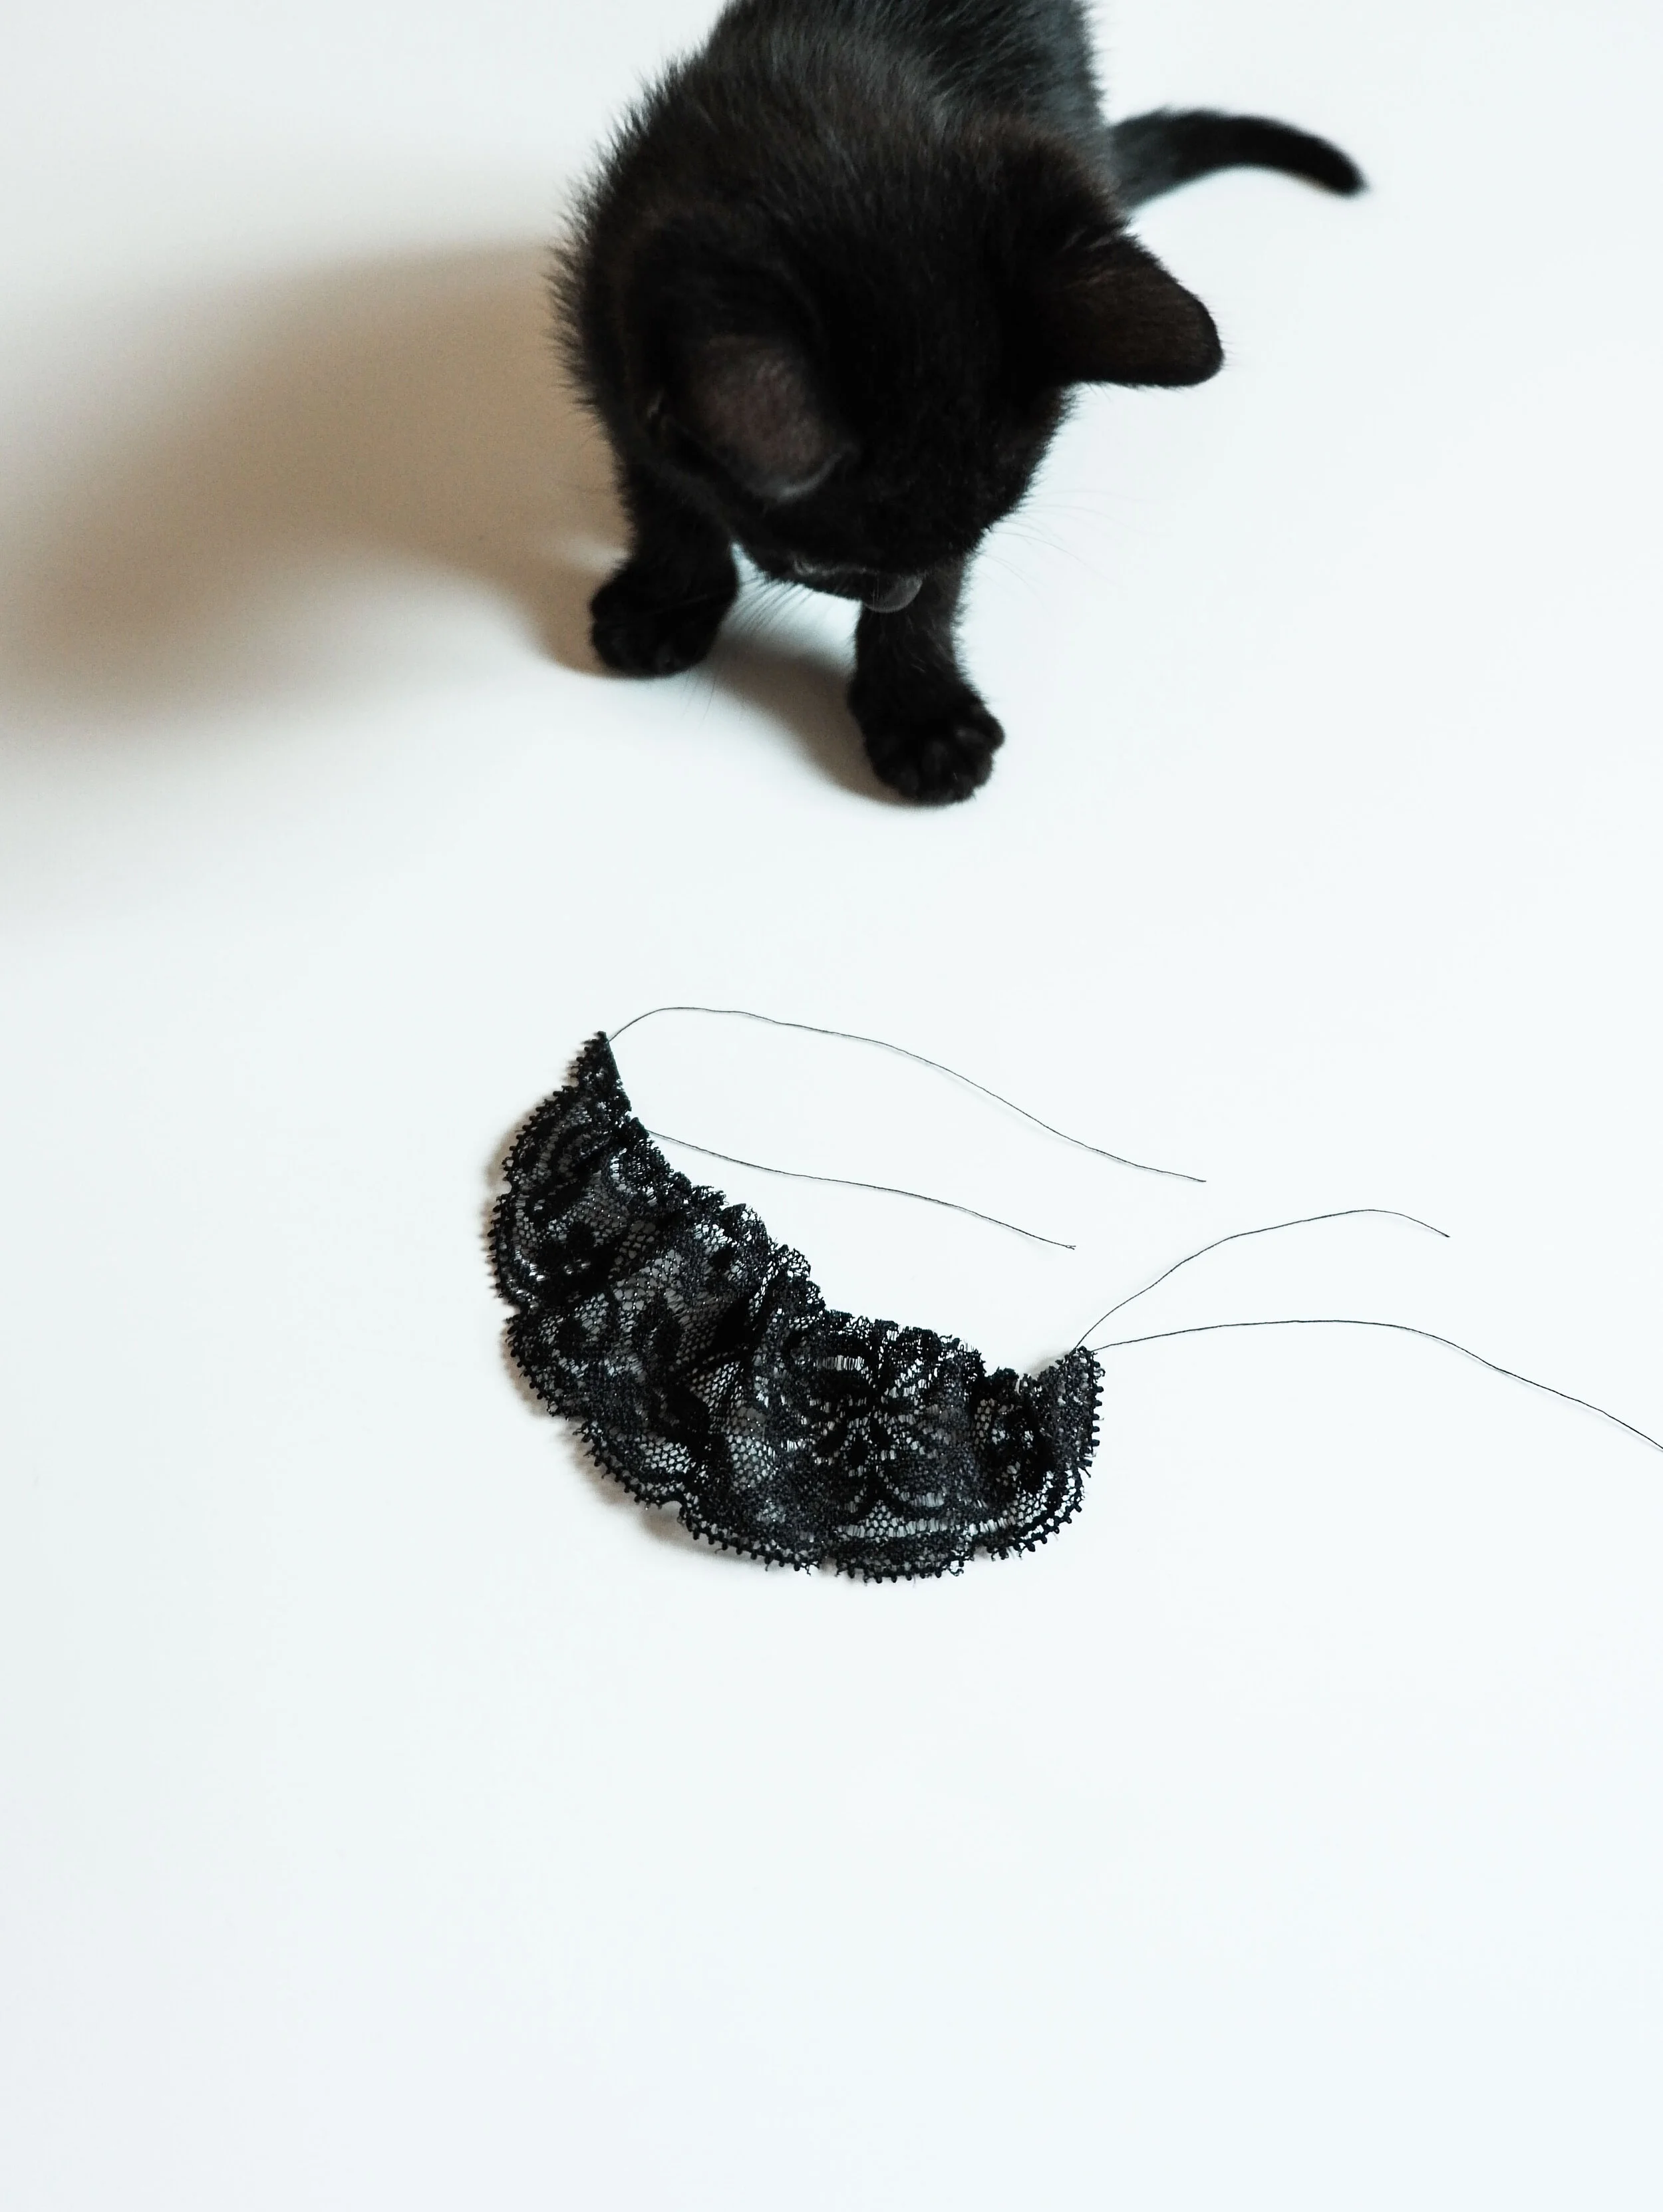
Can’t help myself to post a behind the scenes photo of making this tutorial...we have a new kitten, she’s called Mustikas and she looks sooooo cute (and jumps on top of anything you try to photograph, hahaha).
No puedo dejar de añadir una foto del proceso de hacer este tutorial...tenemos una gatita nueva, se llama Mustikas y es taaaaan mona )y se salta encima de cualquier cosa que quieres fotografiar, jaja).
