

Hola! Hace mucho que no he cosido un bralette Hanna y como tenía que hacer una muestra en talla S para el curso, aproveché e hice un tutorial con una variación. Se trata de una cosa muy simple pero le da un toque diferente al patrón: en vez de tener la costura central he cruzado las piezas de encaje. Os voy a contar cómo hacerlo, es muy sencillo. Esta parte es una variación del coseconmigo de bralette Hanna, tienes todos los posts aquí.
Hey! It's been a while since I last sewed a Hanna bralette and as I needed to make one in size S for a course I tought it would be a good occasion to make a tutorial about a variation too. It's a very simple hack but the result looks very pretty: instead of having a normal front center seam I have overlapped the lace pieces. I'll tell you how to do it,it's very easy. This post is a variation of the Hanna bralette sewalong, you can see the rest of the posts here.

Para empezar hay que hacer un cambio a la pieza de patrón A (la copa interior). Para poder cruzar las piezas hay que alargar la línea de encaje (el borde recto y largo) hacia abajo y al mismo tiempo alargar también la línea de bajo hasta que las dos líneas se cruzan. Ahora tienes una nueva pieza de patrón que termina en pico. Otra cosa que hay que marcar es el centro del cruce, así sabemos colocar luego las dos piezas correctamente. Para eso marca un piquete 6 mm desde la costura central original hacia la izquierda (hacia dentro). Este piquete va a estar en la misma línea que el piquete original más arriba que antes indicaba donde hay que colocar el encaje.
To start you need to change the pattern piece A (the inner cup). In order to overlap the pieces you need to make the side where the scalloped lace edge is (the straight long line) longer, continuing the line downwards and at the same time you need to continue the hem line outwards until those two lines meet. Now you have a new pattern piece which ends in a triangular form. The other thing you need to mark is the center of the overlap so you'll know how to position the pieces later on. To do that mark a notch 6 mm from the original center seam to the left side (towards the inside of the pattern). This notch will be aligned with the original notch that you have above (the one that indicates where you need to position the lace scalloped edge).
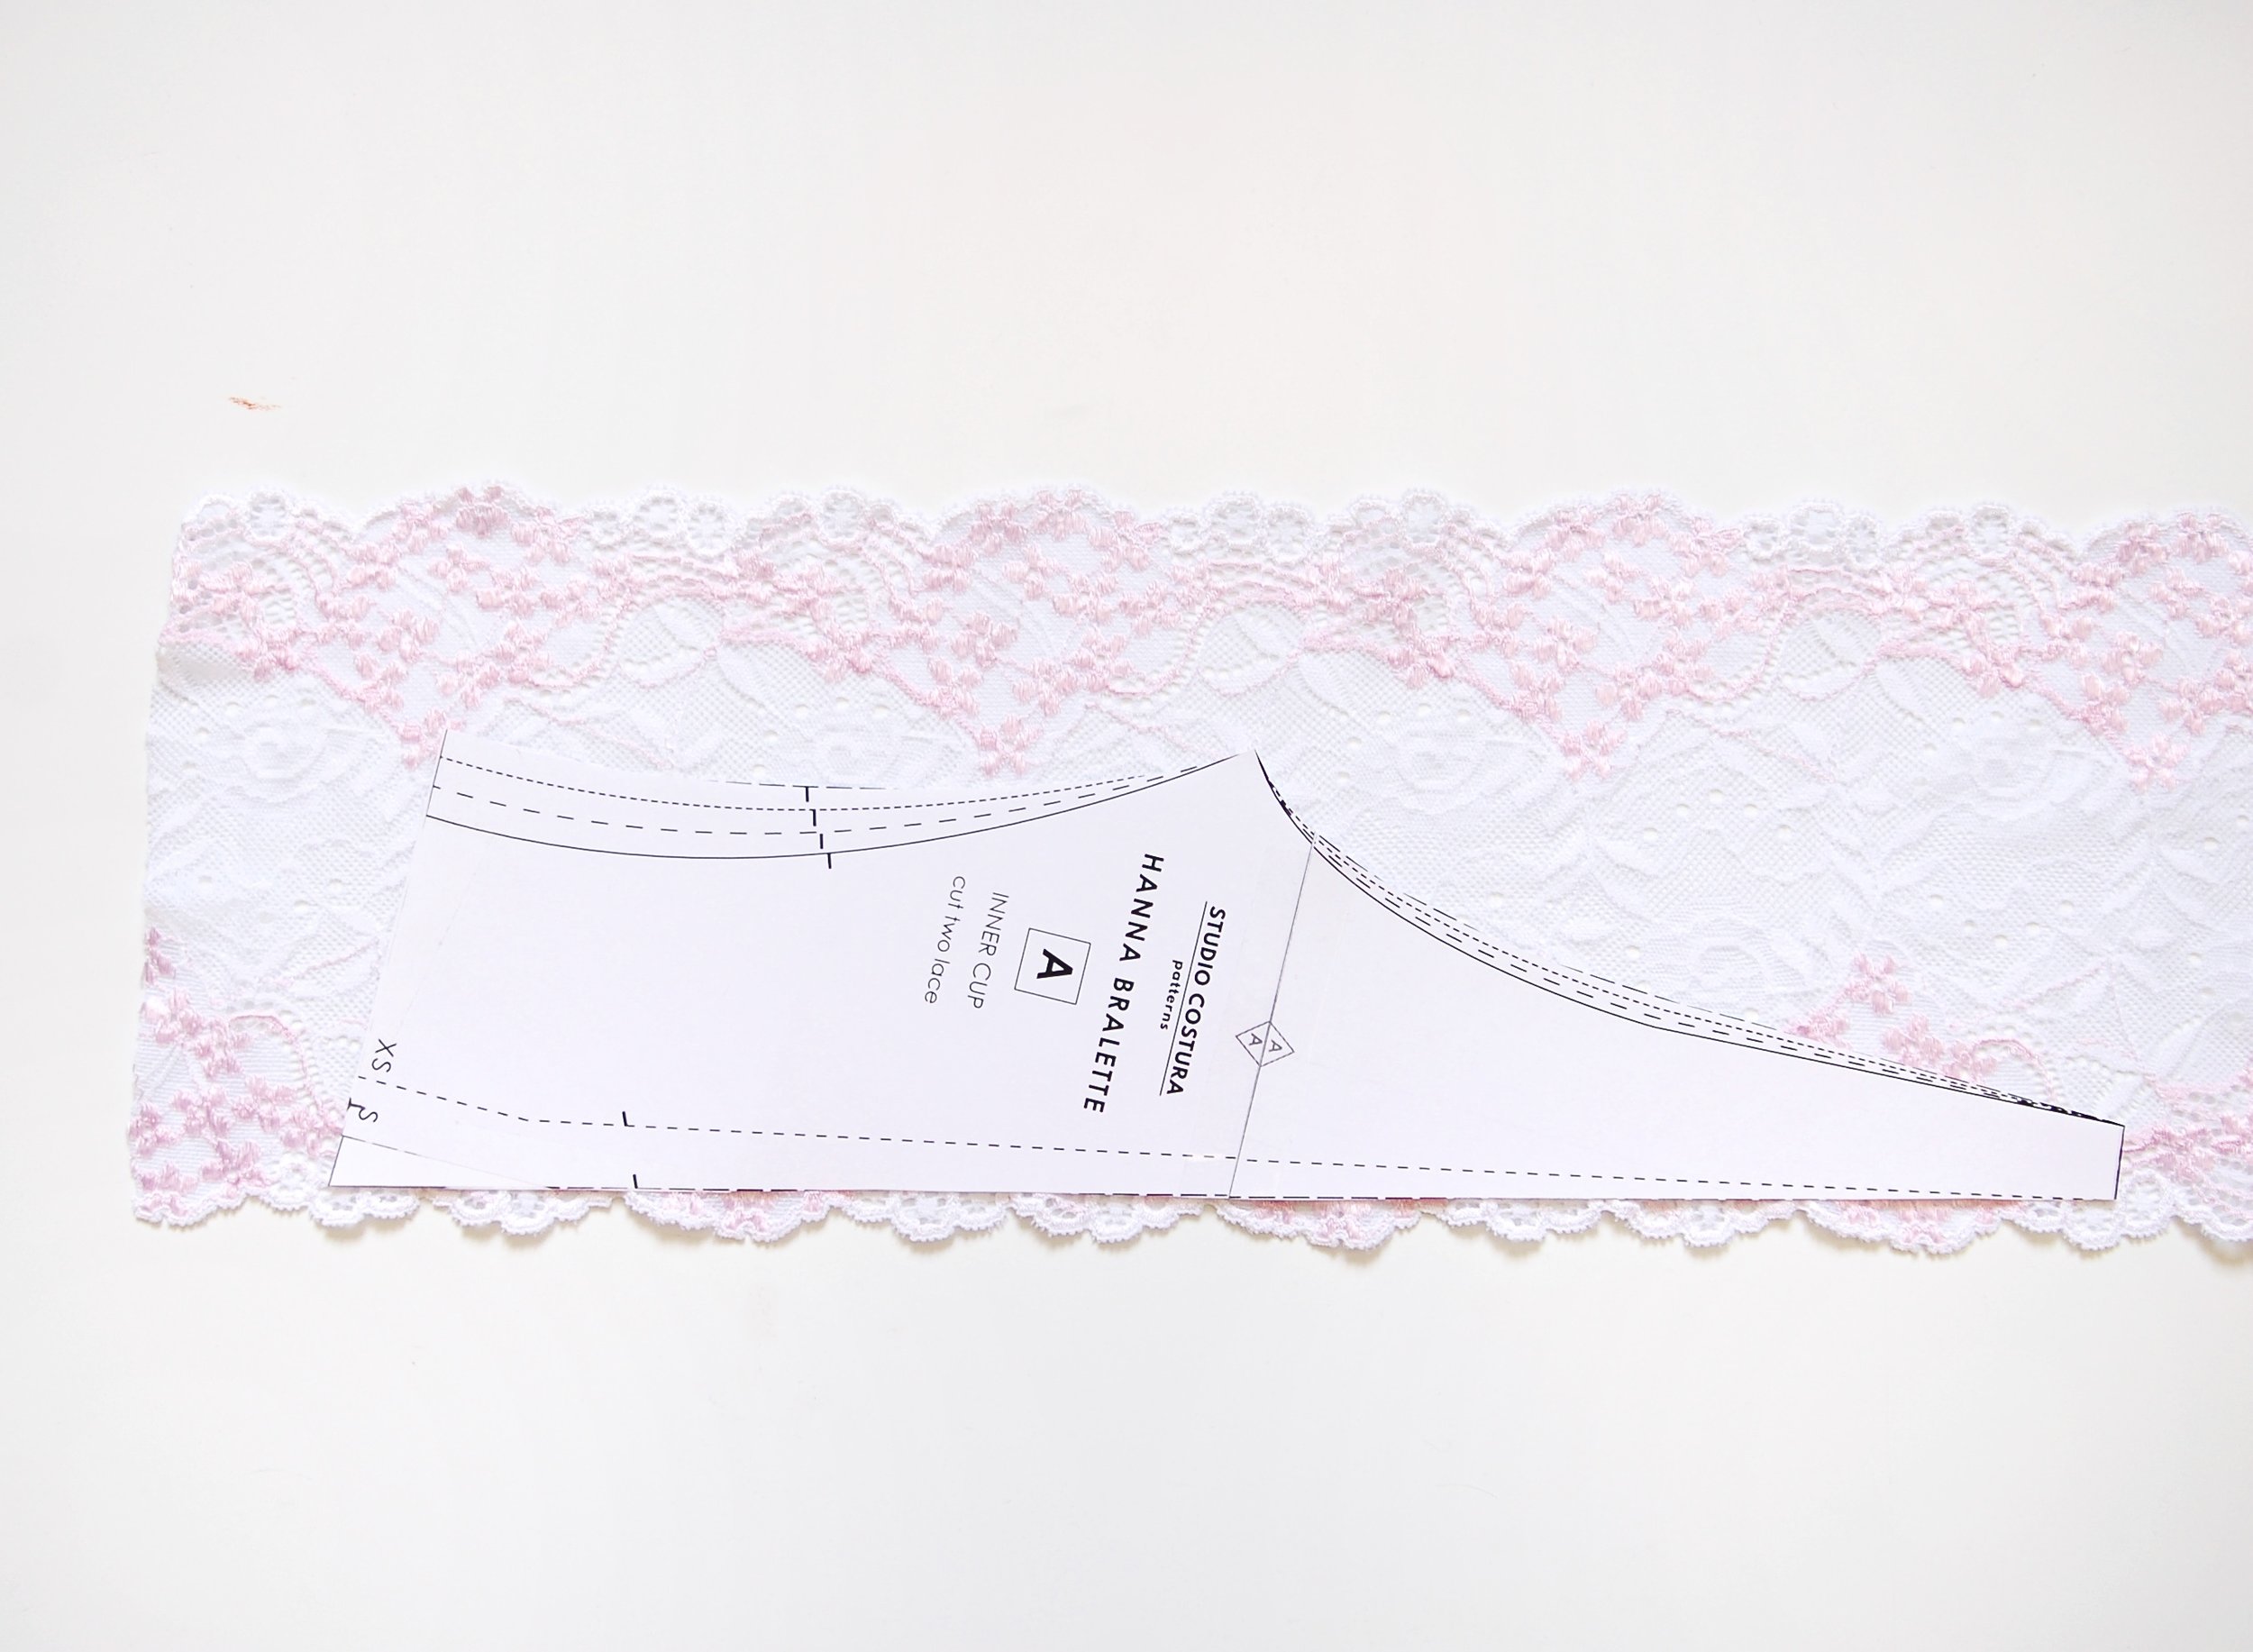
Cuando cortamos el encaje esta vez no hace falta mirar donde cae el piquete original (como en este tutorial). Da un poco igual donde colocas la pieza, sólo recuerda que la línea recta del patrón vaya junto el borde más bajo de la puntilla. Yo coloqué mi patrón para que el final (el pico nuevo de este patrón) se quede a la mitad de la puntilla porque así se crea más efecto de cruce ya que el encaje es un poco más ancho allí.
When you cut the lace piece this time you don't need to match the original notch with the scallop (like in this tutorial). It doesn't really matter where you put the piece on lace, just remember that the pattern piece has to be aligned with the lower part of the scallops. I put my pattern piece so that the ending of the pattern piece (the new triangle part) is aligned with the wider scallop so when the pieces cross each other there will be a slightly wider overlap.

Corta todas las piezas como siempre y cose el elástico transparente en la línea de encaje (esta vez desde abajo del todo hasta arriba y al revés en la otra pieza). Juntando los nuevos piquetes que hicimos para marcar el centro junta las dos capas de la copa interior para que las piezas solapen. Cose en el borde de abajo para sujetar las capas y que estén en la posición correcta.
Cut all the pieces as you do normally and sew the transparent elastic to the inside of the scalloped edge of the lace (this time you start from the hem line until you reach the end and the other way around with the other piece). Align the new notches that you marked to know where the center seam is and that way you know where the overlap is. Sew the two pieces together on the hemline so they won't move before you attatch the band elastic.

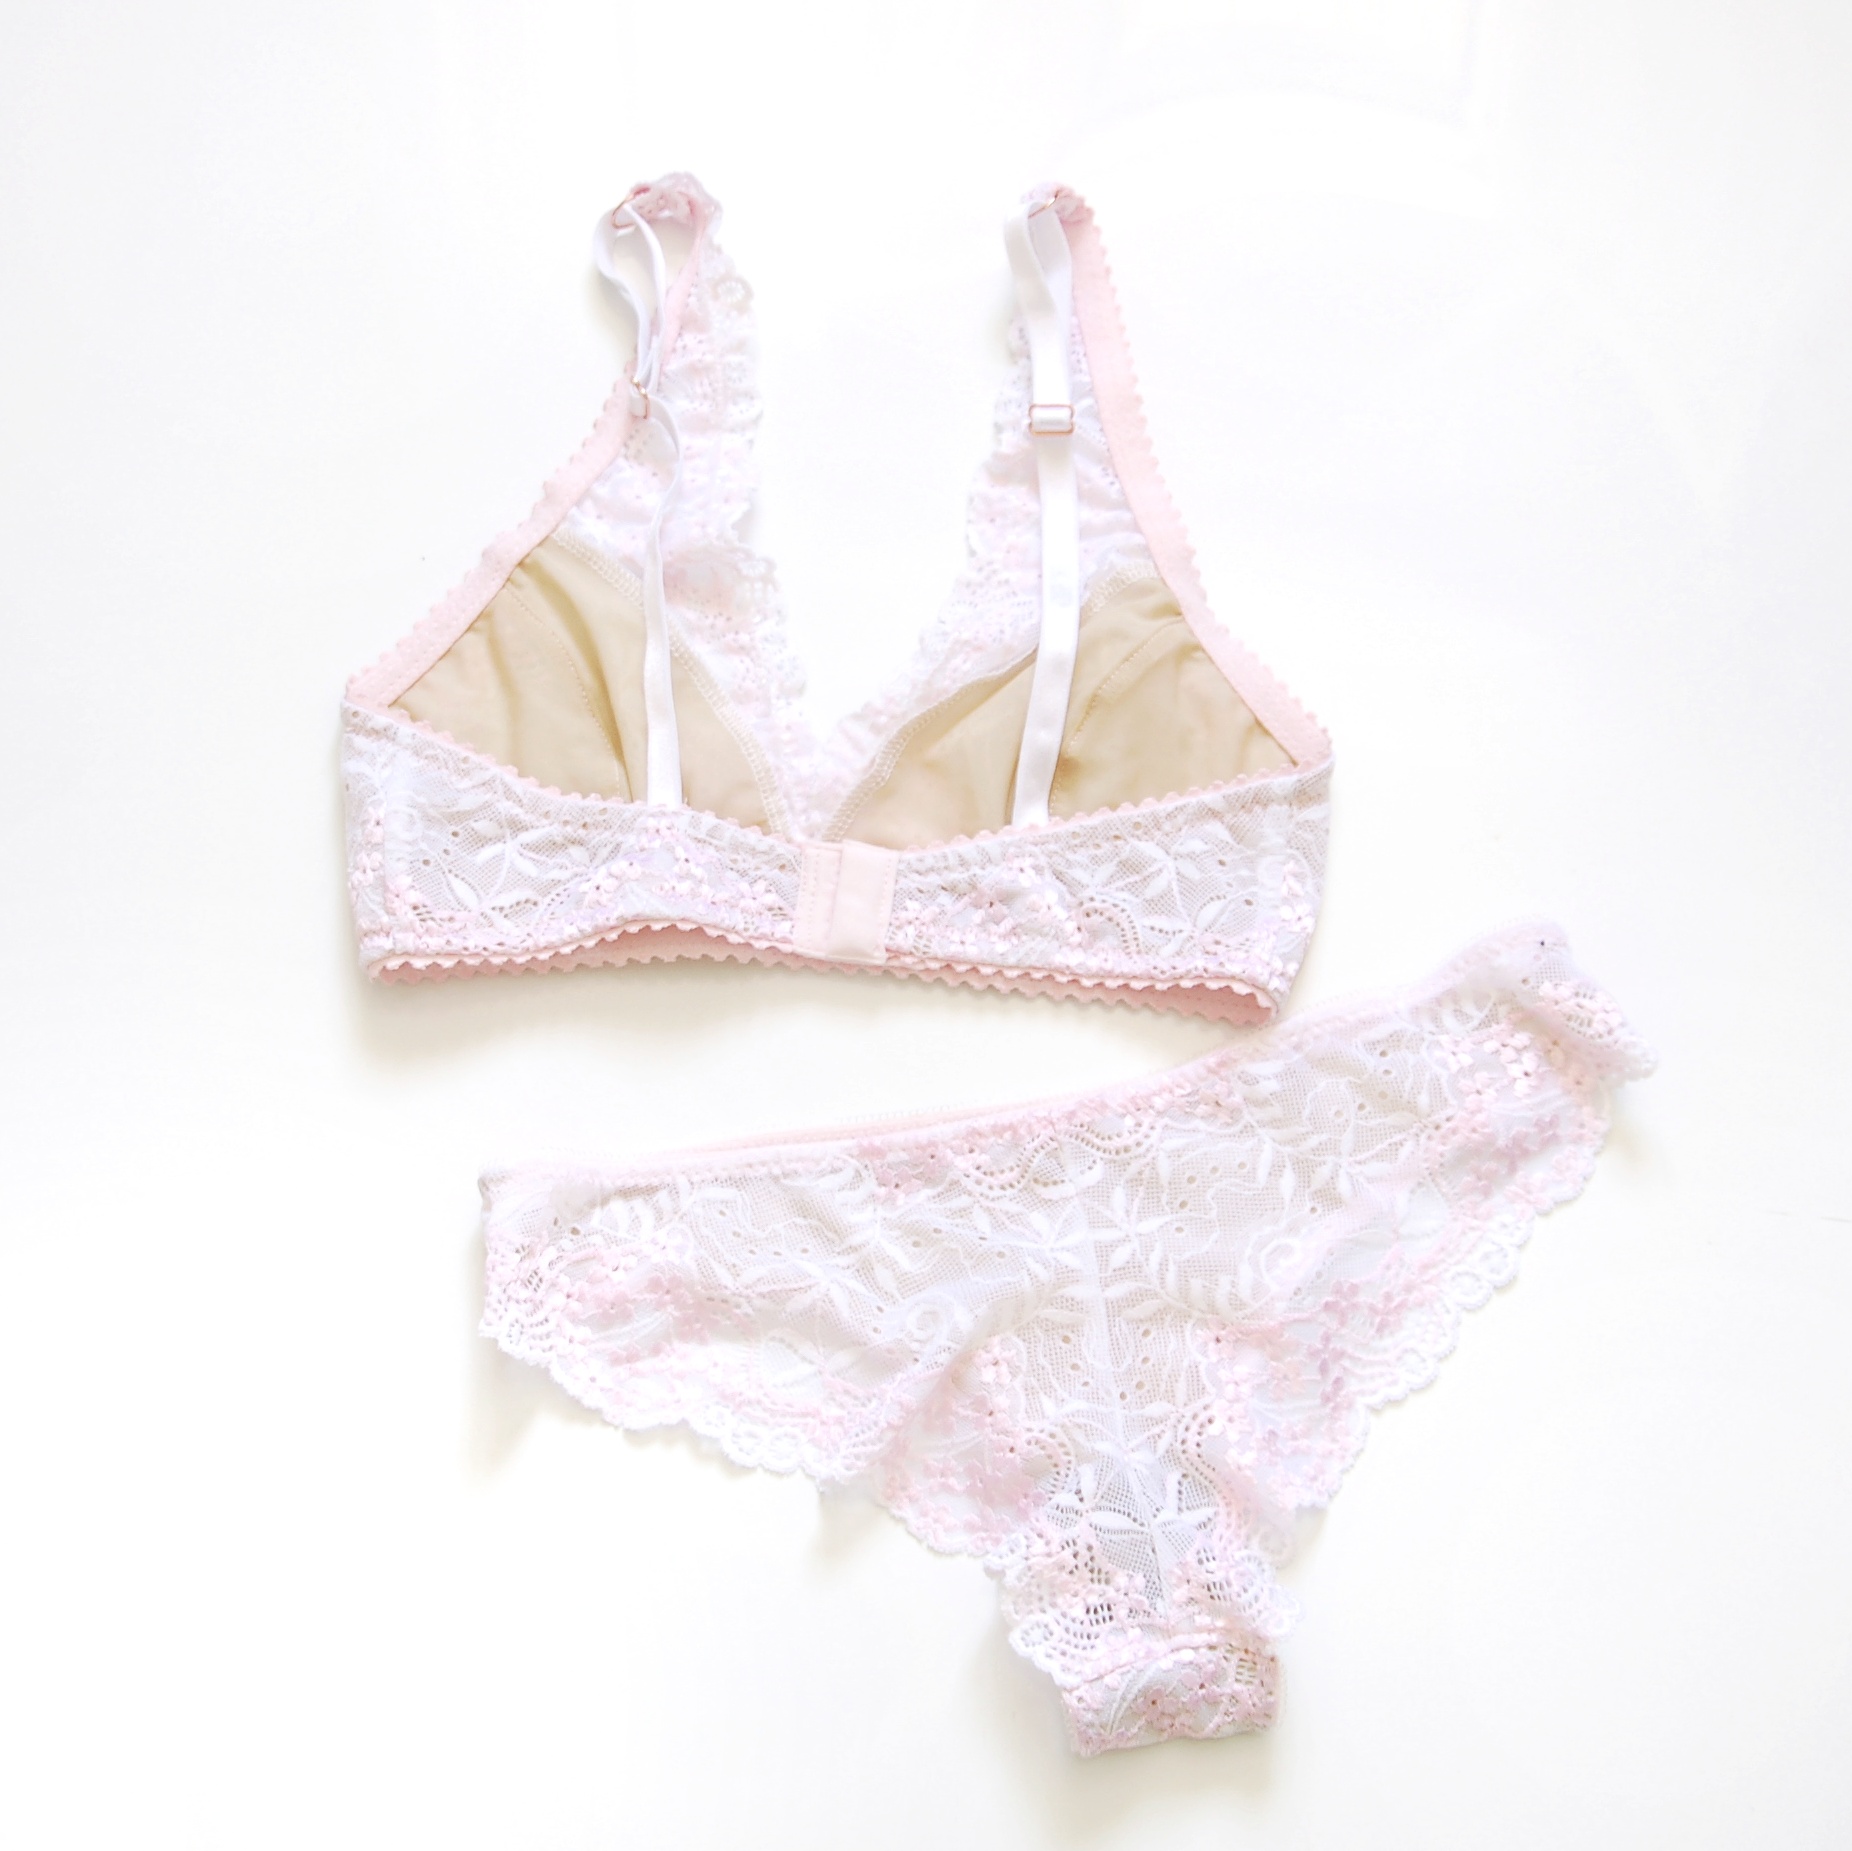
Realmente todo lo que viene después es lo mismo que en la versión original. Cose las piezas de forro de la copa interior como siempre (allí no hace falta cruzar piezas). Lo que puedes hacer para que el cruce de las piezas de encaje no se abra es hacer unos pespuntes para unir el forro con el encaje. Hazlo en la parte superior del centro de forro y así todo va a estar en su sitio.
What comes next is actually the same as in the original version. Sew the inner cup lining pieces as usually (you don't need to overlap pieces here). To avoid that the overlapping pieces "open up" once you wear the bralette you can sew a little bartack to join the two layers: the lining and the lace. Do it in the upper center part of the lining pieces and everything will stay in its place.
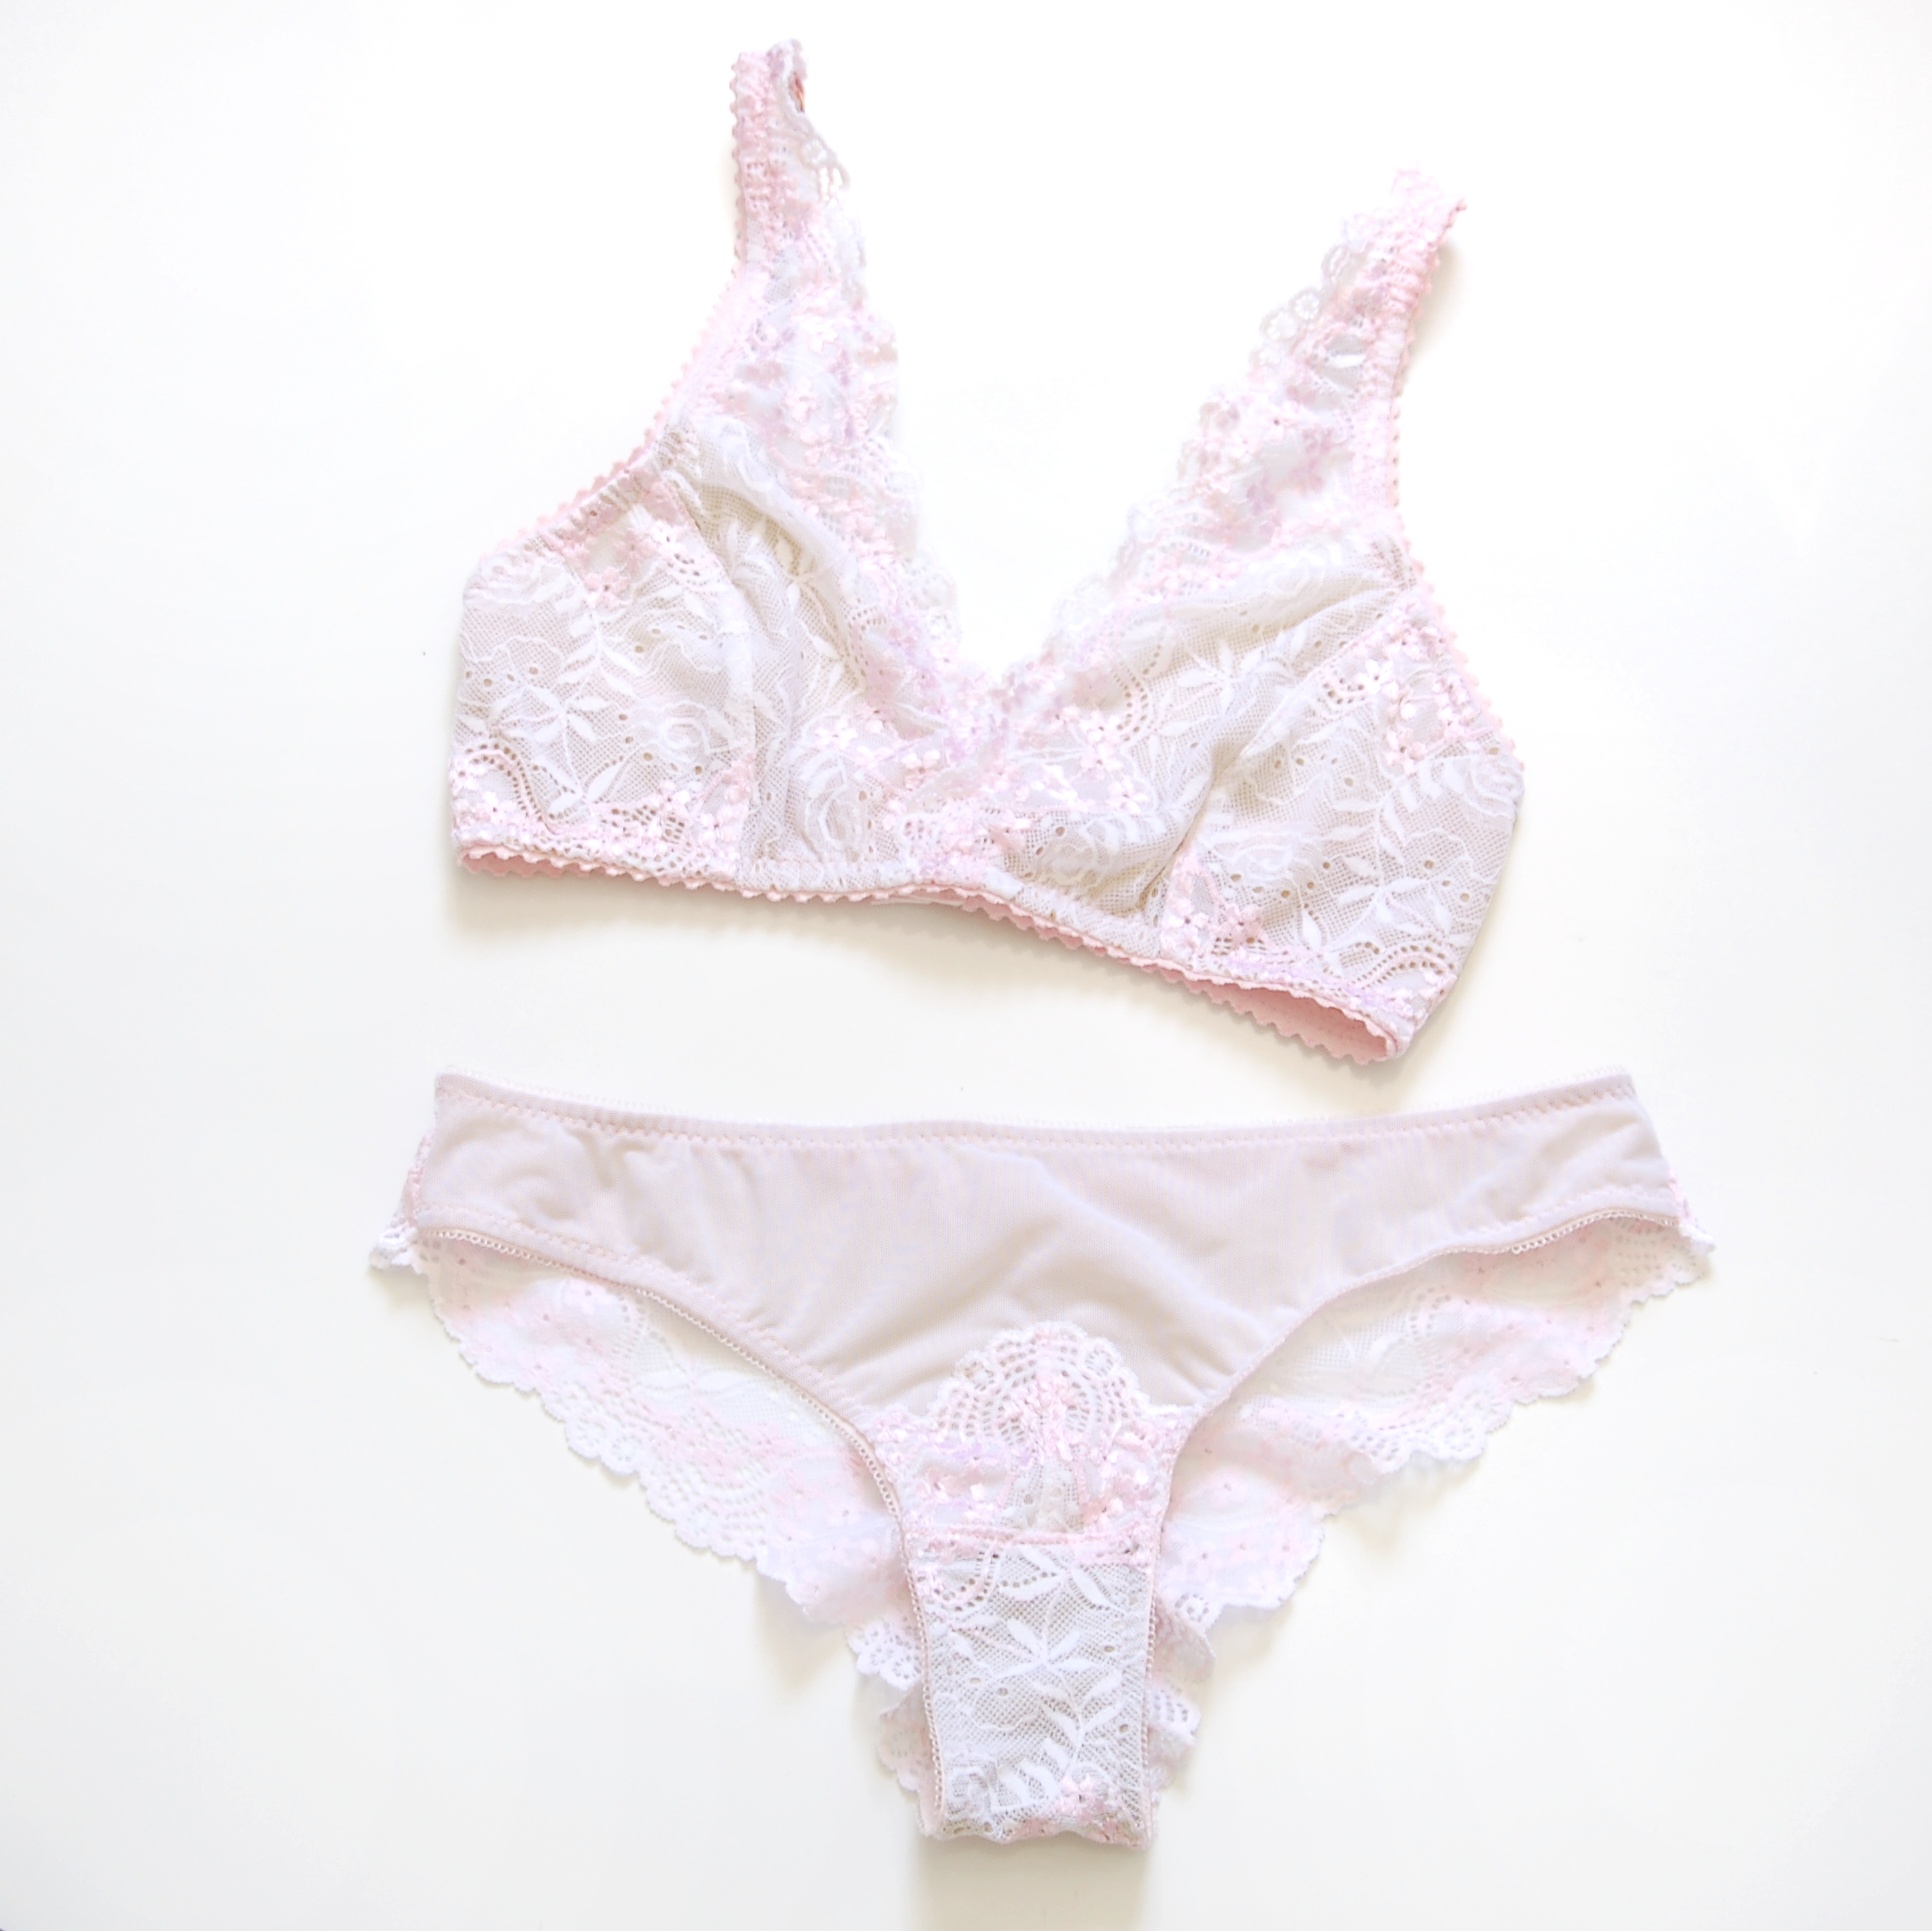
Y ya está, de allí ya puedes seguir con las instrucciones normales hasta completar el bralette. Yo hice también una braguita conjunto ya que me sobraba un poco de encaje. Usé el patrón de la braguita Mia y como no tenía mucho encaje hice la parte trasera con lo que me quedaba y de unos retales pequeños saqué también un detalle delantero (puedes ver cómo usar trocitos de encaje para este tipo de adornos en este tutorial).
And that's it, now you can follow the instructions as always to finish off your bralette. I also made a matching pantie as I had some leftover lace. I used the Mia panties pattern and as I didn't have enough lace for the entire pantie I used lace for the back pieces and also made a small detail for the front (you can see different ways of using lace scraps for this kind of details in this tutorial).
Ha quedado muy bonito, este encaje es un poco diferente al tener tanto el blanco como rosa. Para forrar el bralette y para la parte delantera de las braguitas usé esta vez tul elástico para tener un efecto más transparente. Espero que os ha gustado esa pequeña transformación, tengo ganas de probarlo también con telas de punto y con el bikini, puede quedar muy bonito!
The result is very pretty, this lace is a bit different as it has both pink and white colors on it. To line the bralette and the front of the panties I used stretch mesh this time to have a bit of transparency. I hope you liked this little hack, I'd like to try it out also with knit fabrics and bikinis, I think it can look very cute!

