

Vamos con el siguiente post del coseconmigo de bralette Mara. La última vez quedamos en el paso donde las copas ya estaban cosidas con la banda frontal, ahora vamos a coser allí la cinta recubrearos!
Here’s the next post in Mara bralette sewalong series. The last time we sewed the cups together with the front band, now we’ll add the underwire channeling.

Cuando diseñé este patrón quería que tenga más soporte y por eso decidí añadir la cinta recubrearos debajo de las copas aunque este bralette no lleva aros. Ahora, cuando hice la prueba, había una chica que no usó la cinta porque no lo tenía y lo que hizo fue en el paso que acabamos de hacer cambiar un poco el orden. Ella cosió las piezas de la manera que las copas se quedaron entre el exterior de la banda frontal y el forro de la banda frontal (la misma manera como cuando unimos las copas para que no haya costuras visibles). Así consiguió un resultado bonito y rematado pero sin la cinta recubrearos. Es una opción si tienes poco pecho y por alguna razón no quieres/puedes usarlo…pero la verdad es que lo recomiendo porque es sorprendente lo cómodo que es el resultado.
When I designed this pattern I wanted it to give better support and that’s why I used underwire channeling even tough this bralette does not have wires included. When I was testing the pattern one of my testers didn’t use the channeling tape as she didn’t have one and she used a different construction method to get a neat inside anyway. In the last step when we joined the cups with the front band she did it like in the cups, putting the cups between the lace band and the lace lining pieces. This way the seam allowances are hidden between the layers and it looks pretty. It’s an option if you have smaller cup size and you are not interested in using the channeling tape or you don’t have it available…I’d still recommend using it as it’s surprisingly comfortable.

Vamos allí: la cinta recubrearos se va a coser para “tapar” este márgen de costura, el de la unión de las copas con la banda frontal. Se cose de la manera que primero lo unimos solo con el márgen de costura guiándonos con las puntadas hechas en el previo paso y después lo doblamos todo ya hacia abajo y volvemos a coser. Primero coloca en la máquina este márgen de costura, sin que pises con la aguja el resto de las piezas.
So let’s go: the underwire channeling tape will be “hiding” this seam allowance, the one from the union of the cups and the band. First we will only sew it to the seam allowance where we can use the previous seam line as a guide and then we will fold everything down and topstitch again. First put this seam allowance under your machines presser foot, but don’t sew over the rest of the bralette.

Encima de este márgen coloca la cinta recubrearos. Empezamos 1 cm desde donde has cosido antes, del borde, porque después hay que coser los elásticos de la sisa y para que la cinta recubrearos no doble encima de sí mismo hay que dejar el márgen del elástico porque sino tuvieras mucho bulto en esta zona. La cinta tiene una costura ya hecha de la fábrica, coloca este borde justo donde tu costura de unión.
On top of that seam allowance put the channeling tape. We start 1 cm from your previous starting point, the underarm, as after this step we will have to sew the elastics there and we don’t want the channeling tape to be doubled on itself once you do that, this way we reduce bulk. The tape has an existing stitching line which you will put just where the seamline is.

Cose encima de la misma costura de la cinta con la puntada recta, en el borde, juntando la cinta justo donde está la costura de unión. Este paso puede parecer algo complicado porque la costura está en curva, hay muy poco de márgen, hay que coser muy pegado pero sin pasarse…además como ves no he puesto alfileres! Realmente este paso resulta que no es tan difícil, tienes que coser lento y seguir poco a poco la curva, no he puesto alfileres porque la cinta es gruesa y sería muy incómodo usarlas pero de verdad, os recomiendo coser poco a poco, manteniendo la tensión y veis que sale bien si vais a guiar la cinta poco a poco.
Sew on top of the seamline on the channeling tape with a straight stitch, on the border, putting the tape just where the seam allowance starts. This step looks a bit difficult as the seamline is on the curve, there’s very little seam allowance to sew on and you have to sew close but not over the cups…and as you can see I didn’t use pins! Actually it’s not so difficult, you just have to sew slowly on the curve, I haven’t used pins as the tape is quite bulky and it would be very uncomfortable. I recommend you to just sew slowly while you guide the tape as you go, I’m sure it will be easier than you think.

Así es como queda la primera costura.
Here’s the first line of sewing.

La costura de la propia cinta me sirvió de guía así que casi ni se nota mi costura encima.
I used the existing stitching line already on the tape to guide me so you almost can’t really see my stitching line.

Si has cosido todo bien no debería sobrar tela más alla de la cinta recubrearos porque los márgenes eran de 6 mm cuando unimos las piezas y la cinta suele ser de 8-10 mm así que debería tapar el márgen anterior. De todas maneras casi siempre en algún punto me queda algo más de tela debajo y eso se puede cortar.
If you’ve sewn everything according to the seam allowances you shouldn’t have any extra fabric peeking out underneith the channeling tape, the seam allowances were 6 mm and the tape is normally 8-10 mm so it should cover the fabric underneith. But almost always I still have some extra fabric that I trim down.

Con cuidado reduce la tela que sobra debajo de la cinta recubrearos, así también reduces el bulto en general en esta zona.
Carfully cut away the extra fabric underneith the tape, this way you also reduce bulk in general in this zone.

Ahora vamos a coser desde el derecho del trabajo, vamos a dar el pespunte para dejar la cinta plana.
Now we’ll sew the topstitching on the right side of the the work, this will leave the channeling tape flat on the other side.

Cose con la puntada recta 1-2 mm desde el borde de la unión de las copas con la bandad frontal, en el lado de la banda (encima de la cinta).
Topstitch with the straight stitch 1-2 mm from the union of the cups with the band, on the band side of the bralette (on top of the tape).
Así es como queda la primera pasada de pespunte.
This is how the first line of topstitching looks like.

Ahora le damos otra pasada para dejarlo plano del todo y para que los dos lados de la cinta estén bien cosidos. Deberías coserlo unos 5-6 mm desde tu primer pespunte, así las dos costuras quedan dentro de la cinta cuando lo ves desde el revés del trabajo.
Now we’ll sew another line of topstitching to secure both sides of the tape in place. You should sew it 5-6 mm from you first topstitching line, this way both of the stitching lines will be on the tape when you look at it on the wrong side of the work.

Así quedan los dos pespuntes una vez terminados.
This is how the two stitching lines look like.

No es muy importante que en el revés queden justo en paralelo ya que es más importante que estén bien en el derecho del bralette pero con tiempo consigues seguramente que te quedan bien tanto por fuera como por dentro.
It’s not so important that the two lines of stitching would be paralel on the wrong side of the work, it’s more important to sew them paralel on the right side where they will be actually seen. But I’m sure that with a bit of practice you’ll have them pretty and paralel on the inside too.

Ahora unimos las piezas de la banda trasera con el resto, se hace de la misma manera como antes las copas. Coloca la pieza de forro debajo del bralette con el derecho hacia arriba y la pieza de encaje encima del bralette con el derecho hacia abajo, une las cuatro capas con alfileres. Cose.
Now we’ll join the back band pieces with the front band pieces and it’s done in the same way as when we joined the cup pieces. Put the lining piece under the bralette with the right side up and put the exterior lace band piece on top of the bralette with the right side down. Pin all four layers together and sew.

Una vez cosido, coloca las piezas en su sitio, la costura se queda entre las capas.
When you have sewed the pieces together the seam allowance will be hidden between the layers.

En esta parte también cosemos la cinta recubrearos, esto ayuda que la costura lateral sea más firme y no se doble. Corta un trozo de cinta que sea 2 cm más corto que tu costura lateral (arriba y abajo hay que doblar encima el elástico así que no cosemos la cinta allí). Coloca la cinta encima de la costura lateral y cose con la puntada recta los dos lados. Puedes colocarlo justo en el medio de la costura o siguiendo el borde de costura con la cinta como yo en la foto.
Tienes la opción de añadir ballenas dentro de la cinta para dar aún más soporte, recuerda que tienes que hacerlo ahora, antes de coser los elásticos que taparán los bordes de la cinta recubrearos.
In this part we will also sew the channeling tape, this helps the side seam to be stronger and it won’t fold when you wear the bralette. Cut pieces of channeling tape 2 cm shorter than the side seam (we’ll fold the elastic under later on so you have to reduce the tape on the upper and lower part again). Put the tape on top of the side seam and sew the two sides with straight stitch. You can sew the tape just in the middle of the side seam or align it with it like I did on the photo.
You have an option to add boning the side seams, you should do it now as we will be closing the tape with the elastics on the next step.

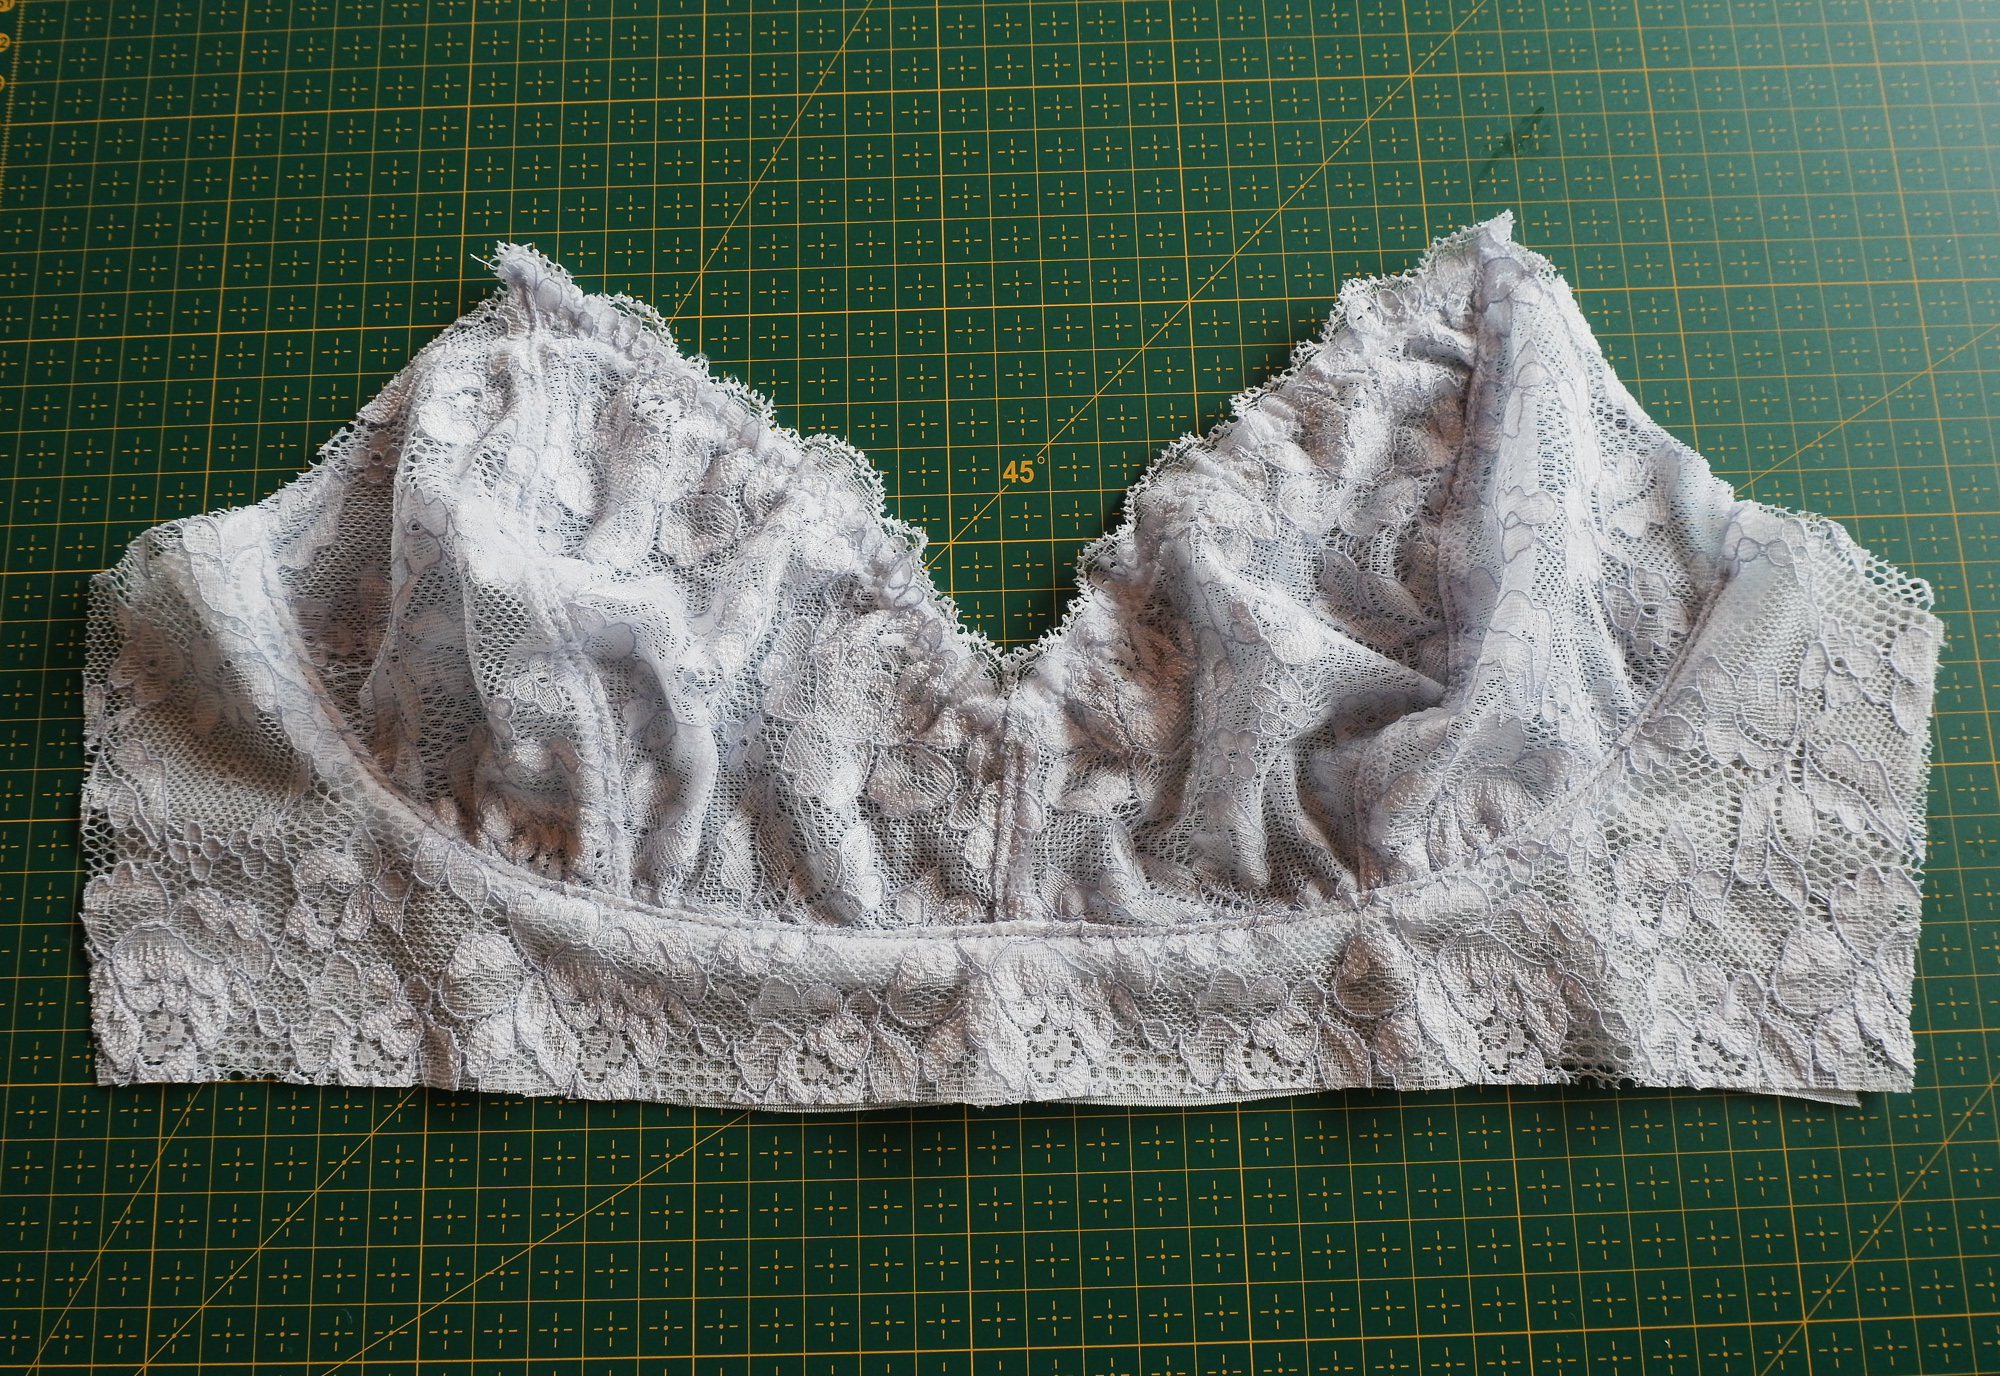
Terminamos por hoy, ya está todo listo para coser los elásticos y terminar el bralette, falta muy poco y eso ya tiene forma!
That’s it for today, now we’re ready to sew on the elastics and finish this bralette off, there’s avery little left to do and it already looks like something!