
Welcome back, 2021 let’s do it! As the pandemic is not enough we were surprised with a massive snow storm in Madrid last weekend and everything is still pretty much collapsed right now when I’m writing this post. You really need to keep your head up...and your hands occupied while waiting for some better times! So let’s go with some sewing related talk here.
Read MoreSewing Gift Guide
Anyone thinking about the holidays already? I’m sure that all of us are wondering about how they will turn out this year, for sure it will be different...but let’s try to find ways to stay positive, it will get better! The season of giving gifts is around the corner and I’m sure there are many handmade gifts you’re going to make for others. But what about your own wish list? Many times your friends and family want to give you a gift related to sewing but it’s really complicated for them to know what you’d like to get. And that’s exactly why I’ve made a little gift guide including my favorite ideas! You could just pass on this post to the people who might need it ;).
As I know that there are people from all over the world who are reading this blog I’m not adding specific shop links (unless the product is available directly from a shop/brand!). You can just look up the product on Google and find a local/online store that fits your location. If possible, always try to spend your money in small businesses, they are the ones that need your support the most right now! As a small business owner myself I’m forever thankful for every customer who decides to shop my products :).
I actually have two other posts about gifts in the blog archives too, so you can see more ideas in this first post and this second post!
sewing tools for every maker
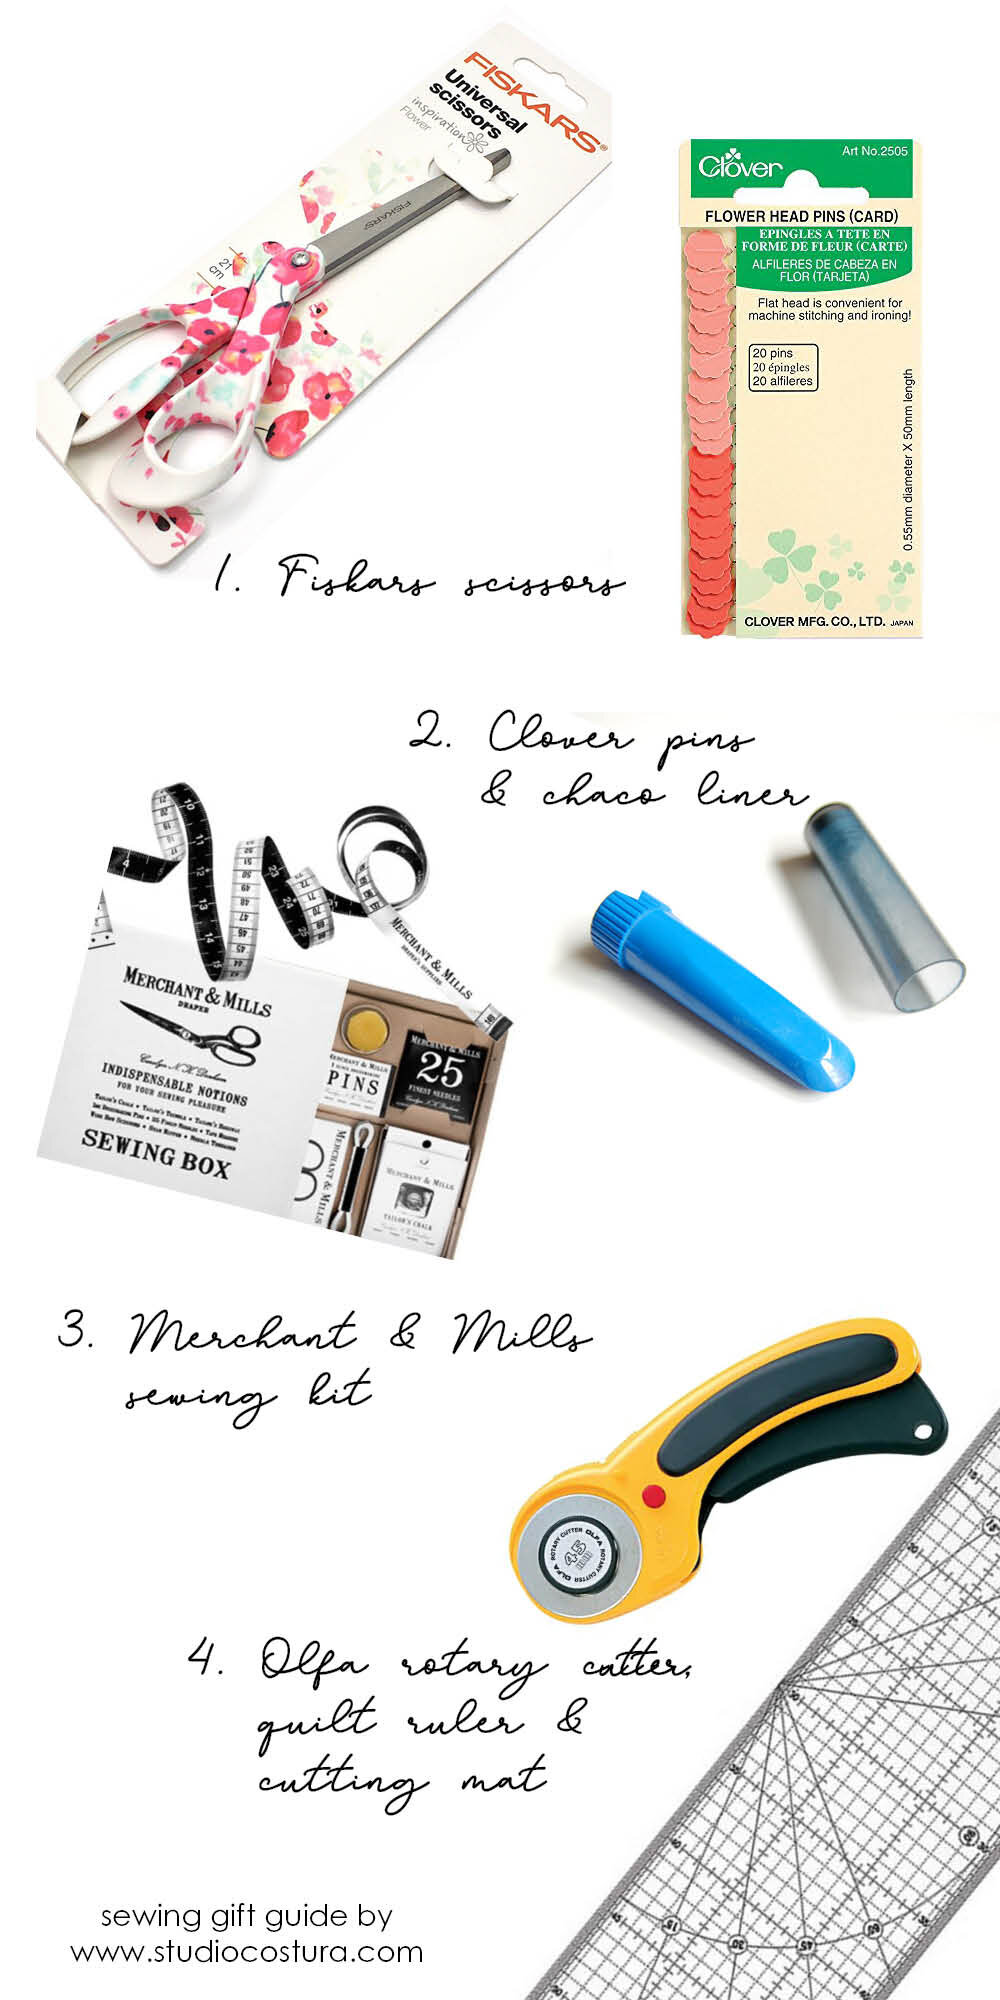
First up, some of the essentials I truly love! All of these ideas work well for any person who loves sewing regardless of their experience.
Fiskars scissors. This Finnish brand makes really nice quality scissors that you should definitely have in your sewing kit, they are so good! The universal size works for everything and there are many options design wise (I just saw these Moomin designs, and they are the cutest!). Scissor sharpener by Fiskars is a really cool tool too, I use it a lot!
Clover pins and chaco liner. The flower head pins by Clover are made for patchwork but you can of course use them for any sewing project. They are super sharp and look cute too! The chalk roller is my personal favorite marking tool. This fabric marker is refillable and works super well both on woven and knit fabrics.
Merchant & Mills notions. This brand has the prettiest sewing notions and a large variety you can choose from. The packaging is very nice too and they make a really pretty present
Olfa rotary cutters, quilt rulers and cutting mats. Olfa is my go to brand for all things related to rotary cutting. I love my ergonomic 45 mm blade rotary cutter and I use it for everything. The 15x60 cm quilting ruler is super useful not just for quilting but for measuring anything. I’ve used many different rulers but this one is by far the best one yet! And to cut with a rotary cutter you also need a cutting mat. Olfa mats are strong but they are not too thick and they heal super well so they will look new even after a lot of use. I use the one that measures 90x60 cm, this size works just fine but if you have more space you can of course get a bigger one!
Sewing lingerie
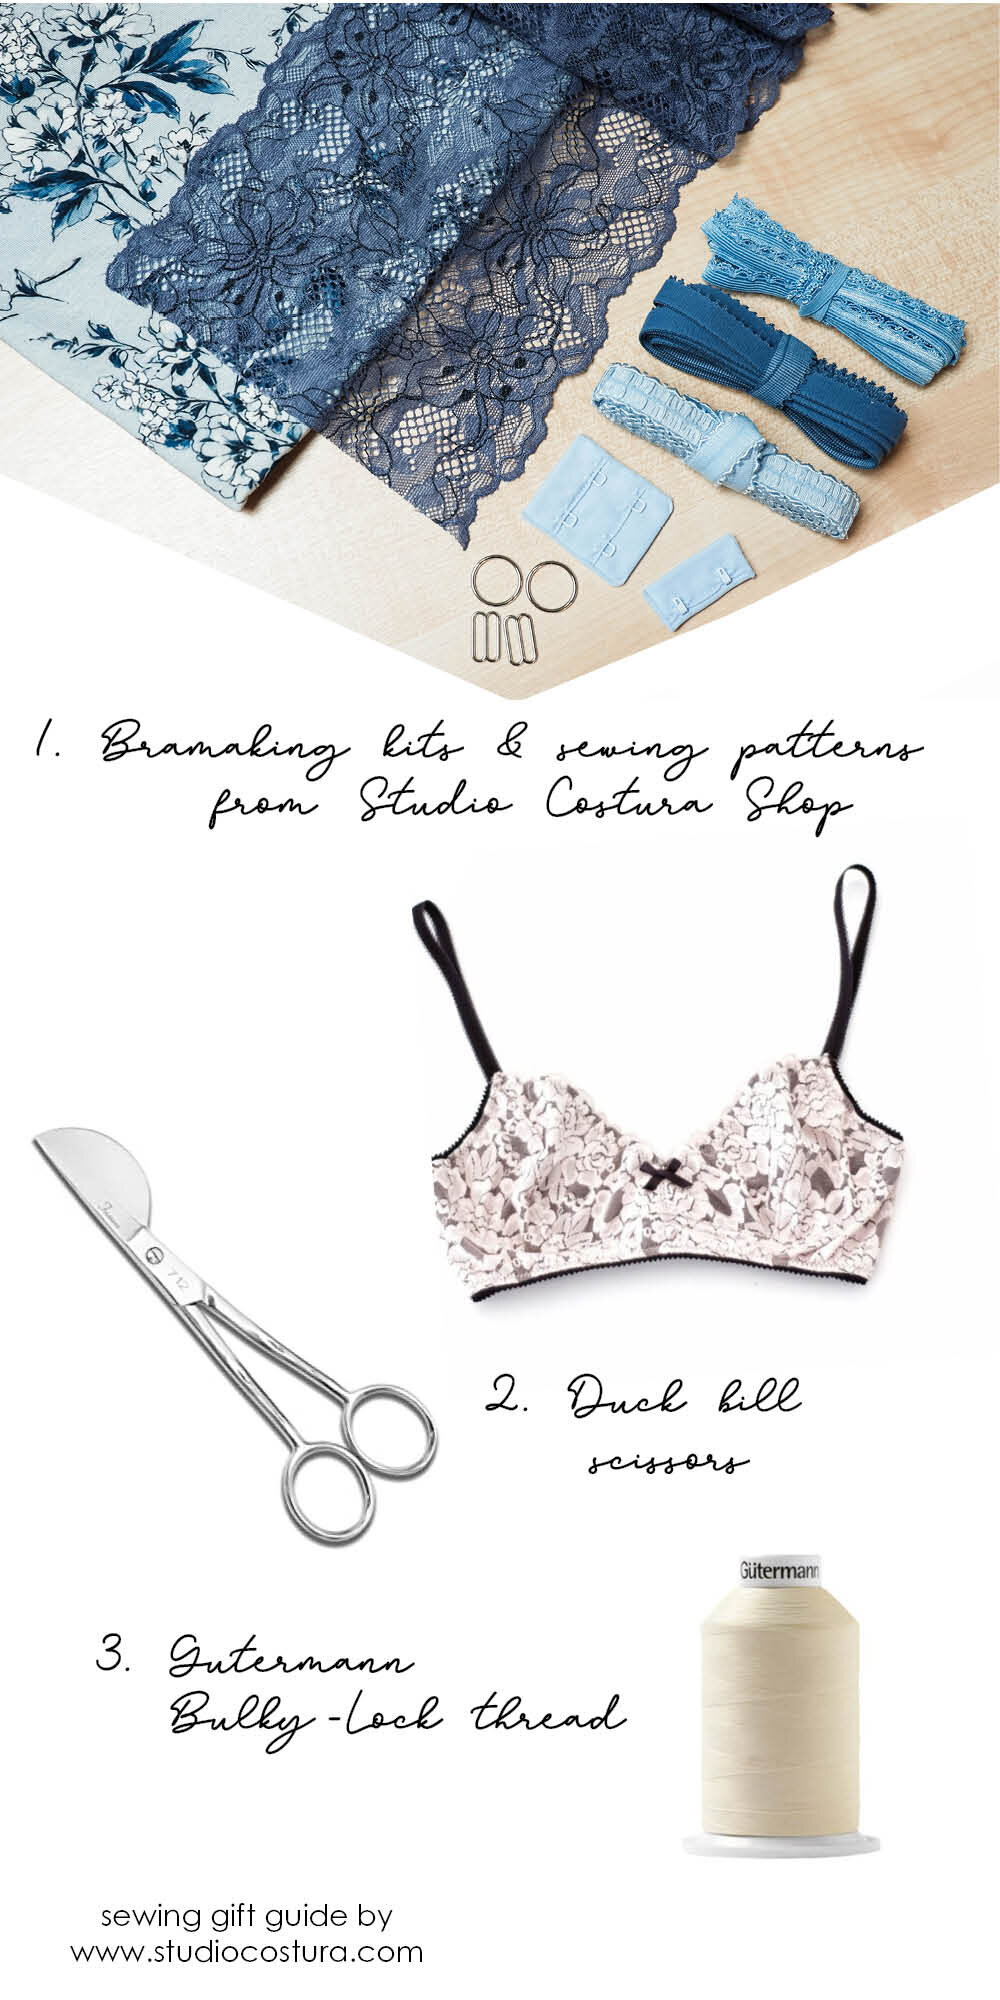
For lingerie lovers there’s this little list of things to give as a gift. Either you’ve never tried out sewing your own lingerie or if you’re already in the handmade lingerie making game, these ideas work really well!
Bramaking kits and patterns from Studio Costura Shop. I’m going to be a bit selfish now and list my shop first, haha, but I really think that a kit would be such a nice present. I’ve actually just made specific gift cards that you can get which means that the person who receives the gift card can choose their favorite kit from the shop and it will be shipped directly to their home. Choose between kits to make bras, bralettes and panties! Giving a sewing pattern as a gift is also a great idea and again you have an option to buy a gift card as a present.
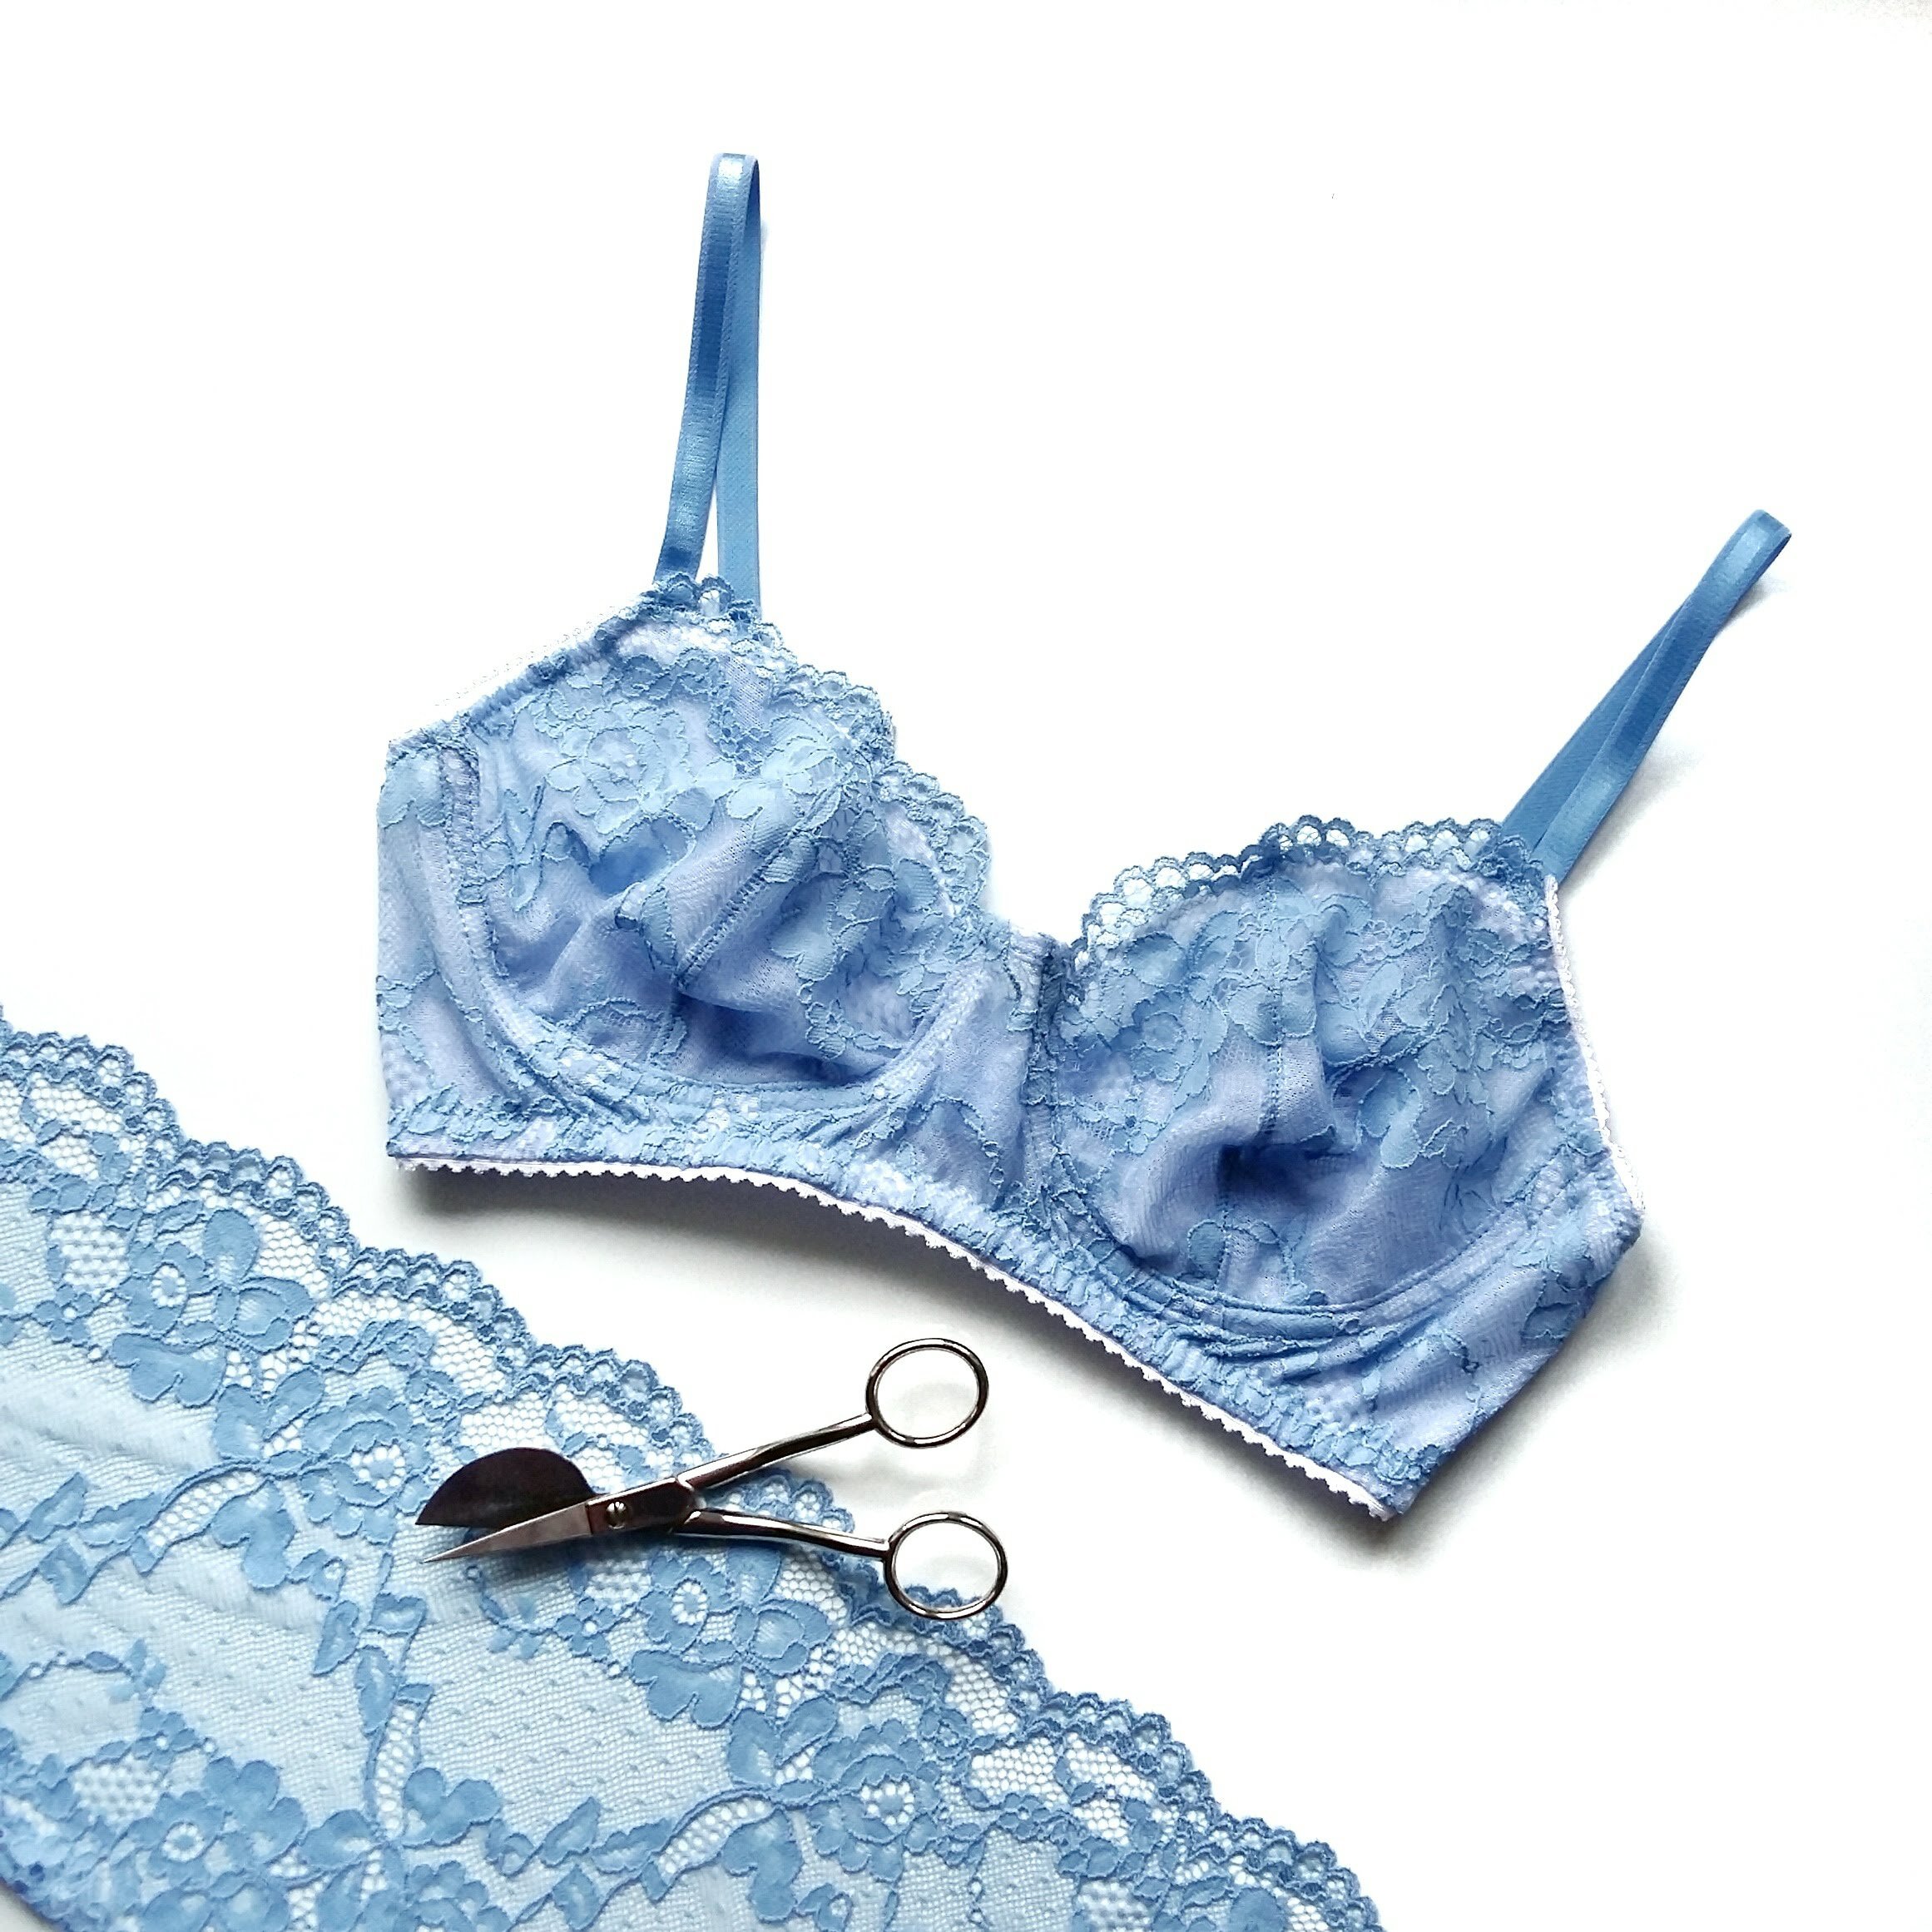
Duck bill scissors are a nice tool for lingerie makers to have in their sewing kit. They work really well for trimming fabric underneath the elastic and they look super cute!
Gutermann Bulky Lock thread for the serger. This fluffy thread makes your serger seams really soft and you can use it for all of your projects and especially for lingerie. You need two cones for the anchors of the serger.
Some other nice things to have…

Labels by Kylie and the Machine have the coolest designs and the quality is really good, they are super soft! It’s the perfect detail for your handmade projects! See the list of shops that sell the labels here (we also have them in the academy if you’re in Madrid!).
Sewing pins by Crafty Pinup are so cute, let everyone know that you’re a proud maker :)
Wool batting is definitely something luxurious for people who like warmth! It can be used both for quilts and for jackets. (You can get it in Seoane Textil if you’re in Spain).
Prym snap fasteners give a cool touch to your handmade projects. You can get these in many different styles for a variety of projects.
Books
Books are always a good idea! Here are some of my favorites:
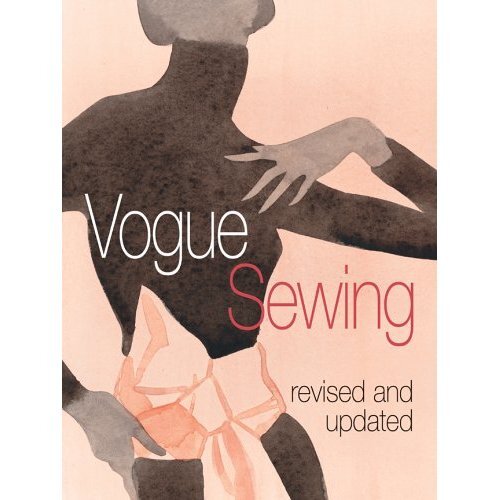
Vogue Sewing: a very detailed sewing reference book that suits well into any sewing library.
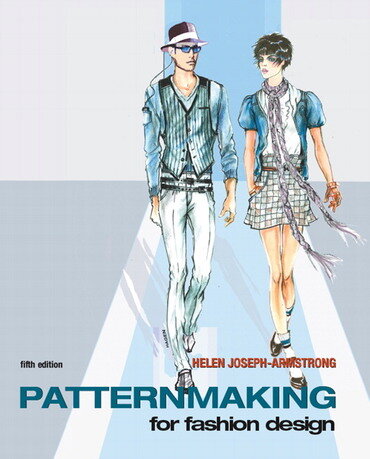
Patternmaking for Fashion Design: an in-depth reference book about drafting patterns, perfect for someone who wants to take a step forward (you can read my review of this book in this post).
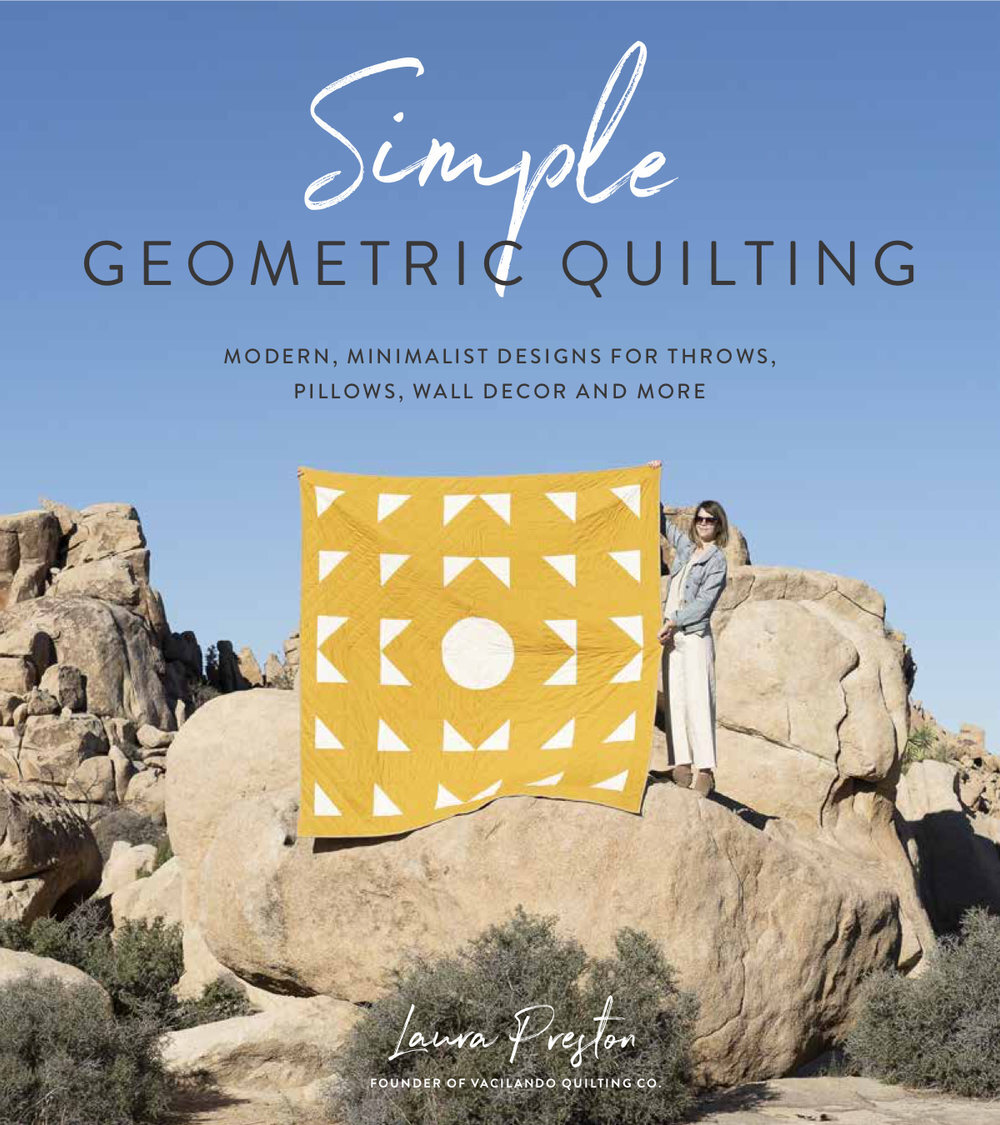
Simple Geometric Quilting: a beautiful modern quilting book that is full of beautiful projects, perfect for someone who wants to learn the basics of quilting.
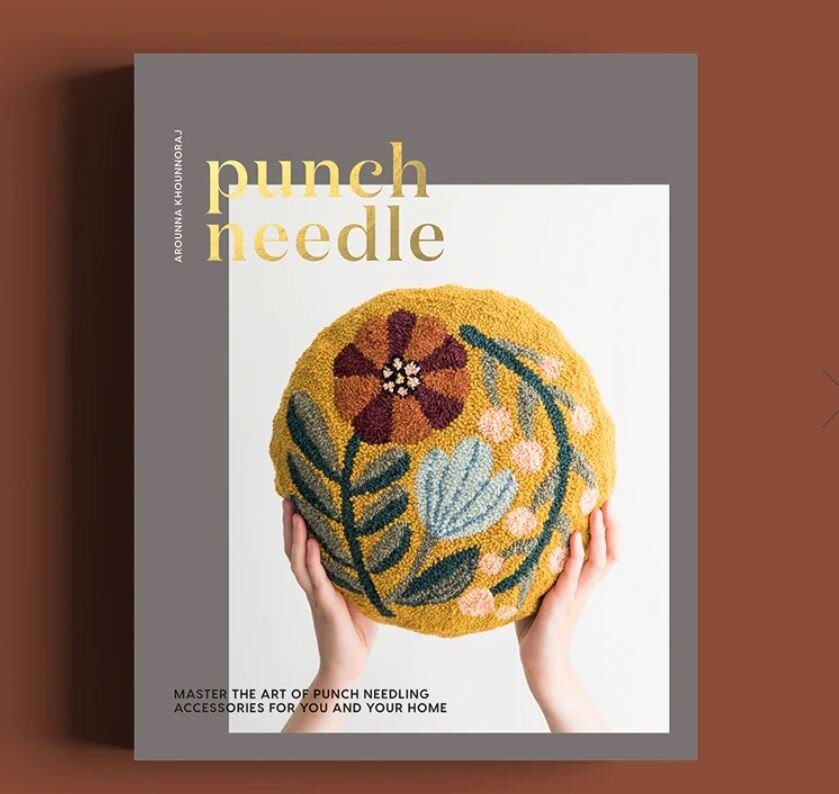
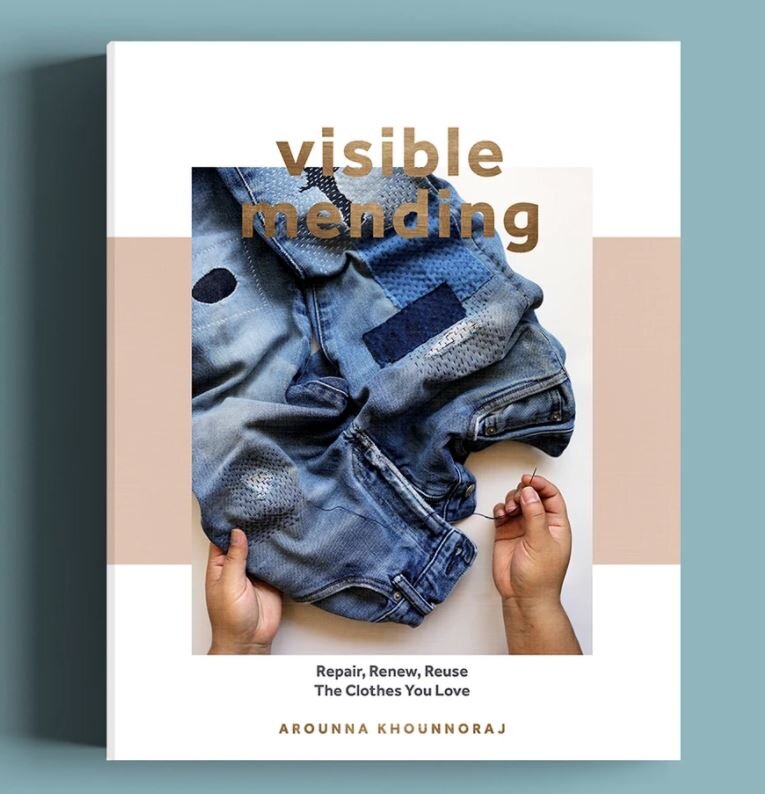
Punch Needle and Visible Mending: both of these books by talented Bookhou look really nice and her designs as always are super beautiful!
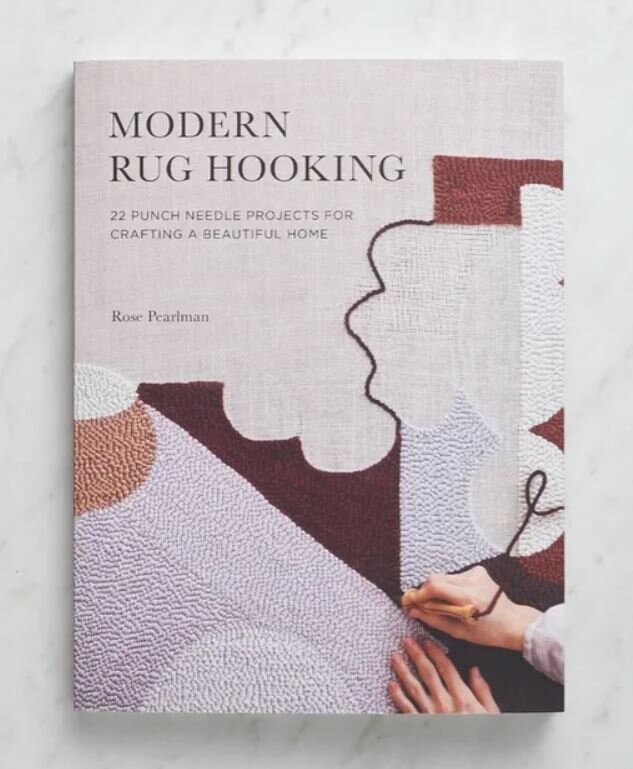
Modern Rug Hooking: Rose Pearlman is another artist whose designs are very beautiful and this book looks just amazing.
Classes
An opportunity to learn new skills is probably the best gift possible and there are many options to choose from. If you have a local sewing shop close by you could buy a course as a gift (if you’re here in Madrid we have gift cards available at the academy for all the sewing classes and lingerie courses). And even if you don’t have a local place to go to classes you can always choose an online class and learn wherever and whenever you want. Skillshare for example has a variety of courses in a large variety of topics.
I hope you’ve found this list inspiring...not only for these holidays but also for any occasion when you need a gift for someone who sews or for yourself :)
Lingerie sewing guide III: bras // Guía de lencería III: sujetadores

Sometimes things take more time than anticipated...this post comes two years (!!!) after I wrote the first two lingerie guide posts about panties and bralettes. To be honest I kind of forgot about it but on the positive side I have more information to share now than back then. So I guess that’s a good thing, right?
As a little recap, these posts are full of resources you can look up when you’re starting/moving on on your bramaking journey. If it’s your first time around here/first time sewing lingerie, I’d really recommend you to start the post about sewing panties. Then go on and check out the post about bralettes...and then come back here as I’m going to share many useful resources that can help you a lot.
First of all, this post will be about bras, mainly about underwire bras. I’m going to share what I’ve learned from my own experience and more importantly, I’ll be sharing great online resources so you can read more. Bramaking at home as you could guess is quite a niche, there are not so many people actually doing it (yet). But the good news is that there are actually many seamstresses who are trying it out and there are also many great resources. Since I opened up my Etsy shop and started to sell bramaking supplies I’ve been closer to this niche and I can tell you that I’ve seen a huge growth of popularity in the past years. This is great as there are now so many more online resources for you to learn from. I’d like to thank everyone who’s putting together blog posts, filming videos, writing books and posting their makes on Instagram so all of us can learn from their process!
Sewing patterns
I’d say that when you start out you should first pick a pattern and after that you'll know which supplies you need exactly. Luckily there are many good bra patterns available, most of them in PDF format so you can use them regardless of where you live. I’d say it really depends on your personal preference when you choose a pattern, check out different designs and think about what kind of RTW bras you like to wear. There is of course the size factor that can narrow down your choice but many brands have been making their patterns in wider size ranges lately.
When I made my first underwired bra I actually started out with a bikini, you can see the Sophie bikini post here. Sewing underwired bikinis and underwired bras is quite similar construction wise. I then made a couple of Boylston bras by Orange Lingerie and this is where my bramaking journey began, hehe. I had absolutely no idea back then when I started and I learned everything through trial and error + online courses and books. So please bare with me when you read those first posts, haha, although I guess they could be interesting from the perspective of a total beginner!
Here’s a list of brands that sell underwire bra patterns (if you like a design just check out the pattern hashtag on Instagram and you’ll see many versions so you can make up your mind):
Of course there are many other brands that produce patterns for underwire bras (tell me in the comments if you want to share your favorites!) but these are the ones I’ve used personally or I know that other people have used them successfully. I’d like to give a special mention to the Black Beauty bra by Emerald Erin as it has been very popular among seamstresses from all over the world.
I couldn’t point out just one pattern that I’d recommend for your first project. Most of the underwire patterns are based on the same principles so as long as you have good instructions you should be good to go.
I use the Simplicty 8229 underwire bra pattern in my bra classes at the academy for various reasons. First, it’s one of the few bra patterns that comes in paper format and I need a physical pattern to use it in class so the students can trace their size and they will later on take the pattern home with them. Second, this pattern is entirely lined with powermesh which makes it easier to get the best possible fit on their first bra (the cups are stretchy so they will probably fit better even when the sizing is not 100% accurate). Learning how to construct/sew a bra is not very complicated for someone with an intermediate sewing level, but getting the right fit does usually take more than just the first try and in class we don’t have time for additional fitting.

Supplies
The supplies you need for your bra depend on the pattern you choose so you should carefully read your pattern instructions before buying supplies. As I told you in the bralette post, it’s probably easier if you first get a bramaking kit to see what the supplies should look like and then you can see if it’s possible to source the different supplies on their own.
I have bramaking kits available at my shop and here’s a list of shops I like that offer kits and supplies per meter:
Tailor Made Shop (US)
Emerald Erin (Canada)
BWear (Sweden)
Nellie Joans (New Zealand)
You can also check out the lists of shops curated by Cloth Habit and Orange Lingerie.
To understand which supplies you need it’s better to divide in parts. Basically there are the cups, the cradle (front band) and the band. The cups and the cradle can be designed for rigid or stretchy fabrics, the back band has to be stretchy.
Lace
See if you need rigid or stretch lace for your pattern, the pattern is drafted either for stretch or rigid fabrics and to get the right fit you need to respect that. You can’t really make a non stretchy fabric into a stretchy one (if you have really small cups I guess you could maybe get away with it, haha) but you can underline stretchy fabrics with rigid lining and this way you can use stretch lace for rigid cups. It can be a bit tricky for the first time but it’s definitely possible.
Fabric
If you are making a bra that doesn’t use lace you can try out different types of fabrics. Duoplex is a common speciality bramaking fabric choice as it’s soft but not stretchy, lingerie satin is also a good option. I’ve also used different knits and even wovens, if you’re working with a pattern that has rigid cups you can actually use many different fabrics for the whole bra (apart from the back band that should be stretchy).
Tailor Made Shop offers pretty lingerie satin and Emerald Erin has duoplex in her shop.
Lining
You can of course not line your bra but most of the patterns are made with lining and in my opinion it makes it look and feel better if you line your bra. Again it depends on your pattern requirements but usually the cups and the cradle (the front part of the band) are lined with stable lining like non stretch tricot, sheer lining or bra tulle. The back band has to be stretchy in order for you to have a comfortable undergarment. The best option is to use power mesh for that but you can also use a double layer of stretch mesh. Choosing more or less supportive supplies also depends on your needs, bigger cups usually need stronger fabrics too.
I have sheer lining and powermesh available by meter at my shop!
Read the post about bra lining options by Emerald Erin here, she explains the difference between the rigid lining fabrics.
Foam
You can use cut and sew foam for patterns that are designed for this material or you can also hack most of the patterns in order to use it. Cut and sew foam is cut as your cup pieces and once you sew the seams you’ll have a nice 3D cup ready to use.
Elastics and the rest of the supplies
The elastics and other small supplies used in underwire bras are usually the same ones you would use for a bralette (see the bralette post). I usually prefer using a wider (12-16 mm wide) lingerie elastic for the bra band to give more support. You should also consider using wider straps for bigger cup sizes, this way you’ll have a more comfortable bra.
You also need underwire channeling tape for your bra, you’ll insert the underwires inside this tube like tape once your bra is finished.
Read my bramaking elastics guide here. Also it’s really useful to watch the highlighted stories at my shops IG feed, I highlighted there which supplies are in my kits and where you should sew the different elastics on your bra.
Wires
Your pattern will tell you which wire type you need and you should also see which size. Not everyone obviously finds the standard wire size they “should be in” comfortable, you can try out different wire sizes and styles to find what works out for you.
Read this post by Emerald Erin about underwires, she explains really well the differences between wire shapes.

Sizing
As always, whatever you do, don’t use your best supplies to sew up a pattern you haven't used before, always make a muslin with similar materials you’d be using for your final project (use rigid fabric and stretchy fabric as stated in the pattern instructions!). To know your size you can refer to this post in the Mara bralette sewalong (Mara bralette has bra sizing so it works the same way).
Once you’ve made a muslin you can start checking the fit. The only downside with bramaking in my opinion is that you won’t see the exact fit until you finish the actual bra and wear it. That’s why getting to your ideal size/pattern can be a journey...but don’t give up, it’s worth it!
To be able to get to the point of getting the perfect fit on your own at home I’d recommend you to read blog posts, follow bramakers on Instagram, take an online course or get some bramaking books if you’re into it (or do all of it if you’re really into it, haha). And practice of course!!! There’s nothing better than practice to get better at something, right?!
References
As I said in the beginning of this post, luckily we have now way more information about bramaking online than before. There are many good resources and I’ll share here a list of things I’ve tried myself and what has been recommended to me :)
Online courses
Beverly Johnson (the founder of Bramakers Supply) has good online courses about sewing underwire bras at Craftsy, this is where I first learned how to sew lingerie.
Another course that has been recommended to me is the bra pattern drafting course by Porcelynne. I have her book about drafting and grading panties which I like and I’ve been told that the course is really good.
Great Bra Sewing Bee is an online event that took place for the first time this summer and I was sponsoring it. The event included many online courses and a lot of resources + a very active FB group for bramakers. The event is now over but you can still access all the content if you register for an extended access.
Books
Bra Makers Manual I and II have been the books where I learned all the bra drafting and scaling from. Both are full of useful information about everything related to drafting and sewing bras. You can get the books in paper or CD format from their shop in Canada or from BWear in Sweden.
Other useful books:
Pattern Cutting for Lingerie, Beachwear and Leisurewear
Blogs
Studio Costura: I guess you’re already here but in case it’s the first time you visit my page, go to the Learn how to sew lingerie section to see all the posts.
Tailor Made blog: Ying publishes her roundups there so you can stay up to date with everything new in the bramaking community.
Emerald Erin: just go through her archives, there are so many great posts about all things bramaking.
Cloth Habit: not an active blog anymore but there are many interesting posts to look up.
Orange Lingerie: tutorials, inspiration, posts about techniques.
Instagram and YouTube
@emeralderinsews: her #braaweekchallenge is the best, could watch her sew for hours!
@tailormadeshop: the creator of #braugust, a community event that connects bramakers all over the world
@always.sew.hungry: I really like her makes and she’s sharing great tips about sewing bras
@the _ twisted_poppy: she makes tons of lingerie and shares all the details about her modifications
Liz Sews on YouTube: her channel has a lot of great videos about bramaking

Also, if you’re in Madrid and want to come to learn how to sew your own lingerie you know where to find me, just check the courses calendar at Historias Hiladas Madrid!
I hope you found this guide useful, I’m sure there’s no information when you click through all those links! I’ll save that post in the Learn to Sew Lingerie section of this page, this is where you can find all the guides, sewalongs and tutorials. If you want to share your favorite resources that are not included in this post just leave a comment here or send me an email, I’d love to hear from you.
Aaaand to wrap this post up I’m also try to encourage you to try out sewing your own lingerie so here goes a GIVEAWAY: I’ll be giving away one bra + panties kit from my shop!
To enter the giveaway all you have to do is comment on this post and tell me what would you sew with the kit? Would you like to start out with panties as a first project? Are you into bralettes or already sewing underwired bras? Any patterns you’d like to try out?
The giveaway will be open until next Sunday, 15th of November and I will announce the winner here on the blog. I’ll choose the winner randomly from the comments and then I’ll contact the winner to ask for her address to send the package. The giveaway is open worldwide :)
Thanks for reading and good luck!!!
Edited on 16th of November:
The winner is Vikki Smith! Thank you everyone for participating and leaving your comments :)

How to choose fabric for your project: drape // Cómo elegir tela para tu proyecto: la caída

Hello, here’s the second post about how to choose fabric for your sewing project. In the first post I discussed composition and how does different fiber content influence how clothes made with these fabrics behave.
In this second post I will talk about drape and how it affects the look of your garment. Drape refers to the fluidity or rigidity of the fabric. This means that fabrics with high drape are flowy and create small creases when they hang, they also mold over the curves of the body. The fabrics with low drape are stiff and maintain their shape, they tend to create more structural shapes. Fabrics can be light weight or heavy weight but they all have drape and it’s not always the same according to their weight (not all heavy weight fabrics have low drape etc). There’s no right or wrong way to use fabrics according to their drape, it’s just very important for you to understand how drape works so you can choose fabrics for your sewing projects and make a garment that will turn out as you imagine in your head. How to see the drape? The easiest way is to hold up the fabric in your hand and see how it falls. When you are shopping for fabric just unroll a bit of fabric and raise it, it’s the best way to see the drape.
I think it’s the easiest to understand how different fabrics drape when you see clear examples so I wanted to show you some garments made with different fabrics. The first part of this post is illustrated with photos from a clothing brand called Elizabeth Suzann. If you are not familiar with this brand I’d highly suggest you to take a look at their website because their collections combine the best of modern design and natural fibers. I love everything about this brand because their story is something like a true sewing business fairytale: the founder Elizabeth started as a seamstress sewing all the clothes she sold by herself and then gradually grew the business which now is world known. All the clothes are produced locally in the States in their own factory where professionals work in great conditions and the brand makes sure that the whole manufacturing process is fair both for the employees, the environment and the clients. They produce limited quantities of garments each week making sure that everything is in balance...their philosophy is clearly on the other side of the fast fashion industry. You can learn more about the company on their webpage and Liz also shares a lot of what’s going on inside the factory over at Instagram. One of the key aspects about this brand is that they launch signature collections of clothes perfect for wardrobe building. They also make their basic styles in different fabrics so their example is just perfect for us to observe in order to find out more about drape in different fabrics.
Hola, aquí va el segundo post sobre cómo elegir telas para tus proyectos de costura. En el primer post hablé sobre composición de las telas y cómo eso influye en las prendas que coses con ellas. En este segundo post hablaré sobre la caída y cómo eso afecta a cómo quedan las prendas.
La caída refiere a la fluidez o la rigidez de la tela. Eso significa que una tela con mucha caída “fluye” cuando cuelga, parece que se escurre, se forma un movimiento suave de pliegues. Las telas con mucha caída suelen seguir las formas del cuerpo. Las telas con poca caída son más tiesas y mantienen bien su forma, normalmente crean formas más estructuradas. Las telas pueden ser más ligeras o más gruesas pero todas ellas tienen la caída y no siempre eso está acorde con su grosor (no todas las telas gruesas tienen poca caída etc). No hay una manera correcta o incorrecta de usar telas según su caída, simplemente es muy importante entender cómo funciona la caída para que puedas elegir telas para tus proyectos de costura para que estos salgan como tú los imaginabas. Cómo ver la caída? Lo má fácil es sujetar la tela con la mano en el aire y observar cómo cae. Cuando compras en las tiendas puedes sacar un poco de tela del rollo y levantarlo, es la mejor manera de valorar la caída.
Creo que lo más fácil de entender la diferencia de la caída en telas si ves ejemplos claros así que os voy a enseñar ejemplos de prendas hechas con tejidos distintos. La primera parte de este post incluye las fotos de una marca de ropa que se llama Elizabeth Suzann. Si todavía no conoces esta marca te recomiendo mucho ver su página web porque sus colecciones unen lo mejor de diseño moderno y fibras naturales. Me encanta todo sobre esta marca porque su historia es algo como un cuento de hadas hecha en realidad en el mundo de moda: la fundadora Elizabeth empezó ella misma coser todas las prendas que vendía en mercados de diseño pequeños y gradualmente ha conseguido que su marca crezca y ahora está reconocido en todo el mundo. Todas sus prendas están producidas en Estados Unidos en su propia fábrica conde profesionales del sector trabajan en condiciones buenas y la marca asegura que todo el proceso de producción textil es justo para sus trabajadores, el medioambiente y sus clientes. Se producen cantidades limitadas de prendas cada semana, así se asegura un balance en todo el proceso...su filosofía de trabajo está claramente en el otro lado de la moda rápida. Puedes leer más sobre la empresa en su página web y Liz también cuenta bastante sobre lo que pasa en la fábrica en su perfil de Instagram. Una de sus ideas más importantes es que ellos producen colecciones básicas de prendas atemporales que son ideales para crear un armario cápsula. Sus prendas básicas están también hechas con diferentes telas así que es un ejemplo muy bueno para observar cómo se ven telas con diferentes caídas.


Let’s start with these pants. The fabrics used are from left to right: silk crepe, lightweight wool and midweight linen. You can clearly see that the pants on the left made with silk are flowy and the fabric beautifully drapes from the elastic waist. Wool in the middle has soft drape too but the fabric itself is heavier so the lines are softer and the wide leg shape is more visible. The linen on the right is the fabric with least drape among these three and you can see how it holds its shape while hanging away from the body, this creates a more structured look. All three pairs are beautiful and unique, it’s your choice how you envision the final result
Empezamos con los pantalones. Las telas usadas son de izquierda a la derecha: crepe de seda, lana ligera (me tenéis que perdonar pero en castellano no sé con qué nombre se conoce mejor, en inglés es lightweight wool) y lino de grosor medio. Puedes claramente ver que los pantalones de seda en la foto de izquierda tienen una caída muy bonita y se ve los pequeños pliegues que salen de la cinturilla elástica. La lana en la foto del medio tiene una caída suave también pero al tela en sí es más gruesa así que las líneas son más suaves y se aprecia mejor la forma del patrón. El lino en la derecha es la tela con menos caída entre las tres y puedes ver cómo mantiene su forma mientras se aparta del cuerpo, esto crea una imagen más estructurada de la prenda. Los tres pares son bonitos y únicos, eres tú quien tiene que decidir cuál te gusta más.


Here’s an example of a flared blouse: you can see the linen on the left with it’s more pronounced lines and the silk on the right with a very soft flowy drape. It depends on you which kind of silhouette you prefer: the structured linen or soft silk.
Aquí va un ejemplo de una blusa acampanada: puedes ver que el lino tiene unas líneas de caída mucho más pronunciadas y la seda fluye mucho más. El que te guste más ya depende de ti: el lino con su forma o seda con su suavidad.


These jackets are made with the same type of pattern but the linen on the left is crisp and holds its structured shape well. The wool on the right has a softer vibe.
Estas chaquetas que están hechas con un parón muy similar tienen un aire distinto: el lino le da un toque estructurado pero ligero pero la lana da un aspecto más rústico y suave.

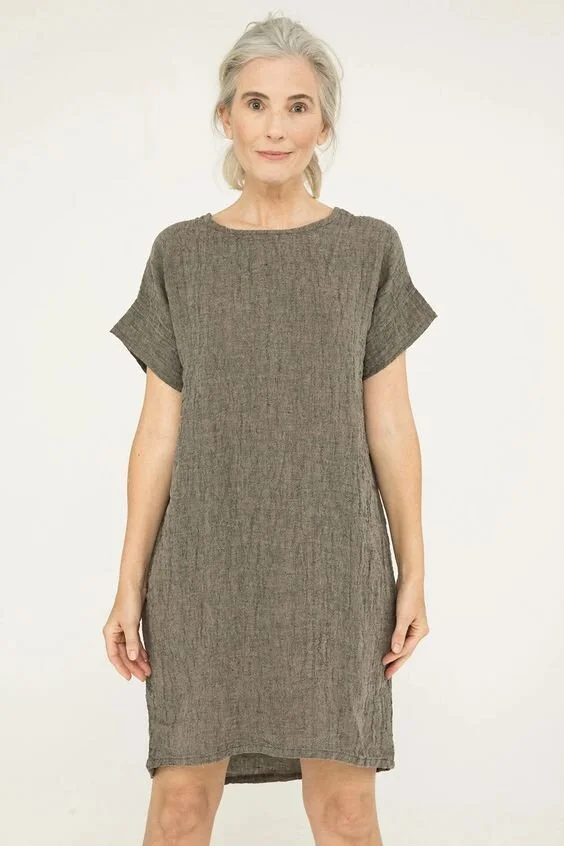

The same thing happens with these dresses/blouse. Midweight linen on the left is structured, you can see it well when it’s tucked inside the pants, the boxy shape is clearly visible. The linen gauze, a crinkly, softer version of the same fiber, makes an effortless dress which has just enough shape but it’s loose at the same time. The silk on the right is flowy and soft. Note that these three garments are made with different fabrics with different drapes but all of them have weight. A shift dress like this needs a fabric with a certain weight because fabrics that are too light weight wouldn’t look good made into a straight design like this. A light weight fabric could work for a blouse but for a dress I’d certainly choose fabrics with weight so they will maintain their shape (this doesn’t mean they couldn’t have good drape of course!).
Lo mismo pasa con estos vestidos/blusa. El lino de la izquierda mantiene su forma, lo puedes ver muy bien porque incluso al estar metido dentro de la cinturilla se ve bien el doblez que crea. En el medio tienes la doble gasa de lino, es la misma fibra pero su aspecto es más suave y arrugado por su naturaleza, eso crea un tejido más suelto y con más caída que el lino normal. La seda en la derecha es muy suave y con buena caída. Fijate que las tres prendas están hechas con diferentes telas con diferentes caídas pero todas tienen un grosor medio. Un vestido recto como este necesita cierto grosor para que este estilo quede bien porque las telas muy ligeras no se ven bien en cortes rectos como éste. Una tela más ligera podría funcionar para la blusa pero para el vestido yo elegiría telas con más grosor para que se mantenga su forma (eso no significa que no puedan tener buena caída, claro).


And this is a great example of drape for skirts. See how well the silk on the left drapes from the elastic waistband? On the left, the midweight linen has a completely different look with the attention on the structure and form. I also really like that on these photos they have styled both skirts with tops that are total opposites drape wise. The flowy skirt has a more structured top for balance and the more rigid skirt has a soft top to create an interesting look combining textures. I think it’s a great way to play around with styling your garments and make unique statements using textures and colors instead of prints.
All the photos are from Elizabeth Suzann.
Y aquí va un buen ejemplo de caída en faldas. Ves lo bien que fluye la seda en la izquierda? A la izquierda el lino tiene un aspecto muy diferente con la atención en estructura y forma. También me gusta mucho que en estas dos fotos han usado la combinación de contrastes si hablamos de la caída. La falda con mucha caída se ha combinado con una blusa más rígida y la falda con más estructura con una blusa suave para contrastar texturas. Creo que es una manera muy buena para jugar a la hora de combinar prendas y crear combinaciones interesantes usando colores lisos y texturas en vez de estampados.
Todas las fotos son de Elizabeth Suzann.
For the second part I also looked up some Pinterest images to show you more examples. Oftentimes you already have a fabric and you are thinking about what to sew with it. I’m giving you some examples so you can have a better idea about what you could make.
Para la segunda parte he buscado más imágenes de Pinterest. Muchas veces tienes ya la tela y estás pensando en qué hacer con ella. Te voy a dar unos ejemplos para que tengas una idea más clara sobre qué podrías hacer.


When you have a knit fabric and you want to make a blouse you should think if the fabric has high or low drape. On the left you can see a fabric with lower drape, perfect for a more structured style. On the right you can see a fabric with higher drape, the result is a softer, more casual, flowy style.
Si tienes una tela de punto y quieres hacer una blusa piensa qué caída tiene la tela. En la izquierda ves una tela con menos caída, perfecto para un estilo más estructurado. En la derecha puedes ver la tela con más caída, el resultado es más suave y casual.


Thinking about making a summer top? If you have a stiffer low drape fabric you can make an A-line straight top. If you have a flowy fabric with high drape you can make a camisole type elegant top.
Estás pensando en hacerte un top de verano? Si tienes una tela más rígida con menos caída puedes hacer un top recto. Si tienes una tela con más caída puedes hacer un top lencero muy elegante.


Deciding which pattern to use for a knit dress? If your fabric is stiffer with lower drape the skirt part will be more structured, maintaining it’s form, think about using panels or straight cut styles. If you have a flowy fabric it will hang loosely, think about using gathers for a fuller skirt.
Decidiendo qué patrón usar para un vestido de punto? Si tu tela tiene más cuerpo, la parte de la falda será más estructurada y mantendrá su forma, piensa en usar paneles o cortes rectos. Si tienes tela ligera con buena caída piensa en usar frunces para una falda con más vuelo.


Planning a skirt? Stiffer low drape fabrics are perfect for close fitted skirts like on the left. Flowy fabrics look very nice when using gathers. When making a gathered skirt like on the right pay close attention to the width of the fabric you’ll be using. If you have a lightweight fabric with high drape you can use a lot of fabric. If your fabric is not very lightweight and you use a lot of fabric the result can be bulky even when your fabric has high drape. It’s usually easy to reduce the size of the pattern piece in order to adjust it to your chosen fabric.
Planeando una falda? Telas más rígidas van bien para faldas como en la foto de la izquierda. Telas ligeras con caída quedan muy bien con frunces. Cuando haces una falda como en la foto de la derecha fíjate bien en el ancho de la tela que usas. Si tienes una tela ligera con buena caída puedes usar más tela. Si tu tela no es muy fina y usas mucha tela puedes tener un resultado que abulta mucho incluso si la tela tiene buena caída. Normalmente es fácil reducir el ancho de la pieza para ajustarlo a la tela que tengas.


And pants...stiffer fabrics are great for structured pants, drapey fabrics are great for flowy pants. Note that both styles have wide legs but the ones on the left maintain the wide leg shape while the ones on the right hang loosely. Also, structured fabrics work well with closures like zipper and waistband + button, looser styles can be easily made with elastic for comfort.
All the photos are from my Pinterest board.
Y pantalones...telas con más cuerpo van ideales para pantalones con forma, telas con caída van muy bien para pantalones sueltos. Fijate que los dos estilos tienen la pierna ancha pero unos mantienen la forma mientras otros caen libremente. También nota que telas más rígidas funcionan bien con cierres como cremalleras y botón en la cinturilla mientras pantalones con telas más ligeras con caída se pueden fácilmente coser con cinturillas elásticas.
Todas las fotos son de mi carpeta de Pinterest.

I hope these examples made all this drape topic a bit clearer...as you can see there’s no right or wrong answers, but knowing what you can expect from a specific fabric will make your sewing life a lot easier. I also found this cool chart from Collective Gens post about drape, there you can see specific names of fabrics if you’re online shopping and can’t really hold the fabric to observe the drape. That said I feel like I understand the drape way better when I actually look at the specific fabric instead of guiding myself by fabric names only. Many times you don’t know the name or the composition but you will see the drape and that is what I think is more important!
I hope you found these two posts about composition and drape useful!
Espero que estos ejemplos han aclarado el tema de la caída...como puedes ver no hay una forma correcta o incorrecta de elegir tu tela. Lo que pasa es que si sabes qué esperar de cada tela es mucho más fácil planear tus proyectos. También encontré esta imagen de Collective Gen sobre las telas y su caída, allí ves los nombres específicos de telas si compras online y no puedes ver tú misma la caída de la tela. Dicho eso yo personalmente pienso que me entero mejor de la caída que tiene la tela si puedo verla en persona en vez de solo saber su nombre. Muchas veces no sabes ni el nombre específico de la tela ni su composición pero aún así verás la caída y eso me parece más importante!
Espero que estos dos posts te han parecido útiles!
