
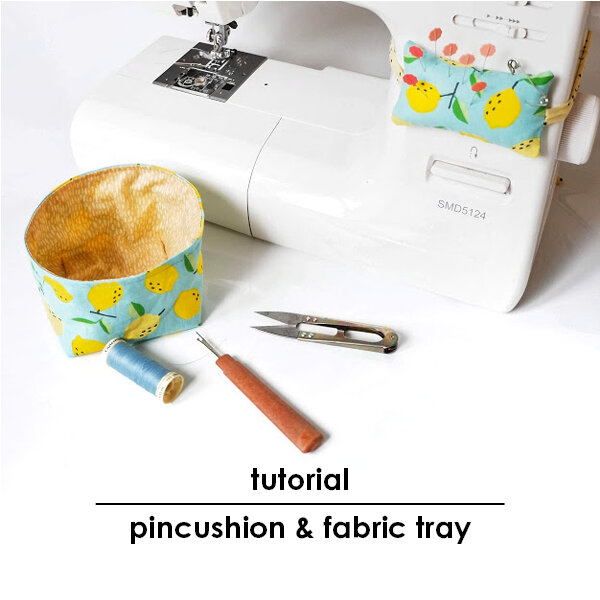
Today I’m bringing you this super easy tutorial about sewing two things that are essential for my sewing practice: the pin cushion for your sewing machine and a small fabric tray to have next to your machine so you can throw in there your thread ends and any small fabric waste you generate when sewing. I first got the idea of this pincushion when I was working in the textile industry, we had these pincushions on all the industrial machines so you could easily have your pins in one space when you take them out of your project when sewing. Believe me, once you have it attached to your machine it becomes the second nature to put your pins there :).
Hoy os traigo un tutorial super fácil sobre las dos cosas que son imprescindibles para mí a la hora de coser: el alfiletero que se engancha a tu máquina de coser y una cesta de tela pequeña que puedes tener al lado de tu máquina donde puedes echar los recortes de hilos y telas que generas cuando coses. La primer vez que vi esta idea de alfiletero de maquina era cuando trabajé en la industria textil, teníamos estos alfileteros en todas las máquinas industriales para poner allí fácilmente los alfileres que quitamos a la hora de coser las prendas. Creeme, una vez que lo tengas puesto en tu máquina lo de poner allí los alfileres va a ser automático :)

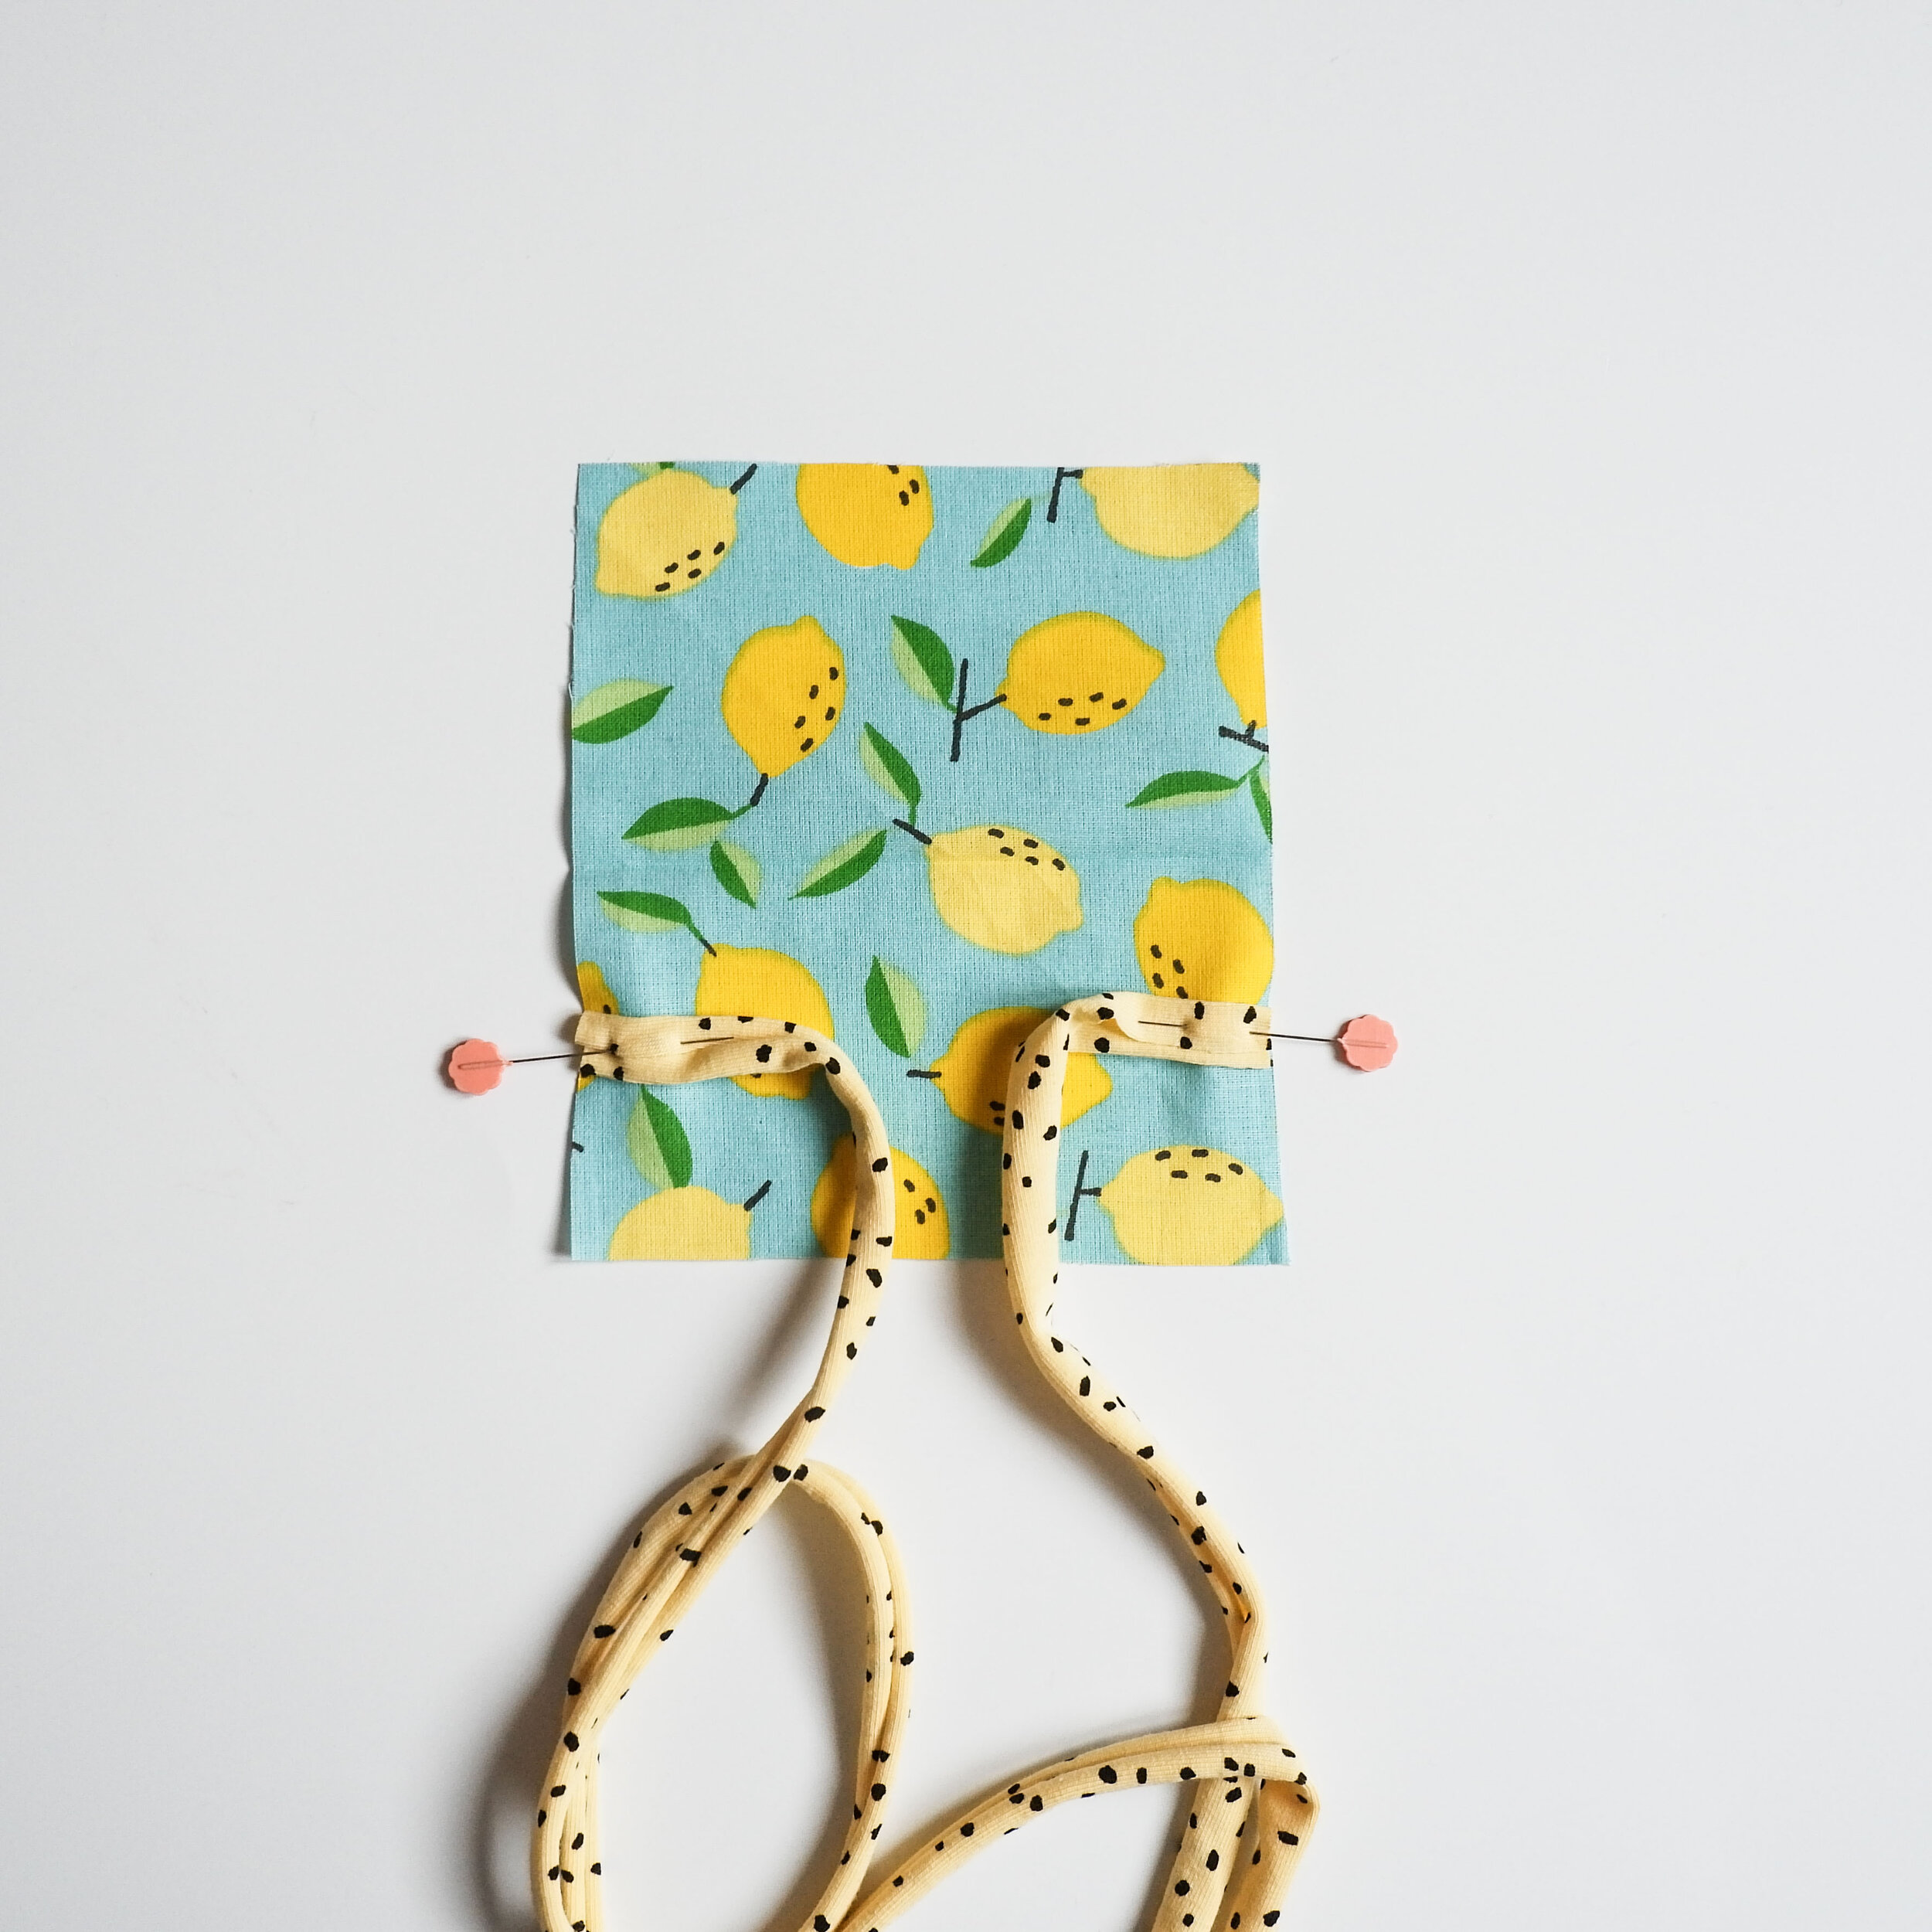
First up, you need a 12 x 14 cm (5 x 5 1/2 in) rectangle (it’s an average size, you can experiment with other sizes of course). You can use different fabrics, usual cotton works very well. You also need ties to tie the pincushion around your machine, 50 cm (20 in) long each . You can use any kind of ribbons, twill tape, elastic, you name it. This time I’m using knit fabric strips (3 cm/ 1 1/2 in wide), you can just cut the strips from any knit fabric and when you pull a bit they roll themselves up creating this cord like strips. As I said you can use any kind of ties but I like something stretchy better as it’s easy to move the pincushion around when you have to cover the machine etc.
Now pin the ties in place on top of the right side of the rectangle, x cm from the lower edge (basically you are just pinning them in the center of the lower half of the pincushion). You can sew over them 6 mm (1/4 in) from the edge so they will be in their place.
Primero necesitas un rectángulo de 12 a 14 cm (es un tamaño para este tipo de proyecto, puedes experimentar con otros tamaños por supuesto). Puedes usar diferentes telas, normalmente algodón funciona muy bien. También necesitas cinta con que vas a atar el alfiletero a la máquina, dos de 50 cm van bien. Puedes usar de todo tipo de cintas y elásticos, lo que tengas por casa. Esta vez yo usé tiras de tela de punto (con un ancho de 3 cm), puedes cortar las tiras de cualquier tela de punto que tengas y al cortarlos si estiras se hacen enrollan y se convierten en cintas ideales. Como dije puedes usar cualquier tipo de cinta pero yo casi que prefiero que sea elástico porque así puedes mover el alfiletero muy fácil si tienes que tapar la máquina etc.
Ahora coloca las tiras con alfileres encima de la tela con el derecho hacia arriba, x cm desde la parte de abajo (para que se queden a la mitad una vez que se dobla la tela). Puedes coser encima de ellas a 6 mm desde el borde para mantenerlos en su sitio.


Put the ties in the center of the rectangle and fold the upper part on top of the lower part. Now sew the sides and the bottom with 1 cm (3/8 in) seam allowance leaving a small opening on the bottom.
Coloca las cintas en el medio del rectángulo y dobla la parte de arriba encima de la parte de abajo. Ahora cose los laterales y la parte baja a 1 cm desde el borde, dejando un pequeño hueco para dar la vuelta en la parte de abajo.

Turn your pincushion with the right side out and stuff it! The best material is soft stuffing but if you don’t have any you can also use yarn or fabric leftovers cutting them in small pieces. In that case don’t stuff the pincushion with a lot of material as it’s stiffer than stuffing and you won’t be able to insert the pins so easily. If you are short on stuffing and have kids who maybe have a particular soft toy you’re not so in fond of, this can be an idea….haha, just kidding, I guess you have to negotiate first if you’re going to use their toys for your sewing practice, haha.
Da la vuelta al alfiletero y rellenalo! Lo mejor es el relleno tipo cojín pero si no lo tienes puedes usar restos de lanas o telas, solo tienes que cortarlos en piezas pequeñas. En este caso no lo rellenes mucho porque estos materiales son más duros y no dejan clavar fácilmente los alfileres si está demasiado relleno el alfiletero. Si no tienes el relleno suave pero tienes hijos que tienen algún peluche que no te cae muy bien, eso puede ser una idea….jaja, esto solo es una broma, habrá que negociar con ellos primero, antes de usar sus juguetes para tus proyectos de costura, jaja.

Then just hand sew the opening together and you are done! Tie the pincushion around the machine and start using it :)
Después simplemente cose la abertura a mano y ya está! Ata el alfiletero en la máquina y empieza a usarlo.


Now lets go with the fabric tray. I’m giving you the measurements I used for this one that is perfect for thread cuts and small fabric waste, but you can easily make it bigger if you want to. I’m using my lazy method which means I’m not drawing in any corners before, I’m just using rectangles for the fastest cutting experience and I then measure the corners as I want and sew them (you’ll see!). I used two quilting cotton fabrics for this tray on the photo and I didn’t interface the fabrics, for a small tray like this they hold up nicely. You can use any kind of fabric really, when using heavier fabrics like canvas you get a sturdier tray, you can also use interfacing if you want to.
Cut two 15 x 40 cm (6 x 16 in) rectangles, one for the exterior and one for the lining. Fold them horizontally and sew the side seam and the bottom seam with 1 cm (3/8 in) seam allowance.
Ahora vamos con la cesta de tela. Te voy a dar las medidas que yo usé para este tamaño que es perfecto para los restos de hilos y recortes pequeños de telas, pero lo puedes hacer fácilmente más grande si quieres. Estoy usando mi método para vagos que significa que no estoy dibujando ningún patrón con esquinas previamente, lo que hago es que empiezo con rectángulos fáciles de cortar y luego ya mido las esquinas como quiero cuando haya cosido los laterales (ahora lo verás). He usado dos algodones tipo patchwork para la cesta en la foto y no he usado entretela, una cesta pequeña como esta no lo necesita la verdad. Puedes usar muchos tipos de telas la verdad, si suas telas con más cuerpo como loneta tendrás una cesta más firme y si quieres puedes usar también entretela.
Corta dos rectángulos de 15 x 40 cm, uno para el exterior y otro para el forro. Doblalos en horizontal y cose el lado y el bajo a 1 cm.


To sew the corners first double the seams in a way that your side and bottom seams are matching. Insert a pin into the stitching line from one side and make sure it comes out on the other side on the stitching line. This step is important because you’re making sure that a 90 degree angle is formed and the seams will match up correctly.
Para hacer las esquinas primero junta las costuras del lateral y del bajo. Mete un alfiler dentro de la costura justo donde están tus puntadas y que salga en el otro lado justo en la línea de costura también. Este paso es importante porque así estás comprobando que salga el ángulo de 90 grados y que las costuras casen bien.
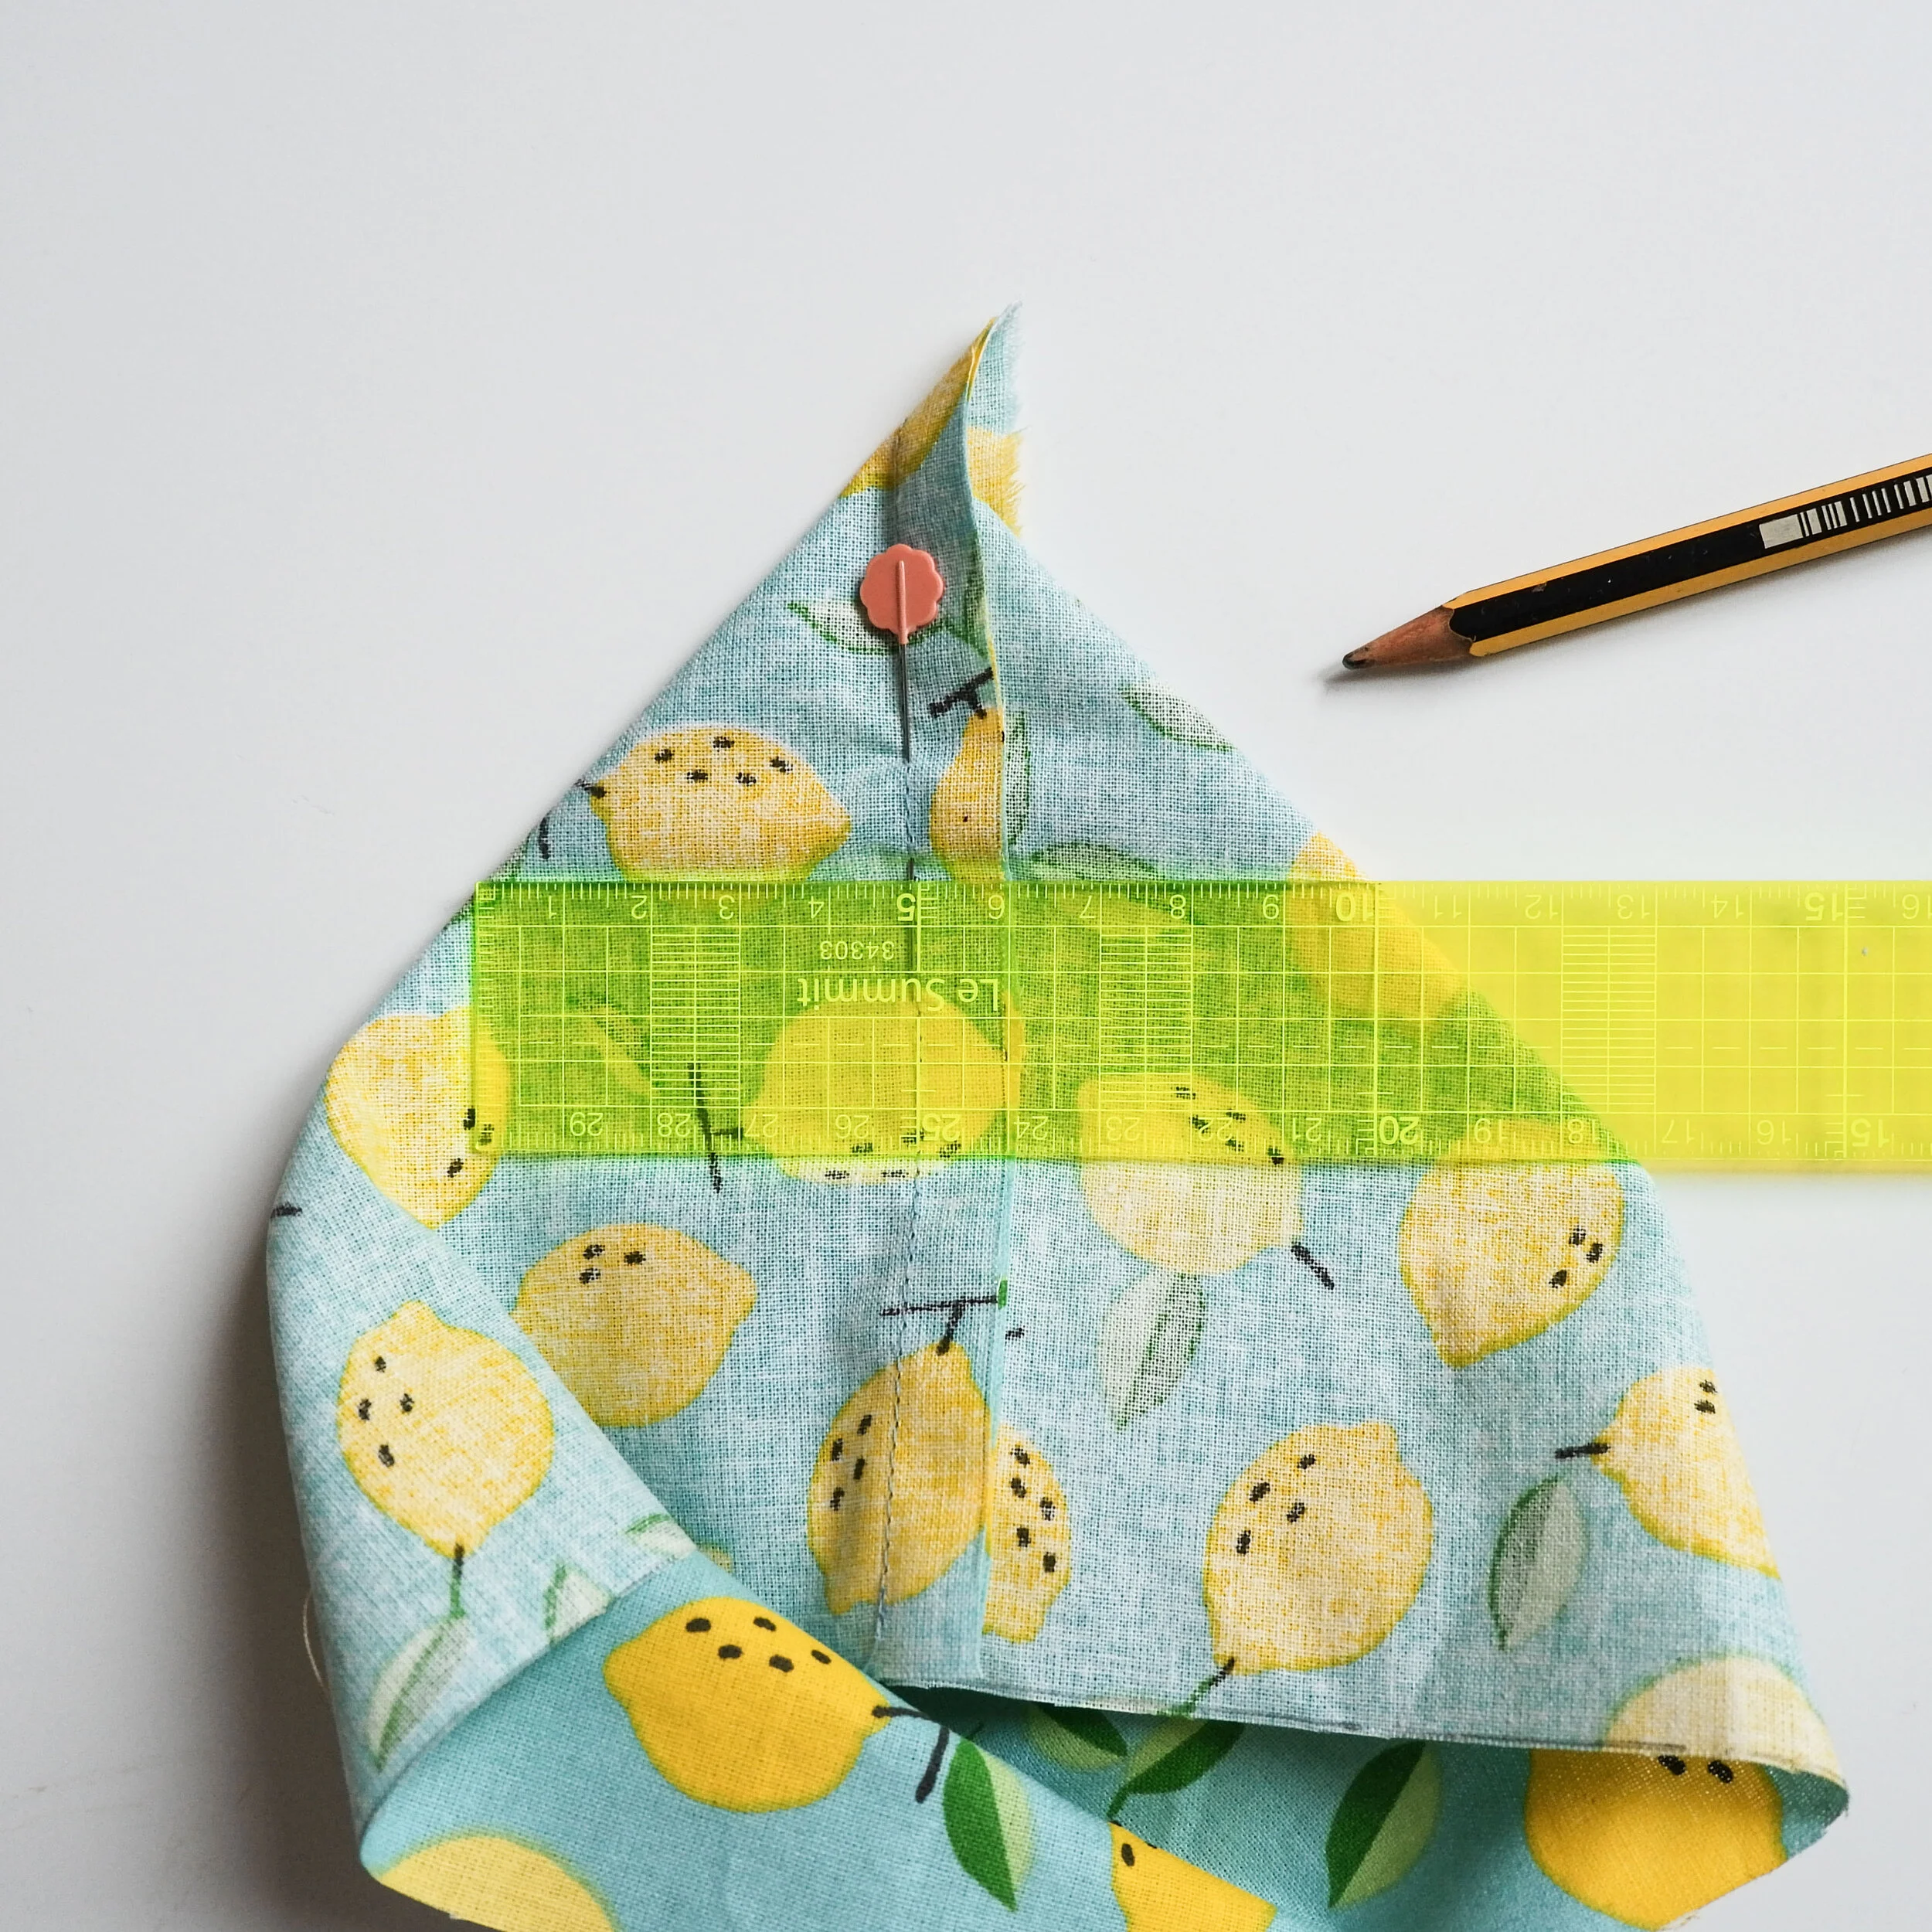
Once you have the pieces correctly lined up measure the corner you want to sew. I’m using 10 cm (4 in) this time, so I’m making sure I draw a perpendicular line that measures 5 cm (2 in) form one side and 5 cm (2 in) from the other side of the stitching line.
Una vez que tengas la piezas bien colocadas mide la esquina que quieres hacer. He hecho una esquina de 10 cm así que he hecho una línea perpendicular que mide 5 cm de un lado y 5 cm del otro lado de mi costura.
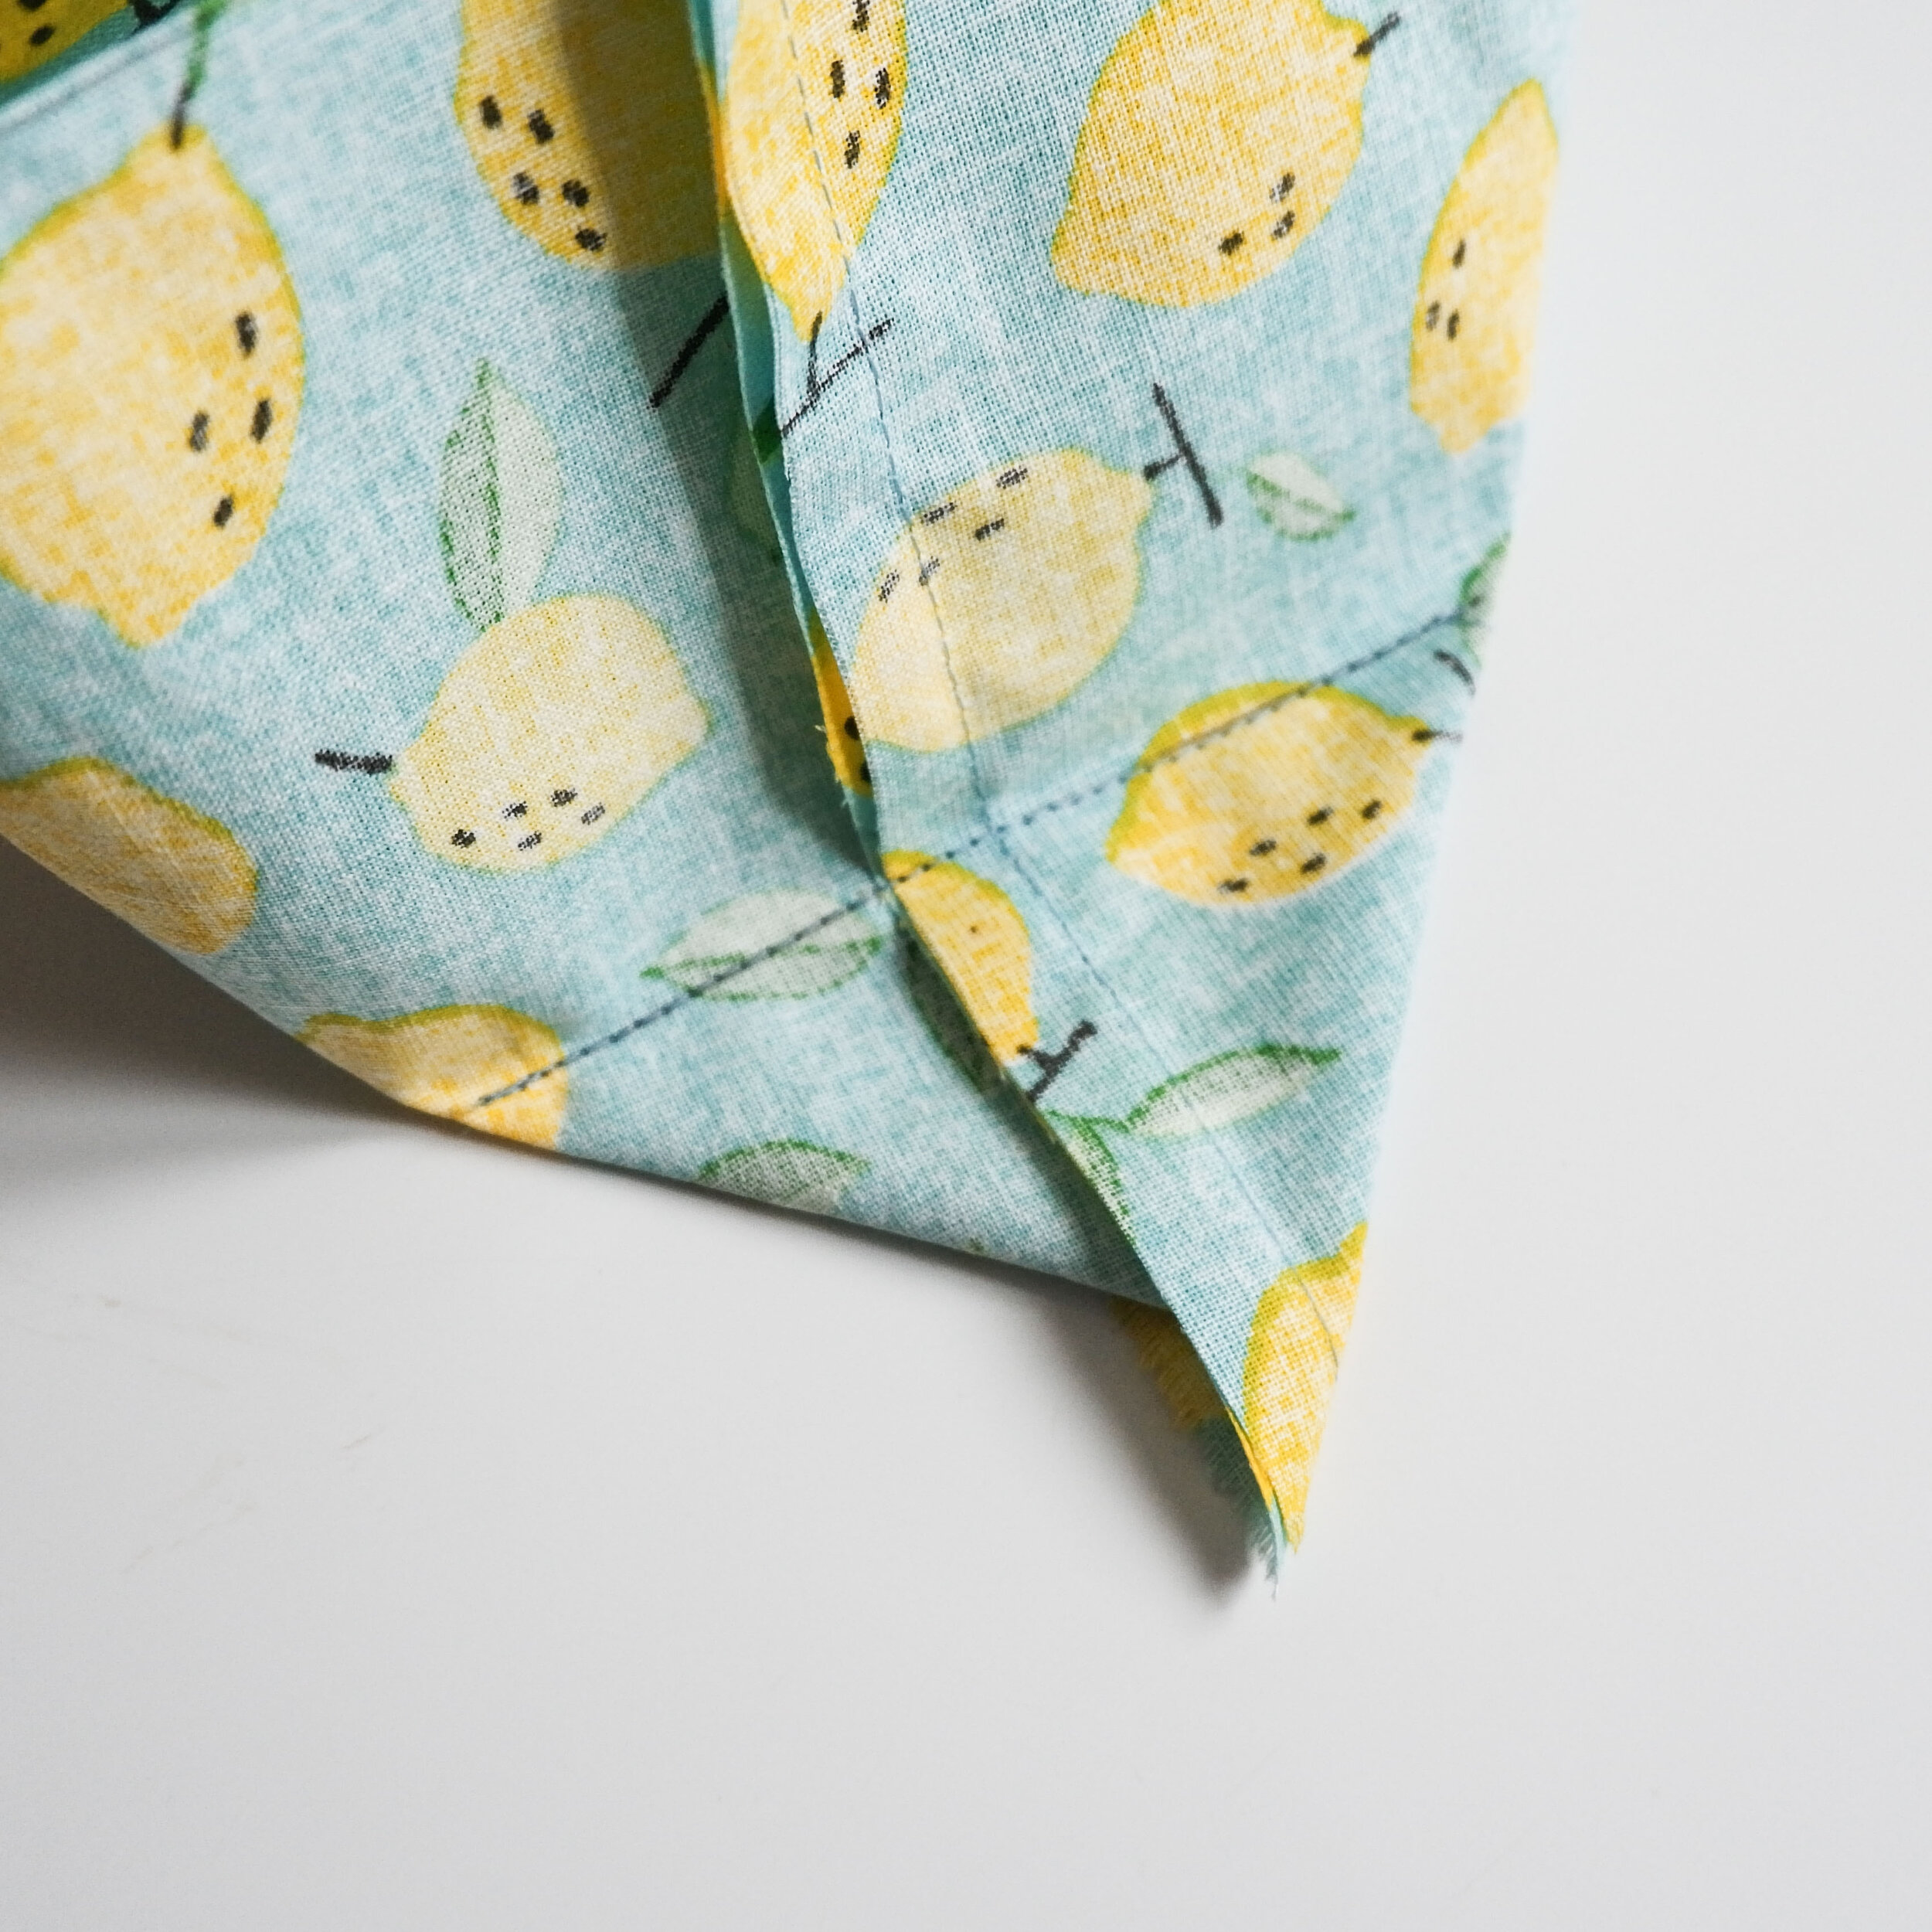

Sew over the line you just marked. Repeat the same thing with the other corner. This time you don’t have two stitching lines as the side seam is on fold. Just mark the crease with your fingernail, this is the line you are using instead of the stitching line.
Cose encima de la línea que acabas de marcar. Repite con la otra esquina. Esta vez no tienes dos costuras porque el lateral está en doblez. Simplemente marca el doblez bien con la uña y vas a usar esto de referencia en vez de la costura lateral.
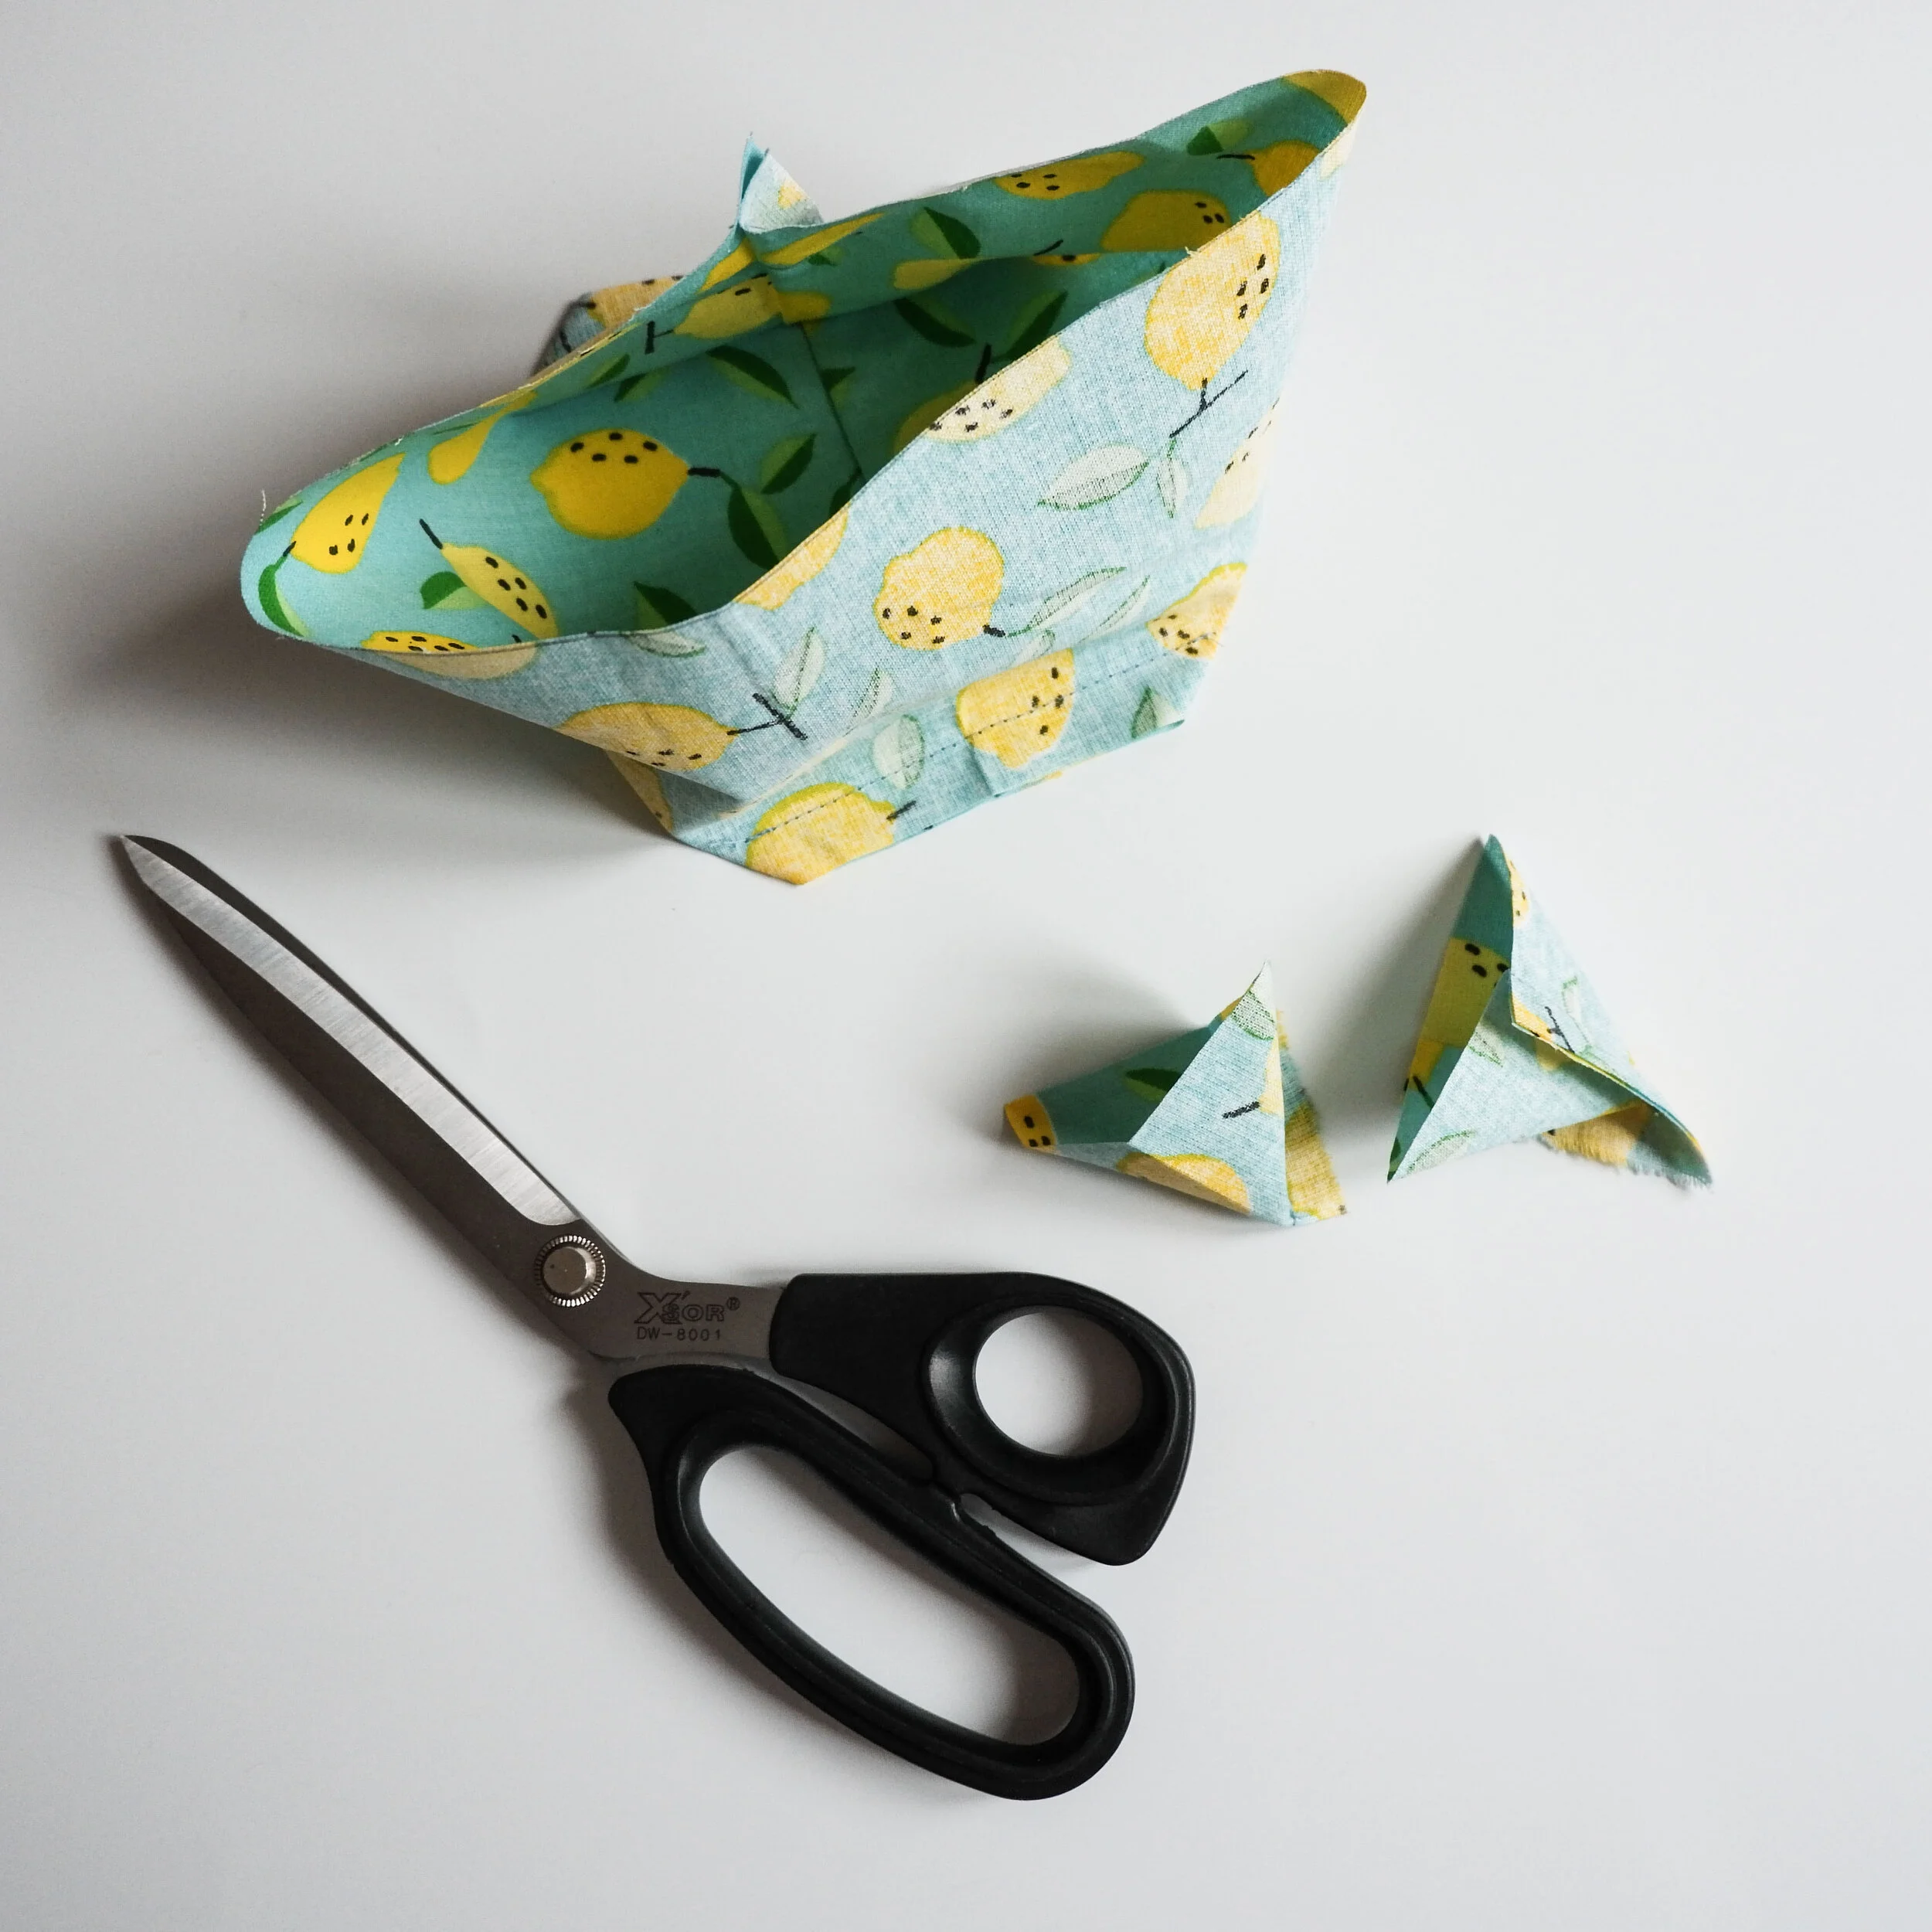

Once you’ve sewn the two corners, cut away the excess fabric leaving 1 cm (3/8) of seam allowance for the corner seam. Repeat the same process with the lining and turn it right side out when you finish.
You now have the exterior layer with the right side in and the lining with the right side out.
Una vez que tengas la dos esquinas corta el exceso de tela dejando un margen de 1 cm para la esquina. Repite el mismo proceso con el forro y cuando hayas terminado dale la vuelta al forro para tenerlo con el lado derecho hacia fuera.
Ahora tienes el exterior con el derecho hacia dentro y el forro con el derecho hacia fuera.


Put the lining inside of the exterior layer, the right sides are together. Sew in round on the upper edge but leave a small opening, about 4 cm (2 in) is enough. Turn your fabric tray with the right side out and then just sew around the opening, 2 mm (1/8 in) from the edge to make the seam flat and to close the opening you left before.
Mete el forro dentro de exterior, los derecho juntos. Cose alrededor de la parte de arriba para cerrarlo, dejando una abertura pequeña, unos 4 cm está bien. Da la vuelta a tu cesta y ahora simplemente cose en el borde superior a 2 mm desde el borde para dejar las costuras planas y de paso cerrar el hueco que dejaste.

And that’s it, you’ve got your quick little fabric tray ready.
Y ya está lista la cesta de tela.


I hope you liked this tutorial and I highly recommend you to make these two quick sewing projects because they are so so useful. All my machines have them attached and when we opened the sewing academy the first thing I did was to make one for every machine...there are twelve at the moment so I made them all in a row, hehe. The fabric trays are also very useful in the academy, that’s how we keep the place clean and you end up with a lot less thread waste on the floor.
If you have a machine that has stitches on the right side like my other machine on the picture you can just tie the pincushion in another position, just make sure that the ties are not on your way when threading the machine.
Espero que te haya gustado este tutorial y te recomiendo mucho que hagas estos dos proyectos rápidos porque son super utiles. Todas mis máquinas tienen un alfiletero de estos puestos y cuando abrimos la academia, lo primero que hice era hacer uno para cada máquina...tenemos doce así que era la costura en cadena, jaja. Las cestas de tela también son muy útiles en la academia ya que así es más fácil mantener el taller más limpio y tener menos hilos en el suelo.
Si tienes una maquina que tiene las puntadas en el lado derecho como mi otra maquina en la foto puedes simplemente atar el alfiletero en otra parte. Solo tienes que asegurarte de que las tiras no estén atadas donde enhebras la maquina.
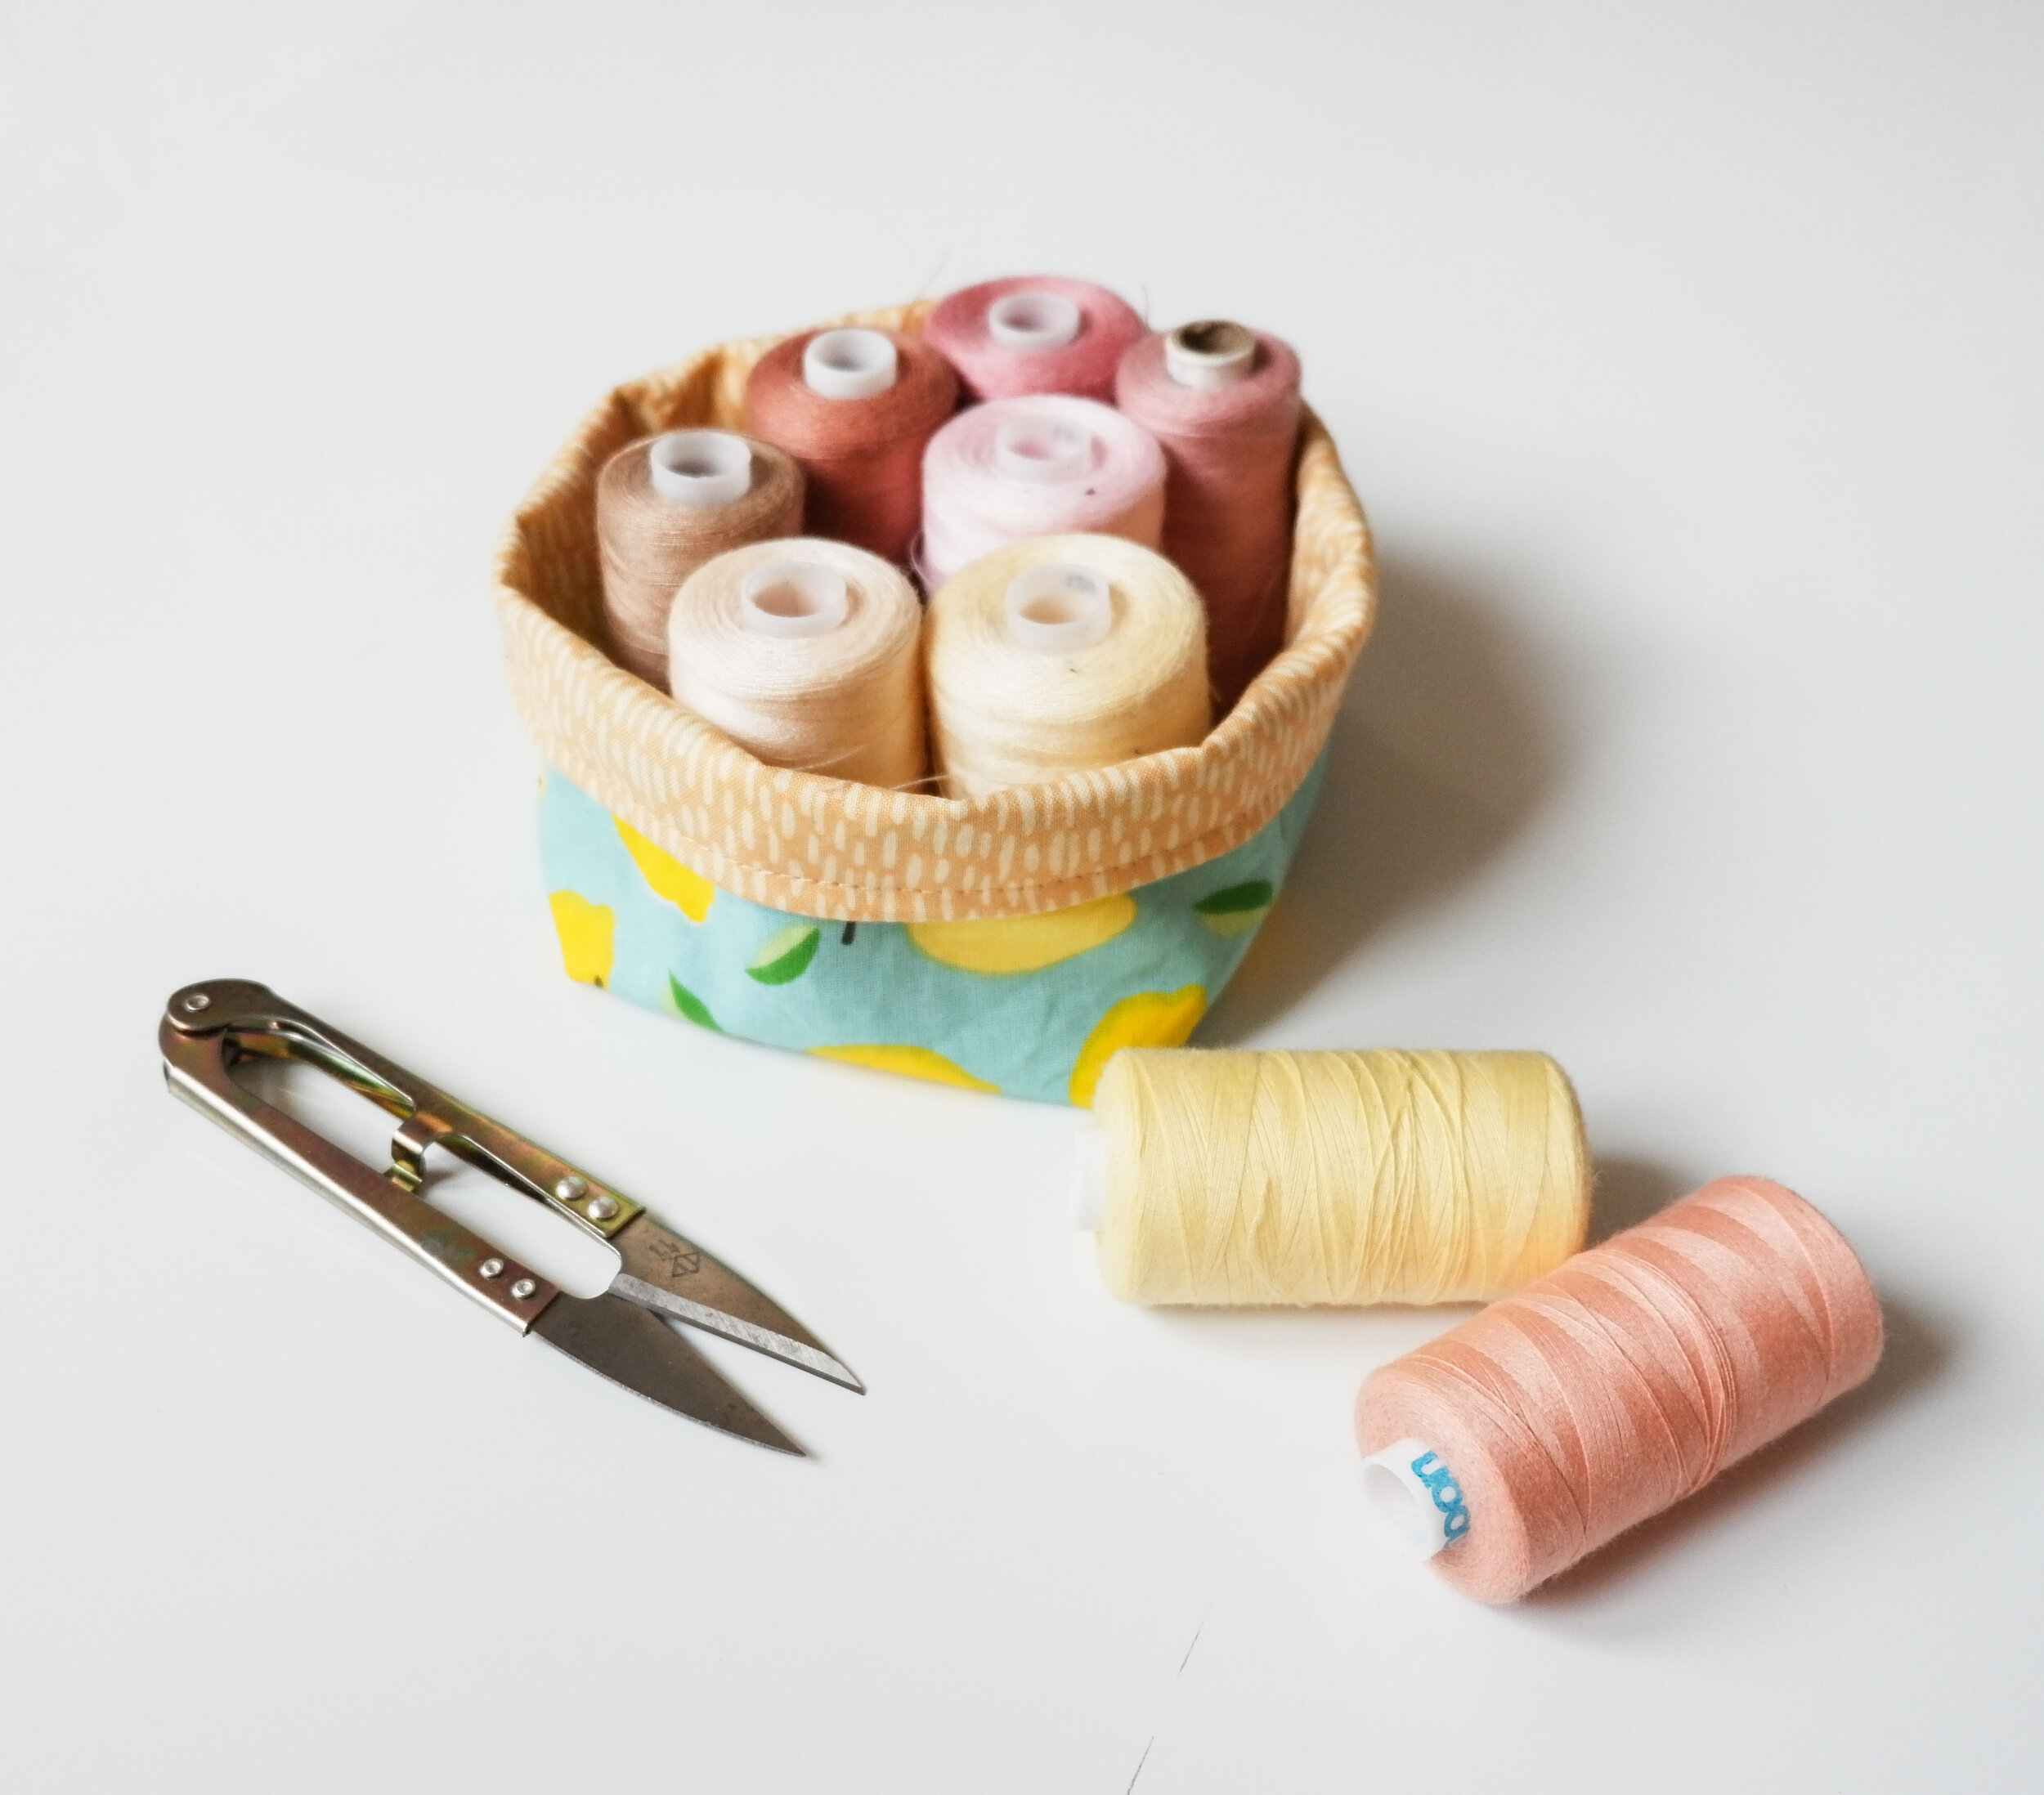
And as I mentioned, you can use this way of sewing fabric trays to make any size you want for anything you’d like to keep organized...they work well for threads, small tools and whatever you have on your sewing desk! You can also fold the opening down to show more of the lining or you can use bias tape to create a contrast edge...there are so many possibilities!
You can find more tutorials on this page of my blog. And if you want to know more about the sewing machinines that are on these pictures you can read this post about my machines.
Y como ya mencioné antes, puedes usar esta manera de hacer cestas de tela para cestas de cualquier tamaño para cualquier cosa que quieras tener organizado...funcionan bien para los hilos, herramientas pequeñas o para cualquier cosa que tengas en tu mesa de costura! También puedes doblar el borde hacia abajo para que se vea mejor el forro o puedes usar cinta de bies para tener una abertura con contraste...hay un montón de posibilidades!
Puedes encontrar más tutoriales en esta página de mi blog. Y si quieres saber más sobre las máquinas que están en estas fotos puedes leer este post sobre mis máquinas de coser.