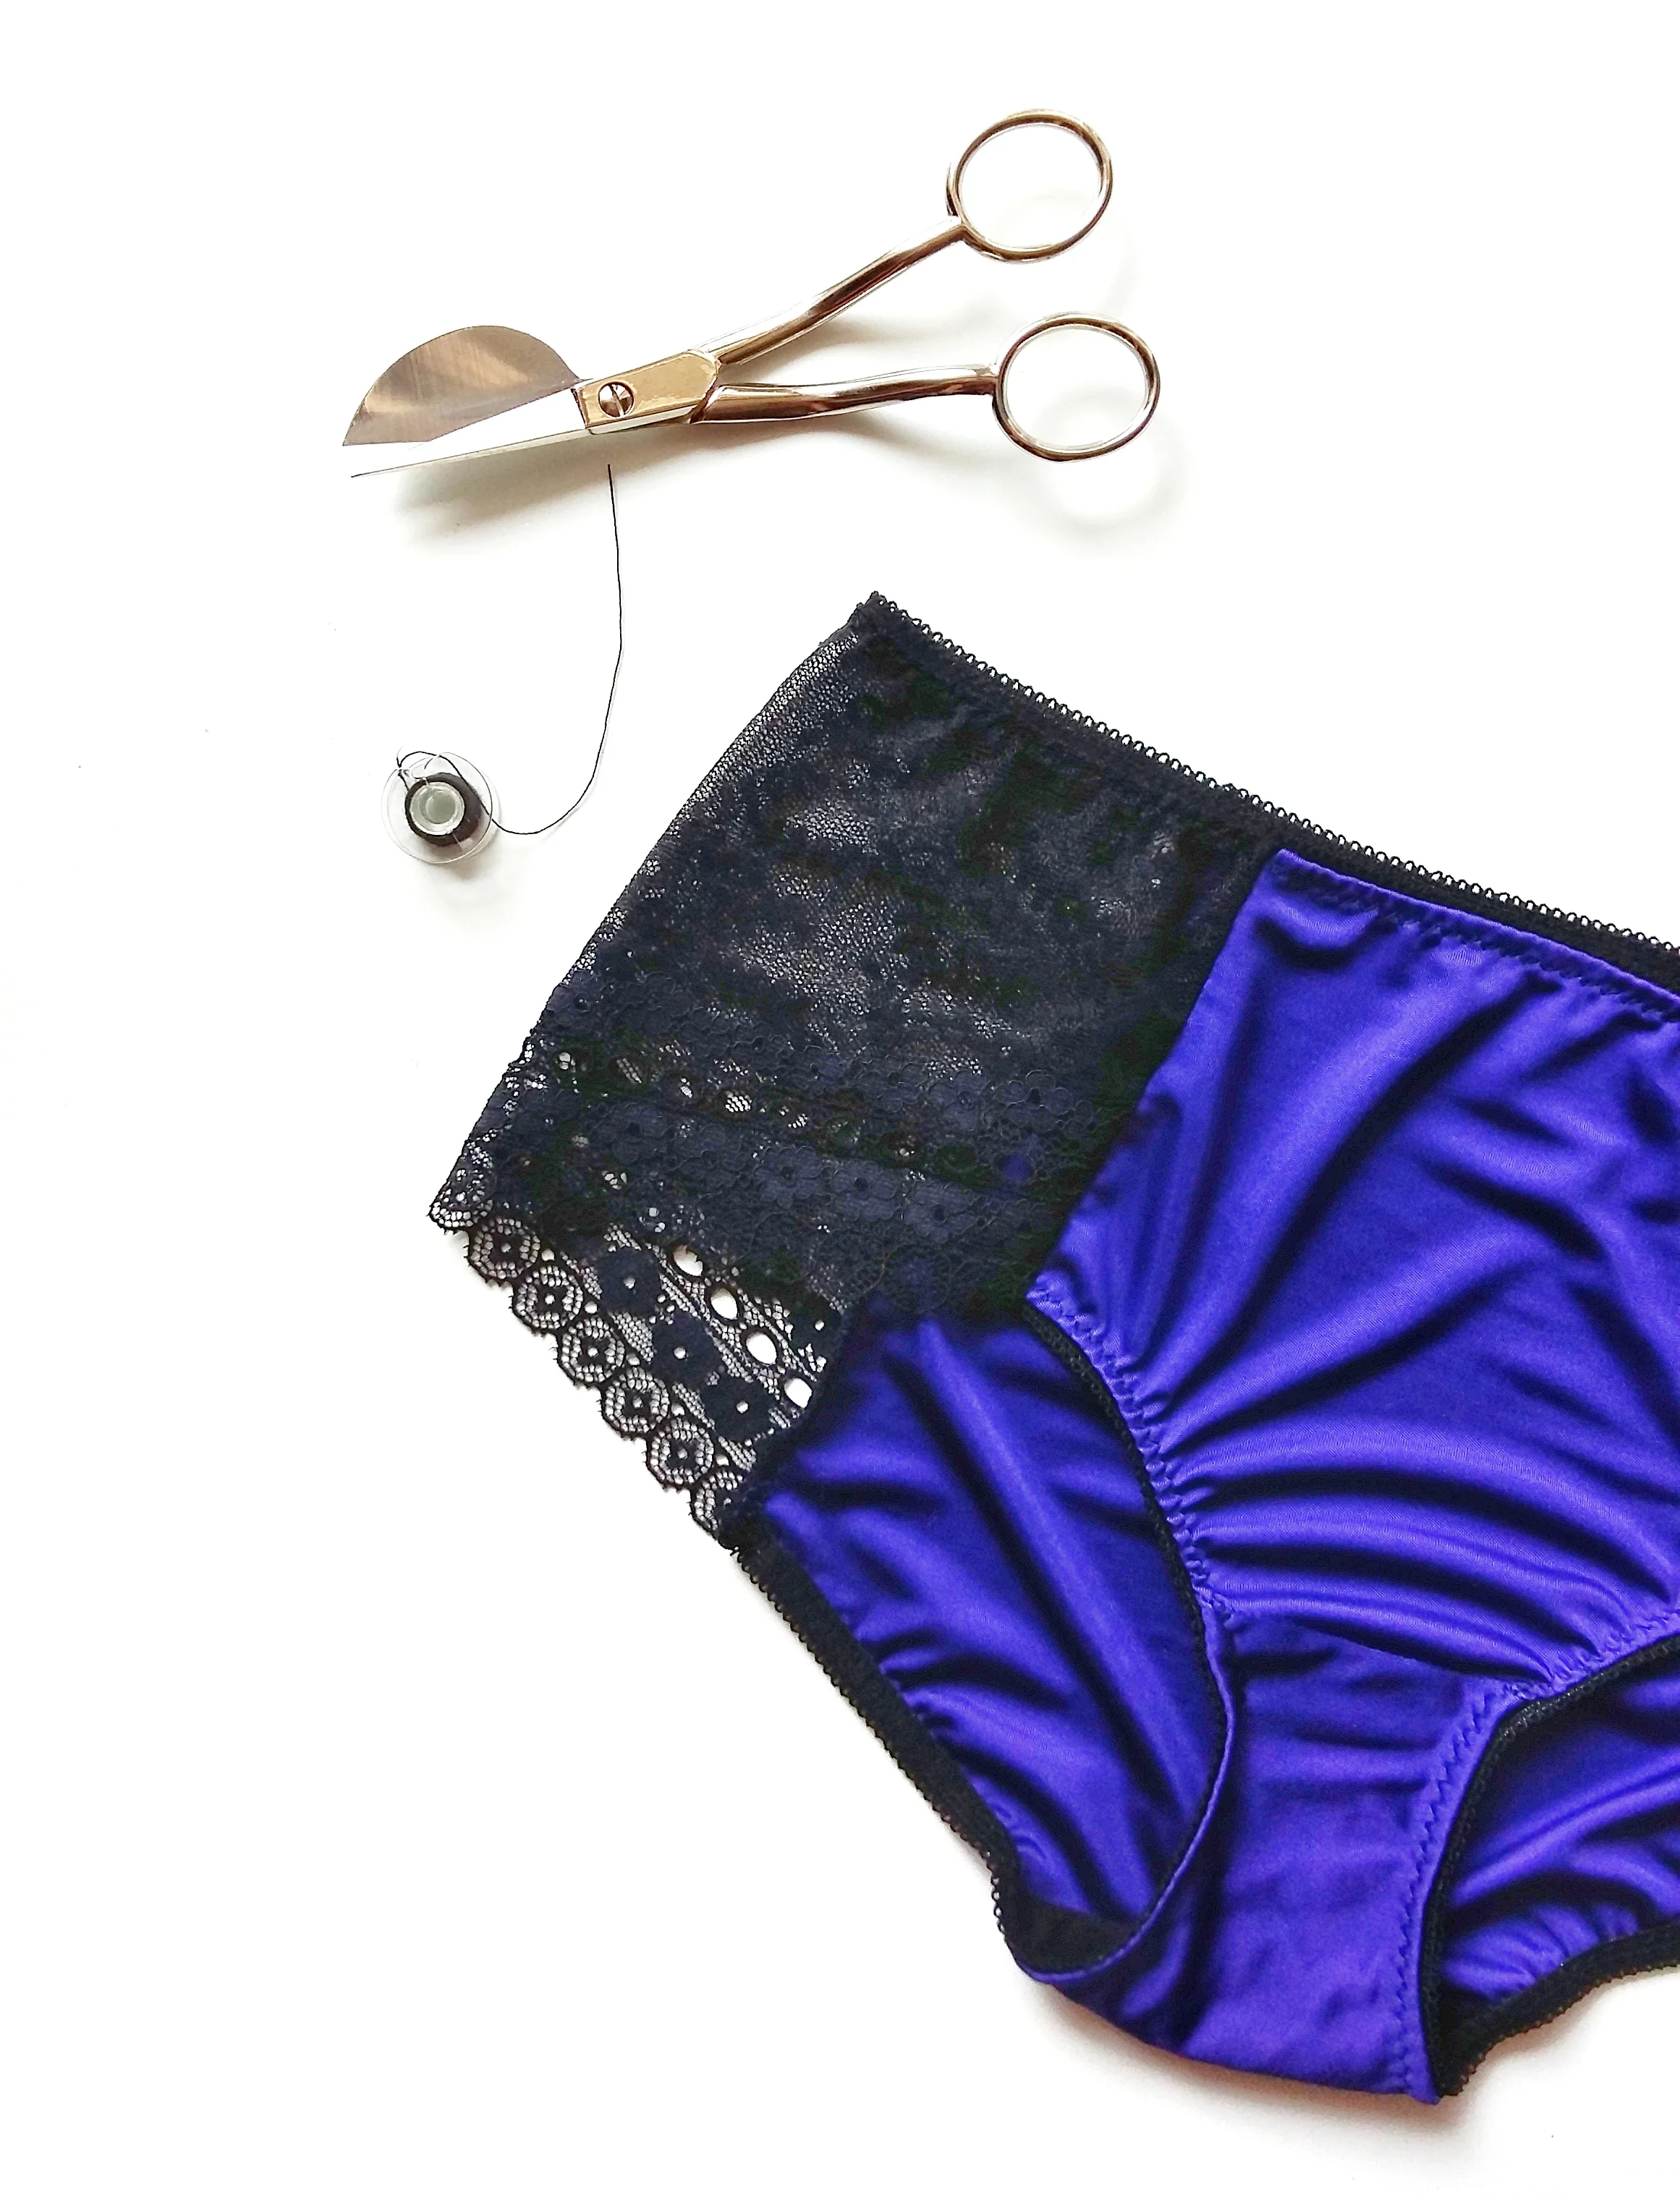
Hola! Hoy os traigo un post con el tutorial para hacer la braguita Stella de una forma un poco diferente. En el post de inspiración os enseñé varios modelos que llevaban paneles de encaje en los costados y os voy a contar cómo hacerlo. Es muy sencillo y queda bonito.
Hey! Today I'm bringing you a tutorial about how you can make your Stella panties a bit different. In the inspiration post I showed you many styles that had lace panels on the side seams and I'll tell you how to do it. It's a very simple hack and it looks super nice.


Primero hay que modificar el patrón y para eso coloca las dos piezas A y B de forma que los costados sobrepasen por 12 mm. Esto lo hacemos para eliminar el margen de costura (6 mm de un costado y otros 6 mm del otro). Después dibuja encima del patrón las líneas donde tú quieras que haya cortes. Puedes variarlo según tu gusto, más dentro, más fuera, con más o menos inclinación. Ten en cuenta el ancho de tu encaje para saber qué es la máxima altura que puede tener el corte.
First we will modify the pattern and in order to do it put the pattern pieces A and B in a way that the side seams overlap for 12 mm (1/2 in). We're doing it in order to take away the seam allowance (6 mm (1/4 in) from one side and the same amount from the other side). After that draw the new style lines where you'd like to have the panels. You can do it as you want to, closer to the center or more far away, more or less on diagonal. Be aware of the width of your lace so you'll know how long the line can be.


Después de eso recorta la pieza de panel. Suaviza la parte de arriba por si se ha quedado demasiado en pico. En la parte de abajo como vamos a dejar que se vea la puntilla del encaje no necesitamos el margen de costura que usamos para el elástico. Marca el ancho del elástico que vayas a usar desde la parte baja de los laterales con piquetes (en mi caso mi elástico mide 6 m de ancho así que este es el margen que le voy a quitar). Como la puntlla va a ser recta modifica ahora la línea que tienes en la parte inferior para que sea recta también uniendo los dos piquetes que acabas de hacer con una línea recta.
Después añade margen de costura de 6 mm a los dos laterales del panel porque allí lo necesitas para unirlo con el resto de la braguita. La pieza de patrón de panel está listo.
After that cut out the panel piece. Make the upper part smoother if there's a peak. As we're using the scalloped lace edge for the lower part we won't need the seam allowance there. Mark notches on the sides of the panel on the lower part with the width of your elastic (in my case I'm using a 6 mm width elastic so I'm taking away 6 mm). As the scalloped lace edge is straight you now have to modify the lower part of the panel: connect the two notches you made and you'll have a straight line.
After that add a 6 mm (1/4 in) seam allowance to both sides of the panel because you'll need it there to sew the panel with the main pieces. The panel pattern piece is now done.

Te han quedado el delantero (A) y el trasero (B) con sus formas nuevas y allí también tienes que añadir margen de costura de 6 mm a los dos nuevos laterales.
You have your front (A) and back (B) pieces with the new shape, now just add a 6 mm (1/4 in) seam allowance for the new side seams.
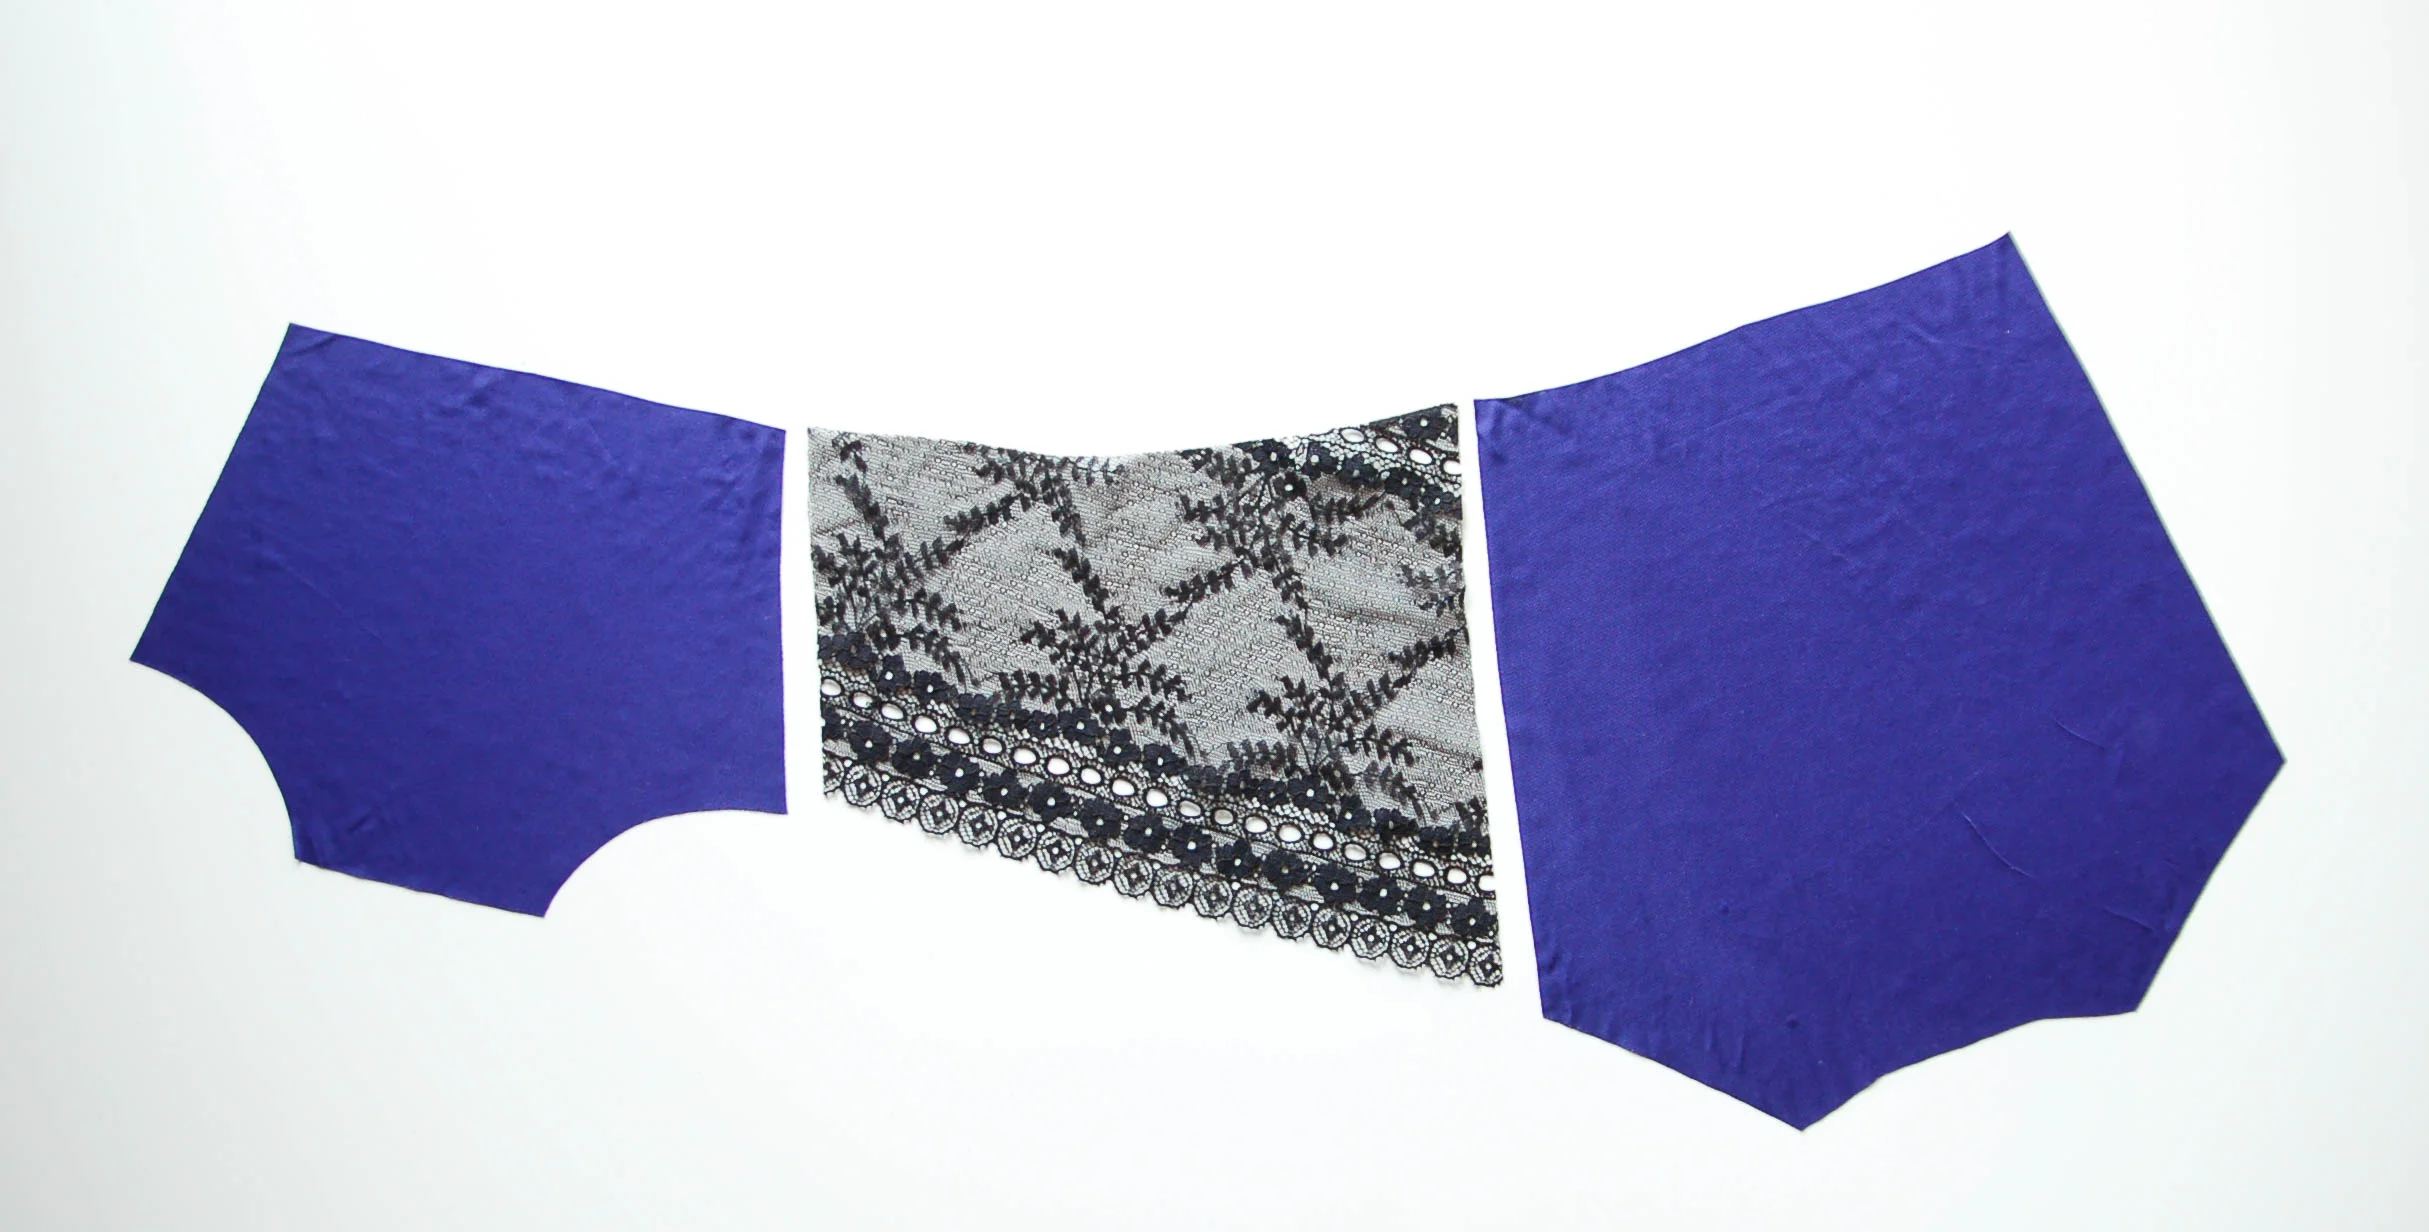
Corta dos piezas de panel en forma simétrica de encaje alineando la parte recta de tu patrón con la parte baja de la puntilla. Corta el delantero y trasero al doblez como siempre. Si colocas las piezas en su orden verás que la pieza de encaje es más corta en el lateral, eso es correcto porque a las otras piezas todavía les sobra el margen de costura para el elástico.
Cut two pieces of the panel pattern piece from lace mirroring them to get a symmetric result. Align the straight edge of the panel with the lower part of the scallops. Cut the front and back on fold as always. If you put the pieces in the correct order you can see that the lace is smaller on the sides and this is correct as you haven't sewn on the elastic to the main pieces yet.

Une el delantero y el trasero con las piezas de entrepierna como siempre siguiendo las instrucciones. Pon el elástico a las aberturas de piernas.
Sew the front and the back together with the crotch pieces as always following the instructions. Sew on the leg opening elastics.

Ahora une los paneles de encaje al delantero y al trasero derecho con derecho. Si usas remalladora deja los hilos largos en la parte de la puntilla y escondelos dentro del margen de costura. En este punto puedes también reforzar la unión de puntilla con las piezas principales haciendo un pequeño remate en la parte inferior de las costuras que acabas de hacer.
Now join the side seams putting the panel and the main pieces right sides together. If you use an overlocker leave the thread tails longer and hide them inside the seam allowance. You can also make small bartacks on the lower part of the seam where the scallops are in order to reinforce the seams.

Cose el elástico de cinturilla como siempre y las braguitas están listas! Me gusta mucho esta variación porque te deja muchas posibilidades de experimentar con cortes y materiales. También puedes modificar el patrón de la misma manera para usar diferentes telas de punto para crear efectos de contraste o combinaciones de colores. En ese caso no hace falta que hagas el panel recto en la parte inferior porque allí sí que vas a poner el elástico. Simplemente suaviza la curva y no quites el margen de costura. Une las piezas como siempre en la versión 1 de la braguita Stella y pon los elásticos.
Sew the waist opening elastic as always and the panties are ready! I really like this variation as it leaves you so many possibilities to experiment with style lines and materials. You can also hack the pattern in the same way for only knit fabrics to use different fabrics to create contrasting or combining effects. In this case you don't have to make the lower side of the panel piece straight as you will put elastic there too. Just smoothen out the seam line and don't take away the seam allowance. Sew the pieces together as always for the version 1 of Stella panties and then sew on the elastics.

Otra idea buena es usar tul elástico en vez de encaje en los laterales, da un efecto bonito de transparencias. Como ves es muy fácil hacer las braguitas a tu gusto, no tengas miedo a meter la tijera en el patrón y modificarlo: lo único que tienes que recordar es que siempre tienes que quitar/añadir margen de costura y las puntillas siempre necesitan línea recta y no llevan margen de costura.
Espero que esto os hace pensar en muchas posibilidades para vuestros proyectos de lencería. La semana que viene os traigo un tutorial que tengo muchas ganas de enseñaroslo (tanto que tuve que adelantar en mi Instagram qué es!).
Another good idea is to use stretch mesh for the side panels instead of lace, it creats a beautiful transparent look. As you can see it's very easy to modify the pantie pattern, don't be afraid to cut into it and hack it as you like: just remember that you always have to add/substract seam allowances and the scalloped edge lace won't need seam allowance but the seam has to be straight.
I hope this tutorial makes you think about a lot of possibilities for your lingerie sewing projects. Next week I'll bring you a tutorial that I'm super exited to share (so much that I had to give the secret away over at my Instagram!).