

Hola! Hoy vamos a empezar a coser el bralette Hanna. El primer paso es estabilizar el borde de puntilla que queda en el escote. Cómo mencioné en las instrucciones este paso no es imprescindible pero yo sí que lo recomiendo. Este borde de la puntilla no tiene el soporte de otros elásticos como las otras partes del bralette así que con el tiempo el encaje solo puede perder su forma. Igual habéis visto también en las prendas de lencería que compráis en las tiendas que tienen un refuerzo.. Pues eso mismo es lo que vamos a hacer con el escote.
Hey! Today we are going to start sewing the Hanna bralette. The first step is to stabilize the scalloped edge of the lace on the neckline. As I mentioned in the instructions this step is not obligatory but I recommend doing it for all of you. This part of the lace won't have the support of other elastics so it can lose it's elasticity in time. You might have noticed this type of finish also in the ready-to-wear pieces of lingerie. This is exactly what we are going to do with the neckline of this bralette.


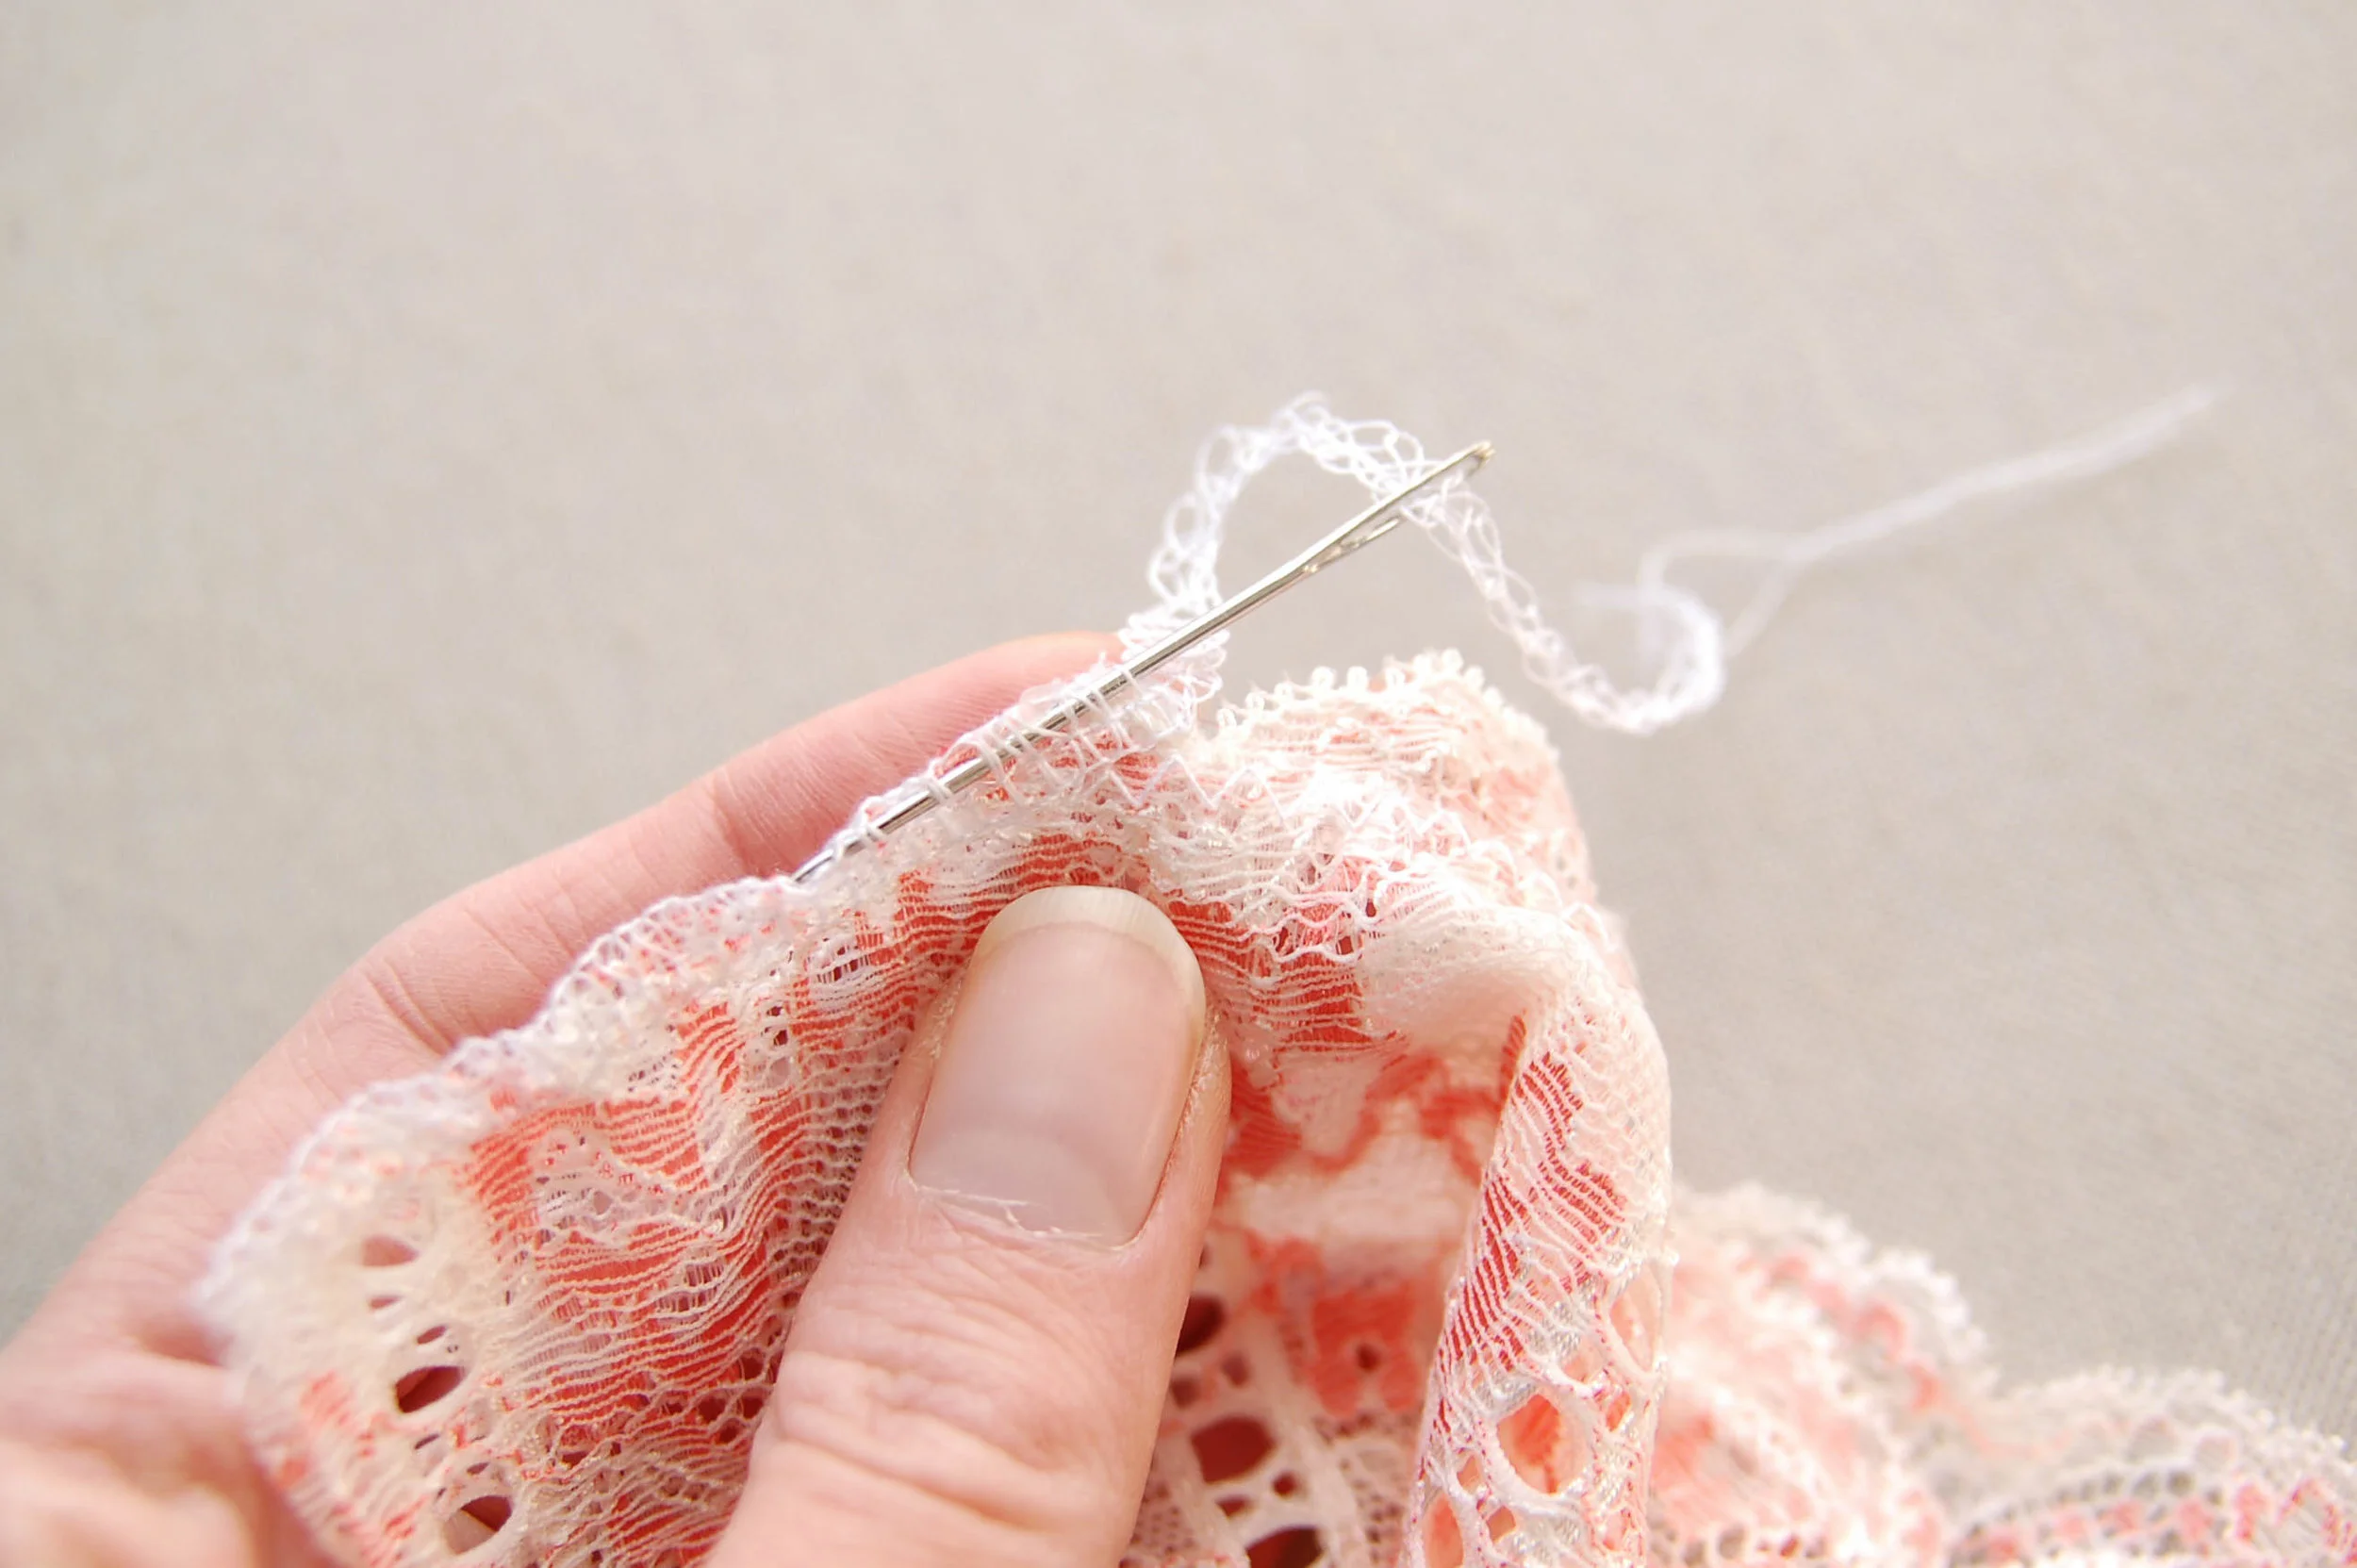
Vamos a usar un elástico transparente para este paso. La idea es que no vamos a fruncir mucho ni tensar esa zona, el elástico va a estar sólo para asegurar que el encaje se quede estable y no se de de si con el tiempo. Coloca el elástico transparente en el lado del revés de la pieza A en la parte de la puntilla. Asegúrate de que esté alineado con la parte baja de la puntilla, así no se va a ver desde el derecho.
We're going to use clear (transparent) elastic for this step. The idea here is to not gather the lace too much, the elastic will be there to maintain the form of the scalloped edge so it won't stretch out later on. Put the clear elastic on the reverse side of the pattern piece A just where the scalloped edge of the lace starts. Be sure to align it well so it won't be visible on the right side later on.

Usando una puntada de zig-zag (2.5 de ancho y 2.5 de largo) cose encima del elástico a lo largo de todo el borde recto de la puntilla. No estires el elástico pero tampoco lo dejes muy flojo, la idea es que esté firme pero que no tire. Repite con la otra pieza. Es un poco difícil fotografiar ya que es transparente pero espero que algo se ve en las fotos que he hecho!
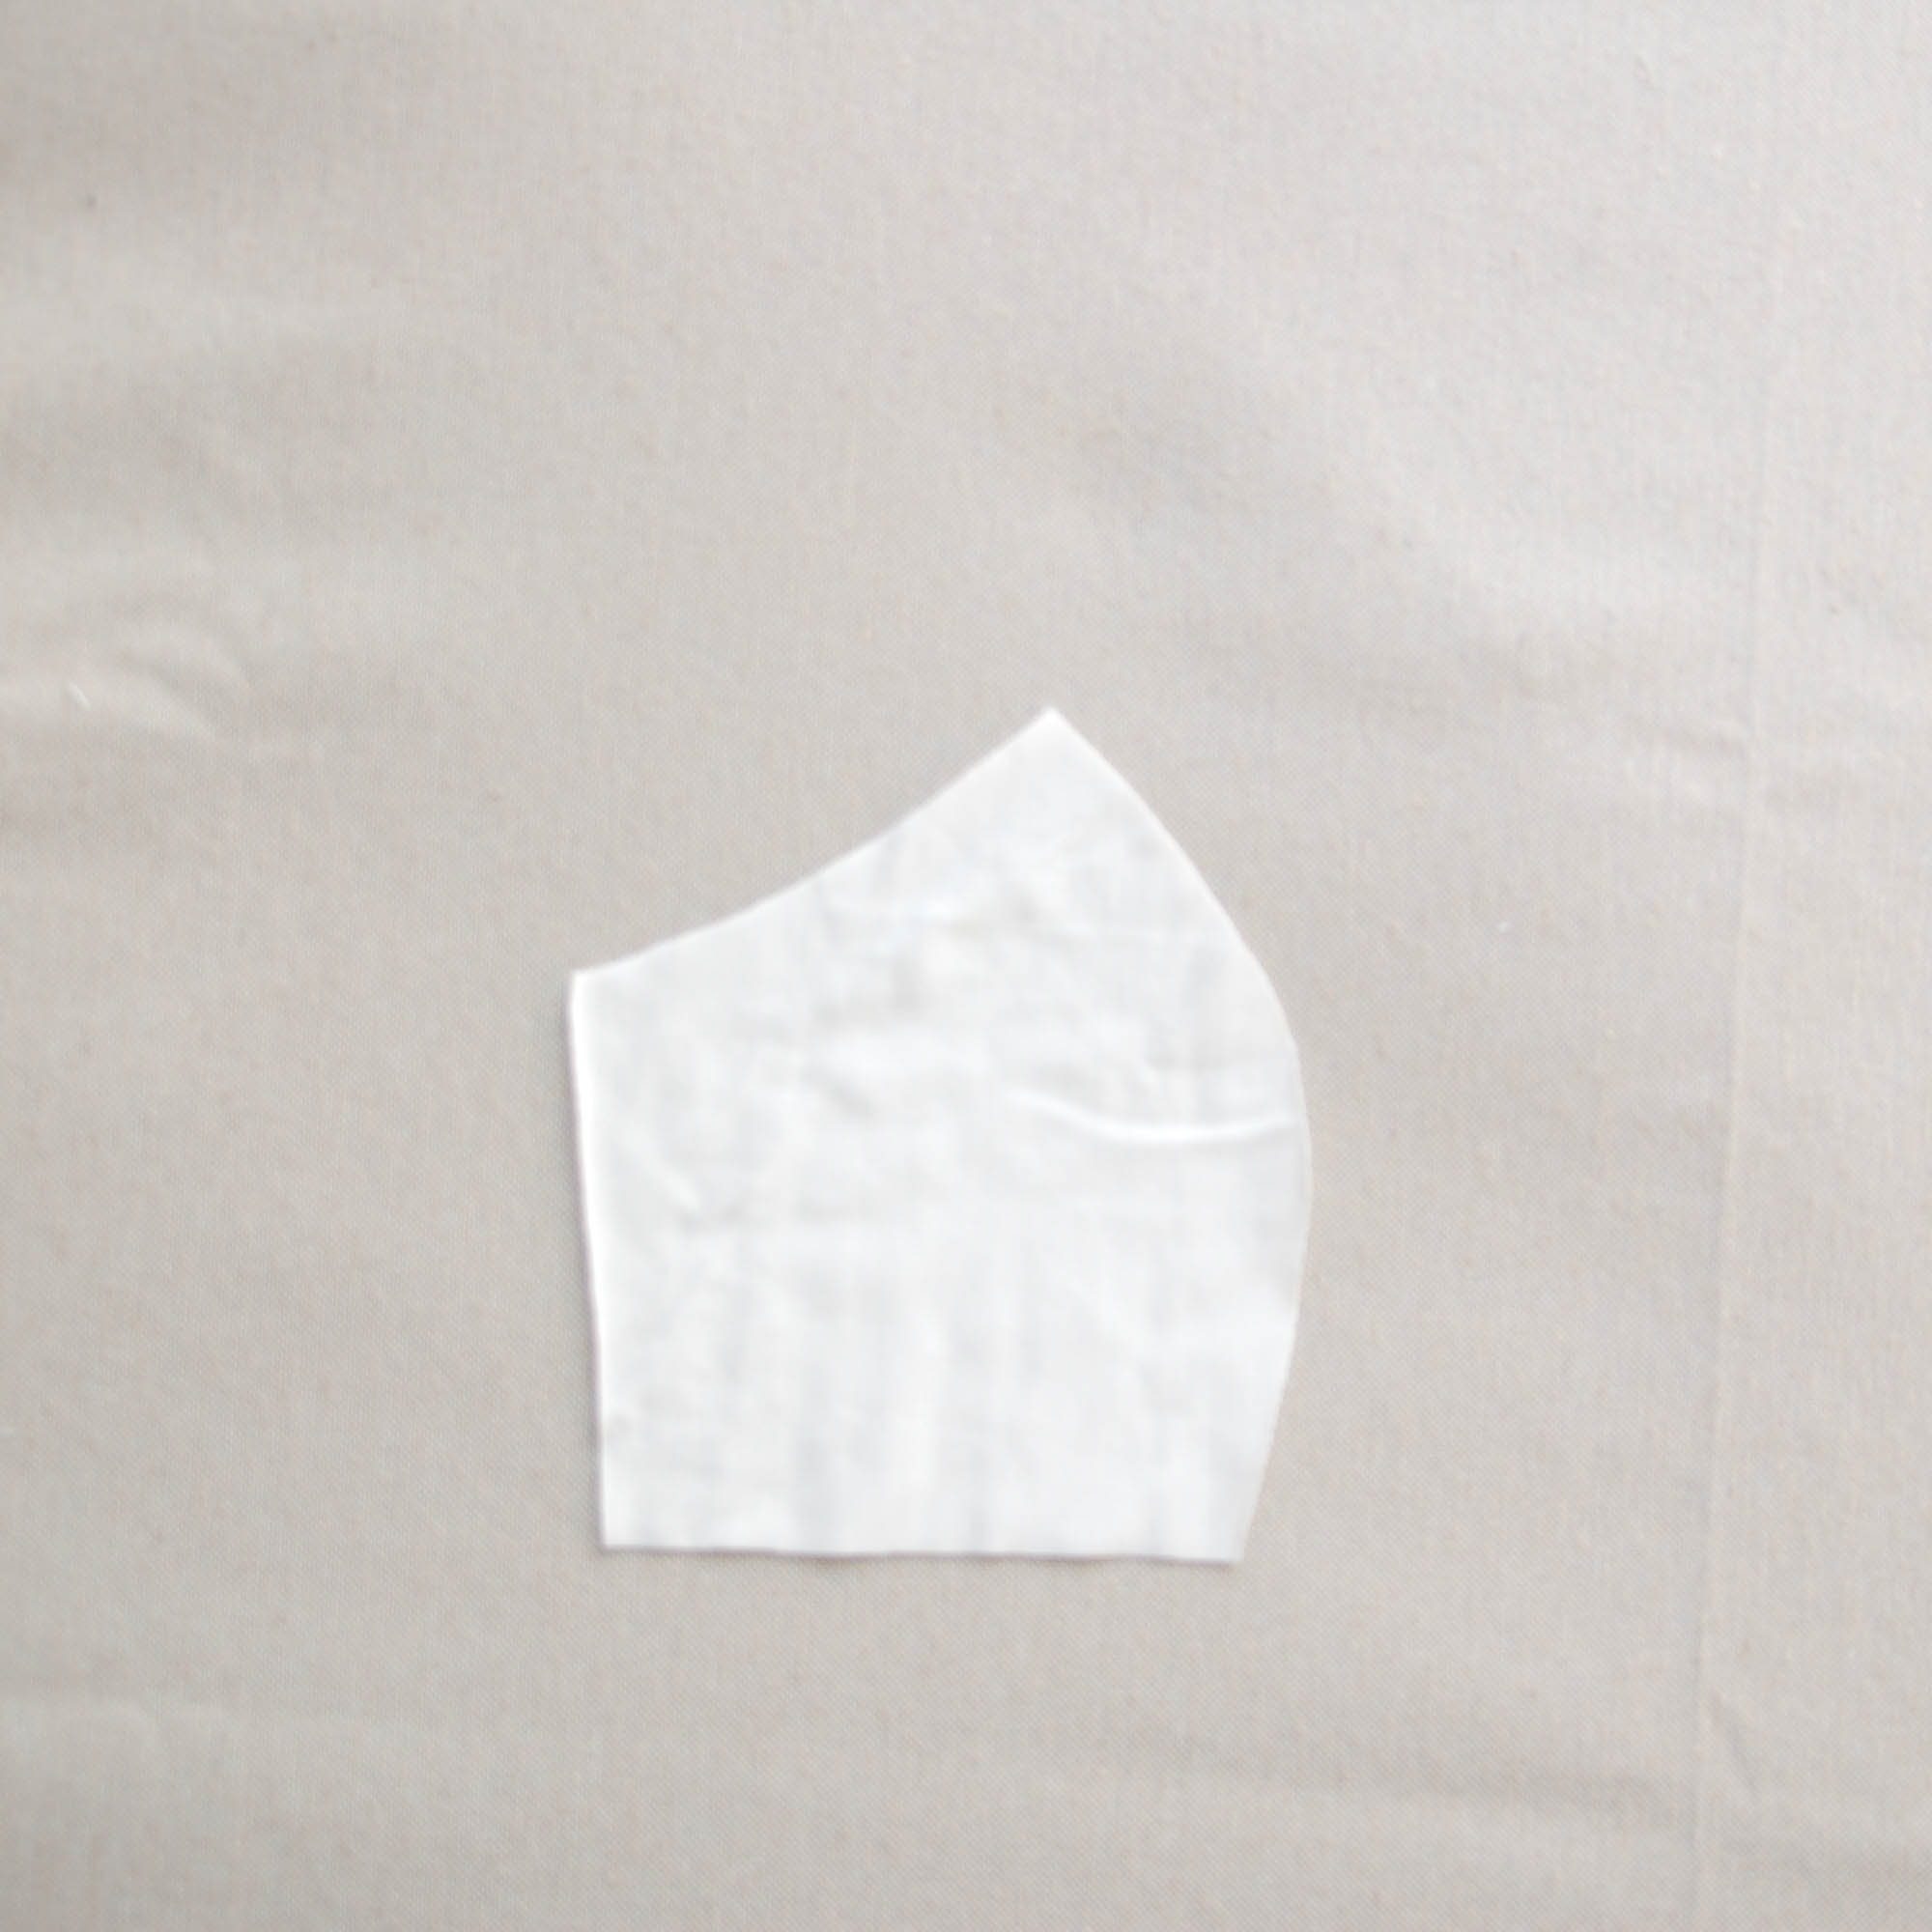
En el caso que quieras tener más soporte en esa zona puedes usar un elástico de lencería en vez de elástico transparente. Lo aplicas de la misma manera en el escote, con el lado suave hacia arriba apara que este lado luego se quede contra la piel. En este caso sí que se va a ver la línea de elástico en el escote.
Sew a line of zig-zag stitching (2.5 width, 2.5 lenght) on the clear elastic along the long edge of the scallops. Don't stretch your elastic but don't leave it complitely loose neither, the elastic has to be firm but it shouldn't pull too much. Repeat on the other cup piece. It's kind of hard to photograph as the elastic is transparent but I think you can see it more or less on the photos I took!
If you wish to have more support in that area you can use a regular lingerie elastic instead of the clear elastic. You sew it the same way on the neckline, the plush side of the elastic will be up, that way it will be against the skin later on. This time it will be seen on the right side of the cup as the normal lingerie elastic will not be invisible.

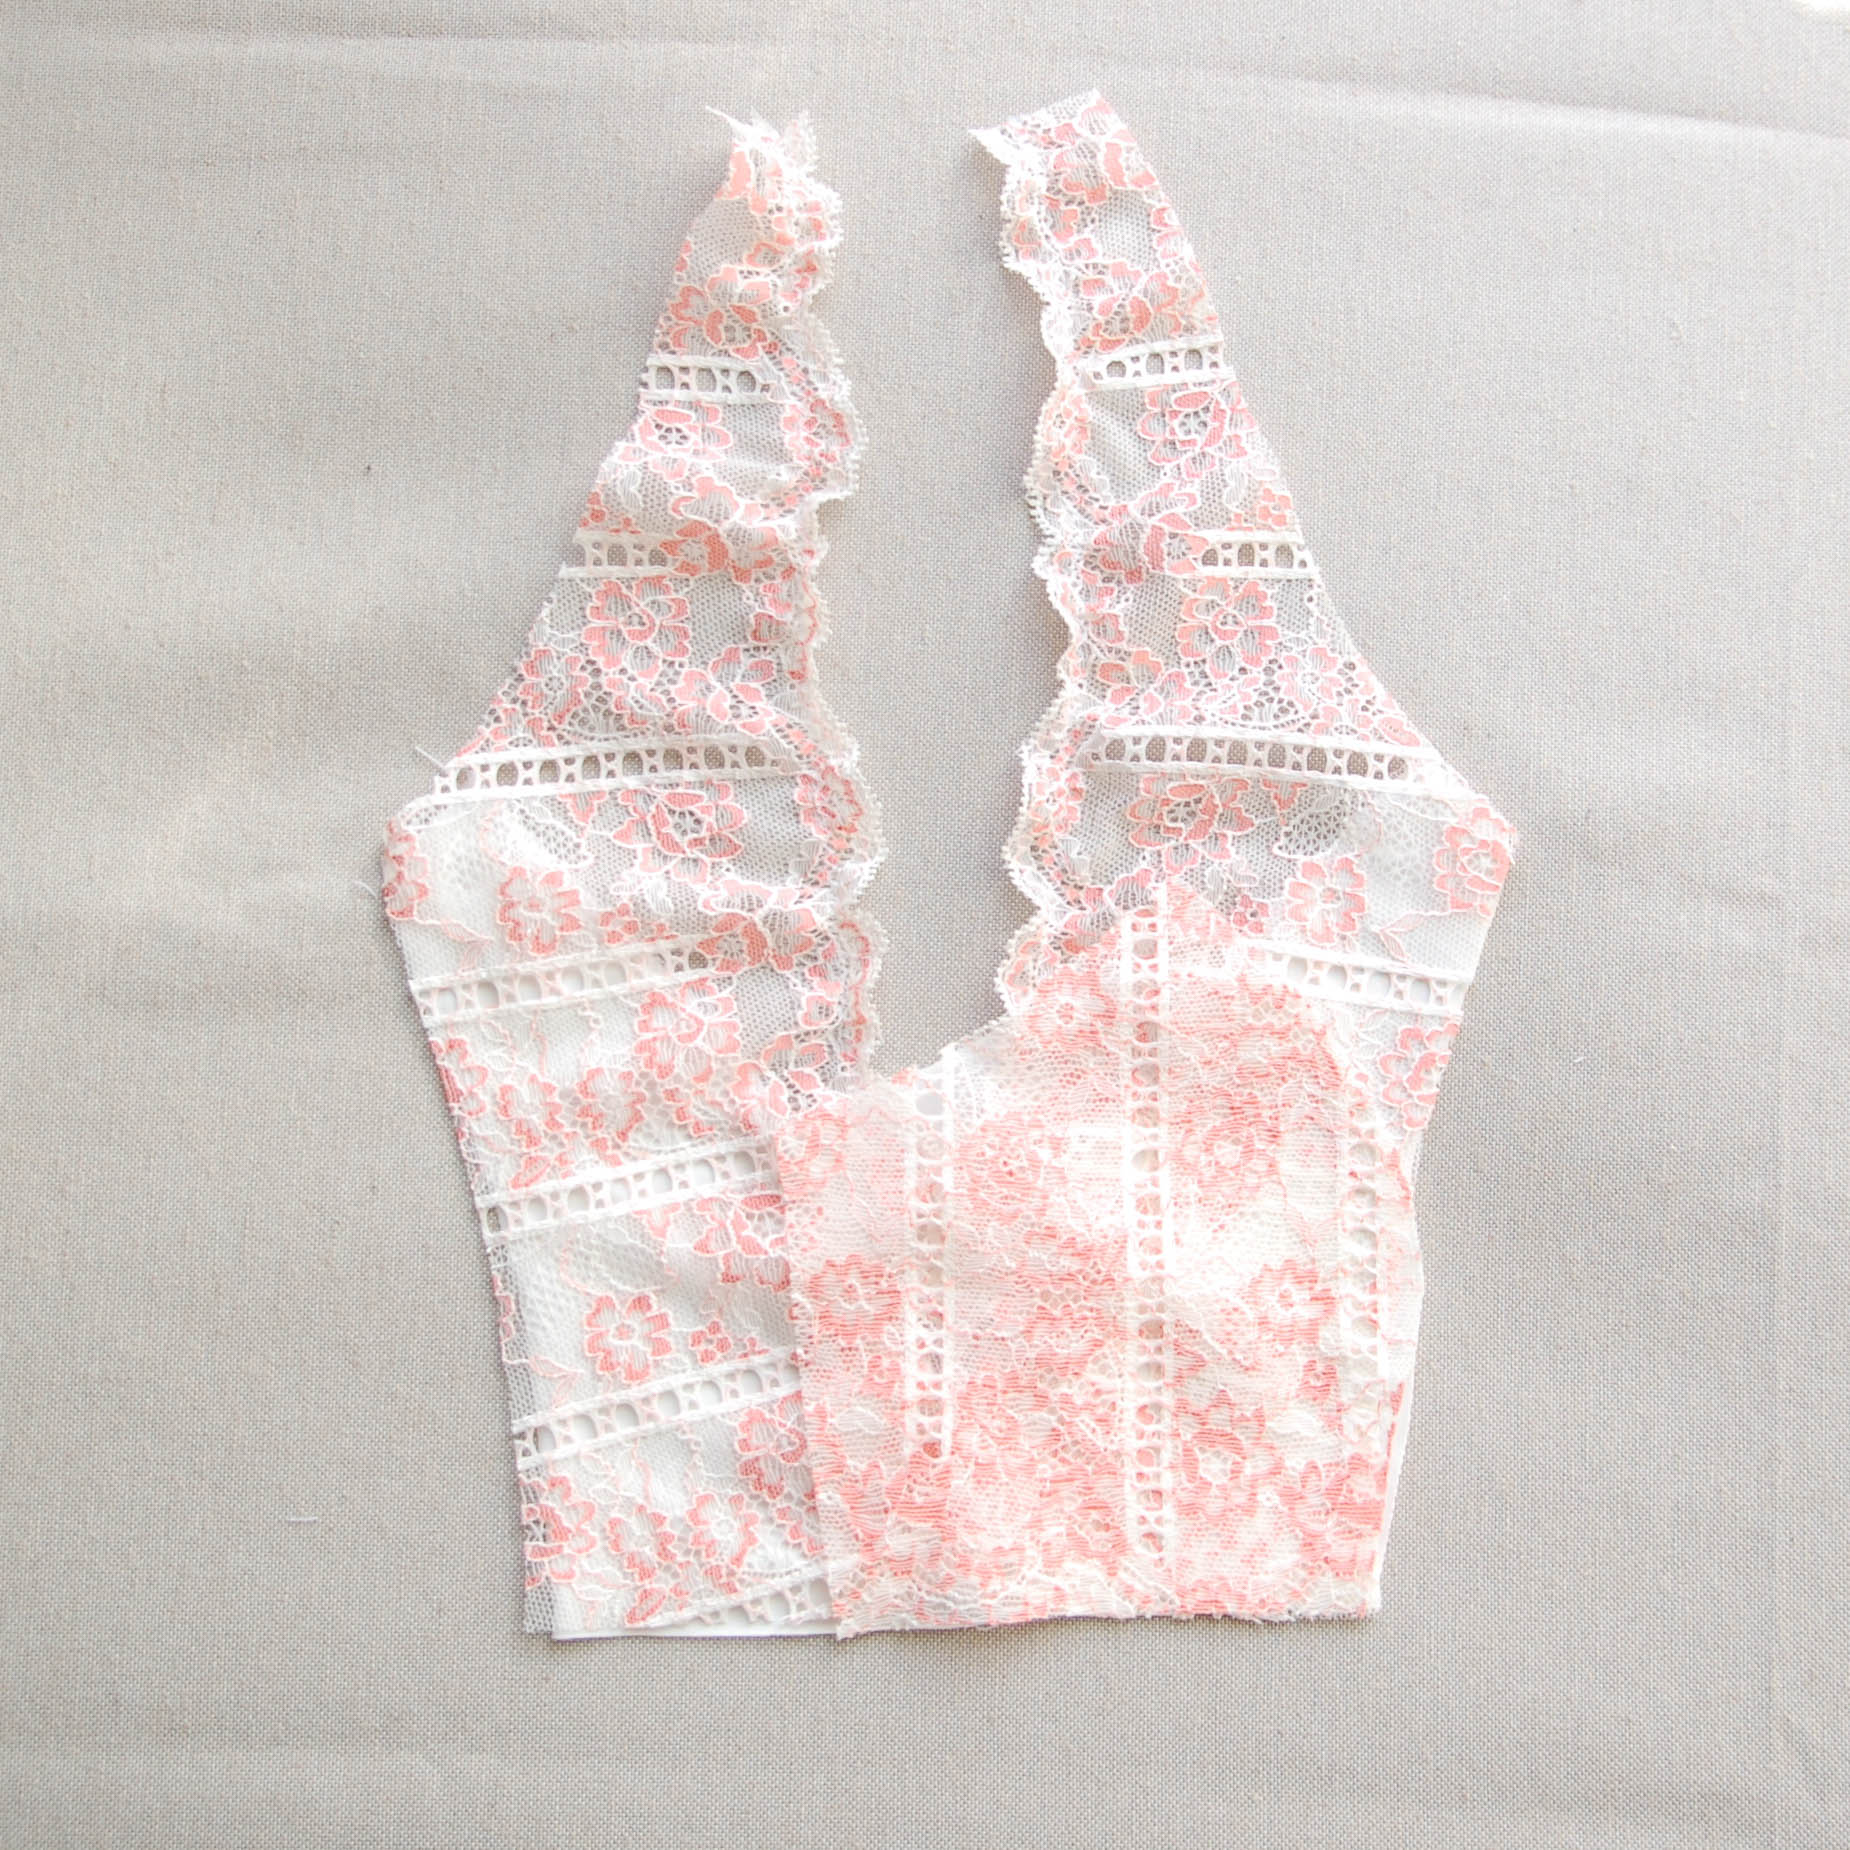
Ahora coge las dos piezas de la copa interior (A) y ponlas el derecho con el derecho. Cosemos la costura central del bralette uniendo las dos piezas. Cuando cortabamos las piezas colocaste el piquete justo donde empieza la parte de la puntilla así que allí, a 6 mm del borde es donde va a ir la costura. Remalla este borde para juntar las capas. Después de remallar deja los hilos largos en la parte de arriba, los vamos a esconder dentro de la costura para que no se vaya la puntada.
En el caso de usar la máquina doméstica cose la costura con un pequeño zig-zag (2 de ancho, 3 de largo) a 6 mm del borde central. Haz un remate en el final para que no se descosa.
Now put the inner cup pieces (A) with right sides together. We'll sew the central seam of the bralette joining these two pieces. When you cut out the pieces there was a notch which you aligned with the starting point of one of the scallops. Exactly there, 6 mm from the edge you'll sew the seam. Overlock this seam. After doing that don't cut the thread tails on the upper part as we're going to hide them inside the seam.
When using a domestic sewing machine use a small zig-zag stitch (2 width, 3 lenght) and sew a seam 6 mm from the edge. Backstitch in the end so the seam will be secure.

Con la ayuda de una aguja con un ojo grande (tipo de bordar o de lana) mete los hilos de la remalladora dentro de la misma costura que acabas de hacer.
With the help of a needle with a large eye (for example an embroidery needle) pass the thread ends inside the same seam you just overlocked.

Como esta costura es la central y se va a estirar puedes reforzarla aún más haciendo una de las dos cosas. Puedes doblar el margen a un lado y en el derecho de la prenda en el borde de arriba puedes coser un par de puntadas rectas en forma de remate para asentar esa costura bien y al mismo tiempo asegurar que no se va a descoser. También puedes doblar el margen a un lado y en el derecho coser un pespunte de puntada recta (2.5 largo) encima del margen a 2 mm de la costura que acabas de hacer en todo el largo del mismo (sería similar como el pespunte que vamos a hacer en la unión de la copa después).
As this seam is the central one of the bralette it will have some stress and it can stretch with time. To make it even more stronger you can do two things. You can fold the seam allowance to one side and then bacstitch on the right side just on top of the seam allowance in the upper part. You can also fold the seam allowance and on the right side sew a row of topstitching (straight sititch 2.5 length) 2 mm from the edge along the center seam you just made on top of the seam allowance (in a similar way as we'll topstitch the cup seams).

Seguimos con el forro. Las piezas del forro de la copa interior (D) van a tener un lado que no está entre las costuras y hay que rematarlo antes para que quede bonito. Remalla el borde curvado (el que se queda hacia el escote) o pasa un zigzag (3 de ancho, 3 de largo) por el borde.
Now we'll continue with the lining. The inner cup lining pieces (D) will have one edge that won't be between the seams and it will be visible on the inside. Overlock the curved seam (the one that will be on the neckline) or pass a zig-zag (3 width, 3 length) to make it neat.

Coloca las piezas del forro el derecho con el derecho y como antes en el encaje, remalla/cose la costura central a 6 mm del borde. De la misma manera esconde los hilos de la remalladora.
Put the lining pieces with right sides together and in a similar way as we did with the lace pieces, overlock/zig-zag stitch them together with a 6 mm seam allowance. Hide the overlocker threads the same way.

De nuevo, si prefieres puedes hacer un remate extra en el lado derecho encima de la costura central. En esta foto se ve un poco mejor la línea de costura que he hecho.
Again, if you'd like you can make this seam stronger by topstitching along the central seam on the right side of the pieces. In this photo you can see the topstitching a bit better.


Vamos a juntar las piezas de la copa interior y exterior de la forma que los margenes de costura se van a quedar entre las capas de tela y todo queda bonito tanto por dentro como por fuera. Para eso tienes que colocar las piezas de la siguiente manera unas encima de las otras (las fotos desde arriba): copa exterior del forro (B) con el derecho hacia arriba, copa interior del forro (D) (las dos piezas juntas) con el derecho hacia abajo, copa interior del encaje (A) (las dos piezas juntas) con el derecho hacia arriba y la copa exterior del encaje (B) con el derecho hacia abajo. Son cuatro capas en total.
We're going to join the inner and outer cup pieces in a way that the seam allowances will be in the middle of the pieces and there will be a neat finish both on the inside and on the outside of the bralette. In order to do that you need to put the pattern pieces on top of each other in the correct way: outer cup lining (B) with the right side up, inner cup lining (D) (with both of the pieces already sewn together) with the right side down, inner cup lace piece (A) (with both pieces already sewn together) with the right side up and the outer cup lace piece (B) with the right side down. In total there are four layers.

Ahora vamos a juntar estas capas entre sí siguiendo los piquetes. Hay un piquete en la copa en todas las piezas a la mitad de la curva, pon un alfiler a través de las cuatro capas. Luego junta todos los comienzos y todos los finales de las piezas. Como las piezas tienen curvas distintas parece un poco complicado al principio pero no te preocupes, todo va a cuadrar. Teniendo cuidado con pillar todas las cuatro capas pon ahora más alfileres entre los que has puesto ya hasta que tienes bajo control todo el recorrido que vamos a coser.
Now we'll join all the pieces together with the help of the notches. There's one notch on every piece in the middle of the curve, pin those together. Then pin together the upper and the lower points of all four pieces. As the pieces have different curves it might seem a bit difficult in the beginning but don't worry, it will all match up. Now when you have those three points under control put more pins over the curve making sure you have all the layers together.

Remalla o cose (2 de ancho, 3 de largo) esa costura a 6 mm del borde, estirando ligeramente las capas para que no te salgan arrugas. Si te parece que es complicado coser con tantos alfileres teniendo que quitarlos tan a menudo (mi consejo es nunca coser encima de los alfileres!) puedes previamente hilvanar la costura a mano. Una vez hecho la costura coloca las capas en su orden y ves que queda bonito tanto desde fuera como desde dentro!
Overlock or sew the zig-zag stitch (2 width, 3 length) this seam with a 6 mm seam allowance, stretching the fabric only slightly to make sure all the layers are even and that you don't have any wrinkles underneith. If you find difficult sewing with so many pins while you have to take them off so frequently ( I never recommend sewing over pins!) you can baste this seam before by hand. Once you've sewn this seam you can put the pieces in their place and you'll see that everything looks beautiful on both sides!


Para que esa costura se quede bien asentada le vamos a coser un pespunte encima. En el lado de encaje estira bien las piezas para que no se formen arrugas abajo y cose en el lado donde te queda el margen de la costura que acabas de hacer (que está entre el encaje y el forro) a unos 1-2 mm del borde con la puntada recta (2.5 largo). Se queda un pespunte que desde fuera por el encaje casi no se ve pero por dentro en el forro sí.
To make this seam lay flat we'll topstitch it. On the lace side of the bralette make sure that everything lays flat in order to not have wrinkles below and topstitch on top of the seam allowance (it's now between the lace and lining pieces) 1-2 mm from the seam line (straight stitch 2.5 length). You'll barely notice this topstitching on the lace side but it will be visible on the lining.

Repite el mismo paso con el otro lado del bralette. Ya tenemos algo que parece una prenda! En el siguiente post vamos a juntar también las piezas de la banda y empezamos con los elásticos.
Si tienes cualquier pregunta lo puedes dejar en los comentarios!
Repeat with the other side of the bralette. Now we have something that looks like a garment! In the second post we'll join the band pieces and we'll start sewing the elastics.
If you have any questions you can post them in the comments!