Materiales // supplies
Telas
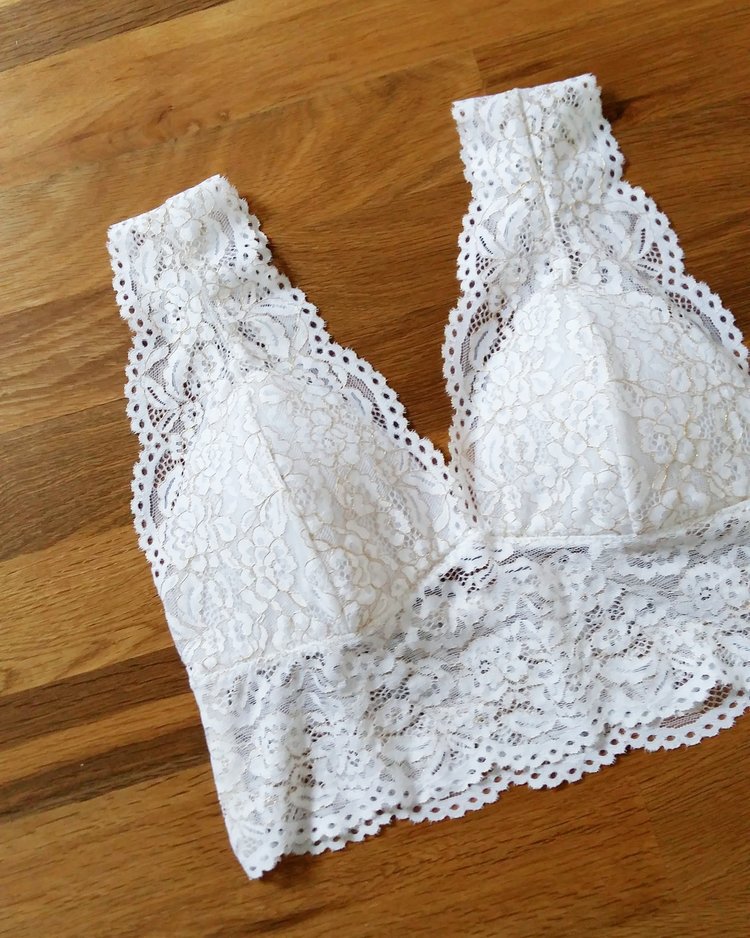
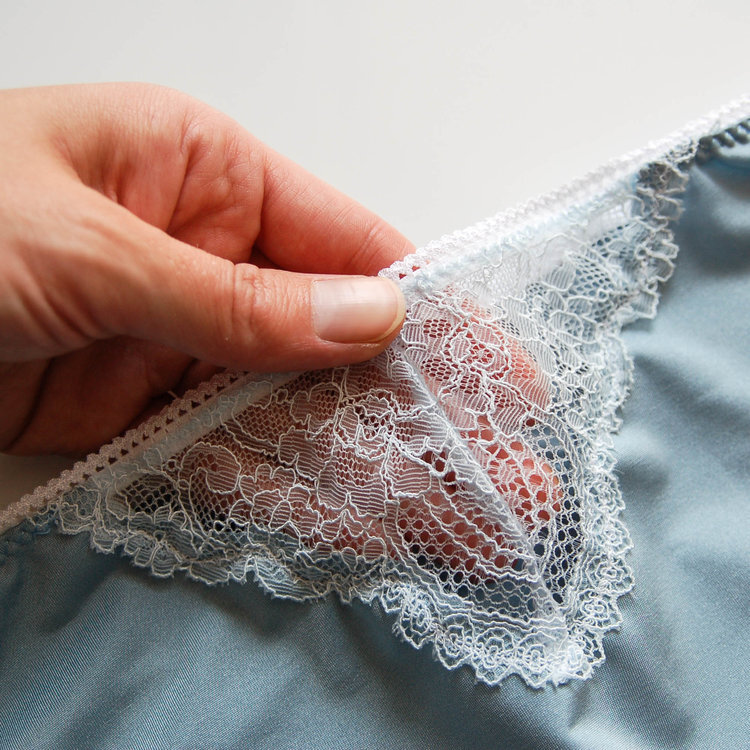
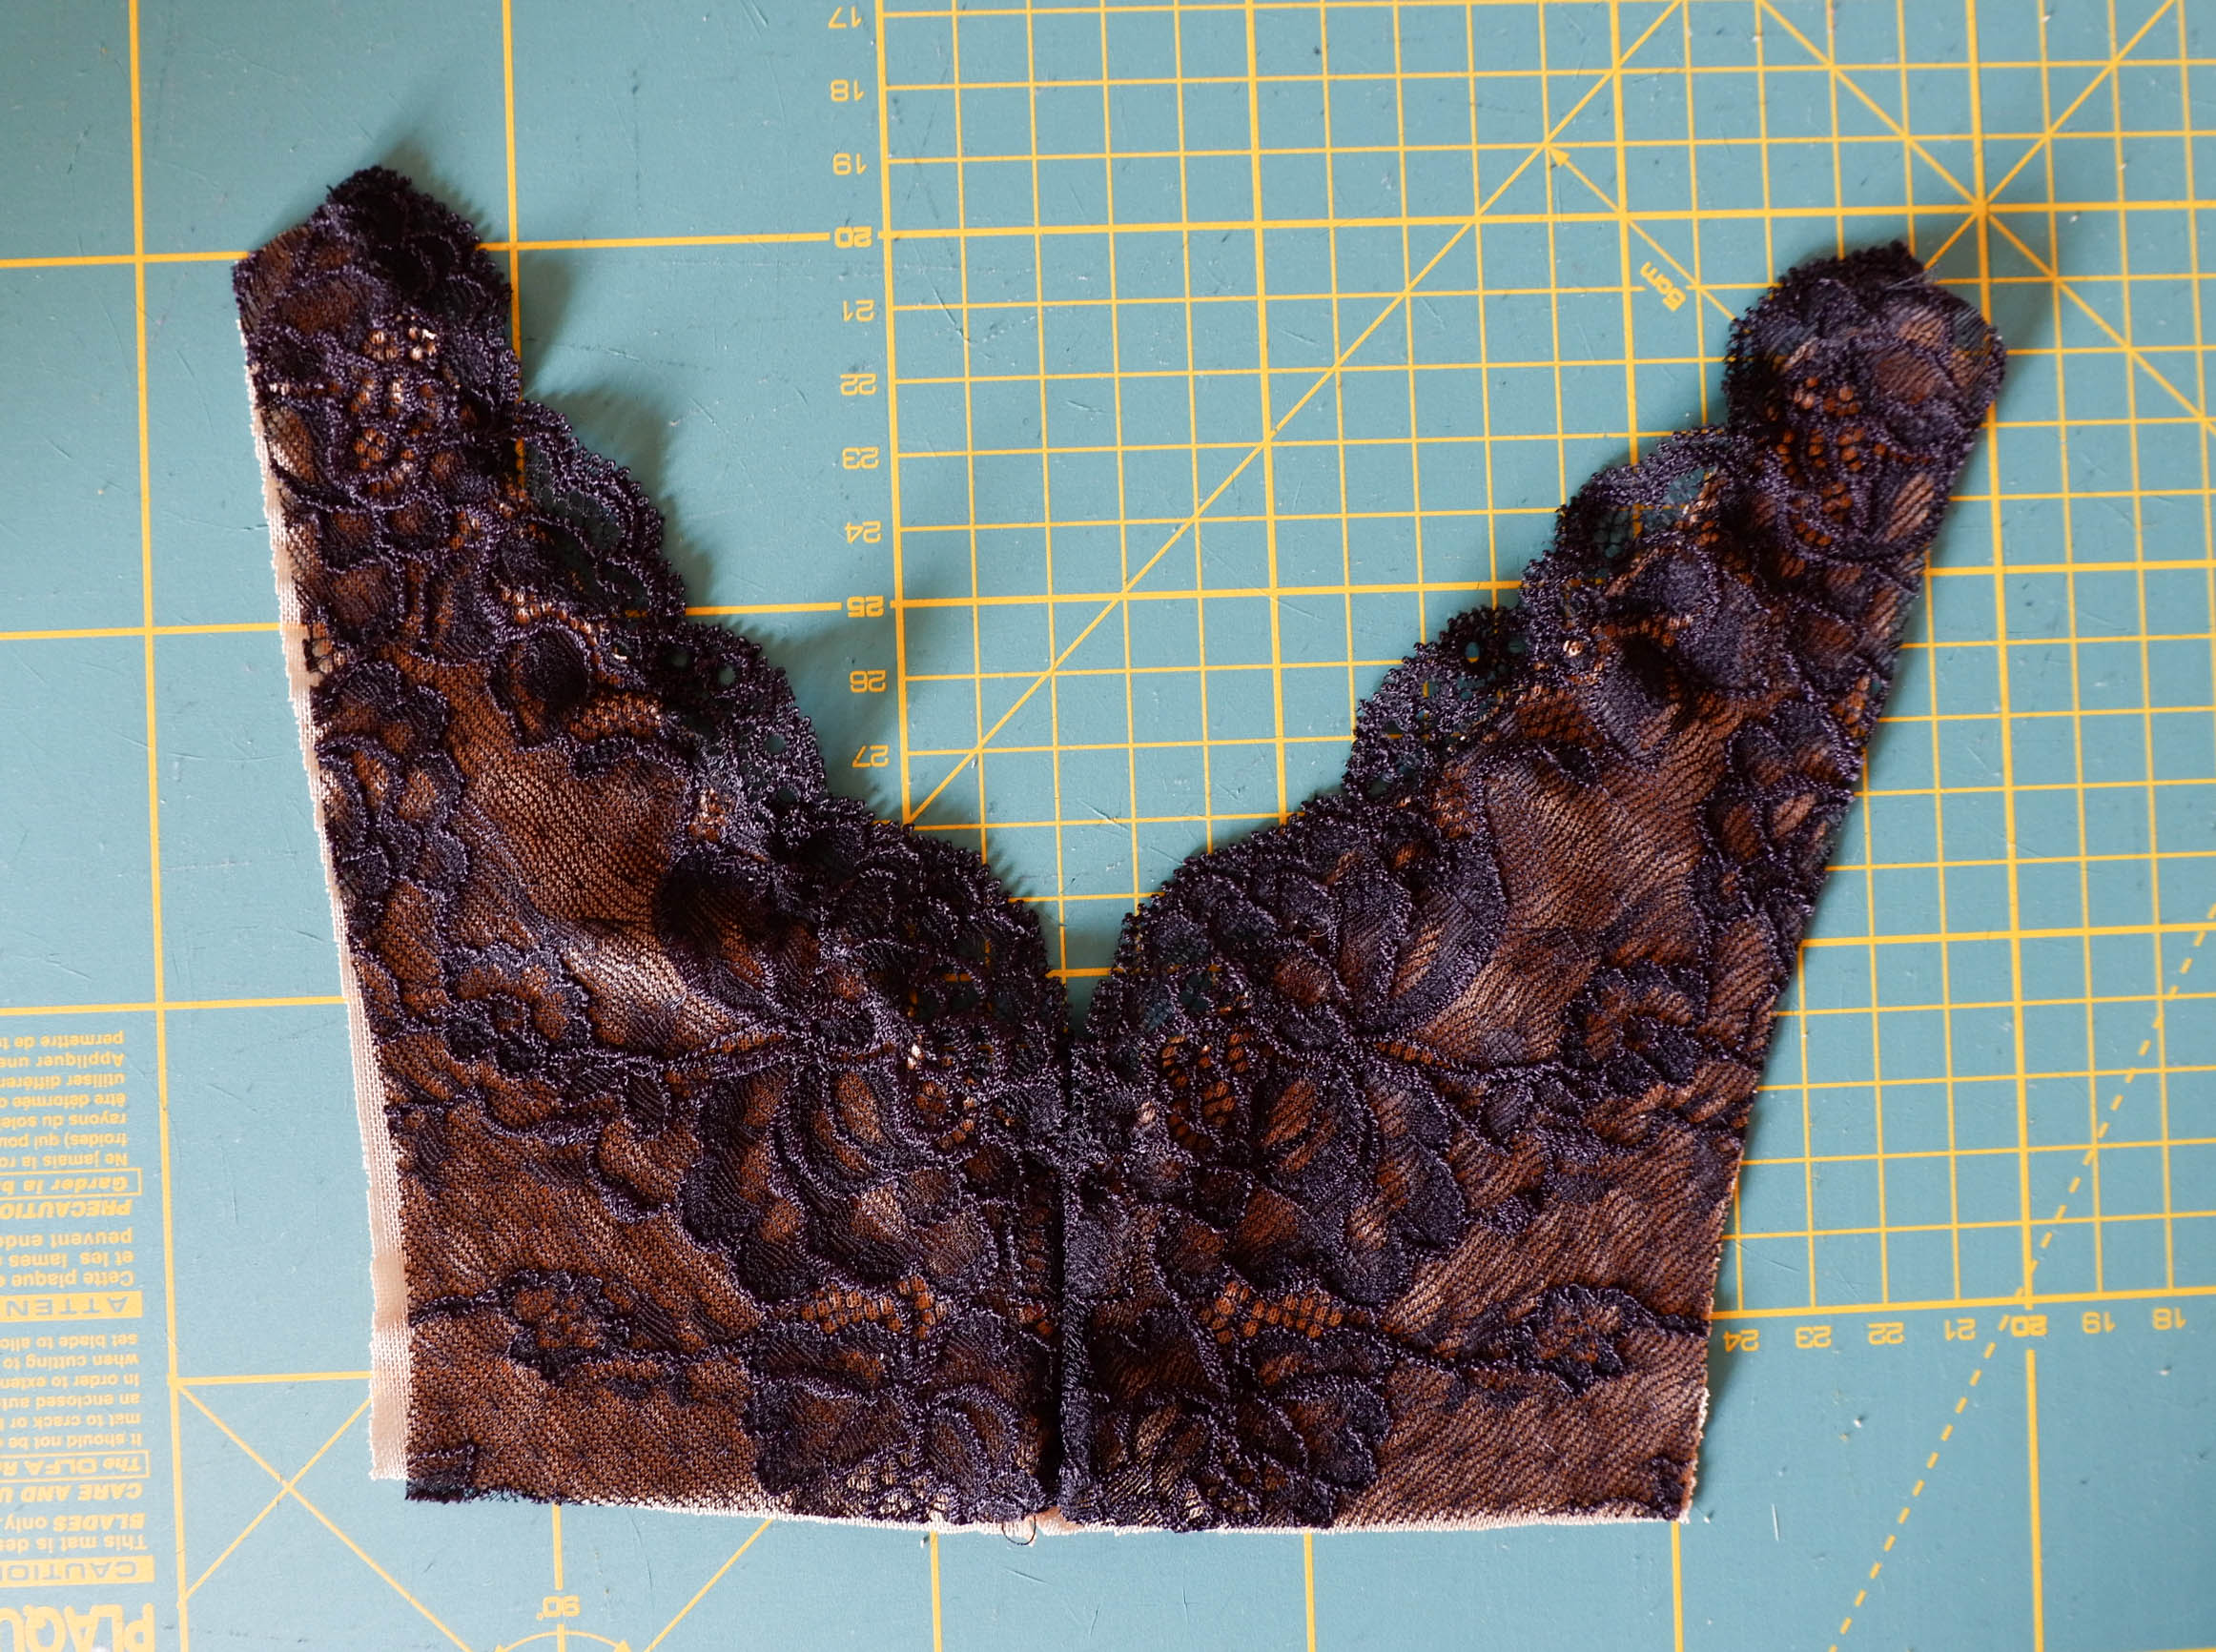
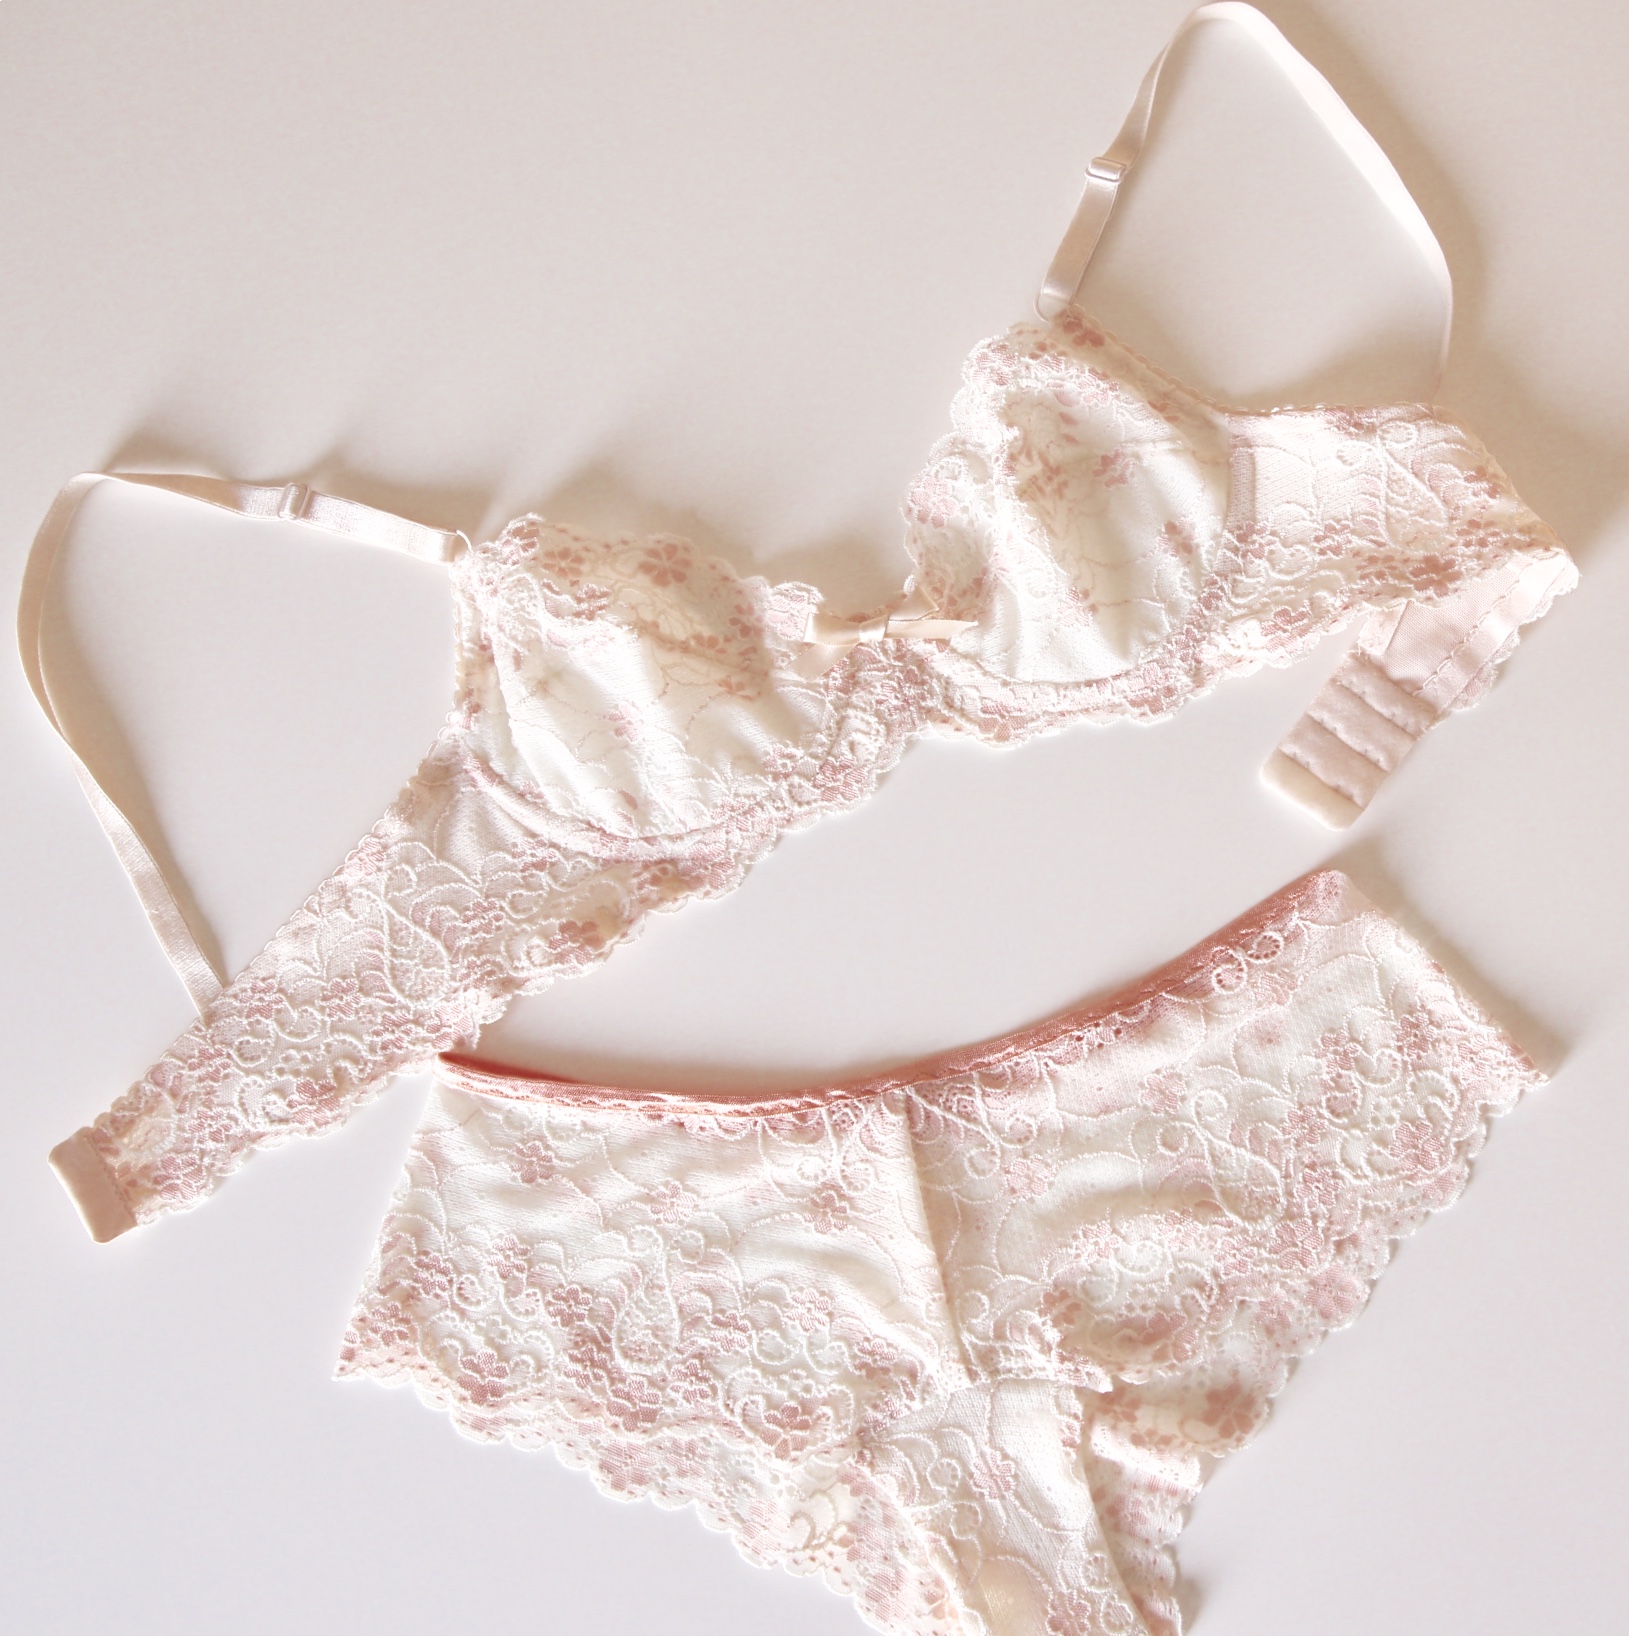
Como dije, los materiales que necesitas dependen mucho del patrón y tienes que seguir la lista de materiales que te indican. Como la mayoría de los bralettes están hechos con tejidos elásticos, lo más importante que necesita es la tela de punto. Igual que con las braguitas, necesitas una tela de punto que tenga elastano. Cuando en el post de las braguitas dije que es preferible usar puntos finos para que no abulten, aquí puedes experimentar con más grosores. Puntos de algodón, viscosa, poliester o incluso neopreno son buenas elecciones. Tul y encaje elástico dan un resultado más delicado. El tipo de soporte que obtendrás depende directamente del tejido que uses así que puedes jugar allí bastante con tejidos. Como la mayoría de patrones van forrados, tienes las opción de usar por fuera una tela más fina o encaje y forrar con algo más fuerte como por ejemplo punto de algodón, power mesh o neopreno si quieres más soporte. En los kits que tengo en mi tienda te viene el encaje y luego la tela de punto de viscosa para forrar, esto da un resultado cómodo que a mí personalmente me gusta mucho para los bralettes. Ahora, si cambias el punto por un tul fino el resultado será más delicado. Como siempre, todo es cuestión de experimentar.
Elásticos
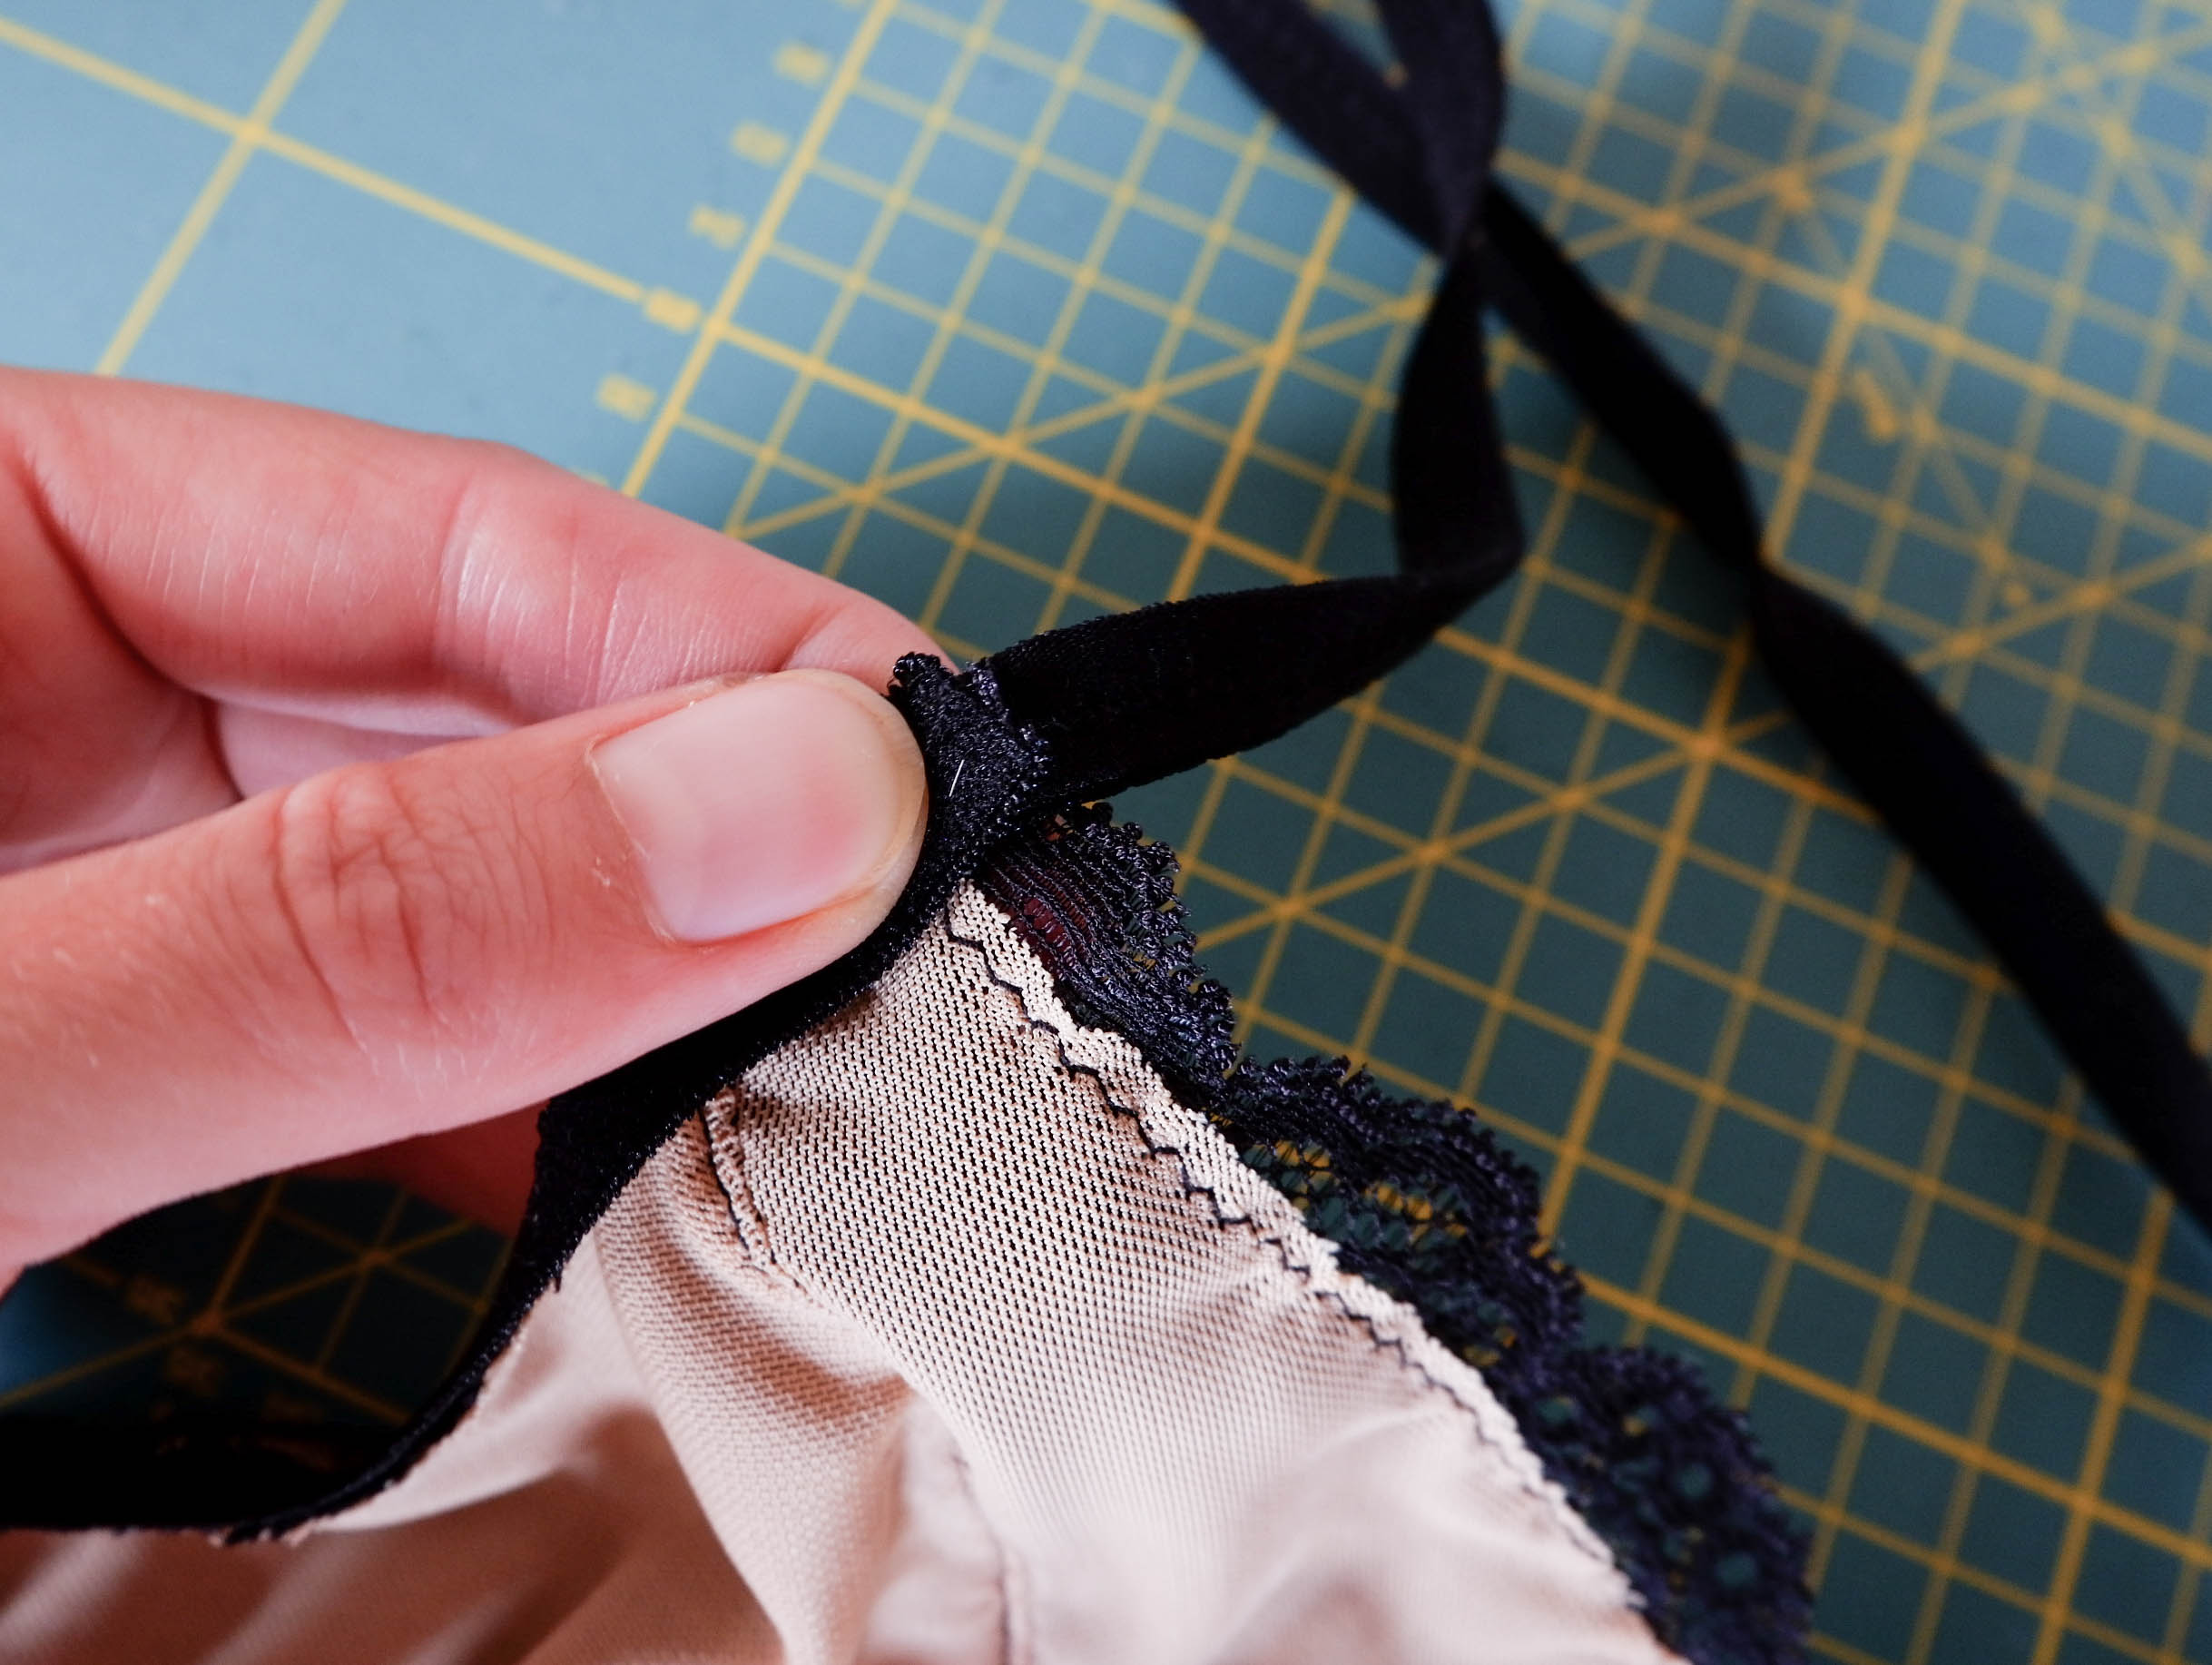
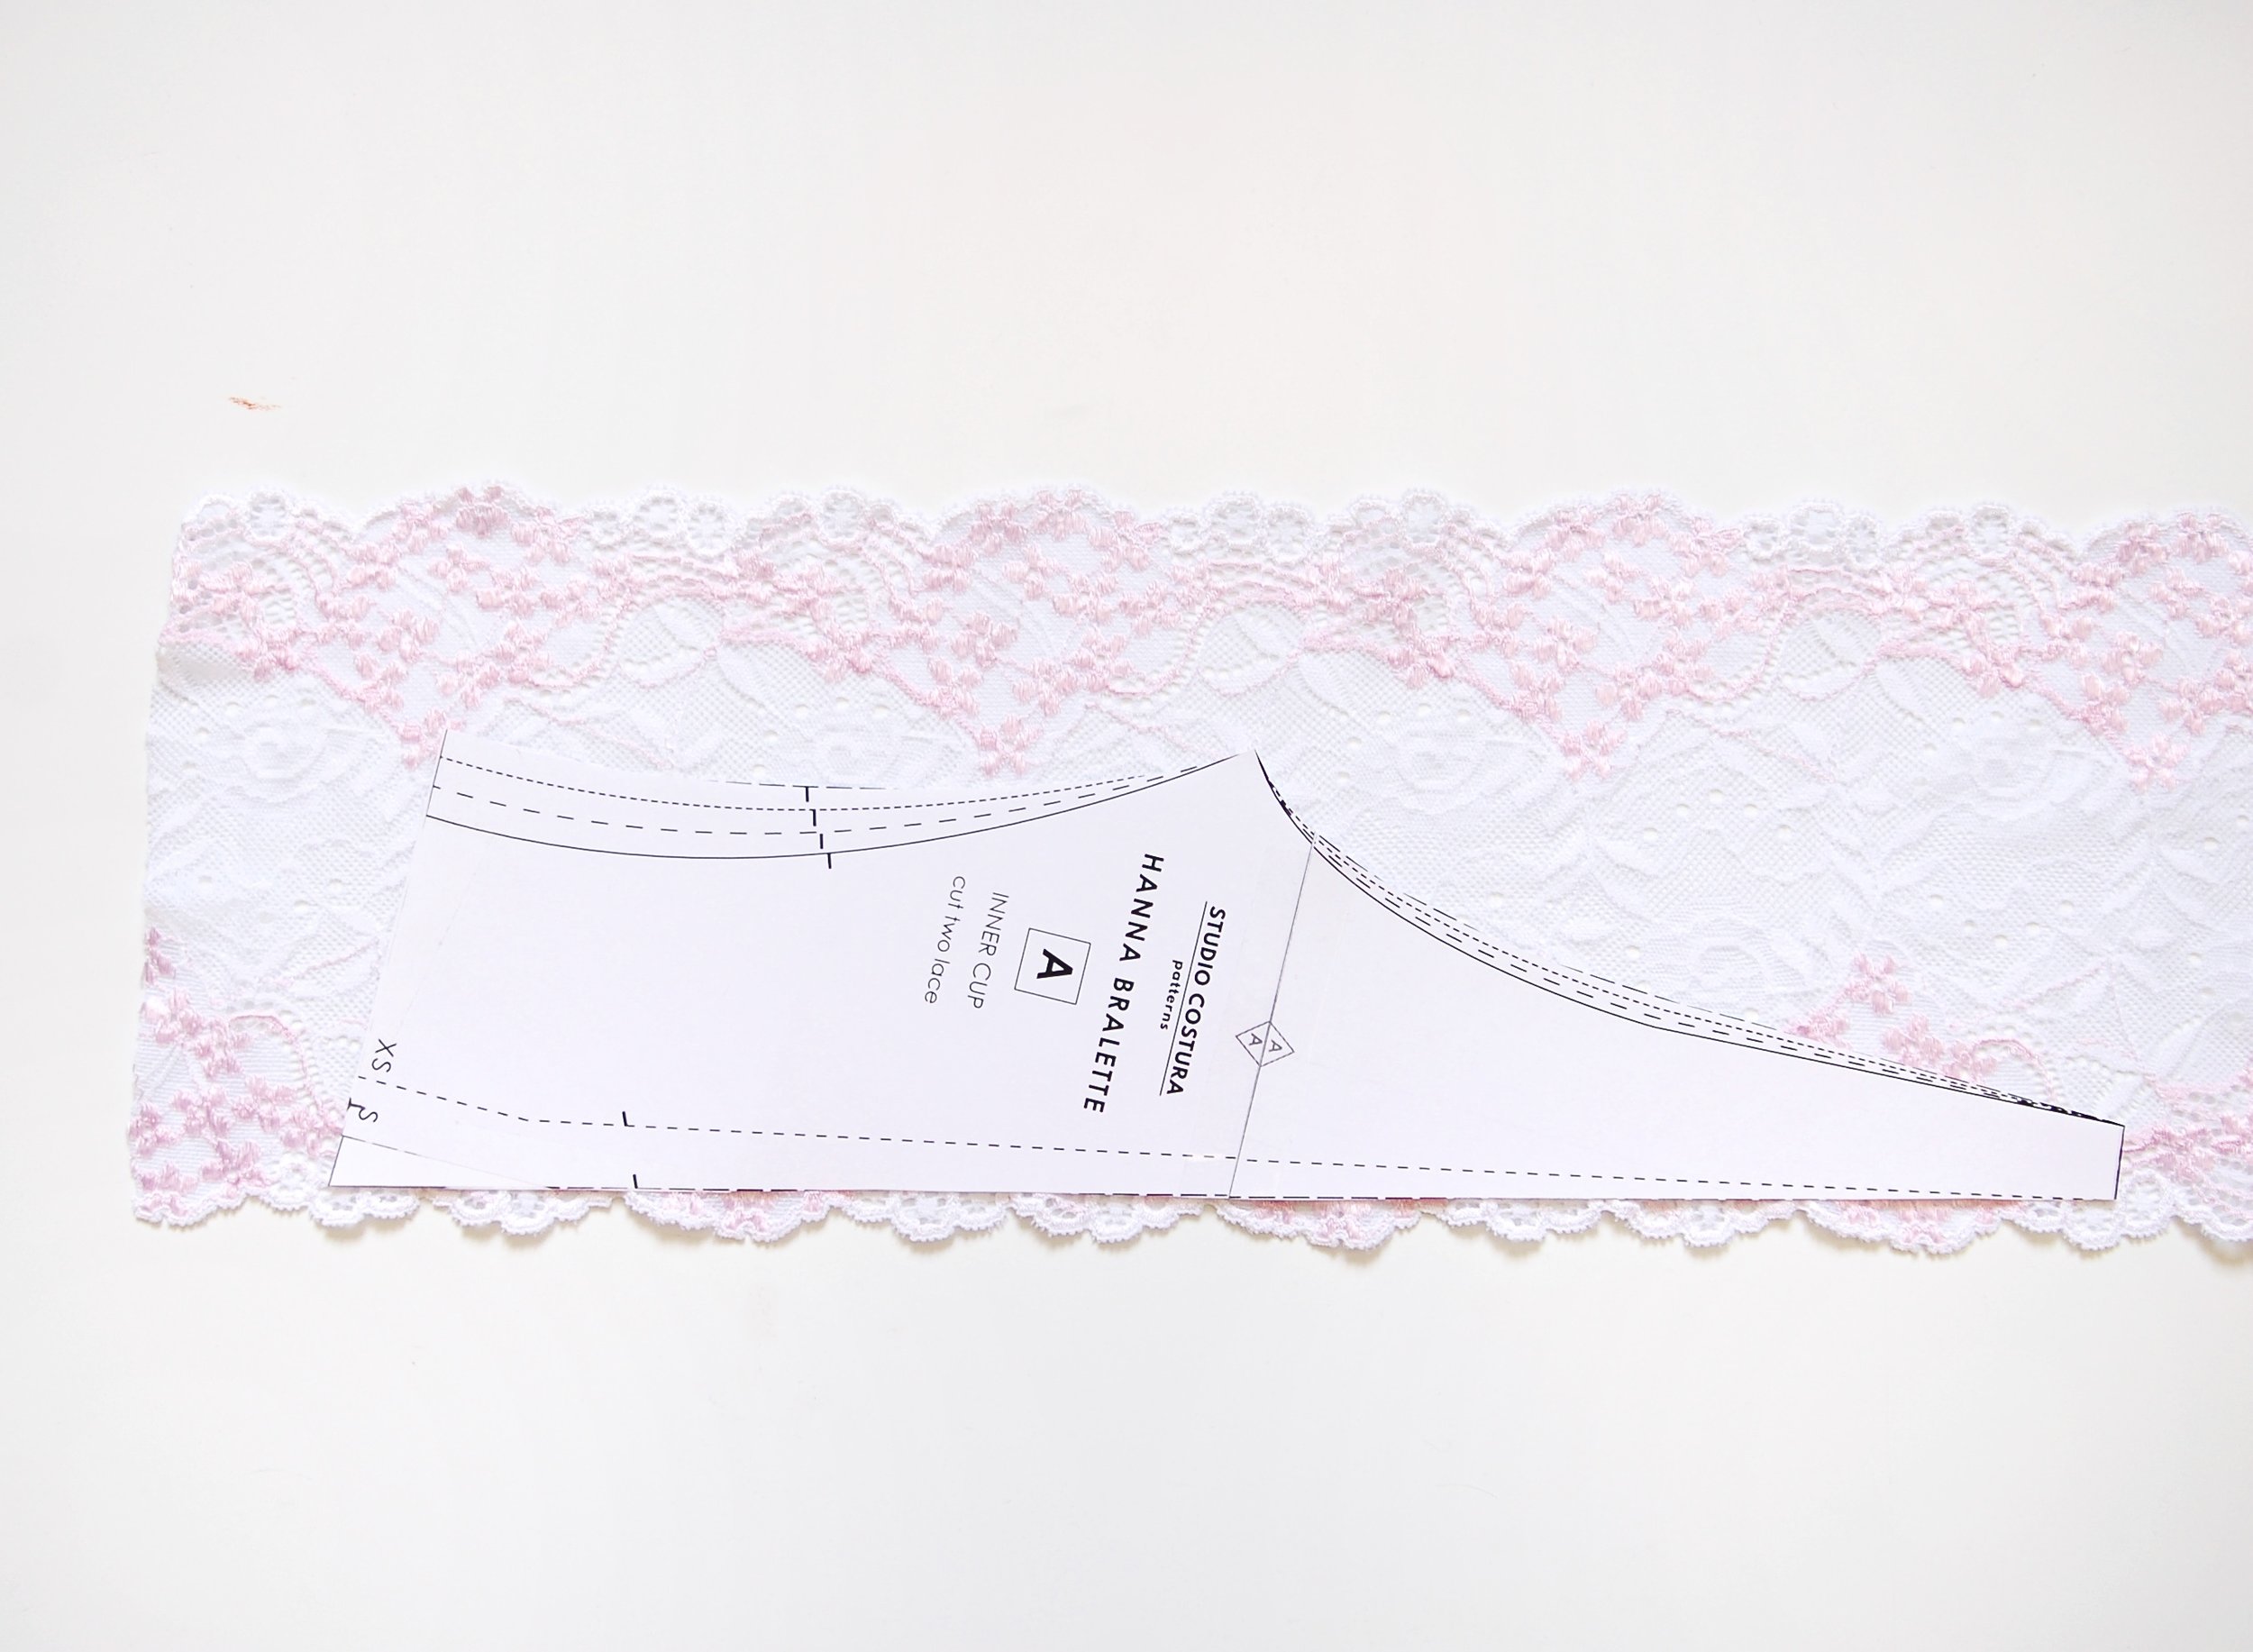
El ancho y la cantidad de elásticos lo verás en tu patrón, para saber más sobre elásticos, lee este post. Normalmente se usan elásticos de lencería y por algunas partes FOE. En el Hanna he usado elásticos de 10 mm de ancho en todo el bralette, ese ancho está bien para dar soporte. Piensa que donde más se necesita el soporte es en la parte baja de la banda así que si tienes copa más grande, puedes allí por ejemplo usar un elástico de 15 mm ancho (recuerda que tienes que modificar el ancho de patrón en este caso!). Recomiendo siempre usar en la banda elásticos de lencería de 8-15mm en el caso de los bralettes, luego en las sisas y en el escote puedes usar tanto los elásticos de lencería como FOE, allí el soporte no es tan importante.
Otro elástico que necesitas es el elástico de tirante. Es un poco más firme que el resto de los elásticos. Para los tirantes también necesitas reguladores y arandelas.
Otro elástico opcional que suelo usar es el de silicona que es transparente. Este viene bien para estabilizar encaje, no se ve por fuera pero mantiene el encaje en su forma.
Cierres
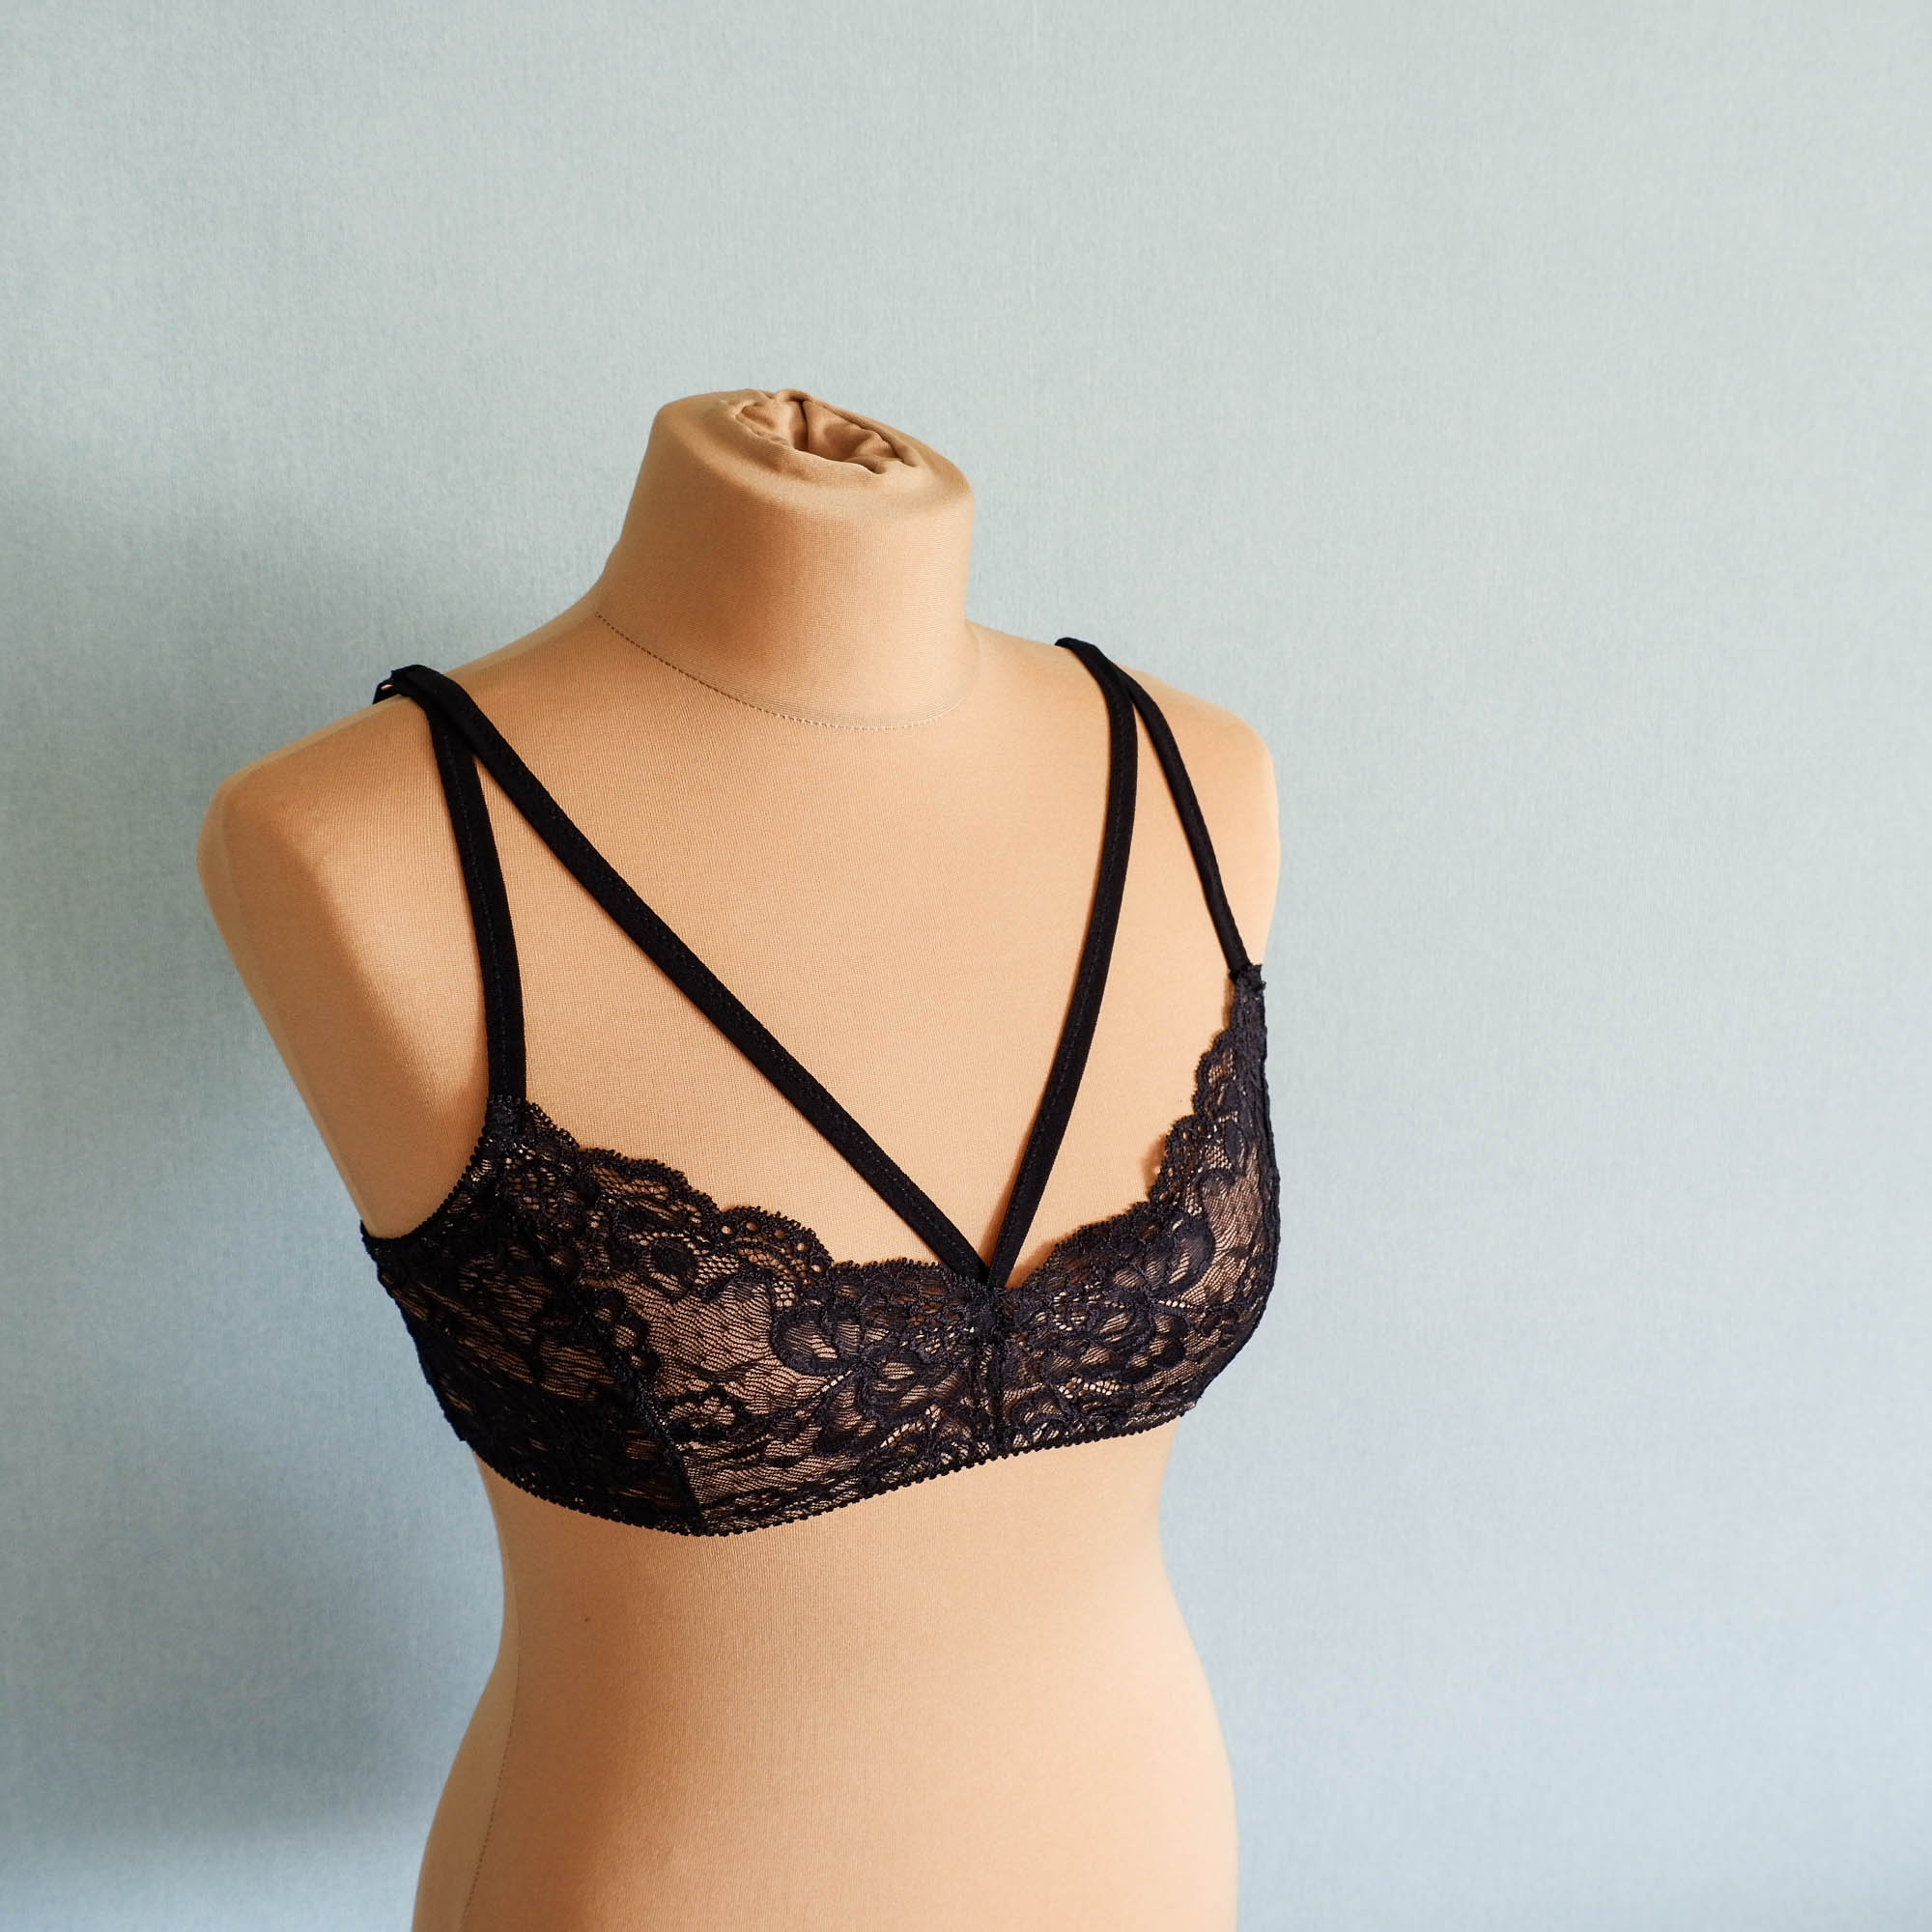
Aunque algunos patrones vienen sin cierres te recomiendo que o cambies el patrón para usar un cierre o uses otro patrón. Sí, depende de la persona, pero yo pienso que sin cierre el bralette es muy incómodo de poner y quitar y es una pena si al final no lo usas por eso.
Los cierres vienen en diferentes anchos y puedes elegir el que más te guste. Ajustar la pieza de la banda para diferentes anchos de cierres es sencillo, puedes verlo en este tutorial.
Fabrics
As I mentioned before the supplies vary a lot depending on the exact pattern you choose to use, you need to follow the list indicated in your pattern instructions. As most of the bralette patterns require stretch fabrics, the most important thing you need is a knit fabric. Like when sewing panties, you need a knit fabric with some spandex in it for the best recovery. In the pantie sewing post I told you that you need finer knit fabrics in order to not create a lot of bulk but with bralettes you can experiment with more fabric weights. Cotton, viscose and polyester knits are good options and you can even use scuba fabrics for bralettes. Stretch lace and stretch mesh give a delicate look. The support your bralette will give you depends directly on the fabrics you use so you can experiment with different options there. As most bralette patterns are lined you can mix and match there, for example you could use a finer fabric or stretch lace on the outer layer and line the bralette with a cotton knit , power mesh or scuba to give it more shape. In the kits I have in my shop you’ll have the stretch lace paired with a viscose knit for a comfortable result that I personally like on bralettes. When you choose to line the bralette with a light weight mesh fabric instead of a knit you’ll have a more “delicate” result. As always you can experiment to see what you like the most.
Elastics
The width and the length of the elastics you need will be determined by your pattern, you can read more about different elastic types in this post. Usually you need lingerie elastics and you can use FOE for some parts of the bralette. In Hanna bralette I’ve used 10 mm wide elastics in all the bralette to give support. Most of the support will come from the band of the bralette so if you are making a bigger size you can use for example a 15 mm wide elastic for the band part (just remember to modify the seam allowances where you choose to alter the elastic width!). I recommend always using lingerie elastics with 8-15 mm width in the band of a bralette for support, in the underarm and neckline area you can also use FOE as there the support factor is not so important.
The other elastic you need is the strap elastic. These elastics are a bit stiffer than normal lingerie elastics. You’ll also need rings and sliders to complete the straps.
Another optional elastic you can use is the clear elastic or silicone elastic. It won’t be seen on the outside and it’s great for stabilizing the lace edge.
Closures
The pattern you will be using might not have a closure, I really recommend you to either modify the pattern to add a closure or choose another pattern. Yes, it depends on the person, but I really think that bralettes without closures are very uncomfortable to put on and take off so it would be such a pity when you will not use your handmade bralette because it’s not comfortable.
The closures come in a variety of sizes and you can choose the one you like the most. You can easily adjust the band pattern piece to fit any width of closure by following this tutorial.