Guía de lencería I: braguitas // Lingerie sewing guide I: Panties

 
www.studiocostura.com

*Este post ha sido actualizado el 2 de noviembre 2020.

Hola! Ya estamos en septiembre, el mes que más me gusta. Al contrario de tener un bajón por volver a la rutina, me hace mucha ilusión empezar nuevos proyectos (aunque siempre con algo de incertidumbre, jeje). Como “todo es nuevo en septiembre” quería empezar este nuevo año escolar con una serie de posts que sean como una guía para la gente que quiere empezar a coser lencería. Si lees este blog desde hace tiempo, sabrás que he escrito bastante sobre el tema y tengo muchos tutoriales en los archivos. Eso sí, nunca he hecho una guía más completa y creo que es una buena manera de animar a más gente que pruebe a coser su propia lencería. Voy a basarme en mi experiencia e intentaré darte mis consejos sobre el tema, cada uno desde luego tiene un nivel diferente e intereses distintos también, pero espero que esto te sirve como una pequeña referencia si te sientes algo perdida ante este campo quizás un poco distinto comparado con el resto del mundo de costura.

Quiero repartir esa guía en tres partes, empezando por el más fácil, coser braguitas. Sé que muchas tienen la tentación de lanzarse enseguida con lo más difícil: coser sujetadores con aros. Eso era lo que hice yo también en mi momento. Pero ahora mirando hacia atrás en el tiempo, pienso que sería mucho más fácil empezar con algo menos elaborado y así paso a paso, sin estrés, seguir avanzando cada vez con cosas más difíciles. Pero la elección es tuya, aquí te contaré mis consejos. Primero y lo más importante: esto no es tan difícil como parece, de verdad. Lo segundo y muy importante también: es un tema nuevo y requiere práctica, no intentes saltar pasos, necesitas tiempo para mejorar las técnicas de costura. Por favor no te obsesiones con hacerlo todo perfecto a la primera. Aprende, practica y disfruta!

*This post has been updated on 2nd of November, 2020

Hey! Finally September, my favorite month. Instead of feeling down as we all need to get back into the daily routine I’m actually really waiting for all the new projects coming up (well, a bit of not knowing what the year will bring is happening too, hehe). As “everything is new in September” I wanted to write a series of posts about starting to make your own lingerie. If you’ve been reading this blog for a while now you’ll know that I’ve written quite a lot about this topic and there are many tutorials in the archives. But I never made a specific post with guidelines and I think it would be a great way to introduce more sewers to this world. Everyone has different levels and diffrent interests too but I hope this will serve you as a reference if you feel a bit overwhelmed about this subject that is little bit different from the rest of the sewing world.

I wanted to divide the topic in three parts and I’ll first write about sewing panties. I know that many people would like to dive all in from the beginning and make an underwired bra to start with. This is what I did when I first started out. But now, looking back in time I’d recommend people to start with something easier and then you can move on to more advanced projects, step by step. But the choice of course is yours, I’ll give you my tips here. First and the most important: this is not so complicated as it might look like, really. Second and also very important: it’s a new subject and it requires practice, don’t try to run ahead, you’ll need time to get better when sewing. Please don’t obsess with getting perfect results from the very beginning. Learn, practice and enjoy!

4.jpg

Braguitas

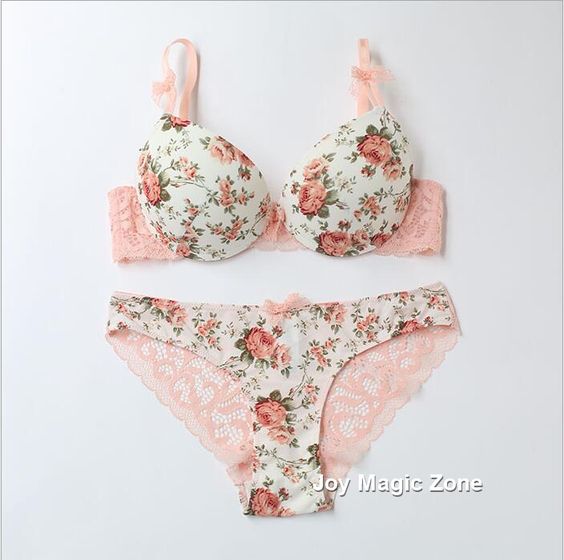
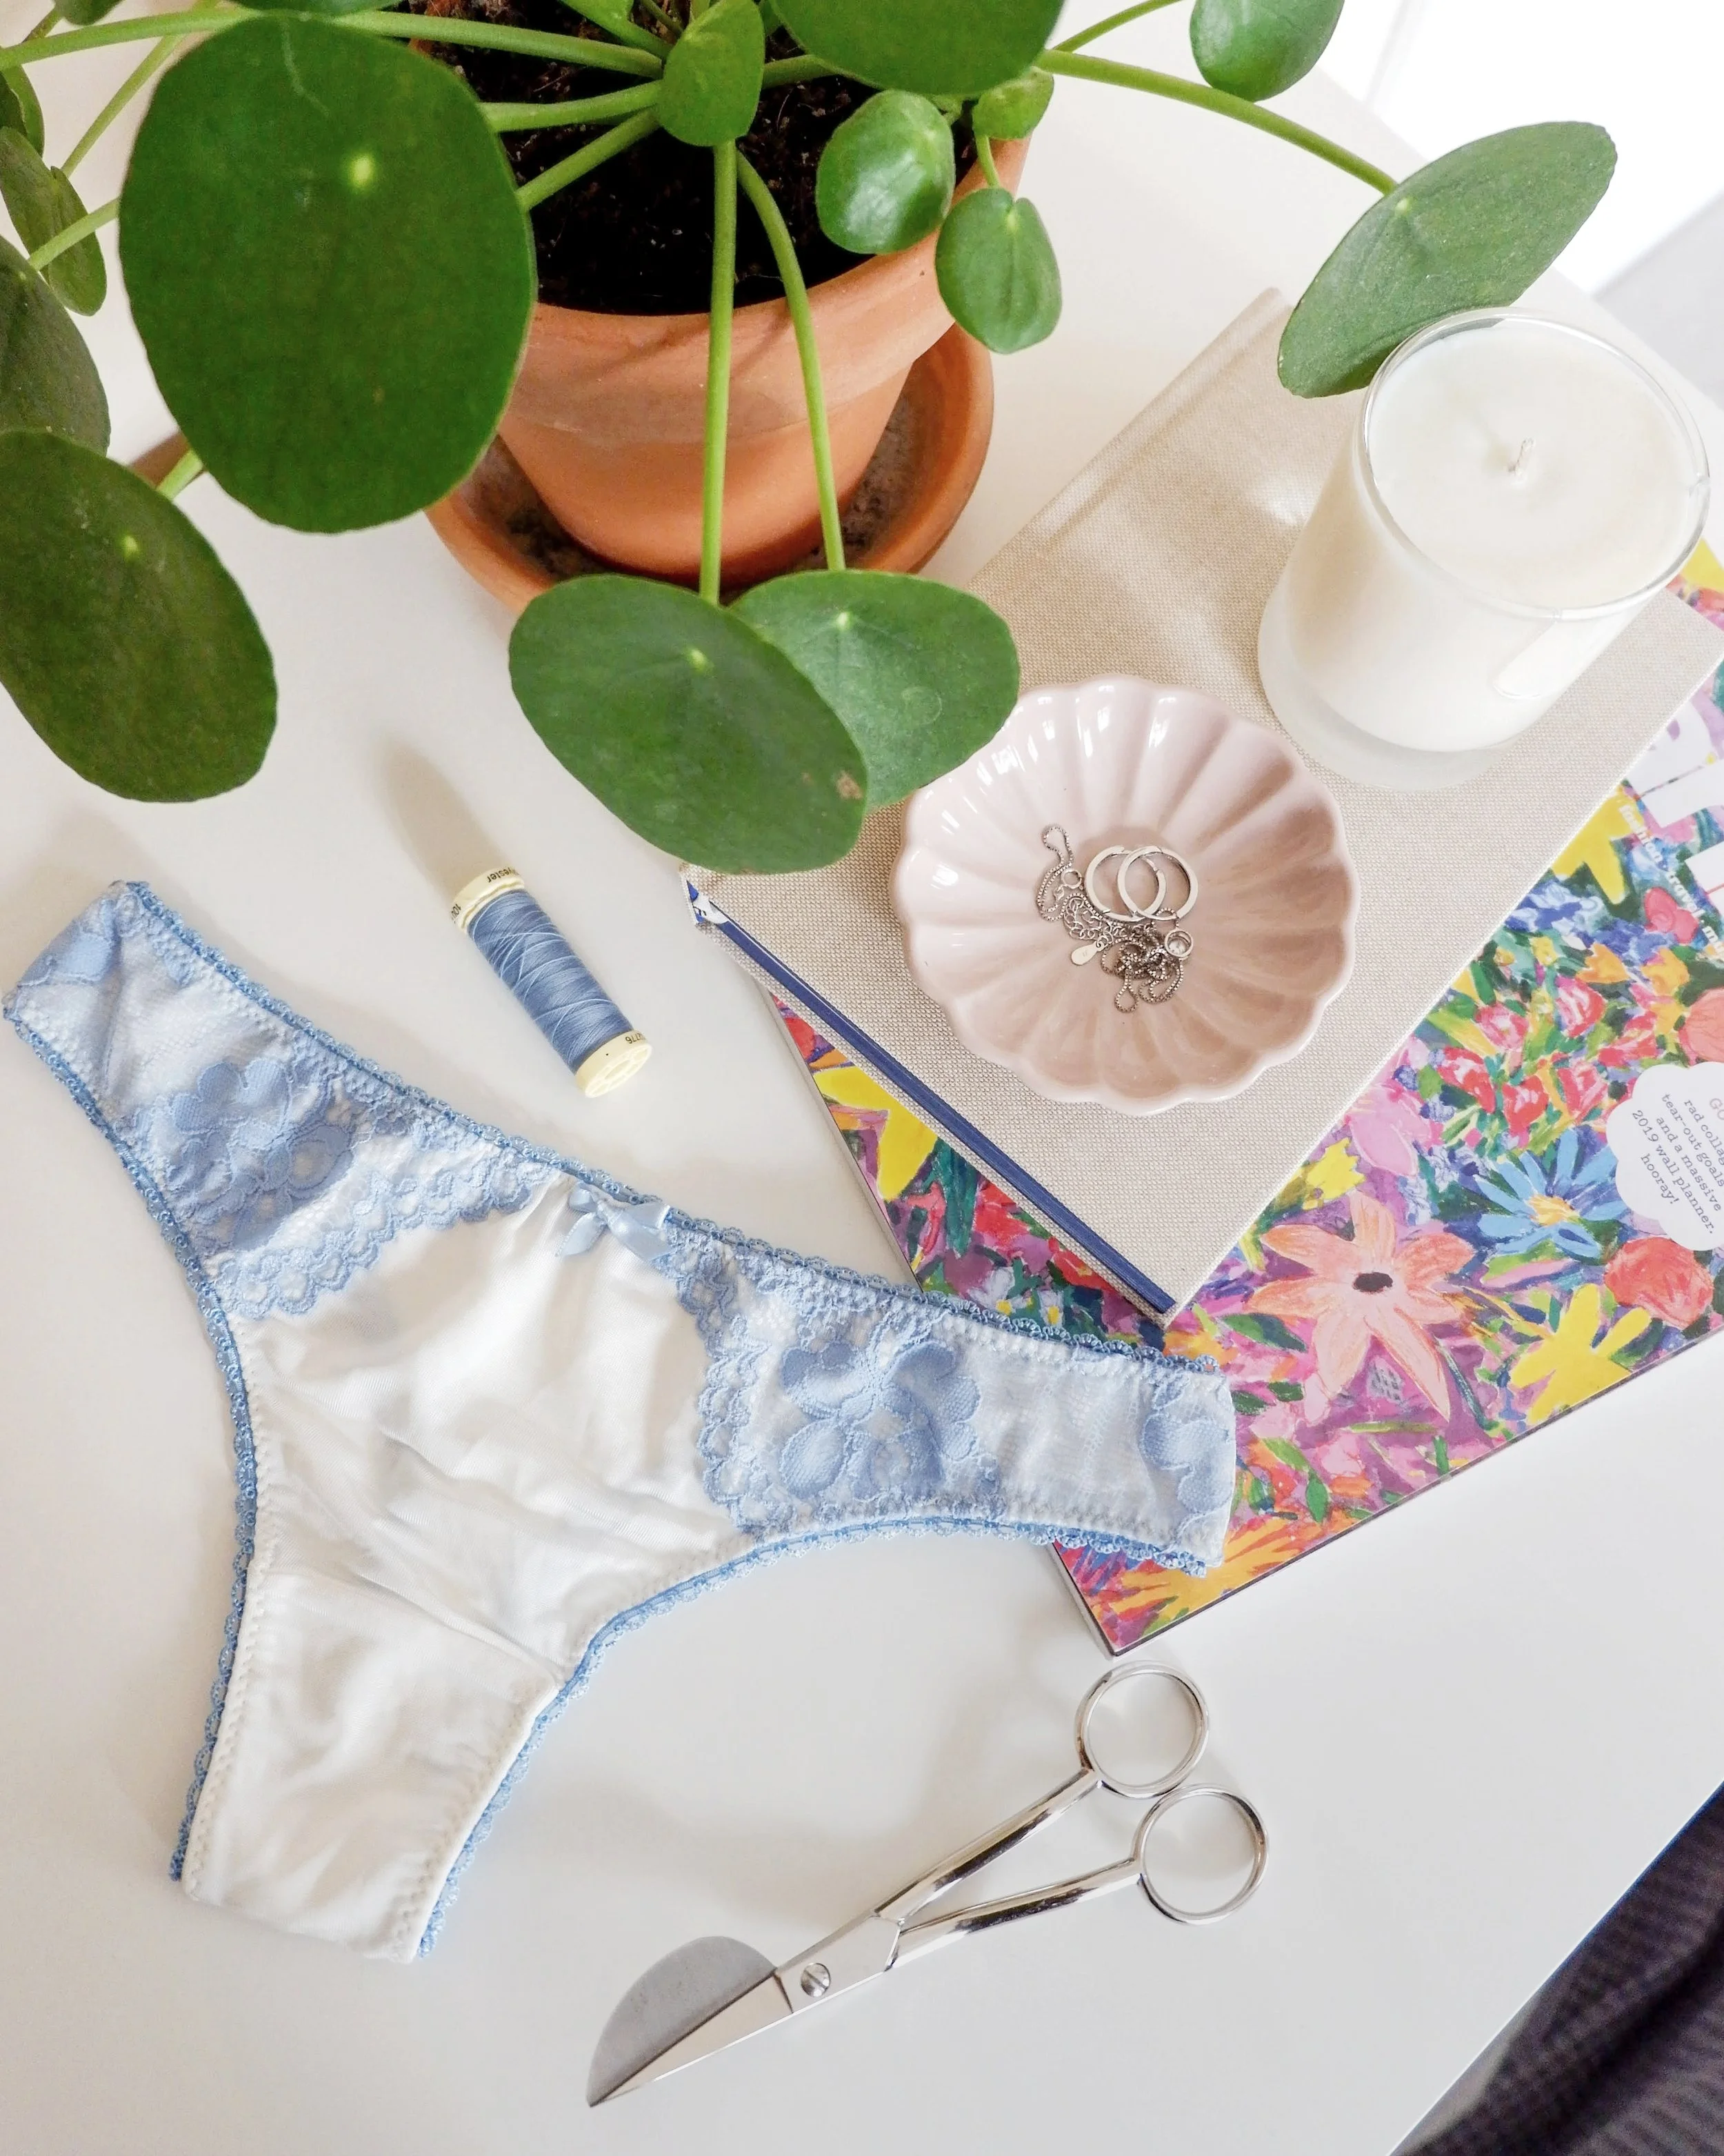
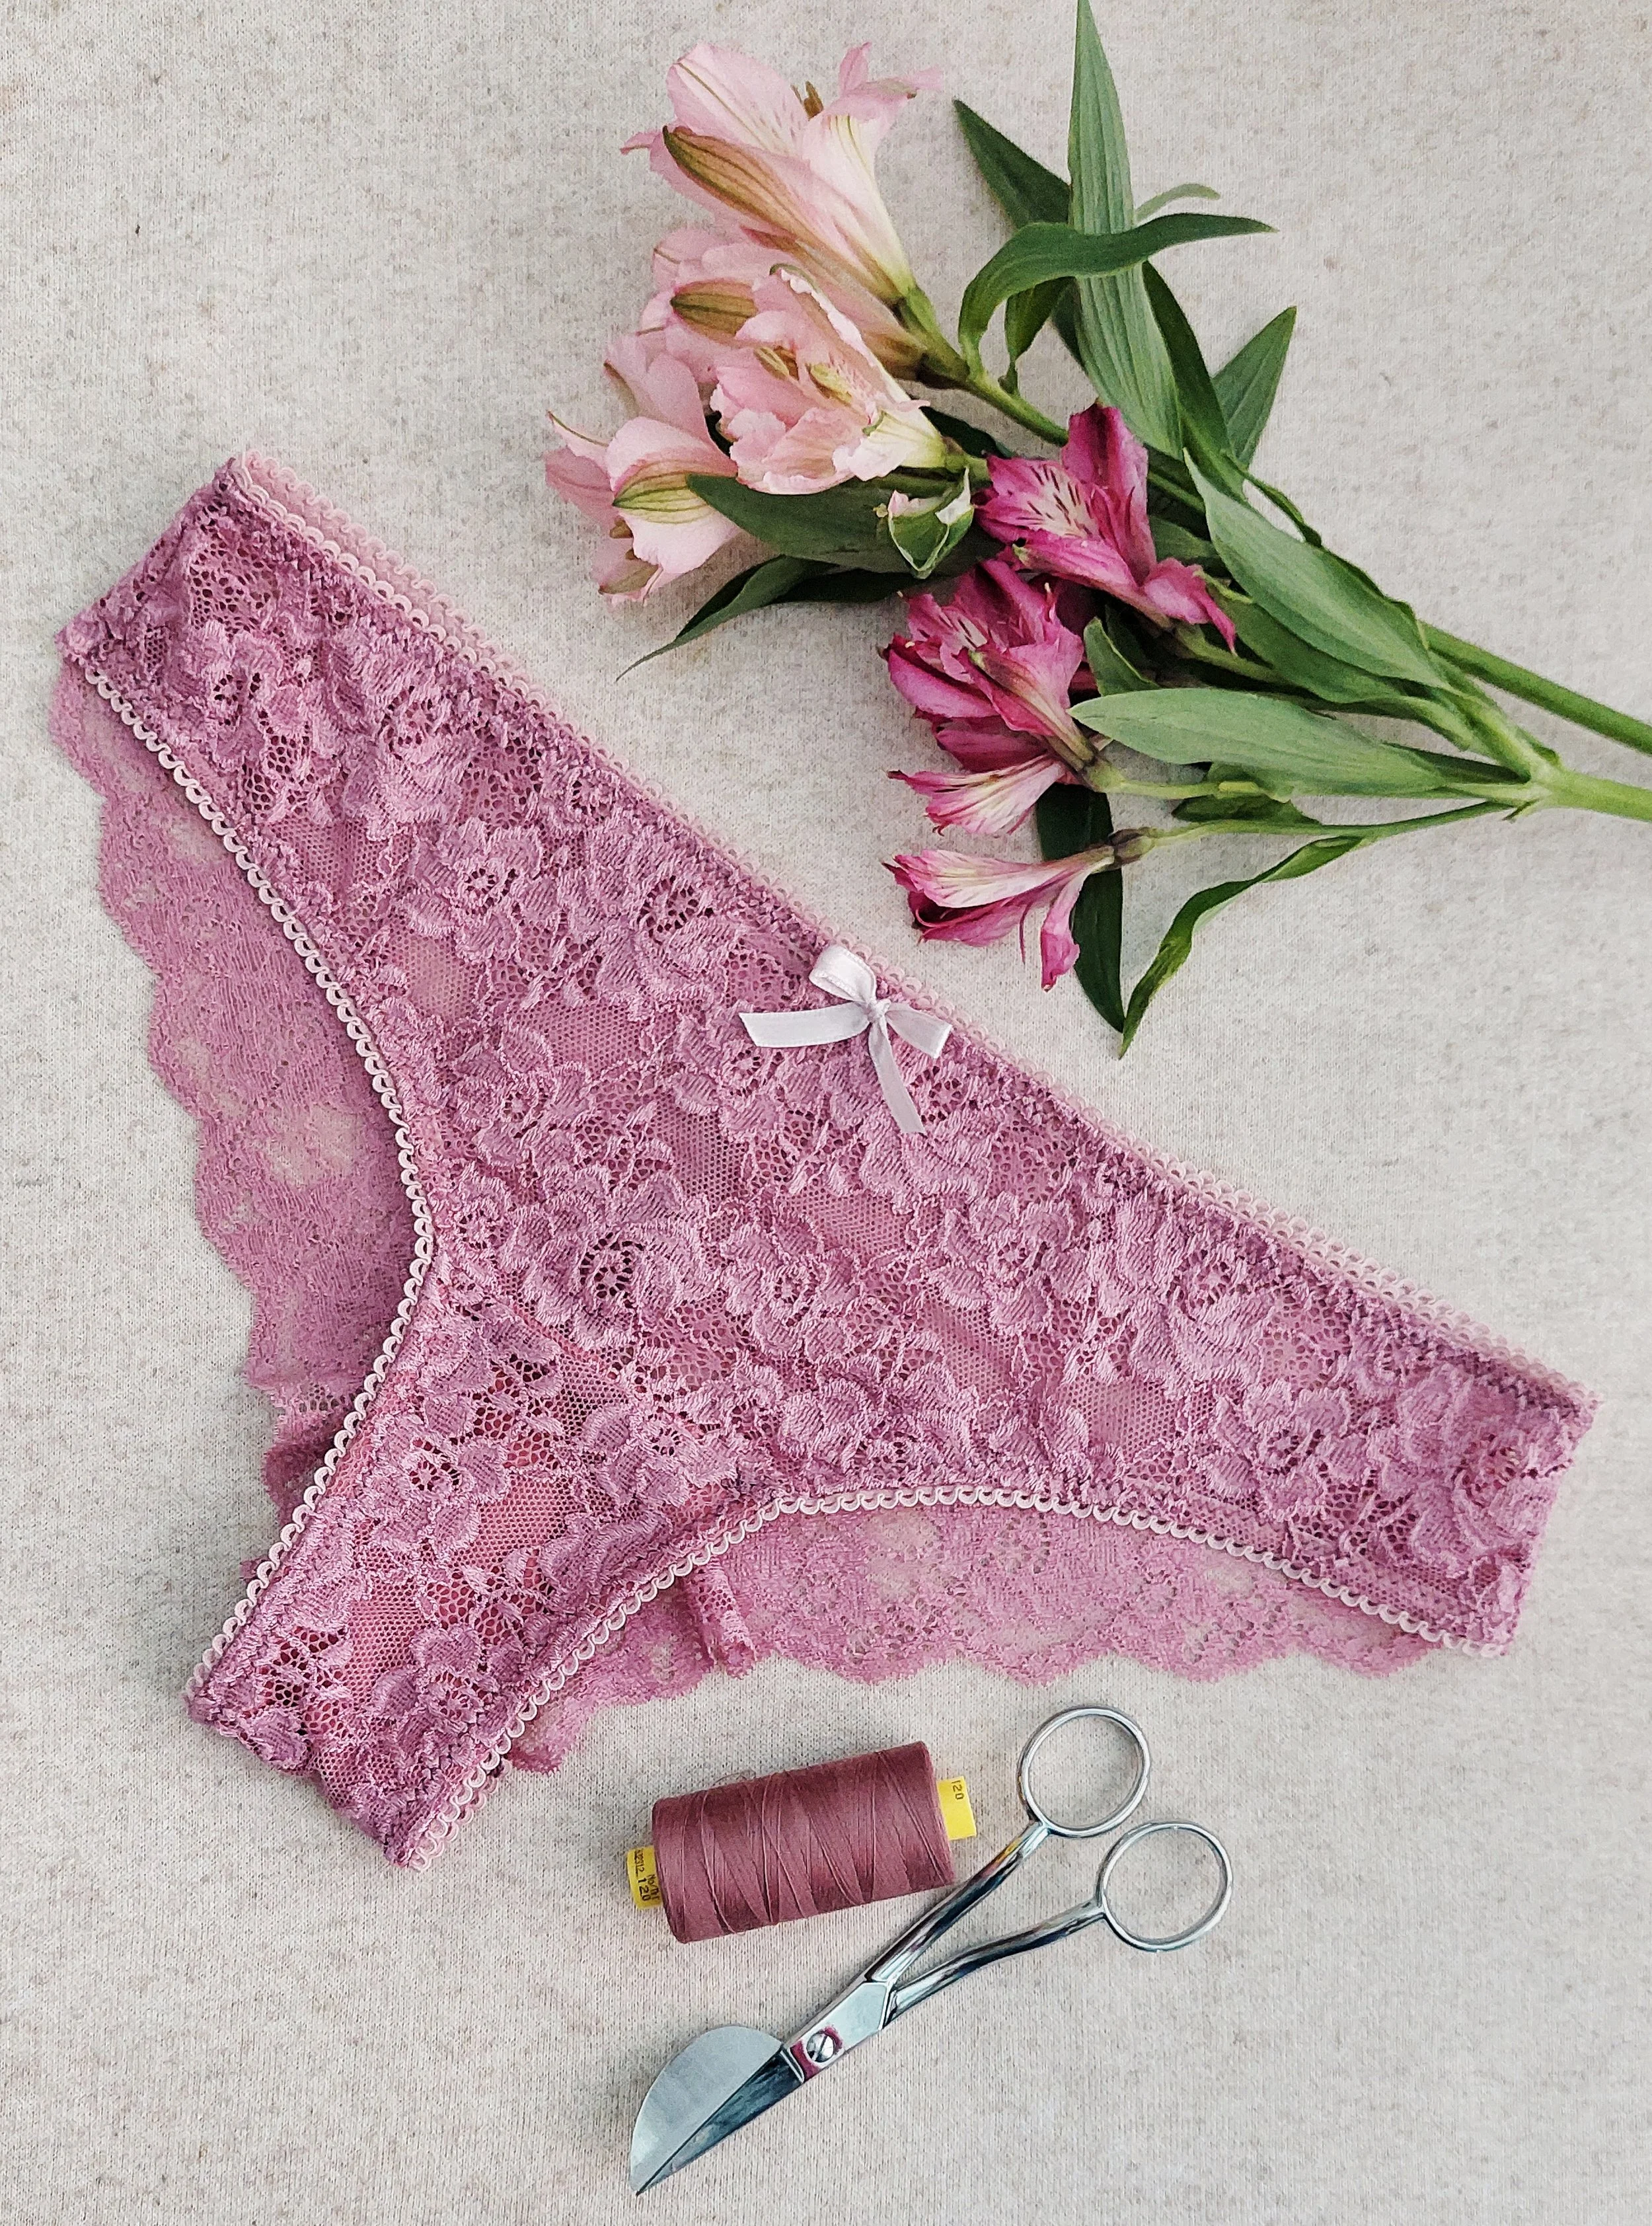
Coser braguitas es una manera ideal para empezar a coser lencería. Es un proyecto relativamente rápido, no necesitas mucho material y queda bien en la mayoría de casos. Primero te cuento los materiales y herramientas que necesitas.
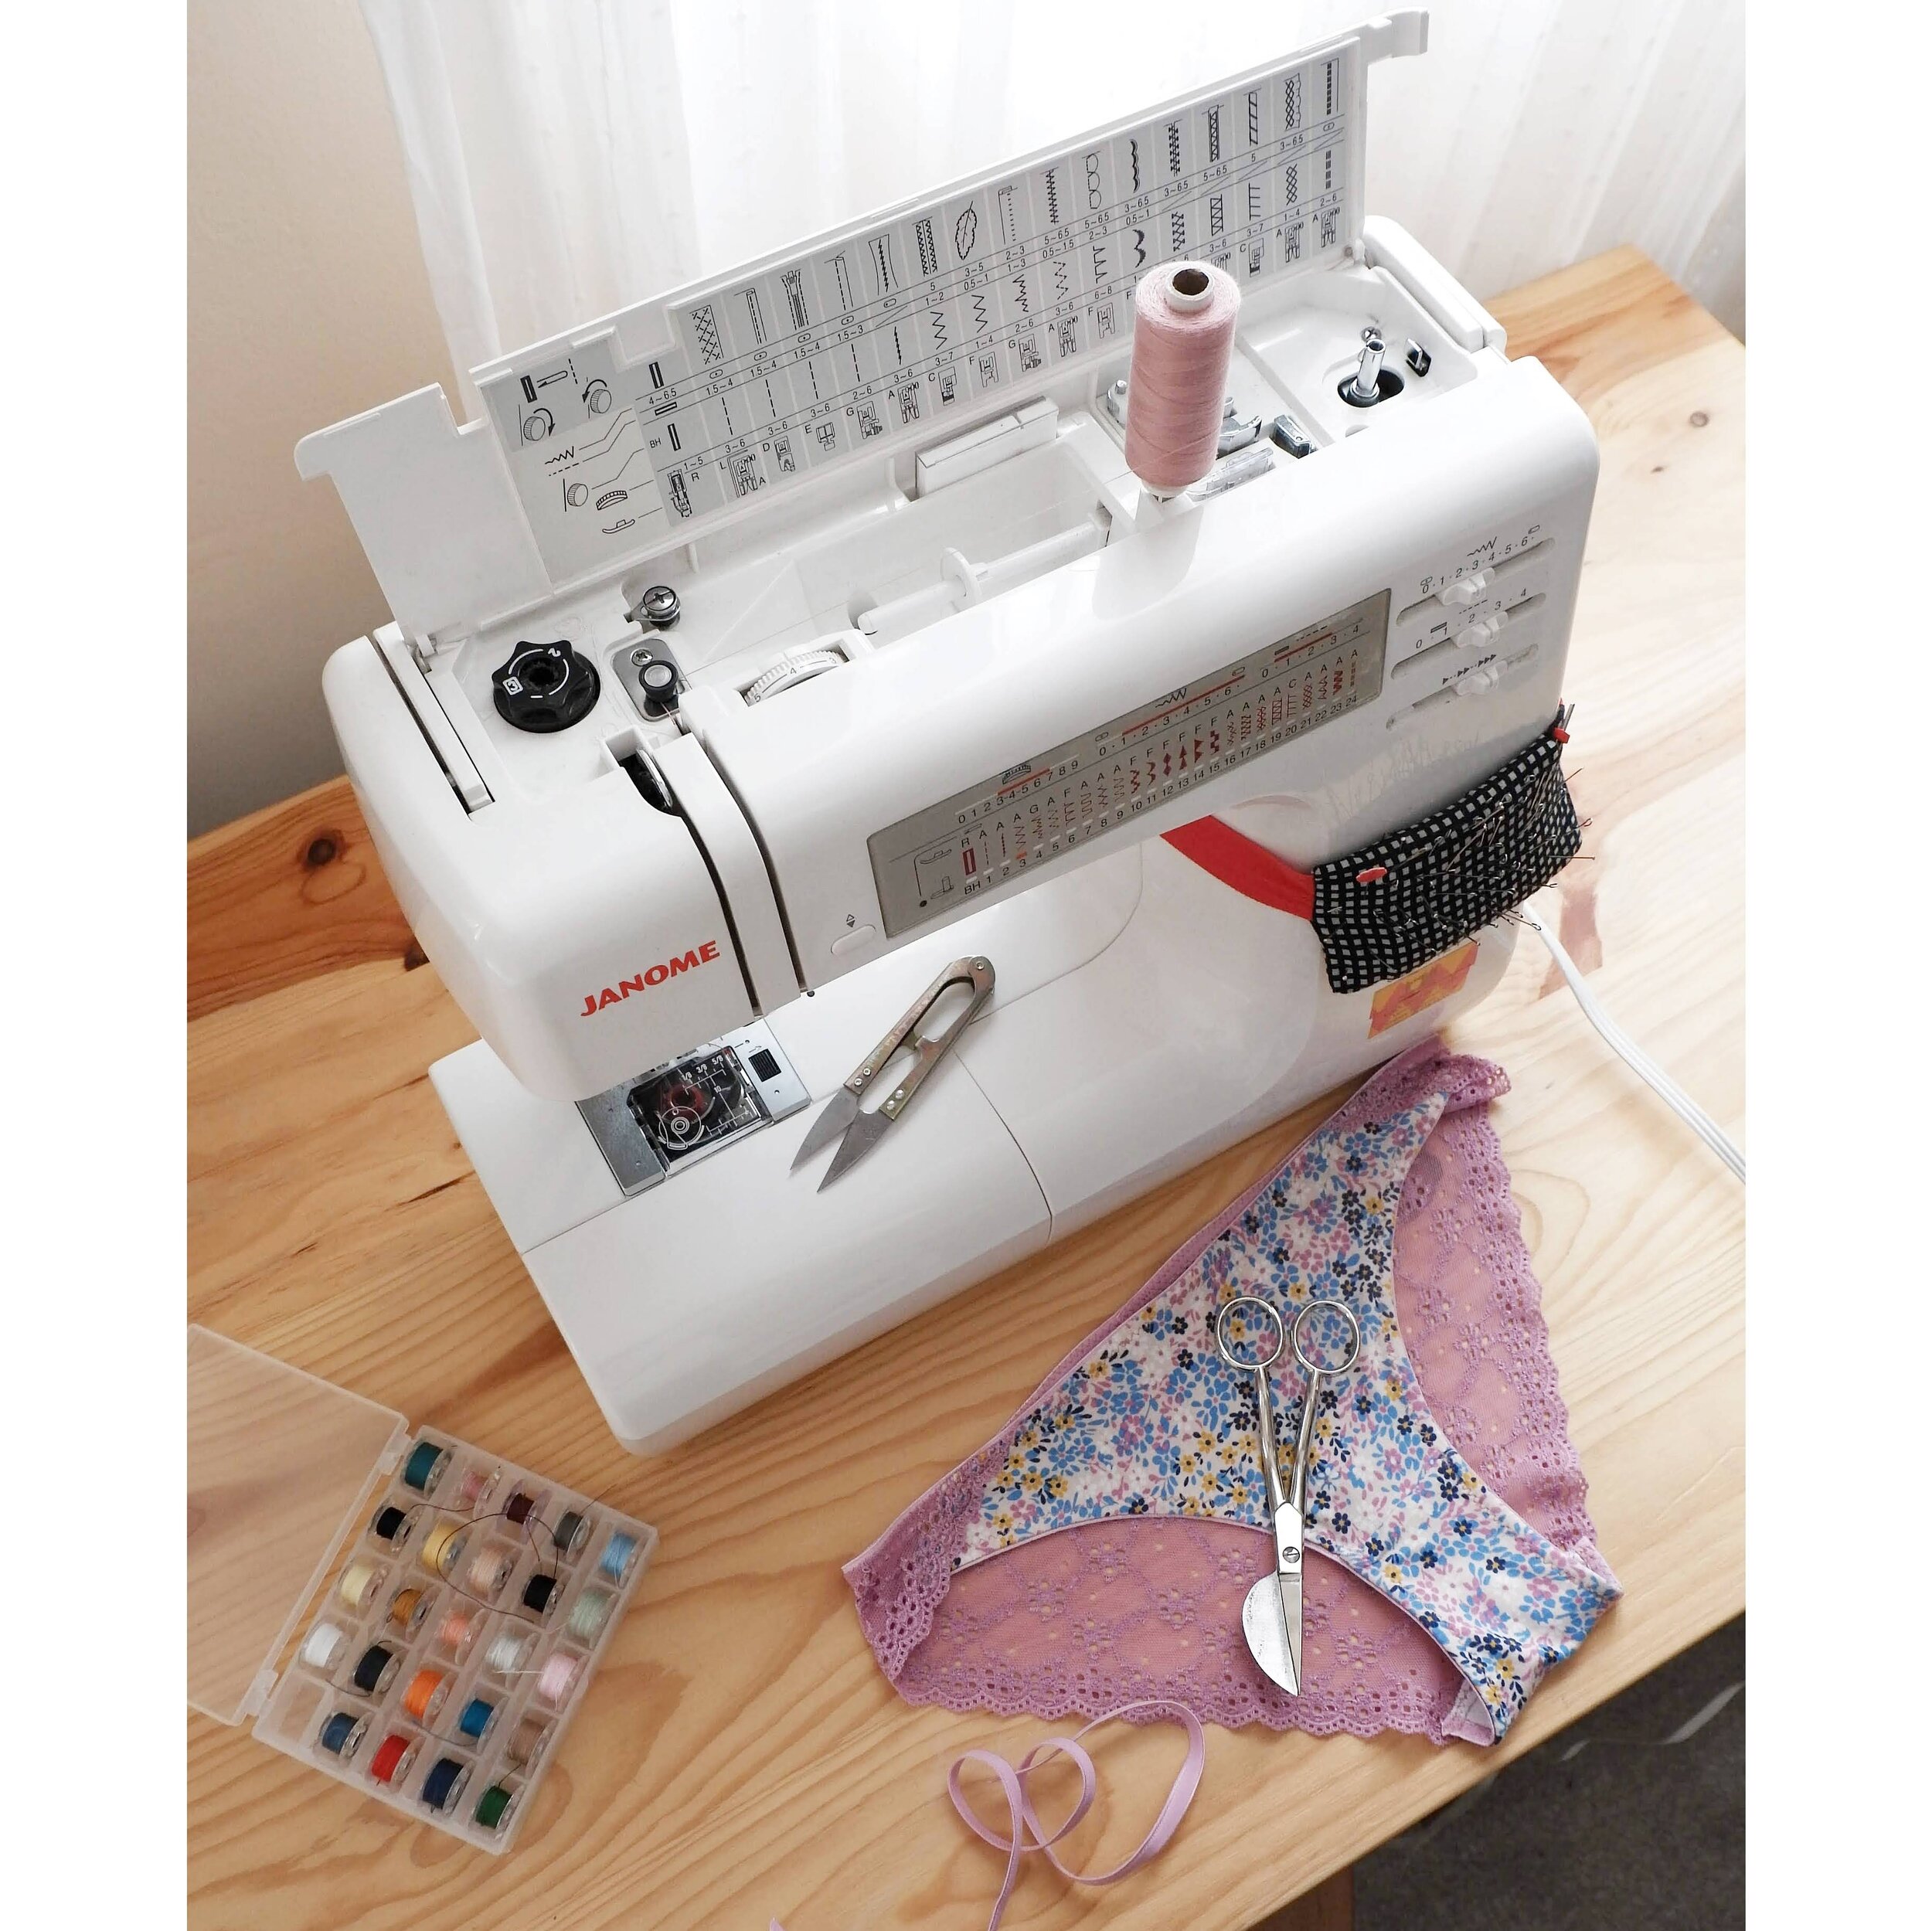
Máquina

Toda la lencería se puede coser con la máquina doméstica, no hace falta tener la remalladora. Si lo tienes, guay, pero si no, tampoco pasa nada. Necesitas aguja para telas de punto (stretch, jersey, super stretch etc) y la máquina que cosa la puntada de zig-zag (puntada que hace que no se rompa el hilo una vez que estires la prenda). Pueder leer sobre máquinas de coser y cómo elegir una para coser lencería aquí.
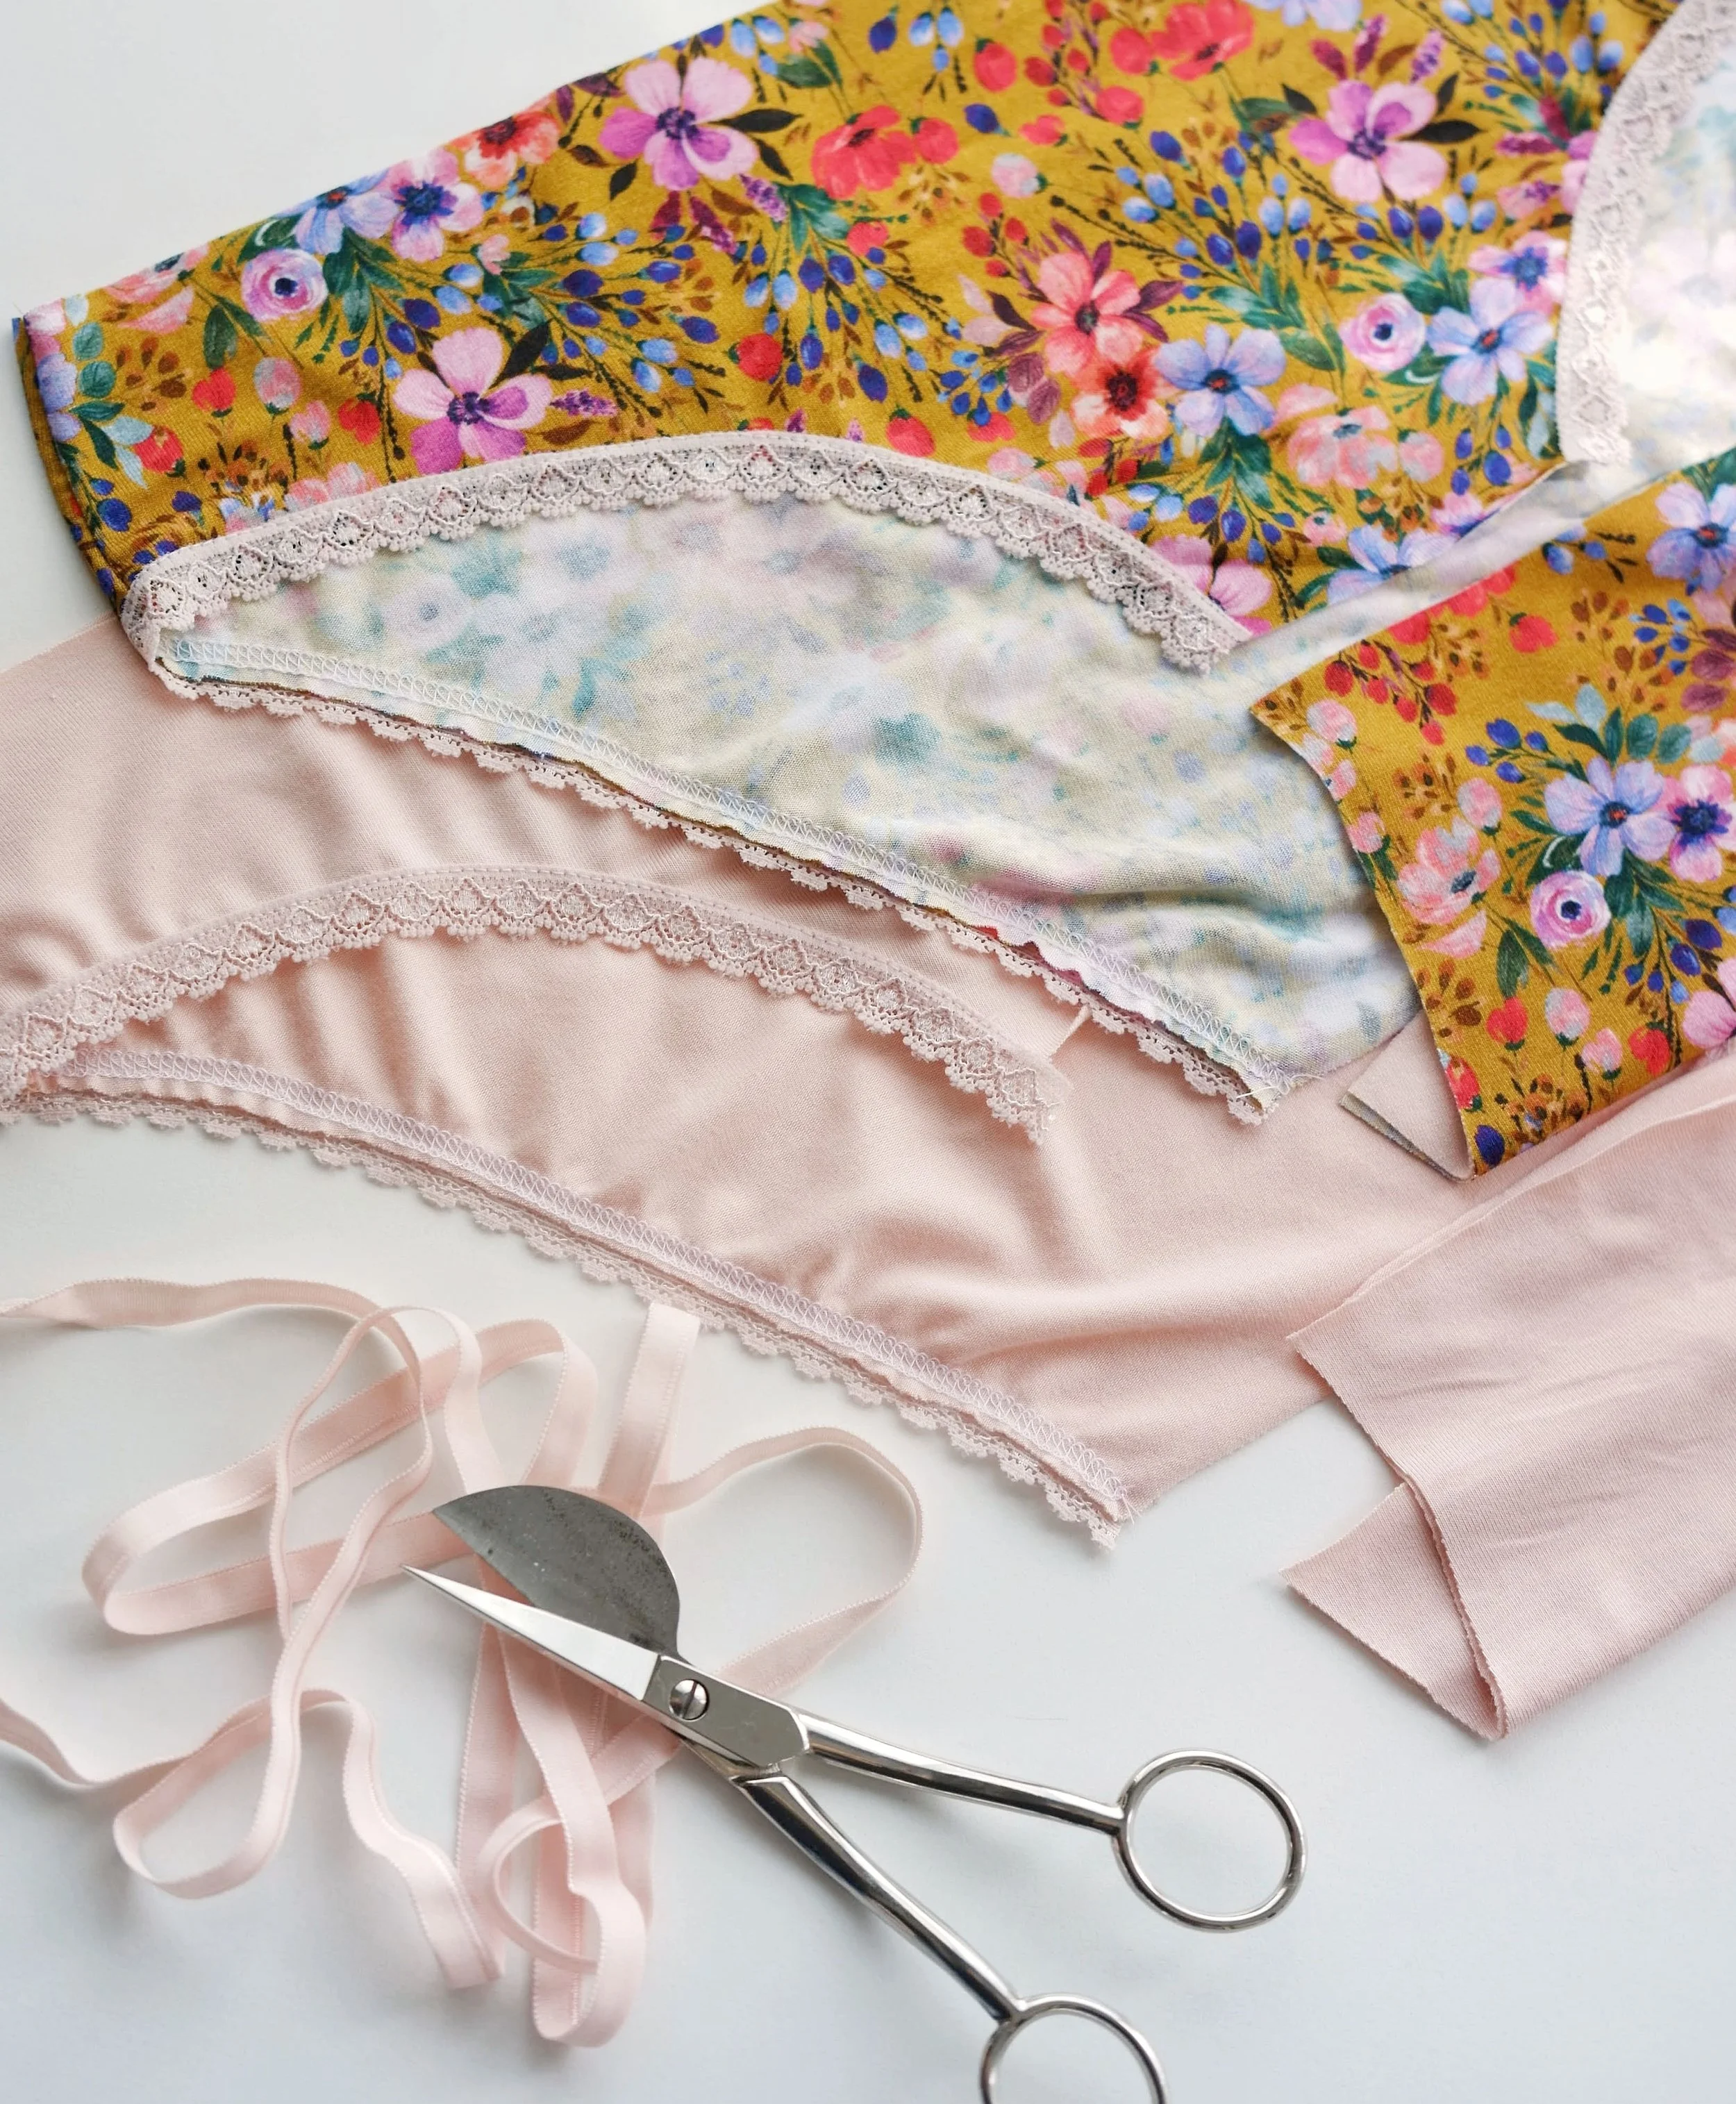
Tela

La mayoría de los patrones de braguitas se cosen con telas de punto (existen también los de estilo más vintage que se cosen con telas planas pero no voy a hablar sobre este tema por el momento). Puntos de algodón, viscosa y de poliéster te valen, lo único es que deberían tener algo de elastano para que el tejido no pierda su forma una vez que lleves la prenda. La tela debería ser más bien finita porque telas más gruesas abultan mucho una vez que coses los elásticos. Para mí, las telas más cómodos son las que tienen elasticidad en las dos direcciones. Para el forro de la entrepierna se recomienda usar punto de algodón (allí incluso podrías reciclar alguna camiseta vieja).

Elásticos

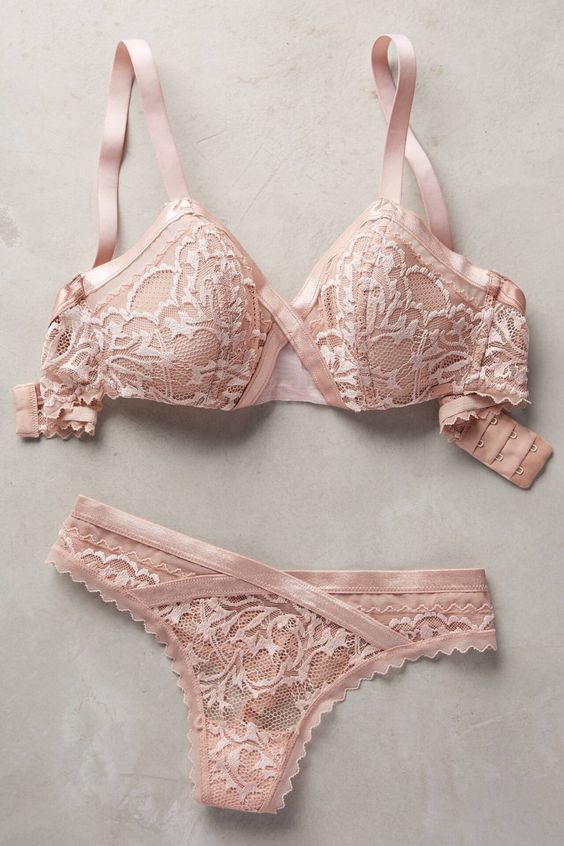
Los elásticos de lencería (puedes leer más sobre este tema en este post) para las braguitas suelen ser de 5-10mm de ancho (dependiendo de tu gusto) y son elásticos que muchas veces tienen un lado con algo decorativo como por ejemplo la puntilla. Son suaves y vienen en un montón de colores, puedes ver una variedad por ejemplo en mi tienda.

Suelo usar el elástico de lencería para la cinturilla de las braguitas y para las aberturas de las piernas. También puedes usar para las piernas por ejemplo bies elástico (FOE), puntillas elásticas o incluso puedes doblar el margen de costura y coser un dobladillo usando la aguja doble de punto o con un zig-zag normal.

Panties

Sewing panties is a great way to start sewing lingerie. It’s a reasonably fast project, you don’t need a lot of supplies and it almost always turns out pretty. First a little bit about the materials and supplies you’ll need.

sewing machine

You can sew all the lingerie with a domestic sewing machine, you don’t need a serger. If you have one it’s great, but if you don’t it’s not a problem at all. You will need to use a ballpoint needle for your sewing machine (stretch, jersey, super stretch etc denomination) and the machine has to have a zig-zag stitch option (this stitch makes is possible to stretch the elastics once you put the garment on). You can read a post about sewing machines + tips about choosing one for sewing lingerie here.

fabric

Most of pantie patterns require knit fabrics (there are also vintage inspired patterns that use woven fabrics but I won’t talk about these at the moment). Cotton, viscose and polyester knit fabrics are all suitable, you just need them to have some spandex in them so they won’t lose their shape once you wear the garment. The fabric should be quite light weight as medium weight fabrics tend to be too bulky once you sew the elastics on. I find the 4-way stretch fabrics the most comfortable for panties. For the gusset lining you should use a 100% cotton knits (you can even recycle old t-shirts for that purpose).

elastics

The lingerie elastics for panties (you can read more about the elastics in this post) usually have a 5-10mm width (it depends on your preference really). Most of them have a decorative edge, for example a scalloped side. These elastics are soft and come in a variety of colors, you can take a look at the section in my shop for example.

I usually use lingerie elastics for the waist opening of the panties and also for the leg openings. You can also use fold over elastic (FOE) and narrow lace trims for the leg openings. And there’s also a possibility of sewing a folded “hem” by folding the seam allowance under and using either a knit double needle to stitch them down or sew them with a normal zig-zag stitch.

DSCF8345-01.jpeg

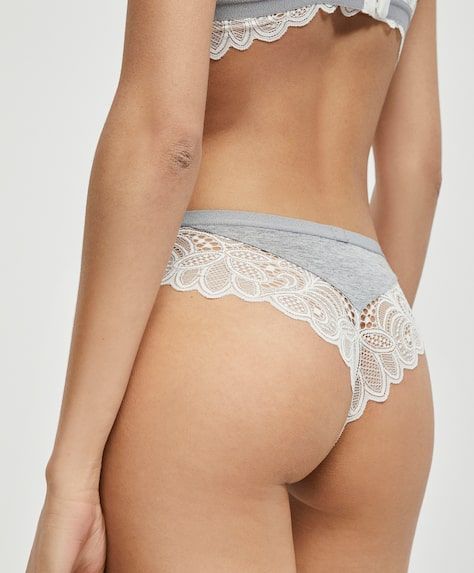
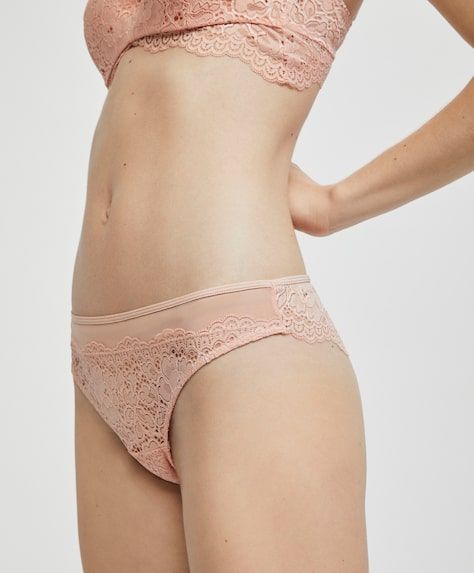
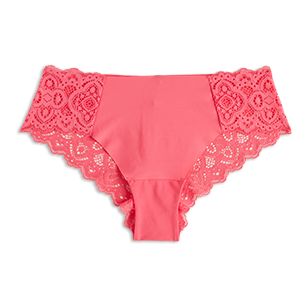
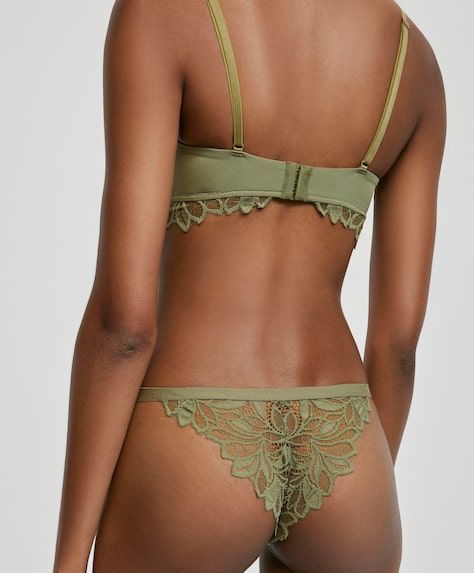
Para tu primer par de braguitas te recomiendo usar tela de punto y coser elástico de lencería tanto en la cinturilla como en las piernas, es más fácil que FOE por ejemplo y luego ya puedes ver qué otros acabados te pueden gustar. El primer par suele salir...pues un poco como un churro. Pero no te desesperes, lo más importante es aprender cómo coser los elásticos y ya verás que con poco de práctica tendrás pronto la habilidad de coserlos bien.

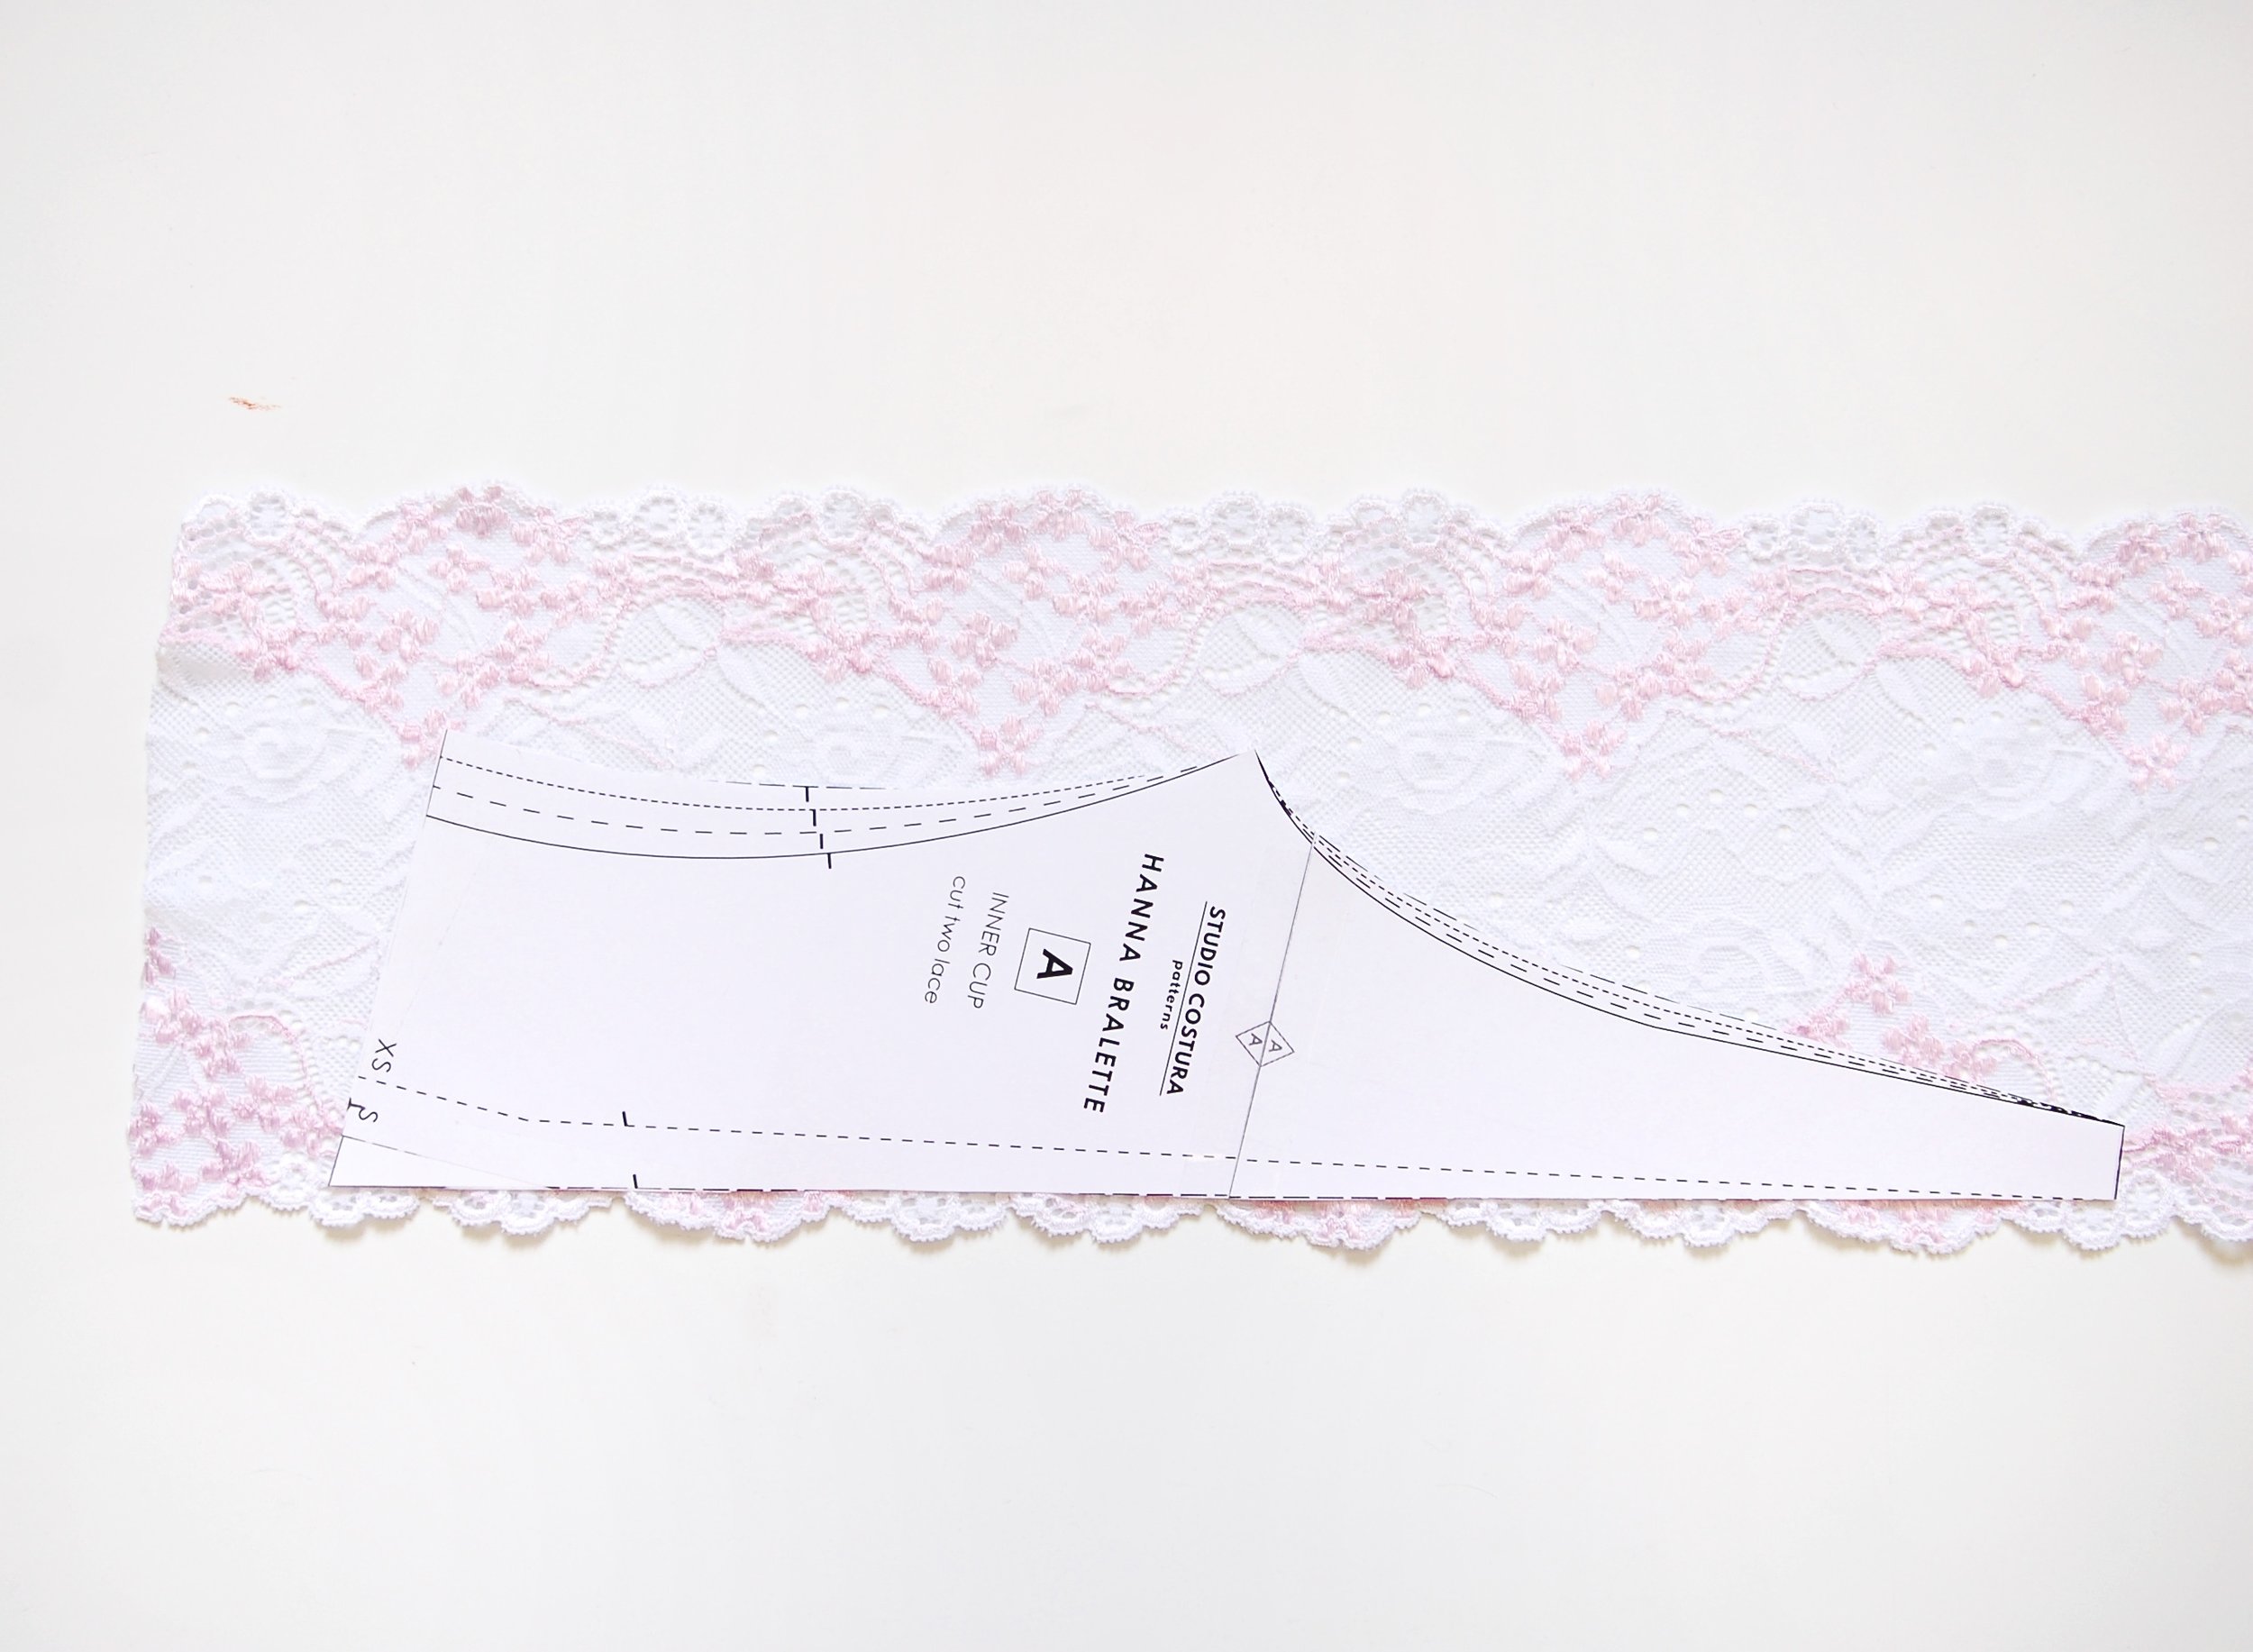
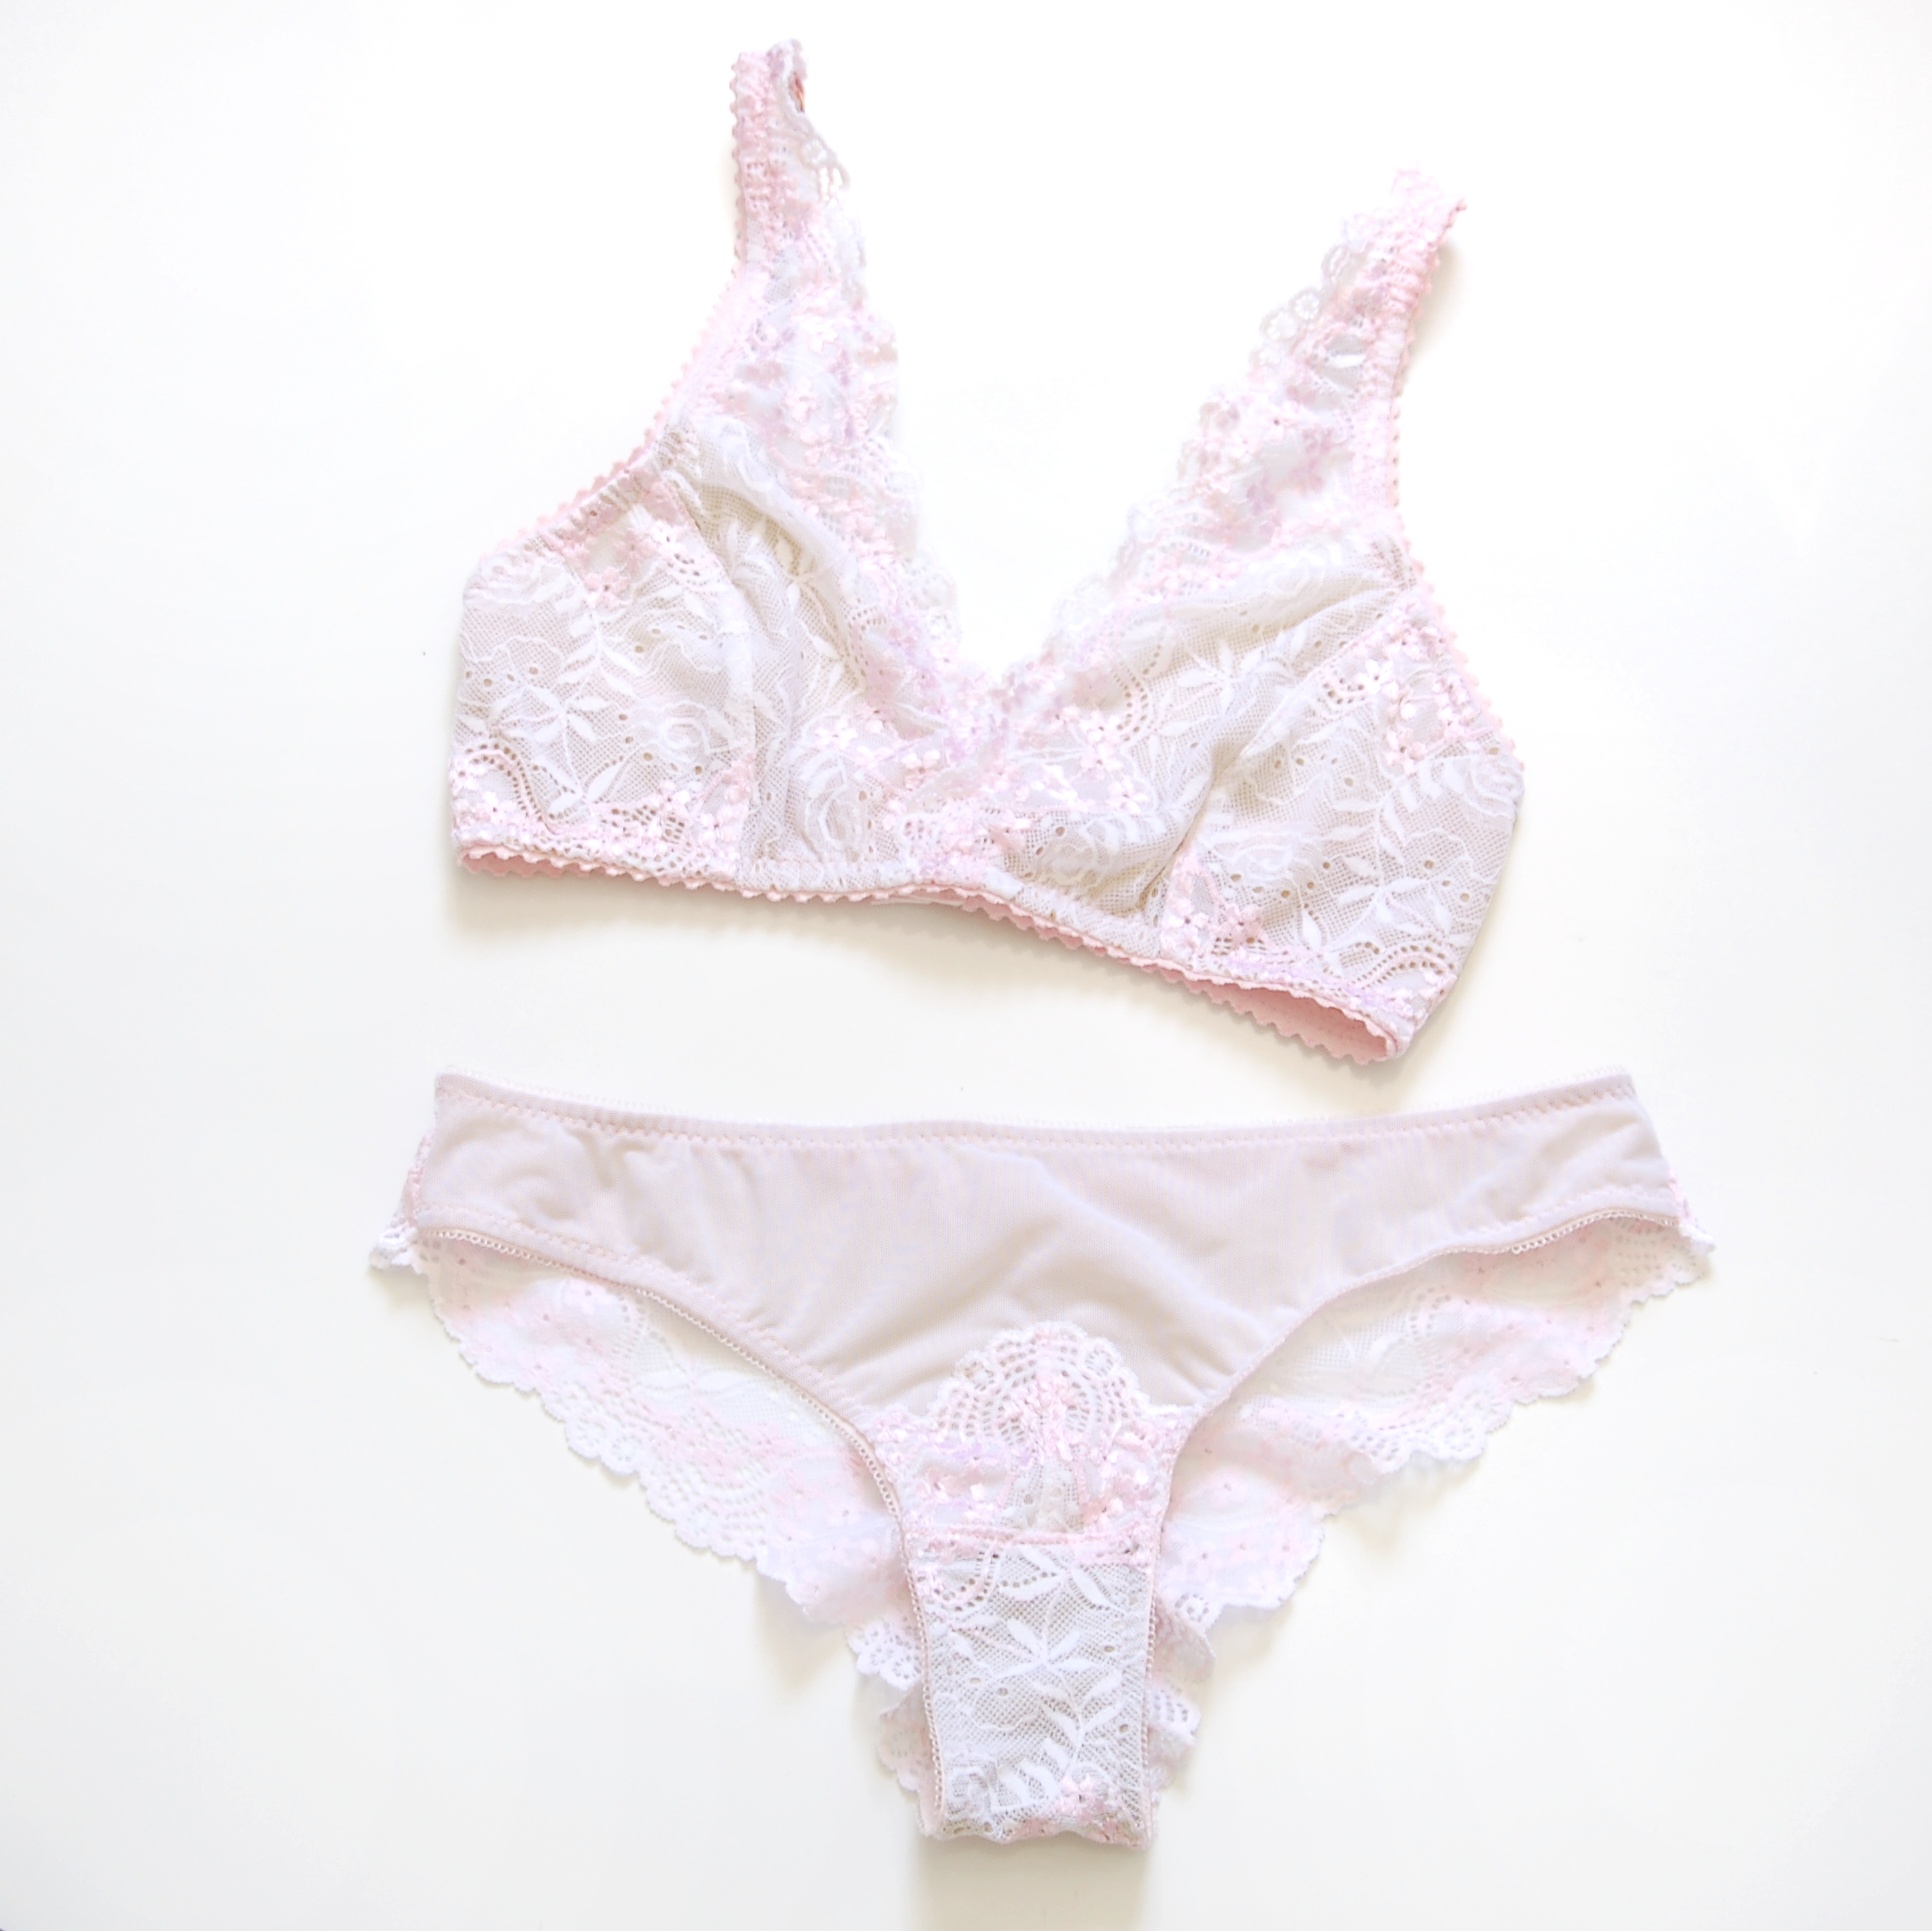
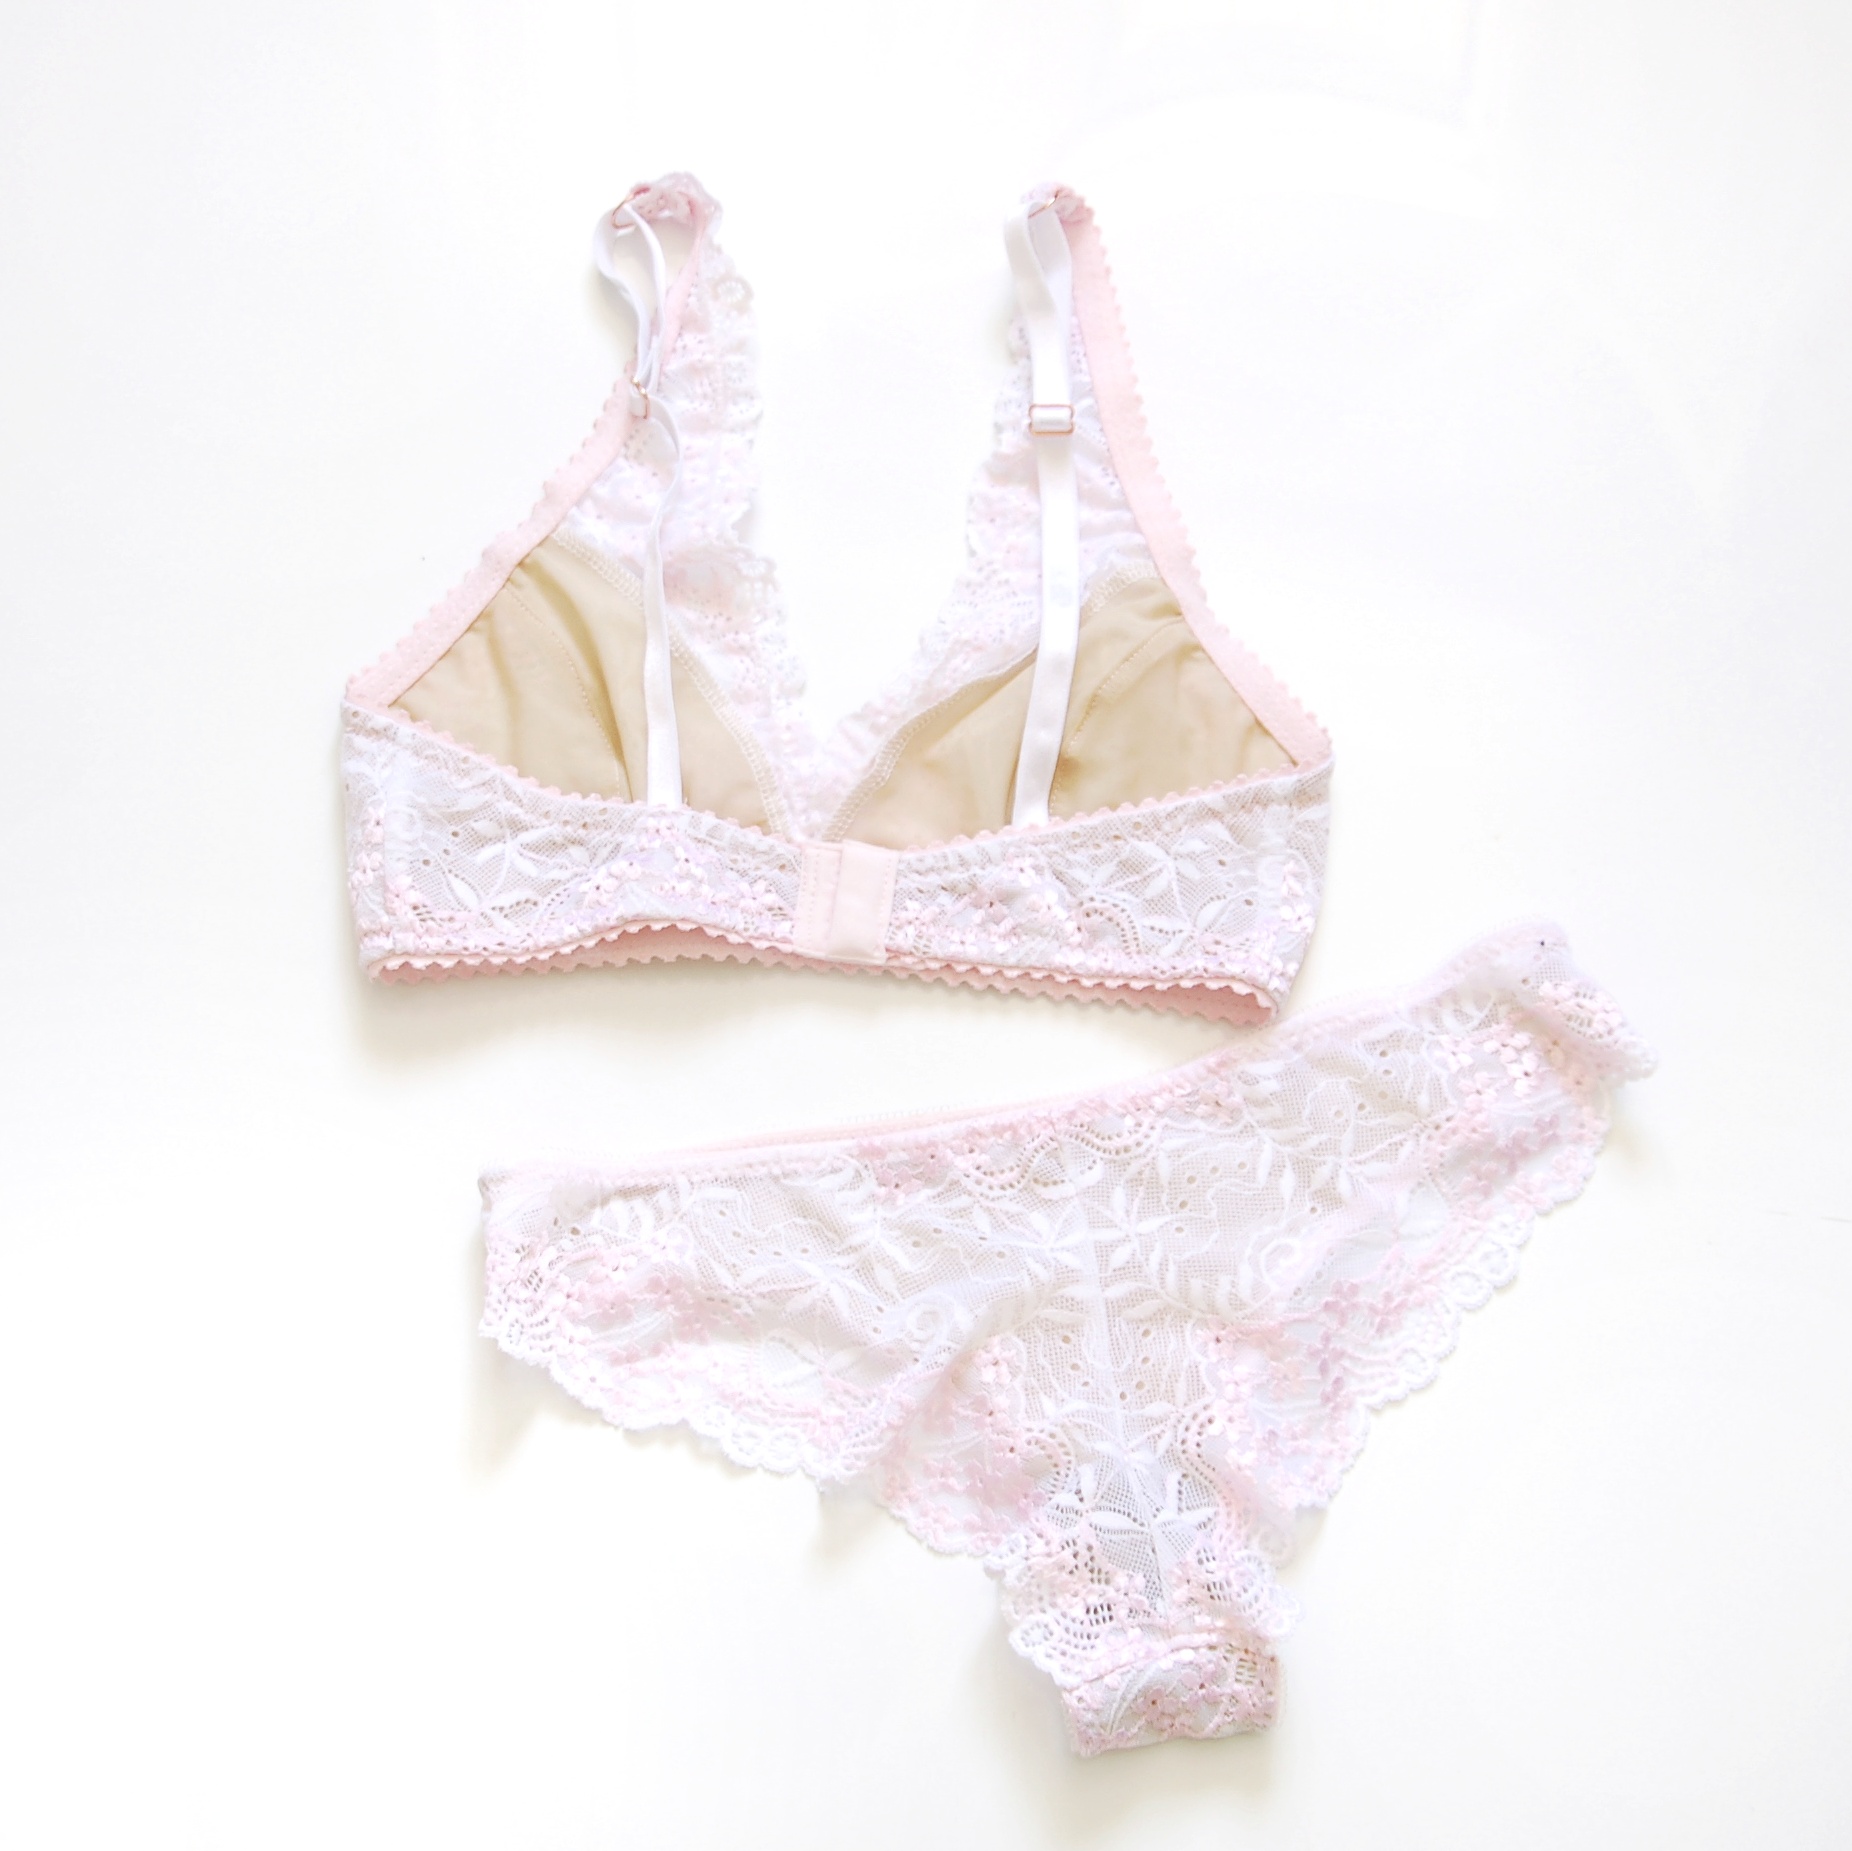
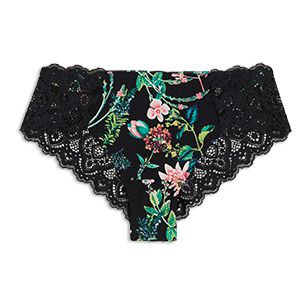
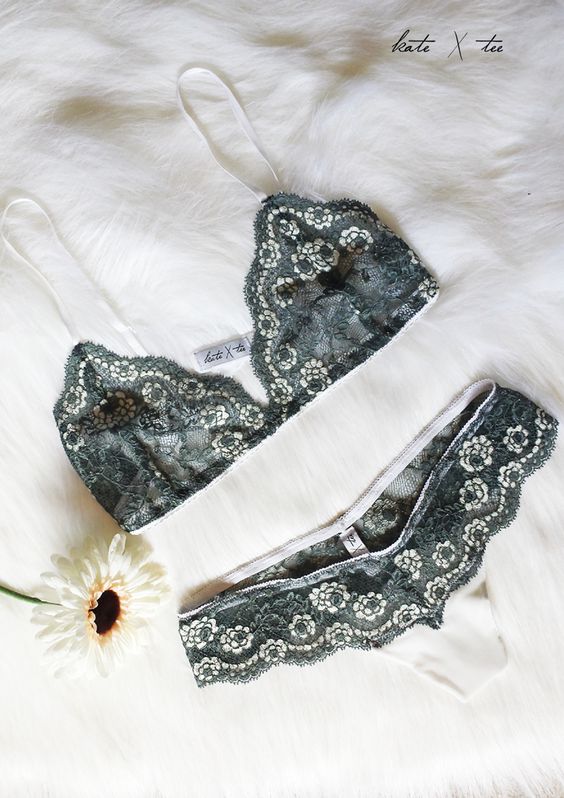
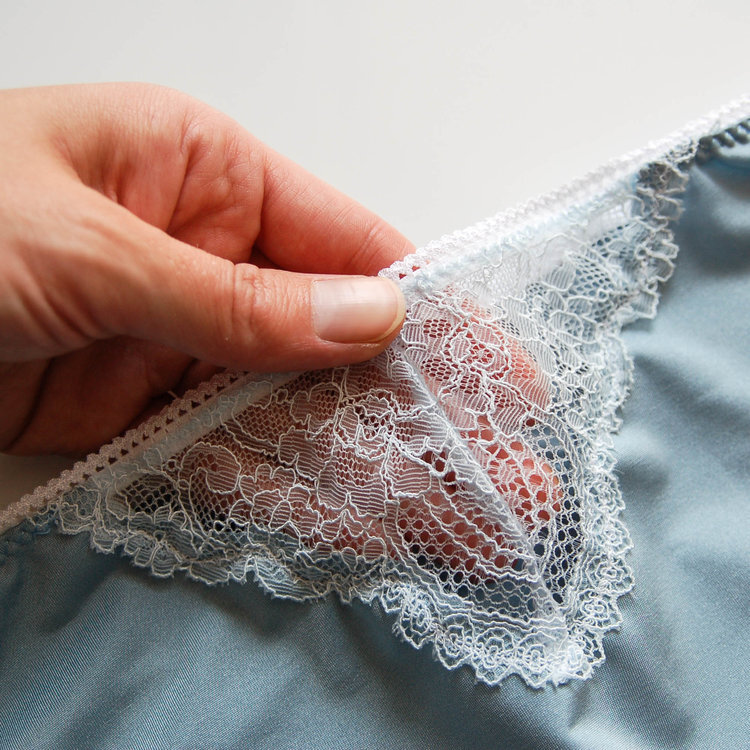
Una vez que ya sabes los básicos, puedes experimentar con encajes elásticos y otro material que me gusta mucho también es tul elástico. Es un poco más complicado quizás al principio porque resbala mucho pero el resultado es muy bonito.

Los materiales para coser braguitas no son muy difíciles de encontrar pero si quieres tener un kit para saber exactamente qué deberías buscar, tengo en la tienda un par de opciones que llevan la tela, encaje y elásticos.

Para saber de más sitios donde puedes comprar materiales para coser lencería, te recomiendo mirar esta página de Orange Lingerie o esta de Cloth Habit.

I’d recommend using a knit fabric and lingerie elastics for both waist and leg openings when you sew your first pair of panties. It’s easier than FOE in the beginning and once you complete the first project you can choose other types of finishings. The first pair usually comes out…a bit wonky. But don’t stress out, the most important thing here is to learn how to sew the elastics and you’ll see that with a bit of practice you’ll master the technique soon.

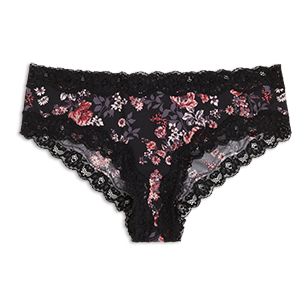
Once you know the basics you can start experimenting with stretch lace. The other fabric I really like is stretch mesh. It can be a bit trickier to sew with at first but the results are very pretty.

The supplies for sewing panties are not so hard to find but if you’d like to start with a kit there are some options in my shop that come with knit fabric, lace and elastics.

To know about more online shops you can purchase bramaking supplies you can check out Orange Lingerie and Cloth Habit who both have great lists of vendors in their websites.
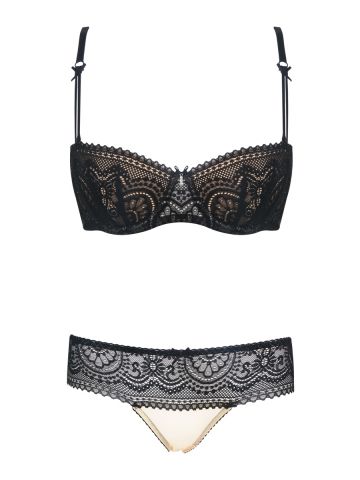
IMG_20200221_114210_097.jpg

Patrones

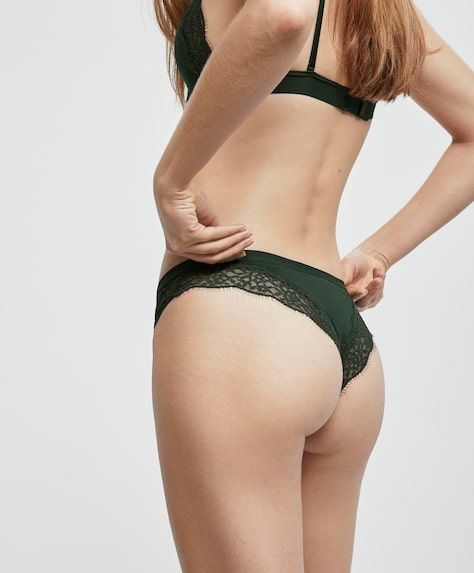
En el mercado hay muchos patrones de braguitas tanto para telas de punto como para encajes, seguro que encuentras algo que te guste. Yo he hecho mis patrones para que puedas usar tanto puntos como encajes y así variar el mismo patrón de muchas maneras. Las instrucciones están escritas de la manera que son muy aptas para la gente que nunca ha cosido lencería, así que por eso no te preocupes. Voy a añadir también la lista de marcas que hacen patrones de braguitas para que puedas buscar algo que te guste.

Studio Costura Patterns

Evie La Luve

Emerald Erin

Ohhh Lulu

Orange Lingerie

Cloth Habit

Megan Nielsen

Merckwaerdigh

patterns

There are many patterns on the market, both for knit fabrics and for lace, I’m sure you’ll find something you like. I’ve designed my patterns for both knits and lace so you’ll have many possibilities to play around with variations using the same pattern. I’ve written the instructions in a way that they are understandable for any level so don’t worry about being a complete beginner. I’ll also add a list of designers who have pantie patterns.

Studio Costura Shop

Evie La Luve

Emerald Erin

Ohhh Lulu

Orange Lingerie

Cloth Habit

Megan Nielsen

Screenshot_20190213-131114_Instagram-01 (1) (1).jpeg
www.studiocostura (12).jpg

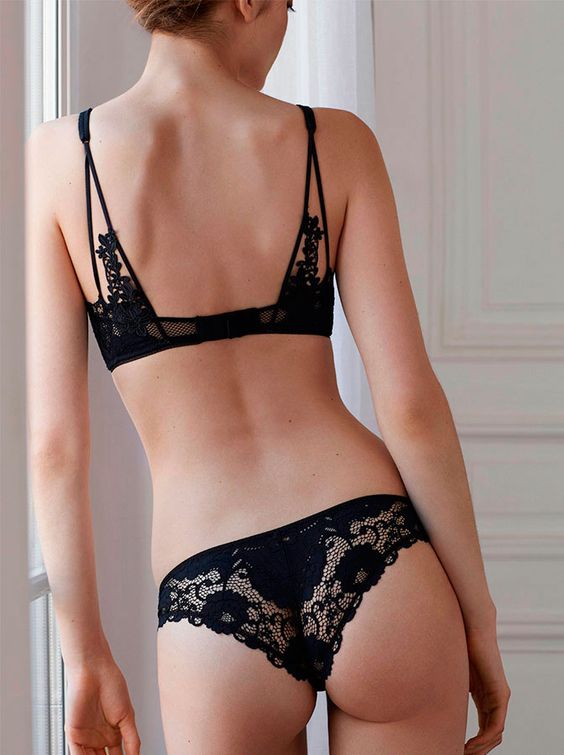
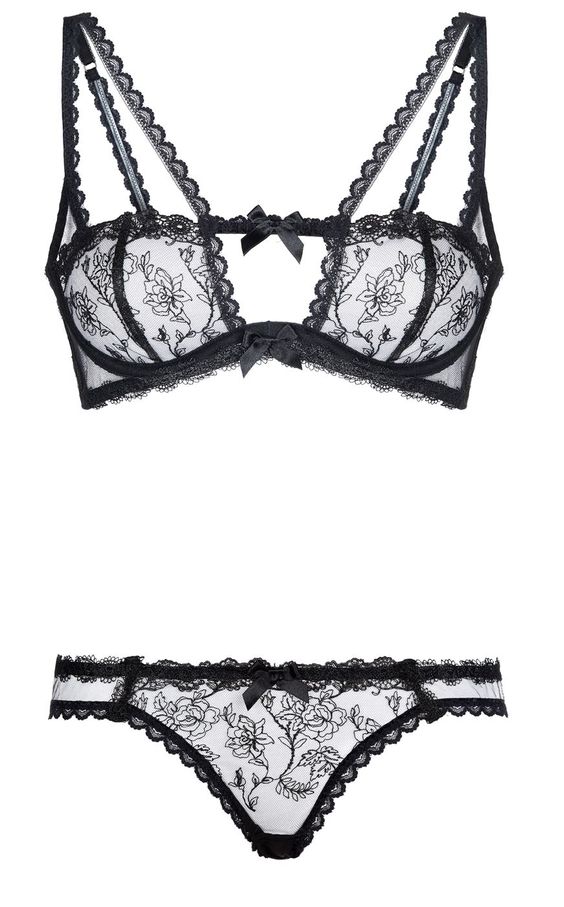
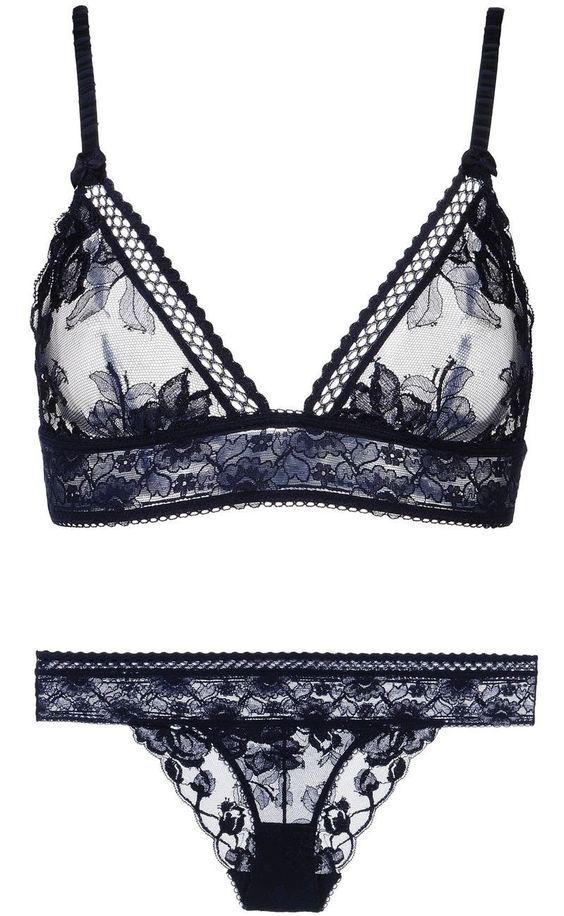
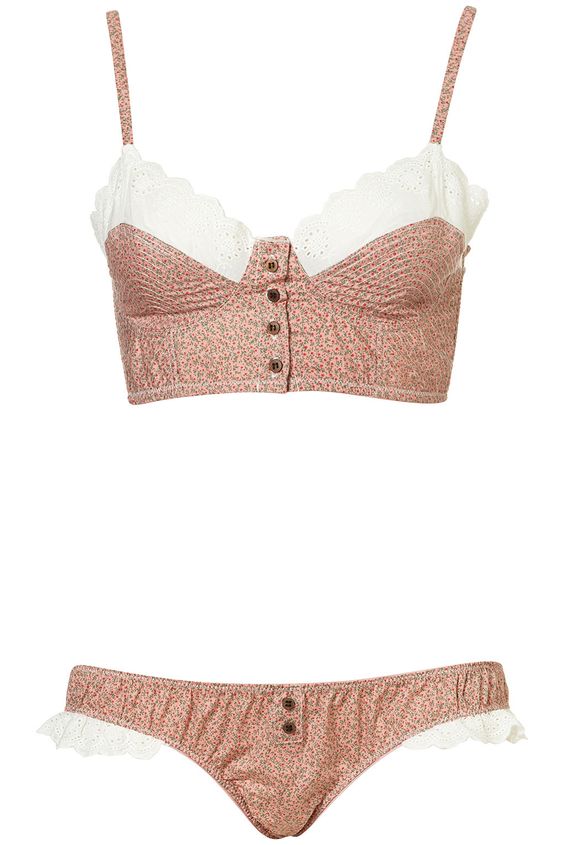
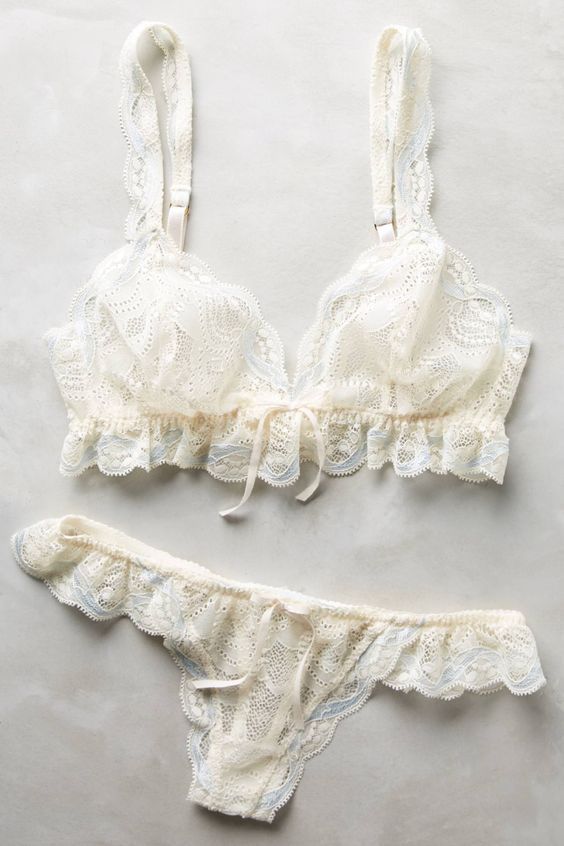
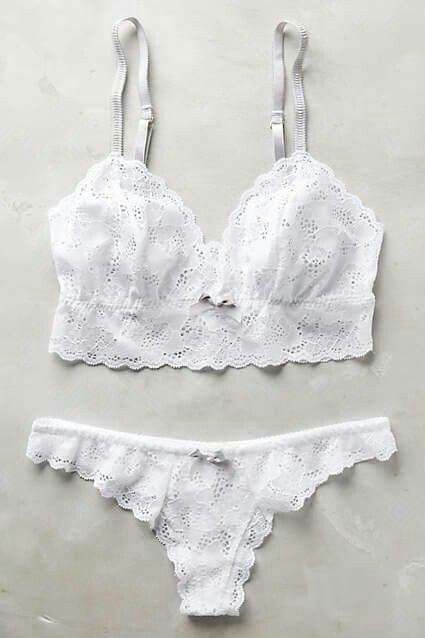
Para inspirarte para coser braguitas puedes mirar este y este post que hice cuando publiqué mis patrones de braguitas, en mi tablero de Pinterest hay un montón de cosas chulas y en el Instagram de Studio Costura Shop comparto también fotos de interés. Así que para empezar, haz un par de braguitas! En la siguiente entrada hablaré sobre bralettes, el proyecto que ya se parece a un sujetador pero es un poco más fácil de coser. Si tienes preguntas, recomendaciones o ideas no dudes en compartirlo aquí :)

For more inspiration you can check out this and this post that I wrote when I launched my pantie patterns. I have also a nice Pinterest folder for lingerie inspiration and I post related content on the IG account of Studio Costura Shop. So to start sewing lingerie just make a pair of panties! In the next post I’ll be talking about sewing bralettes, this is a project that is quite similar to a real bra but it’s a bit easier to sew. If you have any questions, suggestions or ideas just let me know :)


Tutorial de bralette Hanna para #BRAugust // Hanna bralette tutorial for #BRAugust

 
www.studiocostura.com

Hola! Hoy os traigo un post especial, el tutorial que he hecho para el evento de Instagram #BRAugust2018. #BRAugust es un "reto" de un mes en Instagram organizado por Ying de Tailor Made Shop y se trata de dar más visibilidad a los proyectos de costura de lencería. Durante el mes de agosto hay un tema todos los días y cuando quieras puedes participar subiendo una foto relacionado con el tema. Es el segundo año que se organiza y también el segundo que yo participo tanto subiendo mis propios proyectos como con mi tienda siendo patrocinador. Justo hoy me toca a mí hacer el sorteo y este año muchos de los patrocinadores también hemos preparado algún tutorial o post en el blog para que todo el mundo pueda descubrir trucos nuevos de lencería (para saber de todos los tutoriales etc pasa por la cuenta de Tailor Made  Shop en IG!).

Estaba pensando en qué hacer y como el otro día compartí esta versión de bralette Hanna con el detalle de extra tirantes (o tiras? no estoy muy segura cómo usar la palabra, jeje) pensé que algo así molaría hacer. Me puse a experimentar un poco y ha salido esta versión en la foto! Realmente se puede customizar de tantas maneras que cada uno puede inventar el suyo...luego te cuento más cosas pero por el momento vamos con el tutorial.

Se trata de un modelo donde sólo una parte de la copa está cubierta de encaje y el resto está "en el aire" y se crea un efecto guay de "extra tirantes". Al principio pensaba hacerlo con el tul de fondo y el encaje encima pero luego pensé probar así y me gusta el resultado! He usado encaje elástico y tul elástico para forrar el encaje. El tul que he usado es el que pongo ahora en los kits de lencería en mi tienda. Es un material fino y muy elástico que me parece muy bueno para este tipo de bralettes ligeros. Si quieres más soporte puedes usar telas de punto con más cuerpo. Para el extra tirante de escote y la extensíon que viene de la sisa (digamos la parte que le "falta" a las piezas de la copa) he usado bies elástico (FOE) en negro, doblado y cosido juntos los dos lados. También puedes usar directamente elástico de tirante si quieres.


Hey! Today I'm bringing you a special post, it's a tutorial I have written for the #BRAugust2018 Instagram event. #BRAugust is a one month long Instagram photo "challenge" organized by Ying from Tailor Made Shop and it's focused on showcasing lingerie sewing. During the month of August there are daily themes and whenever you want to participate you can post a photo related to the theme. It's the second year this event takes place and it's also the second time I'm participating both posting my projects and sponsoring with my shop too. Exactly today I'm the sponsor and this year many sponsors have also made tutorials or blog posts related to the lingerie sewing world (to see all the tutorials etc follow Tailor Made Shop at IG!)

I was thinking about what should I write a tutorial about and as I shared this Hanna bralette version with added strap details the other day at IG I thought that it would be something nice to do. I started to experiment a bit and this version on the photo is the result of it! Actually you can customize the pattern in so many ways, everyone can really make their own version...I'll tell you some of my ideas in the end of this post but now let's see the tutorial.

The version I made is different from the original version as the inner cup piece is only partially covered with lace and the rest is "open" with a cool extra strap detail. At first I was thinking of using mesh as the entire lining piece of the inner cup but then I thought about this variation and I like how it turned out! I've used stretch lace lined with stretch mesh. The mesh I  used is the one I'm now selling with the kits in mys hop. It's a lightweight very stretchy material that I find perfect for these very light weight lingerie makes. If you'd like to have more support you can use light to medium weight knit fabrics for the lining of the cups. For the extra strap and for the underarm extension (let's say the part that is "missing" from the cup piece) I used black fold over elastic (FOE) that I folded in half and sewed together to form the strap. You can use directly strap elastic too if you want to.

www.studiocostura.com

El sitio de corte donde vaya el encaje puedes elegir tú. Te recomiendo colocar el encaje encima de la pieza de patrón A para ver la altura que te gusta. Yo he usado una altura casi igual que tiene la pieza D, el forro de la copa interior. Si ya has hecho este bralette como en la versión original puedes observar si te gusta donde queda el forro de la copa interior y decidir si quieres que el corte se quede allí o que vaya más arriba (más abajo no va a cubrir el pecho).


You can choose where you want the scalloped lace edge to be. I recommend you to put your lace on top of the pattern piece A and see where you'd like your lace edge to stand. I have used more or less the same place where the inner cup lining piece D hits the inner cup piece A. If you have sewn this bralette before in original version I recommend you to see where the inner cup lining sits when you wear the bralette and then you can decide if you want the lace to be there or higher (under this line the lace won't cover the breast tissue).

www.studiocostura.com

Yo hice mi nueva pieza de copa interior basada en la pieza de patrón A respetando el punto de centro escote (donde está el piquete) y en la sisa subí unos 3 cm, uní los dos puntos con la línea recta (recuerda que hacia la derecha del piquete tiene que haber 0.6 cm de margen de costura para unir las dos piezas, tenía que subir un poco la línea original para formar el nuevo ángulo).


I made my new inner cup piece based on the inner cup piece A: the notch on the center seam stays in the same place and I've cut the piece in the underarm part aprox 3 cm from the curve. I then joined those two points in a straight line (remember that you need to have a 6 mm seam allowance on the center front side to be able to sew the pieces together, I needed to raise the seam a bit to form a new angle there).

You can choose where you want the scalloped lace edge to be. I recommend you to put your lace on top of the pattern piece A and see where you'd like your lace edge to stand. I have used more or less the same place where the inner cup lining piece D …

Usa el piquete igual que en la versión original para cortar las piezas de encaje.

Use the notch as you did in the original version to cut the lace pieces.

www.studiocostura.com

Para forrar esta pieza lo que hice es que usé el mismo nuevo patrón y lo corté tal cual de tul. Ya que el encaje tiene la puntilla que sobresale de la línea recta del patrón no se va a ver el forro (si tu encaje no sobresale mucho puedes cortar el forro algo más corto en esa parte, por ejemplo 0.5 cm más bajo para que no se vea).


To line the lace pieces I've used the same new pattern and I've cut the pieces as they are from mesh. As the lace scalloped edge extends the pattern piece edge the mesh shouldn't be visible on the right side once the pieces are lined up (if your lace has a less higher scalloped edge you can make the lining a bit shorter, for example making it 5 mm lower in that part).

www.studiocostura.com

Seguimos con juntar la costura central tanto en las piezas de encaje como en las piezas de forro. En la versión original se cose el elástico transparente en el borde de la puntilla para estabilizarla antes de este paso. Yo esta vez no lo hice porque me parece que una vez que cosemos juntos el encaje y el tul el borde queda más firme (en el siguiente paso). De todas maneras si tú quieres más soporte en esta zona podrías primero coser el  elástico transparente en el borde de la puntilla (también lo podrías hacer después de juntar el encaje con el forro, o incluso allí podrías coser elástico de lencería para hacer el borde más "fuerte"). Tampoco pasé la remalladora al borde superior de las piezas de forro esta vez porque de todas maneras le cosí después el zig-zag encima para juntarlo con el encaje (y la verdad también porque me daba pereza cambiar los hilos de le remalladora, las cosas como son...).


We'll continue with joining the central seams both on lace and lining pieces. In the original version you sew a clear elastic on the scalloped edge of the lace to stabilize this area before this step. This time I didn't do it as I saw that once the lace and lining are joined (in the next step) the edge was firm enough in my opinion. Anyhow if you wish to have more support in that area you can first sew the clear elastic on the inside lace edge (you could also first join the lace and lining and then sew the clear elastic or even sew a narrow lingerie elastic for more support). I also didn't overlock the upper part of the lining pieces as anyway I sewed it with a zig-zag once I joined the lining with lace (and truth to be told I was too lazy to change the threads on my overlocker...).

www.studiocostura.com

Una vez que tienes las dos capas, ponlos el revés con el revés y coloca el forro bien con las piezas de encaje. Cose con un zig-zag el borde superior del forro para juntarlo con el encaje (este paso es igual que en la versión original, solo que ahora las piezas son casi iguales).


Once you have the two layers put them with wrong sides facing and align the lining correctly. Sew a zig-zag stitching in the upper part of the lining to join the two layers together (this step is the same as in the original version the only difference is that the pieces are almost the same size).

www.studiocostura.com

Así queda la parte de la copa interior una vez con su forro.

This is how the inner cup pieces look like once they are lined.

www.studiocostura.com

Cose el resto de las piezas como siempre hasta tener todo listo para poner elásticos. Cose el elástico de la banda como siempre. En el elástico de la sisa sólo cose la primera vuelta, el del lado derecho. Termina coser el elástico donde termina la nueva pieza de copa interior.


Sew the rest of the pieces as always until you have everything ready for sewing on the elastics. Sew the band elastic as you normally do. When sewing the underarm elastics only do the first row of zig-zag stitching on the right side of the bralette. End the elastic where the new inner cup piece ends.

www.studiocostura.com

Antes de dar la segunda pasada de elástico de sisa vamos a enganchar allí el bies elástico para crear el tirante. Primero corta una pieza de bies elástico, el largo tiene que ser igual que el largo que nos falta para "completar" las piezas de las copas. Sería el lergo que nos falta de la sisa hasta el final de la pieza de patrón A y de allí hasta el escote (dobla la cantidad para tener bies para los dos lados). Dobla el bies (da igual si dejas fuera el lado mate o brillante, elige el que te guste) según la ranura que tiene la cinta y cose con un zig-zag formando un tirante. 

Coloca el tirante de bies dentro de la costura, el elástico que doblas ahora para coser la segunda pasada lo cubre y así se engancha allí. Cose la segunda pasada de zig-zag para coloacr el elástico de sisa.


Before sewing the second row of underarm elastic stitching we'll attatch the FOE there to make the strap. First cut a piece of FOE, the length should be equal as the "missing" amount of our pattern piece A. Measure from the underarm point where your new lace piece ends until the upper end of the pattern piece A and from there all the way down until the center seam (double the amount as you'll need this length for two sides). Fold the FOE in half according to the line in the middle of it (it doesn't matter if you use the shiny or matte finish, leave the one you prefer as the right side) and sew with a zig-zag stitch to form a strap.

Put the strap inside the seam allowance of the underarm elastic, the elastic you'll now fold under in order to sew the second pass of the zig-zag stitching will cover the FOE and the new "strap" will be sewn in place. Sew the second pass of the underarm elastic.

www.studiocostura.com

Así quedan los dos tirantes enganchados dentro de elástico de sisa.

This is how the two new straps are joined in the underarm elastic.

www.studiocostura.com

Ahora coloca los otros dos "tirantes" de bies uno encima del otro justo donde empieza el escote. Yo los cosí un poco más abajo para pillar el forro también y para que estén más fuertes. Cose un par de veces encima de los dos (con puntada recta) para asegurarles en su sitio.


Now take the other two "straps" of FOE and put them one on top of the other and put them on the reverse side of the bralette where the central seam is. I sewed them a bit lower to sew trough both layers: lace and lining. Sew some rows of straight stitching on top of the straps to secure them in place.

www.studiocostura.com

Ahora ya puedes juntar también los dos tirantes para que puedas pasarlos luego a través de la arandela. Yo los junté primero con un par de puntadas. Después sigue como siempre, pasa el bies a través de la arandela como si fuera el final de la pieza A y ya está! Si prefieres que el tirante del escote baje un poco más curvado y no tan recto puedes por ejemplo dar un par de puntadas en la parte de arriba, donde los dos lados del bies salen de la arandela, para juntarlos un poco en el comienzo, eso crea un efecto más curvado.


Now you can also join the two sides of the straps so you can later on pass them trough the rings. I first joined them using some rows of stitching. After that follow the instructions as usually, put the FOE straps trough the rings as they were the ending of the pattern piece A and that's it! If you'd like the neckline strap to come down in a more curved way and not so straight you could also join the two straps where they come out of the ring: if you join the straps with some stitching in the upper part the more curved effect can be achived.

www.studiocostura.com

Espero que te ha gustado esta modificación del bralette Hanna! Me han ocurrido más posibilidades con esta versión, por ejemplo:

- en vez de dejar una parte de la copa "al aire" podrías poner allí tul y así crear diferentes efectos de transparencia. Se podría hacer si cortas la pieza A entera de tul y luego le pones encima la nueva pieza de encaje, sólo tienes que coser el encaje encima de tul con un zig-zag siguiendo los bordes de la puntilla y poner el bies en el borde

- en vez de poner ese extra tirante de escote para manetner el mismo estilo como el Hanna original, podrías hacer el bralette tal cual usando tirante desde el nuevo punto de sisa que hemos creado. Para eso deberías cortar el tirante aprox 45 cm de largo (en vez de 35 cm como en la versión original) y una vez que tengas cosido el elástico de la sisa simplemente le coses el tirante allí en le revés con el remate

En fin...hay tantas posibilidades como tú puedas imaginar. Ya que estoy con este tutorial os cuento brevemente también cómo hice esta otra modificacion del otro día.


I hope you liked this Hanna bralette hack! I got some more ideas for this version, for example:

- instead of leaving part of the inner cup "open" you could use mesh to create different grades of transparency. You could do it when you cut the entire pattern piece A from mesh and then put the partial lace piece on top of it, you only need to join the lace with mesh by sewing a zig-zag stitching following the scalloped edge of the lace (and sew a FOE on the neckline)

- instead of sewing this extra strap on the neckline to maintain the original style lines of the Hanna bralette, you could also just make a bralette by attaching the strap elastic from the new underarm point we created. In order to do this you need to cut the length of the strap elastic of aprx 45 cm (instead of 35 cm like in the original version) and once you have the underarm elastic sewn you just attach the strap elastic there on the wrong side of the bralette

To finish things off...there are many possibilities as you can come up with. As I am writing this tutorial I'll explain also very shortly what I did to make the other version.

www.studiocostura.com

Es muy simple: bajé el punto de escote central un poco, para que se quede en unos 3,5 cm desde abajo. Para eso marca los cm que quieras que tenga la costura (recuerda que tienes que dejar por lo menos 2 cm para el elástico y su vuelta) y une ese nuevo punto con el punto de hombro original arriba. Corta las piezas tal como lo hacemos al coser Hanna de punto. Usé bies elástico para rematar los bordes de escote (tienes que tirar un poco del bies, sino se queda demasiado flojo). Luego tal como hice tirante en el tutorial de hoy, corté un trozo de bies y lo doblé por la mitad, luego lo cosí con un zig-zag para formar el tirante. Coloqué el bralette para que esté en su posición normal en el revés y allí miré donde quería poner los tirantes...puedes ponerlos donde quieras la verdad, y cuántas quieras también! Corté las piezas para que lleguen de un lado al otro y los cosí con unos remates en el revés del bralette encima del bies de los bordes. Ya está y nada más :)

Los materiales usados son:

- kit de encaje negro con tul en color carne

- kit con tela de encaje con tul en color carne

Feliz #BRAugust2018 y espero que habéis participado, aprendido y inspirado siguiendo este evento :)


It's really easy: I made the center neckline point lower so it is about 3,5 cm high. To do this just mark where you'd like the lowest point of the neckline to be (remember that you need at least 2 cm in order to sew the band elastic and fold it under) and then join this point with the original point on the shoulder part of the pattern piece A in a straight line. Cut the pieces as shown when sewing a knit version of the Hanna bralette. I used FOE to cover the neckline seams (you need to pull slightly the FOE when sewing it because otherwise it will be too loose). Then as I did in today's tutorial I cut a strip of FOE and folded it  and sewed it together with a zig-zag stitch to form a strap. I put the bralette in its normal position with the wrong side up and then I made my mind about where to put the strips...you can put them wherever you want really, also the quantity is up to you. I cut the strips so they measure the length I needed to go from one side to another and I sewed them on top of the FOE neckline bindings I had attached with some rows of straight stitching. That's it!


The materials I used were:

- bramaking kit with black stretch lace and nude lining

- bramaking kit with black stretch lace fabric and nude lining

Happy #BRAugust2018 and I hope you have participated, learned and been inspired when following this event :)


Studio Costura Lingerie Sewing Club: Gabriella from @gabriella_kaikaina_handmade

 
www.studiocostura.com

Hola! Es la hora de presentaros el post de agosto en la serie de Studio Costura Lingerie Sewing Club, este mes mi invitada es Gabriella. Ella fue una de mis primeras clientas cuando abrí Studio Costura Shop y desde entonces he sido muy fan de sus costuras de lencería. Podéis ver sus proyectos en Instagram siguiendola en @gabriella_kaikaina_handmade. Para empezar le pregunté un poco más sobre su mundo de costura.

Hey! It's time for the August post in the Studio Costura Lingerie Sewing Club series, this month my guest is Gabriella. She was one of my first customers when I opened up Studio Costura Shop and I've been a big fan of her lingerie sewing adventures ever since. You can find her makes at Instagram by following @gabriella_kaikaina_handmade. First of all I asked her some questions about her sewing story.


Cuéntame un poco sobre tu trayectoria en costura: cuándo empezaste a coser y qué son tus cosas favoritas para coser?

Aprendí a coser en el colegio. No me imagino mi madre sin que haga alguna manualidad pero tengo que reconocer que realmente no me gustó para nada coser! De hecho lo odiaba. Los unicos patrones disponibles por aquella época recuerdo que eran de Burda (no había internet). Hasta hoy no me gustan los patrones que hay que calcar, los patrones en formato pdf son la mejor cosa que se ha inventado : -)

Hace más o menos seis años quería coserme una falda, tenía un estilo en mente. Durante una visita a Londres compré tres bonitas telas de Liberty por si acaso un día podría coser una falda. Una vez vuelta en casa por fin me fui a unas clases de costura donde me apunté solo para tres meses para coser las tres faldas. Estaba segura de que nunca más iba a coser de nuevo! Qué equivocada estaba! Hoy en día hay tantas costureras vendiendo patrones modernos tan fantásticos y yo no pude creer mis ojos, era como si hubiera descubierto un mundo nuevo. Estaba cosiendo prendas otra vez y nunca pensé que cosería lencería.

por qué empezaste a coser lencería? te pareció difícil? qué recursos/patrones recomendarías a gente que está interesada en aprender a coser lencería?

Siempre estoy buscando nuevos desafíos y en el final del 2016 cosí mi primer sujetador y me encantó! Aún así no entendí nada de los materiales que hacía falta para coser lencería. Pasé días y semanas buscando en Google para aprender sobre eso.

Desde luego recomiendo comprar los kits para empezar con los proyectos de lencería. Eso es lo que hice yo y sin eso no hubiera aprendido sobre todos los materiales que necesitaba. Uno de mis primeros kits lo compré a ti Karu, no sé si recuerdas, pero en aquel entonces adjuntabas un A4 explicando todos los materiales que vienen en el kit. Entonces empecé a escribir mi "diario de lencería" donde guardaba muestras de todos los materiales que usaba y para qué servían. Era una tarea muy difícil, inglés no es mi lengua materna pero sabía que la mejor información en internet lo encontraba en inglés. Hasta hoy yo que hablo el aleman suizo, me cuesta entender las instrucciones en aleman :-)

Cuál es tu proyecto de lencería favorito hasta ahora?

Diría que para el 2018 es el sujetador Berkeley. Aunque estoy enamorada de los bralettes también. Y como era la hora de tener un reto de nuevo...este verano me he enganchado a coser prendas de baño. Me encantaaa! Si estás ineteresada, puedes encontrar mis proyectos en IG @gabriella_kaikaina_handmade.


Tell me a little bit about your sewing journey: when did you start to sew and what are your favourite things to make? 

I already learned sewing at school. I can not imagine my mother without doing any handicraft. I have to admit that I actually didn’t like sewing at all! In fact I hated it. The only pattern available at that time, I remember, was Burda (there was no internet). Still today I can’t stand any pattern that I have to trace with paper.  Pdf patterns are the best ever invention:-) 

About six years ago I wanted to sew my own skirt, a style I had in mind. During a visit to London I bought three beautiful Liberty lawn fabrics just in case one time I might sew a skirt. Back home I finally attended a sewing class which I signed up for three months only just to sew three skirts. I was sure I will never ever sew again! How wrong I was! Today with so many great seamstresses all over the world selling fantastic modern patterns, I didn't believe my own eyes, it was like a whole new world opened to me. I was sewing mostly clothing and once again I thought that I will NEVER sew lingerie at all.


Why did you start sewing lingerie? Did you find it difficult?  What resources/patterns would you recommend to people who are interested to try out sewing lingerie?


I am always looking for new challenges and by the end of 2016 I sewed my very first bra and I loved it! Despite that I didn’t understand anything about all those supplies required. I spent days and weeks googling to learn all about it.

I definitely would suggest to purchase lingerie kits for your projects. That is what I did and without this I would have not learned about all those different supplies needed. One of my first kits I purchased by you Karu, I don't know if you still remember, but you included a A4 letter explaining every single supply for what it is needed for. I then wrote myself a “bra making” journal, where I added examples of any lingerie supplies, such as all different elastics and fabrics to explain the use of it. It was really hard work. English is not my mother language but I knew that I will get the best information on the web in English. Even today, I am speaking Swiss German, I have difficulties understanding German instructions :-)


What is your favorite lingerie make you've sewn so far?

I would say for 2018 it is the beautiful Berkely bra. However, I am getting full in love with bralettes too. And…..as it was time to challange myself again, I got addicted sewing swimwear this summer. Love love love it! If you are interested you find all my makings on IG @gabriella_kaikaina_handmade.


sujetador berkeley y las braguitas bella en melocotón y marfil // Peach and ivory berkeley bra and bella panties

www.studiocostura.com

Karu me sorprendió con preguntarme que si quería participar en su nuevo proyecto donde ella colabora con costureras de todo el mundo. Es un proyecto genial y espero que va a ayudar a ver a cualquiera que tenga ineterés en coser lencería que es posible y la gente con experiencia puede tener ideas para la creatividad también.

Elegí de su tienda el encaje de color coral por la frescura de ese color y luego también el suave melocotón con marfil. Estaba deseando que llegue el paquete para ver cómo se veían los materiales en la vida real. Para mí es el encaje que elige el patrón perfecto, no yo. Así que cuando vi este encaje de color melocotón inmediatamente sabía que iba a coser un sujetador Berkeley y las braguitas Bella en conjunto.


Karu surprised me by asking if I would love to participate in her new project where she is collaborating with seamstresses worldwide. This is an absolutely great project and I hope that it will help to open eyes to anyone to get a taste in lingerie sewing or for experienced people to add some creativity.

I have chosen a fresh coral lace and a creamy peach colored lace from Karu’s Etsy shop. Eagerly as always I was awaiting for the mail to arrive in my letter box to see how the fabric looks like in reality. To me it is the lace which is choosing the perfect pattern, not me. So, when I saw the creamy peach lace I was immediately sure that I will sew a Berkeley bra and for the panties the Bella Lace Pantie seemed to be appropriate.

www.studiocostura.com

2018 es definitivamente mi año de coser lencería. No puedo parar, no voy a parar! Me encanta el patrón de sujetador Berkeley y merece mucho la pena usarlo con encajes con puntilla. Este es el sujetador que de verdad muestra muy bien los bonitos encajes. Mi talla es 24A y queda super bien, no tenía que modificar el patrón para nada. Para las braguitas Bella yo prefiero subir de talla (cosa que hago con todos los patrones de braguita) porque me gusta que mis braguitas estén "sueltos", no me gusta sntir los elásticos junto a mi cuerpo.


2018 is definitely my lingerie sewing year. I can't stop, won't stop! The Berkeley bra has definitely crossed my heart and it is worth to use with beautiful scalloped lace. This is the bra which really brings out the most beautiful scalloped lace. My size is a 34A and the fit is just perfect, no alternation needed. For the Bella panties I prefer to go up a size (which I do with all pantie patterns) just because I like to wear my panties “loose” I do not like to feel any elastics around my body.

www.studiocostura.com

bralette barrett y las braguitas watson en coral y blanco // coral and white barrett bralette and watson panties

www.studiocostura.com

Para el encaje coral elegí el bralette Barrett con el conjunto de braguita Watson. Incluso me sobra encaje para coser un bralette Hanna después.


For the coral lace the Barrett Bralette seemed to be my choice with a matching Watson pantie. And I even have some lace left with which I will be sewing a Hanna Bralette later.

www.studiocostura.com

Me encanta mi bralette Barrett tan veraniego con el kit en color coral. La combinación con el tul y los elásticos blancos le da un aire muy de verano. Como dije antes, no me gustan mucho los elásticos así que en las braguitas Watson solo cosí el elástico para la cinturilla. Las aberturas de las piernas los cosí con el margen de costura de 5 mm sin poner elásticos y me encanta como queda.

Nunca pensé que es posible que es posible ajustar el patrón de lencería solo un poquito y que el resultado sea exactamente como tú quieras.


Oh, I am so in love with my summer coral lace Barrett Bralette. The combination with white mesh and elastics gives it a real summer feeling. As I already mentioned I do not like elastics around my body, on the Watson pantie I only added elastic on the waist, however for the leg opening I only made a 5 mm seam without adding elastic and the fit is perfect. 

I would have never thought that it is possible with lingerie sewing to adjust the pattern slightly and make it with your own preferences.

www.studiocostura.com

Gracias Gabriella por compartir estos bonitos conjuntos de lencería! Los materiales que ha usado de Studio Costura Shop son:

- el kit de lencería en melocotón y marfil

- el kit de lencería en coral (ahora con elásticos en color melocotón y tul en color carne)

Los patrones que ha usado son:

- el sujetador Berkeley de Orange Lingerie

- la braguita Bella de Evie la Luve

- el bralette Barrett de Madalynne

- la braguita Watson de Cloth Habit

Studio Costura Lingerie Sewing Club es un proyecto de posts en mi blog donde cada mes invito costureras de todo el mundo para que cosan lencería con los materiales de mi tienda. Las invitadas pueden elegir los materiales que quieran y pueden hacer el proyecto que quieran. Espero que estos posts os inspiran a coser vuestra propia lencería también! Puedes ver todos los posts aquí.


Thank you Gabriella for sharing these pretty lingerie makes! The supplies she used from Studio Costura Shop were:

- peach and ivory bramaking kit

- coral bramaking kit (now with peach findings and nude mesh)

The patterns she used were:

- Berkeley bra from Orange Lingerie

- Bella panties from Evie la Luve

- Barrett bralette from Madalynne

- Watson panties from Cloth Habit

Studio Costura Lingerie Sewing Club is a monthly guest post project where I invite seamstresses from all over the world to sew some pretty lingerie with the materials from my shop. The guests can choose the supplies they like and they can use any pattern they want to. I hope these posts inspire you to sew your own lingerie too! You can find all the posts here.


Encaje cruzado para el bralette Hanna // Crossed lace for Hanna bralette

 
www.studiocostura.com

Hola! Hace mucho que no he cosido un bralette Hanna y como tenía que hacer una muestra en talla S para el curso, aproveché e hice un tutorial con una variación. Se trata de una cosa muy simple pero le da un toque diferente al patrón: en vez de tener la costura central he cruzado las piezas de encaje. Os voy a contar cómo hacerlo, es muy sencillo. Esta parte es una variación del coseconmigo de bralette Hanna, tienes todos los posts aquí.


Hey! It's been a while since I last sewed a Hanna bralette and as I needed to make one in size S for a course I tought it would be a good occasion to make a tutorial about a variation too. It's a very simple hack but the result looks very pretty: instead of having a normal front center seam I have overlapped the lace pieces. I'll tell you how to do it,it's very easy. This post is a variation of the Hanna bralette sewalong, you can see the rest of the posts here.

www.studiocostura.com

Para empezar hay que hacer un cambio a la pieza de patrón A (la copa interior). Para poder cruzar las piezas hay que alargar la línea de encaje (el borde recto y largo) hacia abajo y al mismo tiempo alargar también la línea de bajo hasta que las dos líneas se cruzan. Ahora tienes una nueva pieza de patrón que termina en pico. Otra cosa que hay que marcar es el centro del cruce, así sabemos colocar luego las dos piezas correctamente. Para eso marca un piquete 6 mm desde la costura central original hacia la izquierda (hacia dentro). Este piquete va a estar en la misma línea que el piquete original más arriba que antes indicaba donde hay que colocar el encaje.


To start you need to change the pattern piece A (the inner cup). In order to overlap the pieces you need to make the side where the scalloped lace edge is (the straight long line) longer, continuing the line downwards and at the same time you need to continue the hem line outwards until those two lines meet. Now you have a new pattern piece which ends in a triangular form. The other thing you need to mark is the center of the overlap so you'll know how to position the pieces later on. To do that mark a notch 6 mm from the original center seam to the left side (towards the inside of the pattern). This notch will be aligned with the original notch that you have above (the one that indicates where you need to position the lace scalloped edge).

www.studiocostura.com

Cuando cortamos el encaje esta vez no hace falta mirar donde cae el piquete original (como en este tutorial). Da un poco igual donde colocas la pieza, sólo recuerda que la línea recta del patrón vaya junto el borde más bajo de la puntilla. Yo coloqué mi patrón para que el final (el pico nuevo de este patrón) se quede a la mitad de la puntilla porque así se crea más efecto de cruce ya que el encaje es un poco más ancho allí.


When you cut the lace piece this time you don't need to match the original notch with the scallop (like in this tutorial). It doesn't really matter where you put the piece on lace, just remember that the pattern piece has to be aligned with the lower part of the scallops. I put my pattern piece so that the ending of the pattern piece (the new triangle part) is aligned with the wider scallop so when the pieces cross each other there will be a slightly wider overlap.

www.studiocostura.com

Corta todas las piezas como siempre y cose el elástico transparente en la línea de encaje (esta vez desde abajo del todo hasta arriba y al revés en la otra pieza). Juntando los nuevos piquetes que hicimos para marcar el centro junta las dos capas de la copa interior para que las piezas solapen. Cose en el borde de abajo para sujetar las capas y que estén en la posición correcta.


Cut all the pieces as you do normally and sew the transparent elastic to the inside of the scalloped edge of the lace (this time you start from the hem line until you reach the end and the other way around with the other piece). Align the new notches that you marked to know where the center seam is and that way you know where the overlap is. Sew the two pieces together on the hemline so they won't move before you attatch the band elastic.

www.studiocostura.com

Realmente todo lo que viene después es lo mismo que en la versión original. Cose las piezas de forro de la copa interior como siempre (allí no hace falta cruzar piezas). Lo que puedes hacer para que el cruce de las piezas de encaje no se abra es hacer unos pespuntes para unir el forro con el encaje. Hazlo en la parte superior del centro de forro y así todo va a estar en su sitio. 


What comes next is actually the same as in the original version. Sew the inner cup lining pieces as usually (you don't need to overlap pieces here). To avoid that the overlapping pieces "open up" once you wear the bralette you can sew a little bartack to join the two layers: the lining and the lace. Do it in the upper center part of the lining pieces and everything will stay in its place.

www.studiocostura.com

Y ya está, de allí ya puedes seguir con las instrucciones normales hasta completar el bralette. Yo hice también una braguita conjunto ya que me sobraba un poco de encaje. Usé el patrón de la braguita Mia y como no tenía mucho encaje hice la parte trasera con lo que me quedaba y de unos retales pequeños saqué también un detalle delantero (puedes ver cómo usar trocitos de encaje para este tipo de adornos en este tutorial). 


And that's it, now you can follow the instructions as always to finish off your bralette. I also made a matching pantie as I had some leftover lace. I used the Mia panties pattern and as I didn't have enough lace for the entire pantie I used lace for the back pieces and also made a small detail for the front (you can see different ways of using lace scraps for this kind of details in this tutorial).

www.studiocostura.com

Ha quedado muy bonito, este encaje es un poco diferente al tener tanto el blanco como rosa. Para forrar el bralette y para la parte delantera de las braguitas usé esta vez tul elástico para tener un efecto más transparente.  Espero que os ha gustado esa pequeña transformación, tengo ganas de probarlo también con telas de punto y con el bikini, puede quedar muy bonito!


The result is very pretty, this lace is a bit different as it has both pink and white colors on it. To line the bralette and the front of the panties I used stretch mesh this time to have a bit of transparency. I hope you liked this little hack, I'd like to try it out also with knit fabrics and bikinis, I think it can look very cute!

www.studiocostura.com