
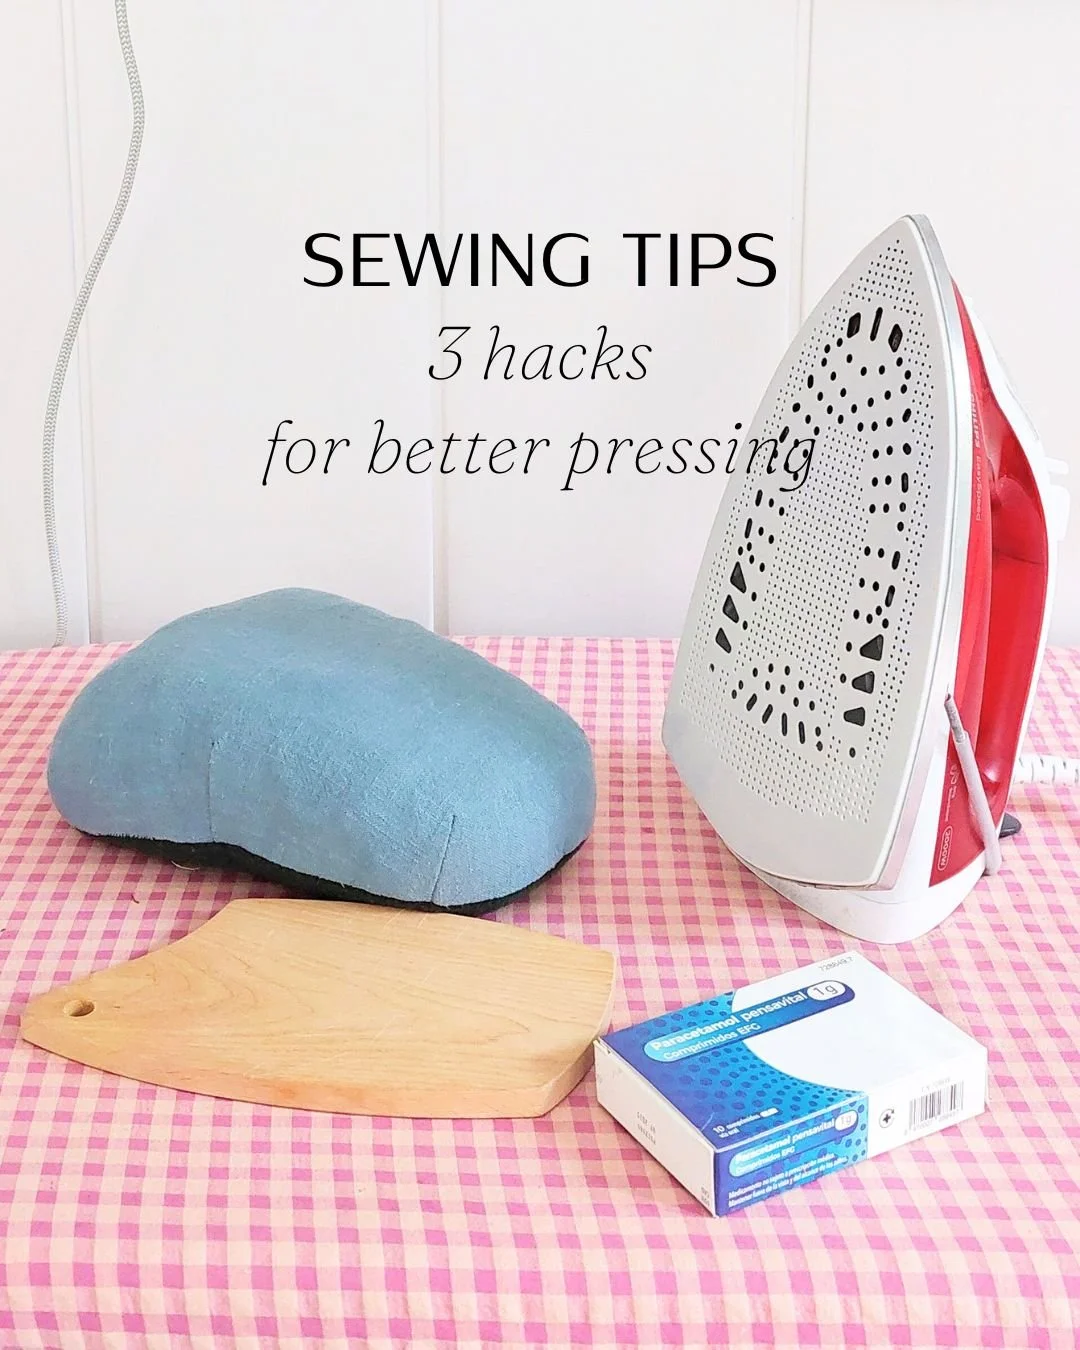
Pressing is a super important part of sewing practice, and the extra time (and patience) you’ll take when doing it, will be worth it. There are a couple of easy and cheap tools/solutions related to pressing I’d like to point out. In case you’re not using them yet, I’d highly suggest you to try them out as I’ve found them very useful while I’ve been out there doing sewing stuff (read: commiting mistakes and ocasionally burning stuff, something that happens while you’re out there…doing sewing stuff).
Planchar es una parte muy importante de la costura, y el tiempo extra (y la paciencia) que le dediques valdrá la pena. Hay un par de herramientas/soluciones fáciles y baratas relacionadas con el planchado que me gustaría compartir. Si aún no las utilizas, te recomiendo que las pruebes, ya que me han resultado muy útiles mientras he estando cosiendo por allí (lee: cometiendo errores, con alguna que otra cosilla quemada en el camino…cosas que pasan cuando estás por allí, cosiendo).
Keeping your iron’s sole neat and clean / Mantener la suela de la plancha limpia
Earlier this year, I was constantly dealing with interfacing glue getting stuck to the sole of my class iron. I tried everything to clean it: the waxy stick specifically made for this purpose, sodium and vinegar, Fairy dishwashing soap… you name it, I tried it. And nothing worked. I even managed to almost kill my iron when it suddenly wouldn’t turn on anymore—possibly after trying all those solutions one after another and clogging up the whole system. There are days for patience, and days for… I just need the stuff to work, ok?
I posted about it in my Instagram stories asking for ideas, and many people suggested Paracetamol (some suggested tossing the iron… thanks, but no thanks, guys!). I think I’d heard of it before, but I had zero faith in that solution. And, like countless times in my life, it turns out I was wrong. It actually does work.
A principios de este año, tuve que lidiar constantemente con el pegamento de la entretela que se pegaba a la suela de mi plancha. Probé de todo para limpiarla: la barra de cera específica para este fin, bicarbonato y vinagre, Fairy, jabón, Cif... lo que se te ocurra, lo probé. Y nada funcionó. Incluso casi estropeé mi plancha cuando de repente dejó de encenderse, posiblemente después de probar todas esas soluciones una tras otra y obstruir todo el sistema. Hay días para la paciencia y días para...solo necesito que las cosas funcionen, vale?
Pedí ideas (y socorro) en Instagram, y mucha gente sugirió el paracetamol (algunos sugirieron tirar la plancha... gracias, pero no, gracias, majas). Creo que lo había oído antes, pero no tenía ninguna confianza en esa solución. Y, como tantas otras veces en mi vida, resultó que me equivocaba. De hecho, sí que funciona.
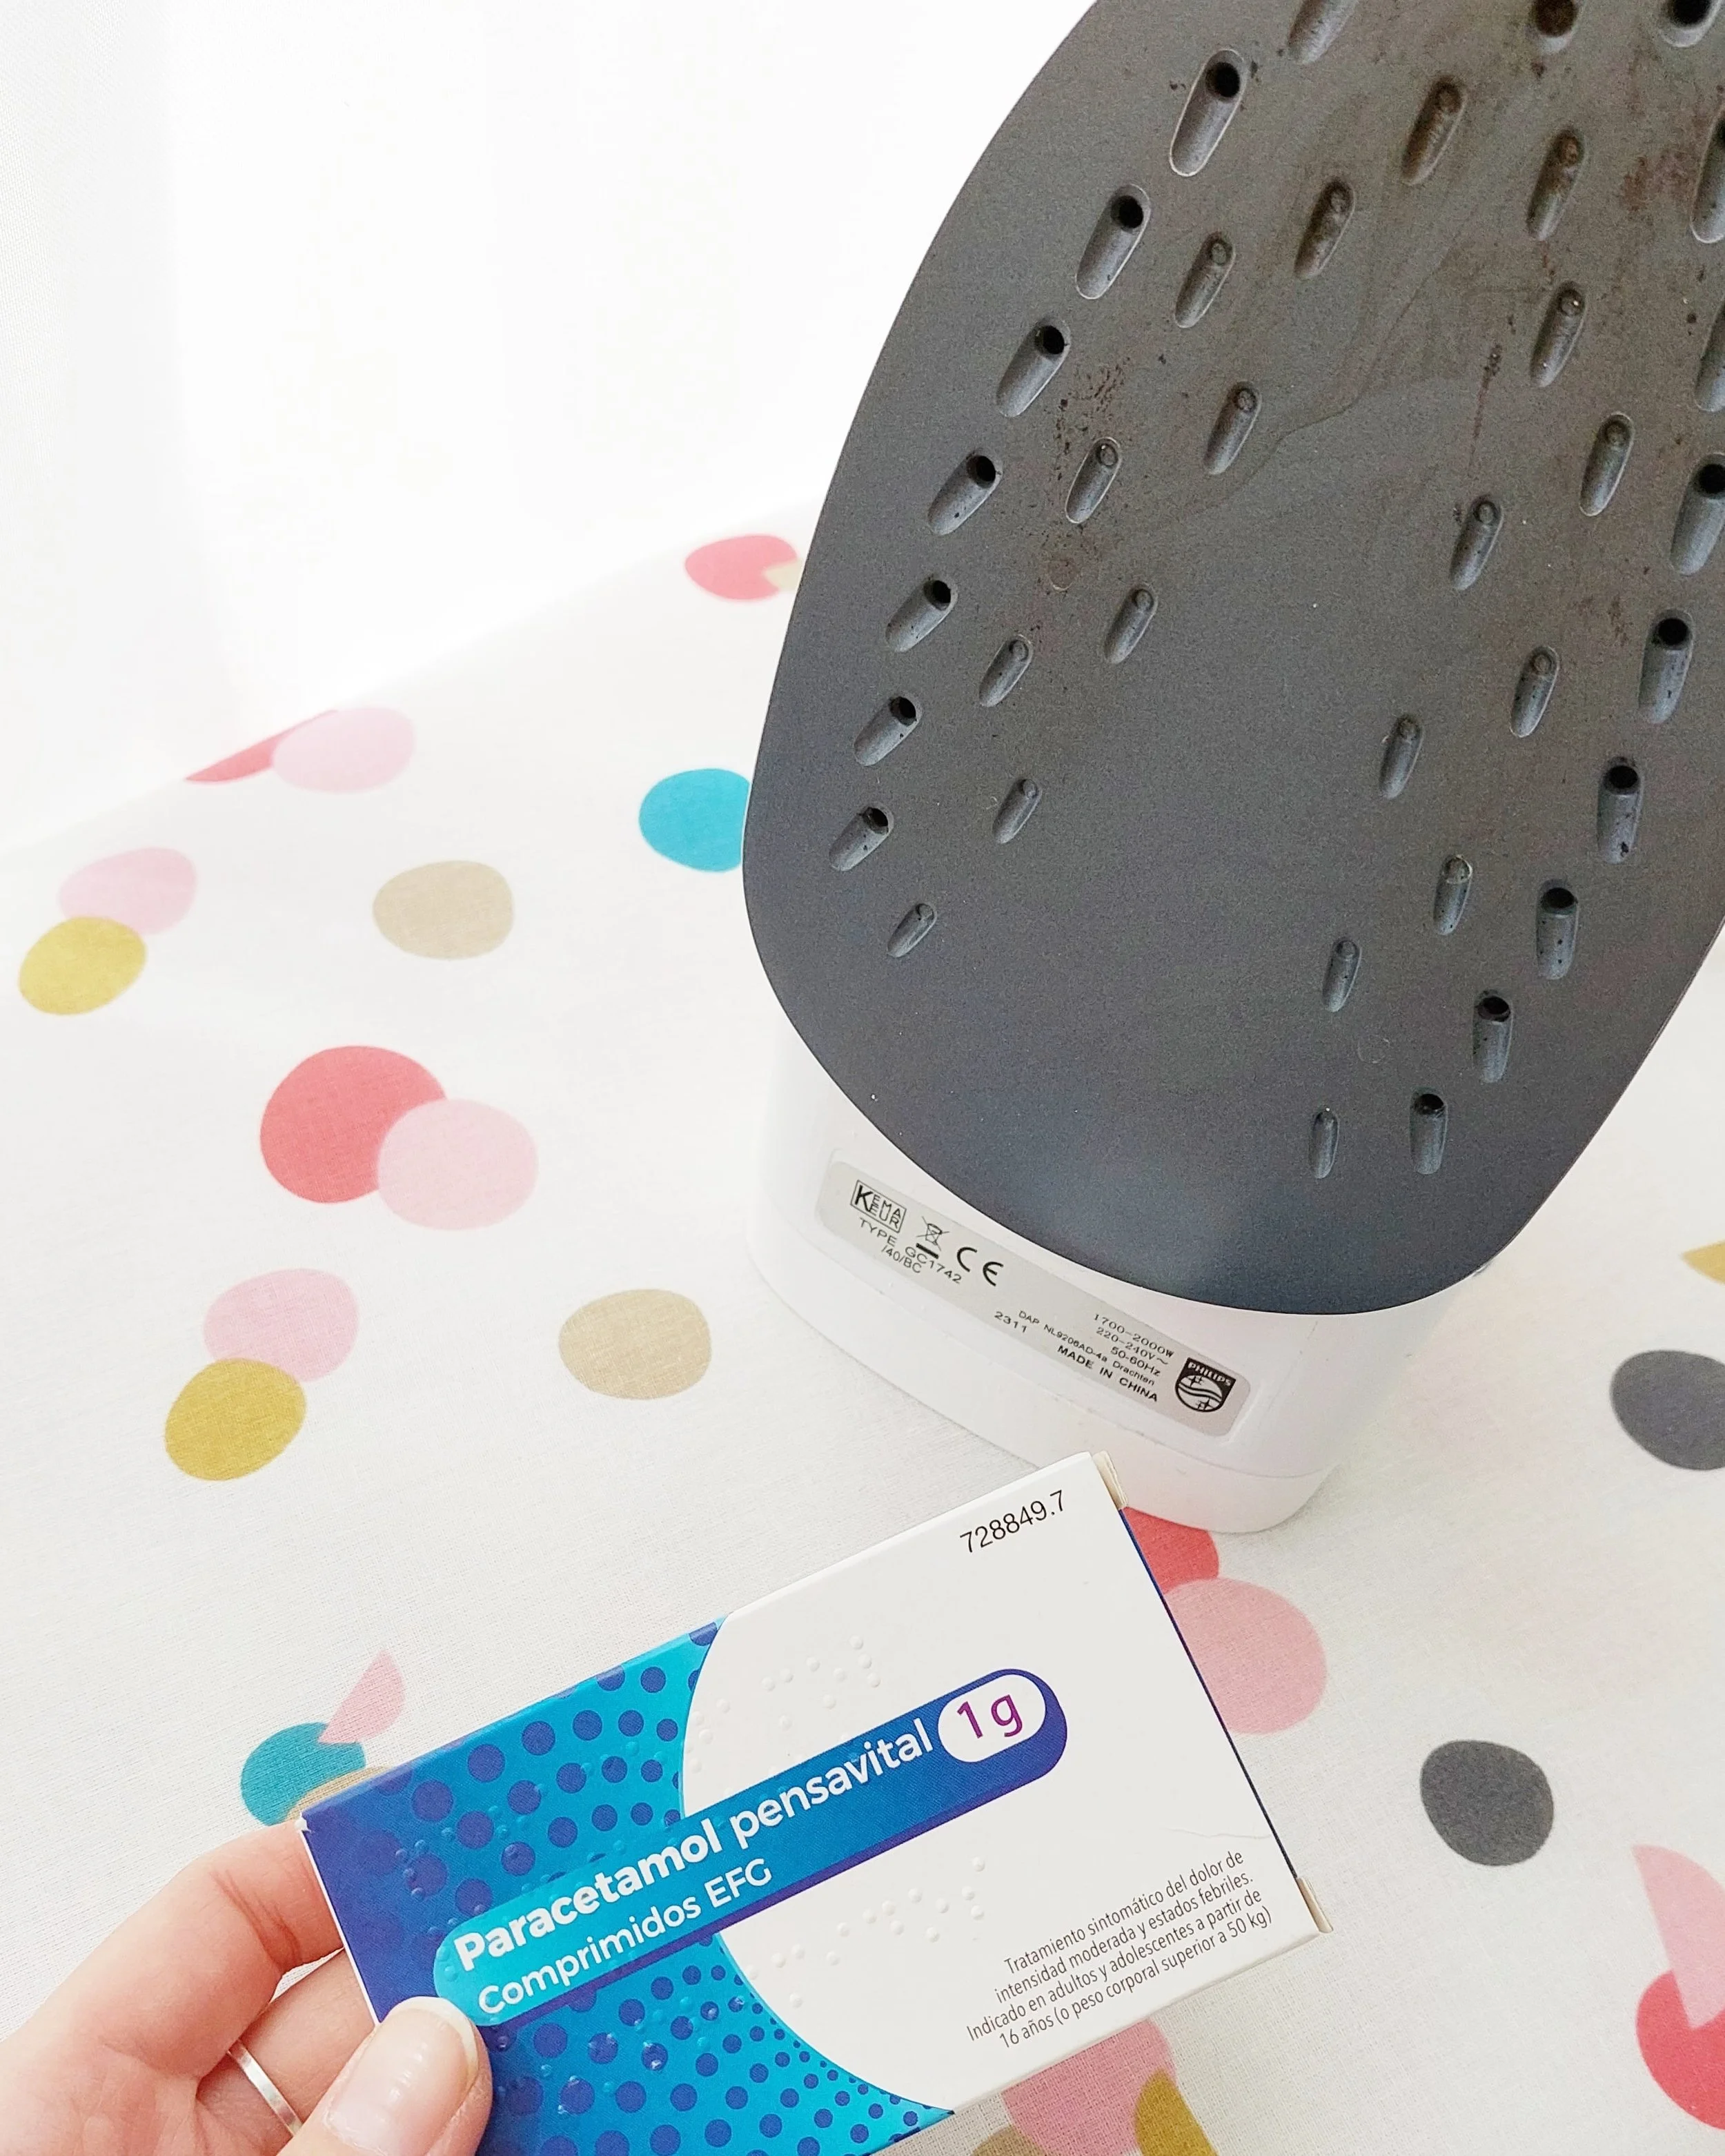
Before, featuring glue and residue that was not possible to remove with any other solution / Antes, de estrella tenemos pegamento y restos que no fue posible quitar con ninguna cosa
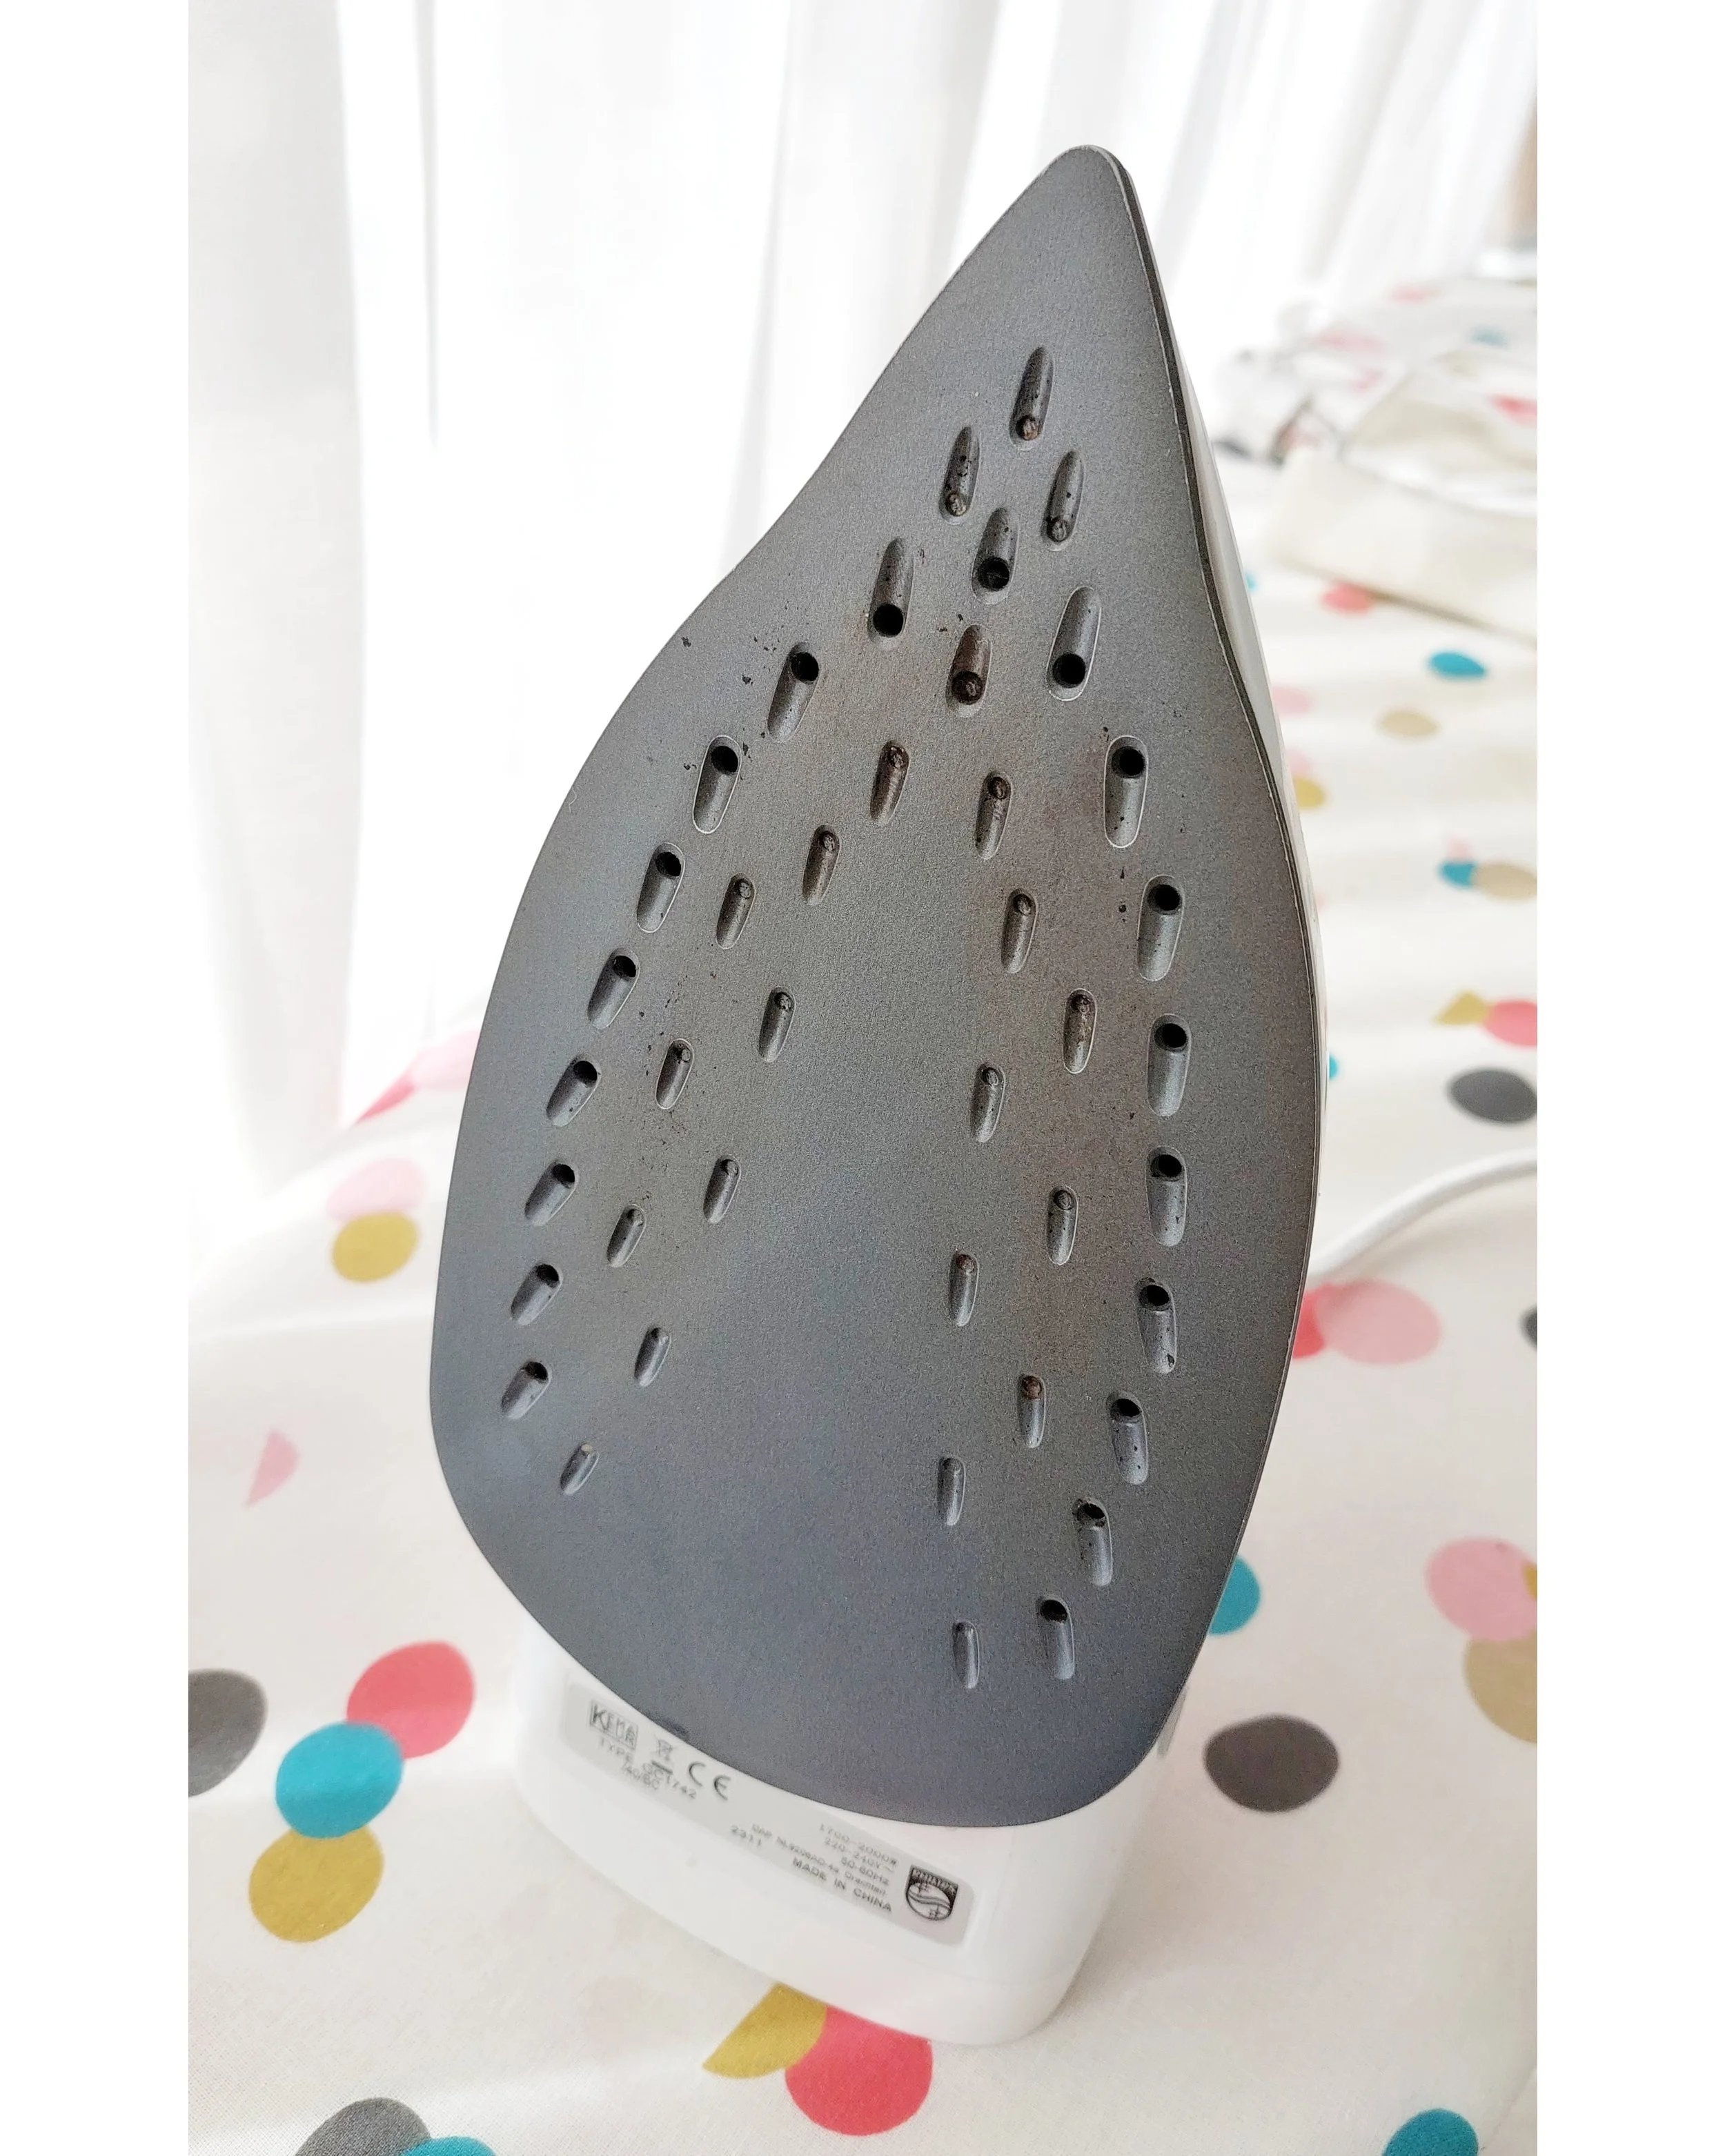
After Paracetamol (I still had to unclog some of the residue inside the little holes there when I took the picture, but you can see that it looks pretty good) / Después de Paracetamol (todavía me quedaba limpiar los agujeritos cuando saqué esta foto, pero puedes ver que está bastante bien)
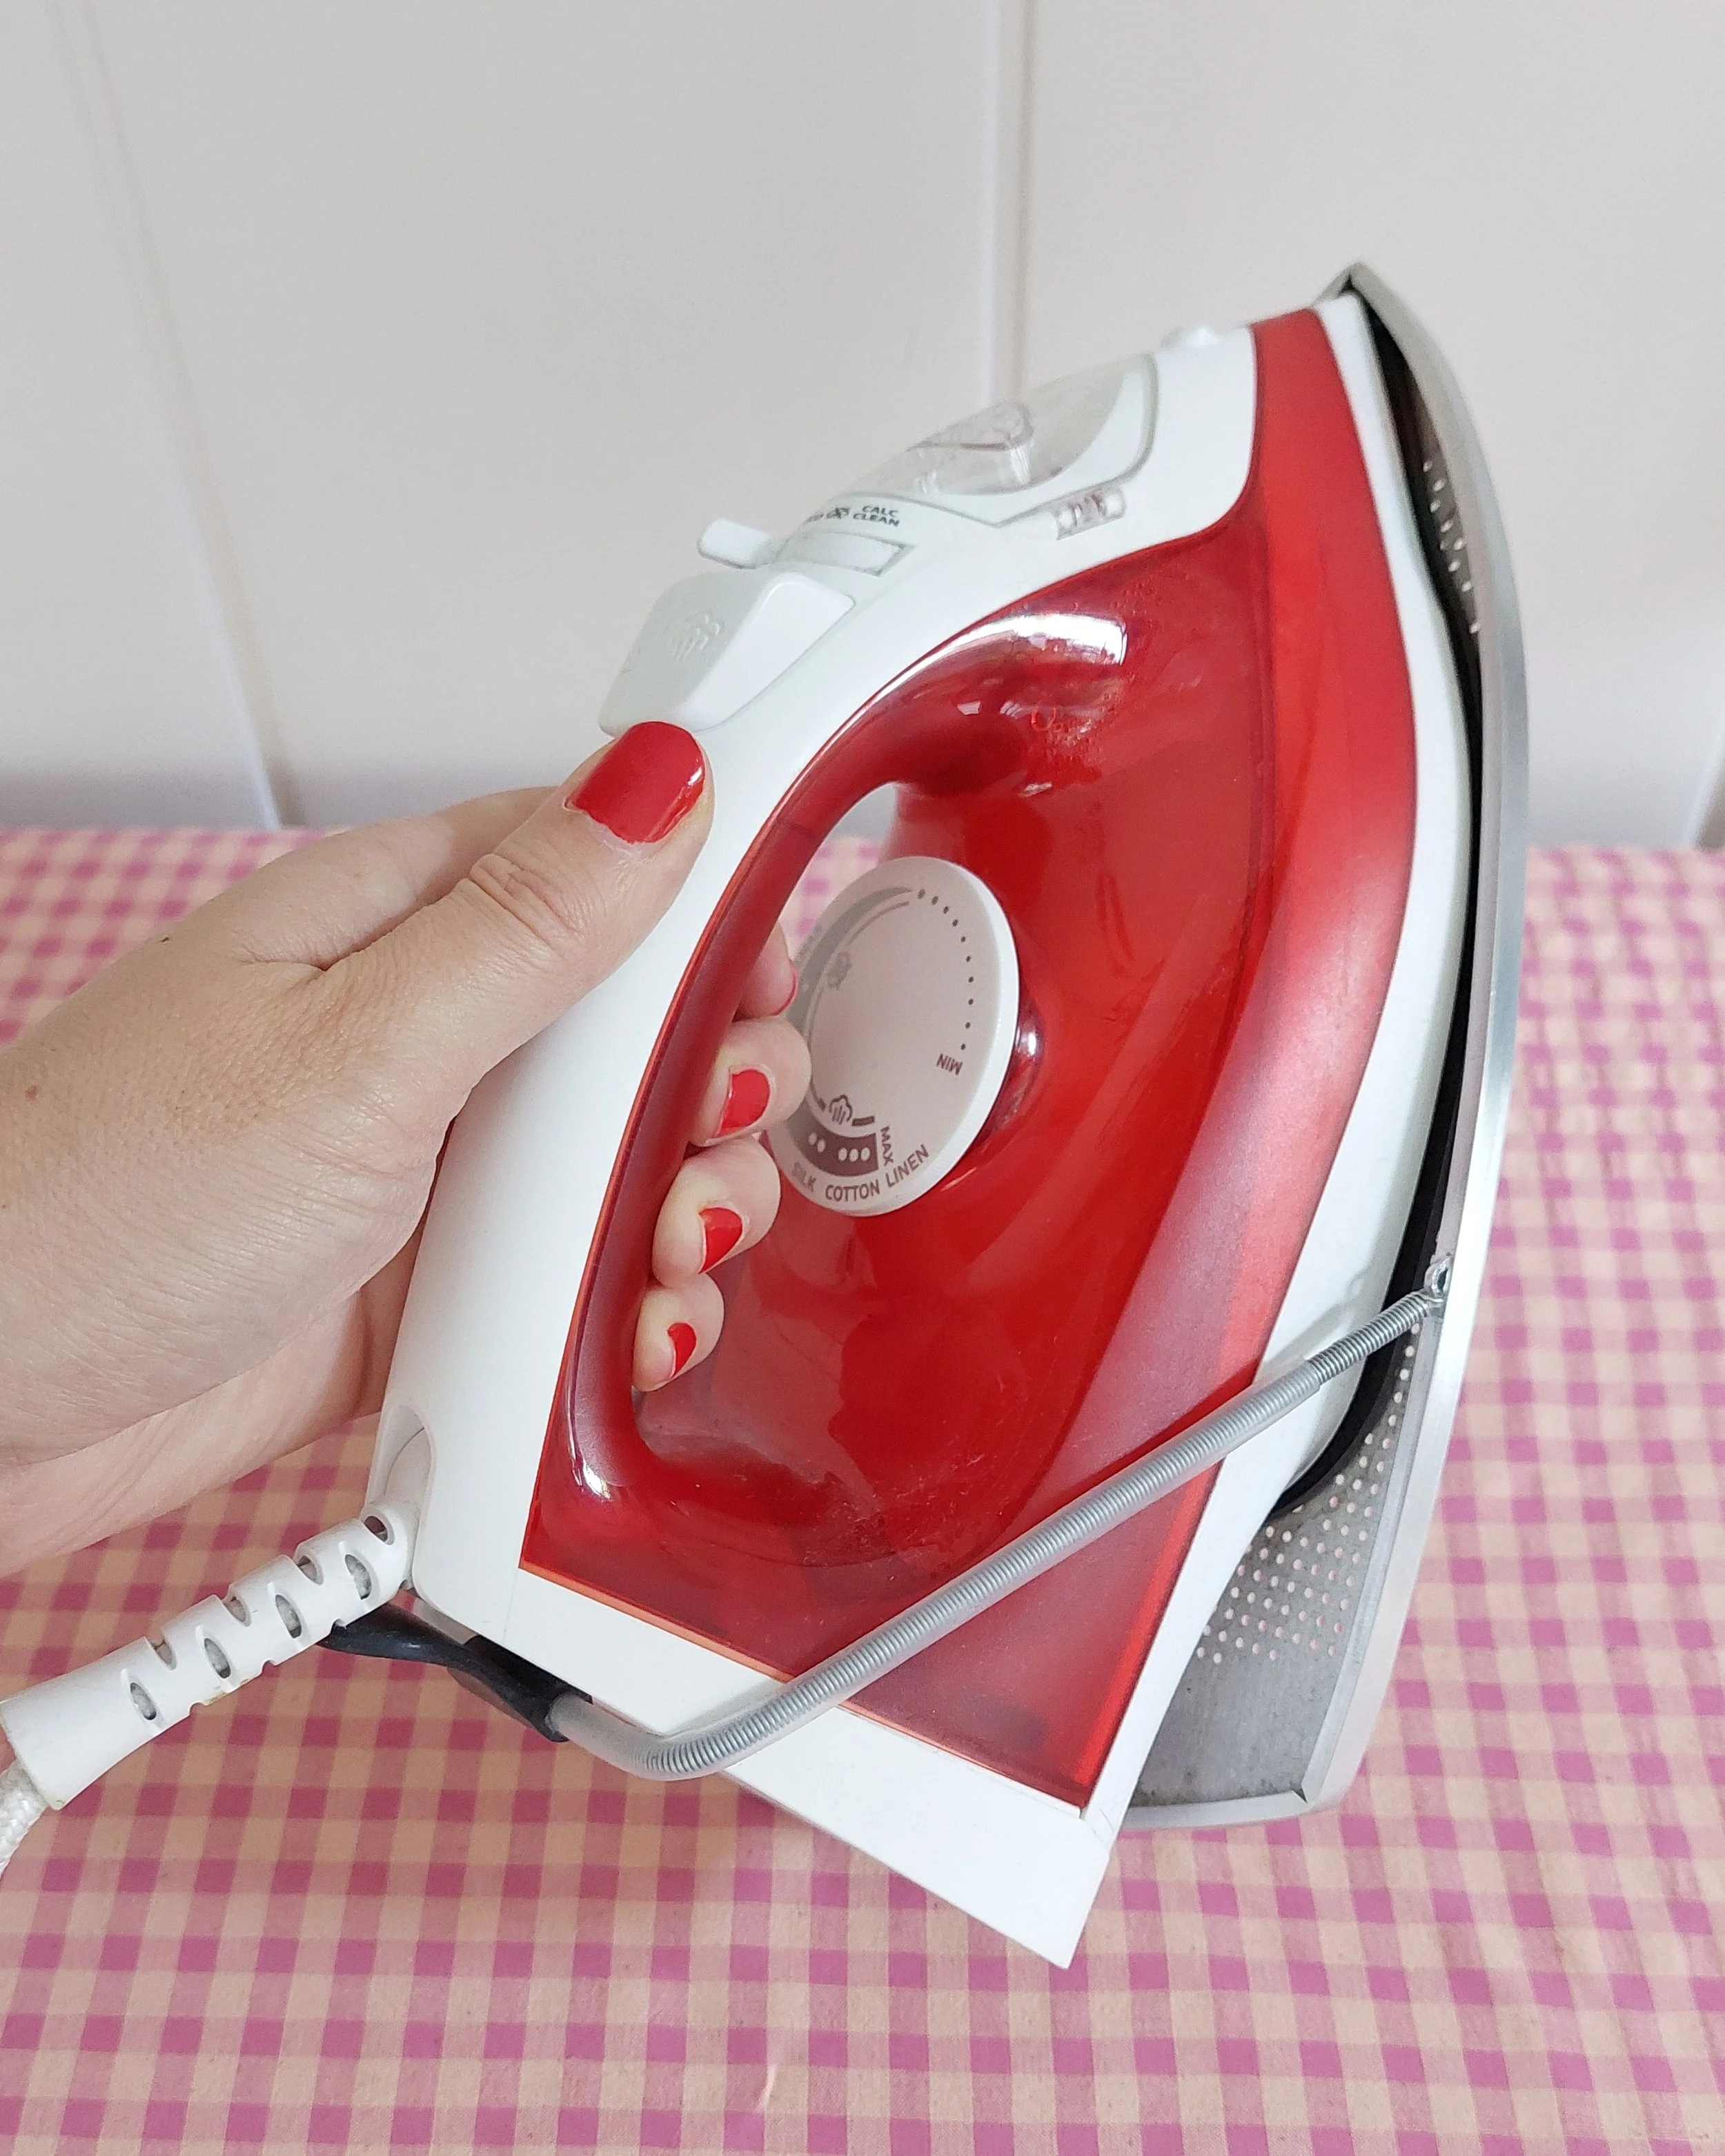
To clean burnt stuff off your iron’s sole plate, heat up your iron (medium heat is enough). Then press a Paracetamol/Ibuprofeno pill (I suspect any headache-type pill works, whatever it’s called where you live) against the sole. You’ll see it start to melt and the stains will begin to disappear. It’s pure magic! Use tweezers to hold the pill so you don’t burn your fingers (ask me how I know…). Another smart move: ventilate the room, as this process is probably toxic, but it’s the only thing that works for me.
After that, I usually clean the sole with some extra fabric and use the anti-calc mode on my iron to get the rest of the dirt out. (For my iron, you fill the tank with water, heat it up, unplug it, then shake it horizontally while pressing the anti-calc button so it releases all the water and cleans the steaming system.)
Para limpiar las quemaduras de la suela de la plancha, calienta la plancha (una temperatura media es suficiente). A continuación, presiona una pastilla de paracetamol/ibuprofeno (supongo que cualquier pastilla para el dolor de cabeza sirve, se llame como se llame en tu país) contra la suela. Verás que empieza a derretirse y las manchas comienzan a desaparecer. Es pura magia! Utiliza pinzas/tenazas para sujetar la pastilla y no quemarte los dedos (pregúntame cómo lo sé...). Otra medida inteligente: ventila la habitación, ya que este proceso probablemente sea tóxico, pero es lo único que me funciona.
Después, suelo limpiar la suela con un trapo y utilizo el modo antical de mi plancha para eliminar el resto de la suciedad. (En mi plancha, hay que llenar el depósito con agua, calentarlo, desenchufarlo y luego agitarlo horizontalmente mientras se pulsa el botón antical para que suelte toda el agua y se limpie el sistema de vapor).
Learning that Paracetamol trick helped a lot with occasional burns (in class this happens more than at home, where only one person uses the iron), but I still wanted a more permanent solution.
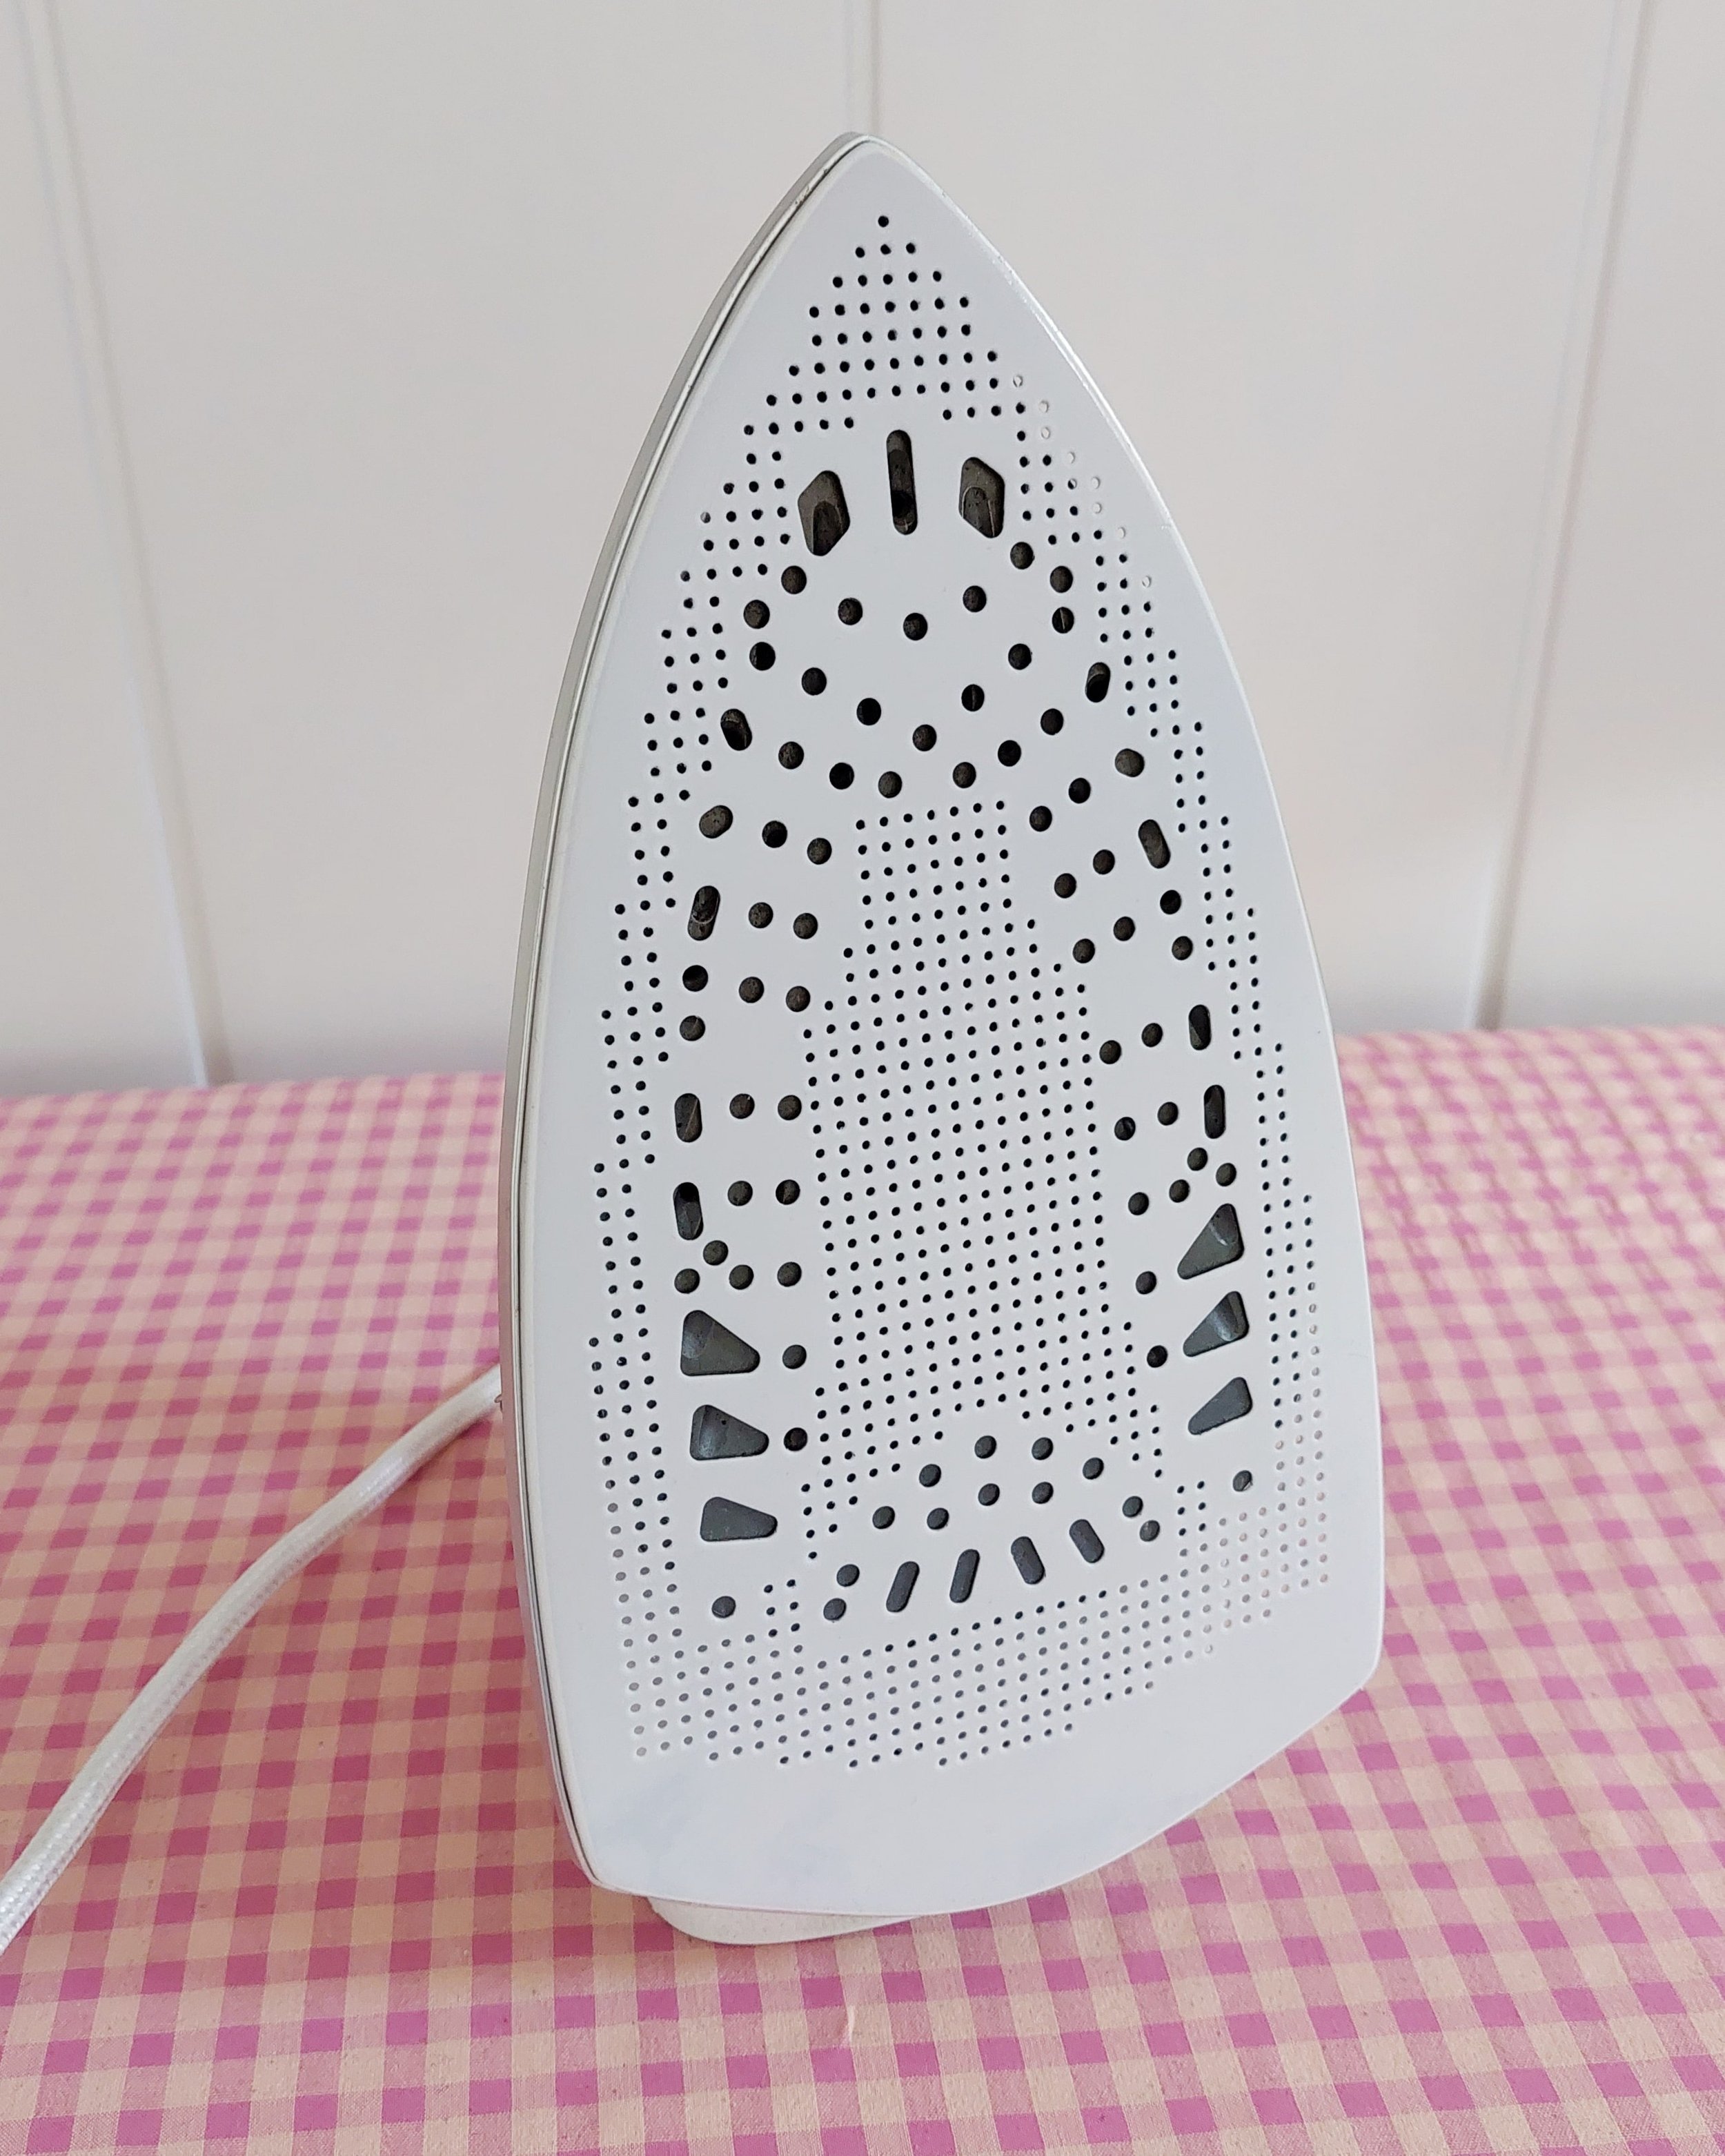
I had previously used a flexible Teflon sole (it looks like a moldable plastic layer, not rigid), but I didn’t like it much—the moisture got stuck between the iron’s sole and the layer, and it felt messy. When I went looking for other Teflon options online, I found a rigid Teflon sole with really good reviews, so I figured I’d try it. And yes, it has been a lifesaver. The sole fits my iron perfectly (I also tried it with a bigger iron I have at home), and nothing has gotten stuck on it since I started using it.
My iron (nothing special, just a regular Philips—maybe Santa will bring me a good industrial steam iron one day, who knows…) also gets hot very quickly, and the new sole reduces that heat a bit. An iron that gets hot fast doesn’t sound like a problem, I know, but it actually got too hot for the classroom setting where students don’t always control their fabrics well, hehe. With the new sole, I know they won’t burn anything immediately. So yeah, I’m very pleased with that invention. Otherwise I’d be cleaning the iron all the time. I bought mine online, not in a specific shop I can recommend—just search for something similar and you’ll probably be good to go!
One more cleaning tip before moving on. This one is so obvious, but I didn’t do it until recently: use a piece of extra cloth on your ironing board when applying interfacing. However I apply it, I always ended up with bits of glue sticking to the board, leaving messy stains that don’t come off even when washing the cover. Now I just use a piece of fabric underneath, and if anything gets stuck there, it’s not a big deal—and my main cover stays clean. So simple. It only took me all these years to come up with this brilliant idea, lol.
Aprender ese truco del paracetamol me ayudó mucho con las ocasionales quemadas (en clase esto ocurre más que en casa, donde solo una persona usa la plancha), pero aún así quería una solución más permanente.
Anteriormente había usado una suela flexible de teflón (parece una capa de plástico moldeable, no rígida), pero no me gustaba mucho: la humedad se quedaba atrapada entre la suela de la plancha y esa capa extra, y me parecía una solución no muy limpia. Cuando busqué otras opciones de teflón en Internet, encontré una suela rígida de teflón con muy buenas reseñas, así que decidí probarla. Y sí, me ha salvado la vida. La suela se adapta perfectamente a mi plancha (también la probé con una plancha más grande que tengo en casa) y nada se ha quedado pegado desde que empecé a usarla.
Mi plancha (nada especial, solo una Philips normal, quizá Papá Noel me traiga una buena plancha de vapor industrial algún día, quién sabe...) también se calienta muy rápido, y la nueva suela reduce un poco ese calor. Sé que una plancha que se calienta rápido no parece un problema, pero en realidad se calentaba demasiado para el taller, donde los alumnos no siempre controlan bien sus tejidos, jeje. Con la nueva suela, sé que no quemarán nada inmediatamente. Así que sí, estoy muy contenta con ese invento. De lo contrario, estaría limpiando la plancha todo el tiempo. La compré online, no en una tienda específica que pueda recomendar, solo busca algo similar y probablemente te servirá.
Un consejo de limpieza más antes de continuar. Este es muy obvio, pero no lo hacía hasta hace poco: utiliza un trozo de tela extra en la tabla de planchar cuando apliques la entretela. Independientemente de cómo yo la ponga, siempre acabo con trozos de pegamento pegados a la tabla, dejando manchas de pegamento difíciles de quitar incluso lavando la funda. Ahora uso un trozo de tela debajo y, si se pega algo allí, no pasa nada, y mi funda principal se mantiene limpia.
Es muy sencillo. Solo he tardado todos estos años para dar con esta brillante idea, jejeje.
Pressing curved stuff / Planchar partes curvadas
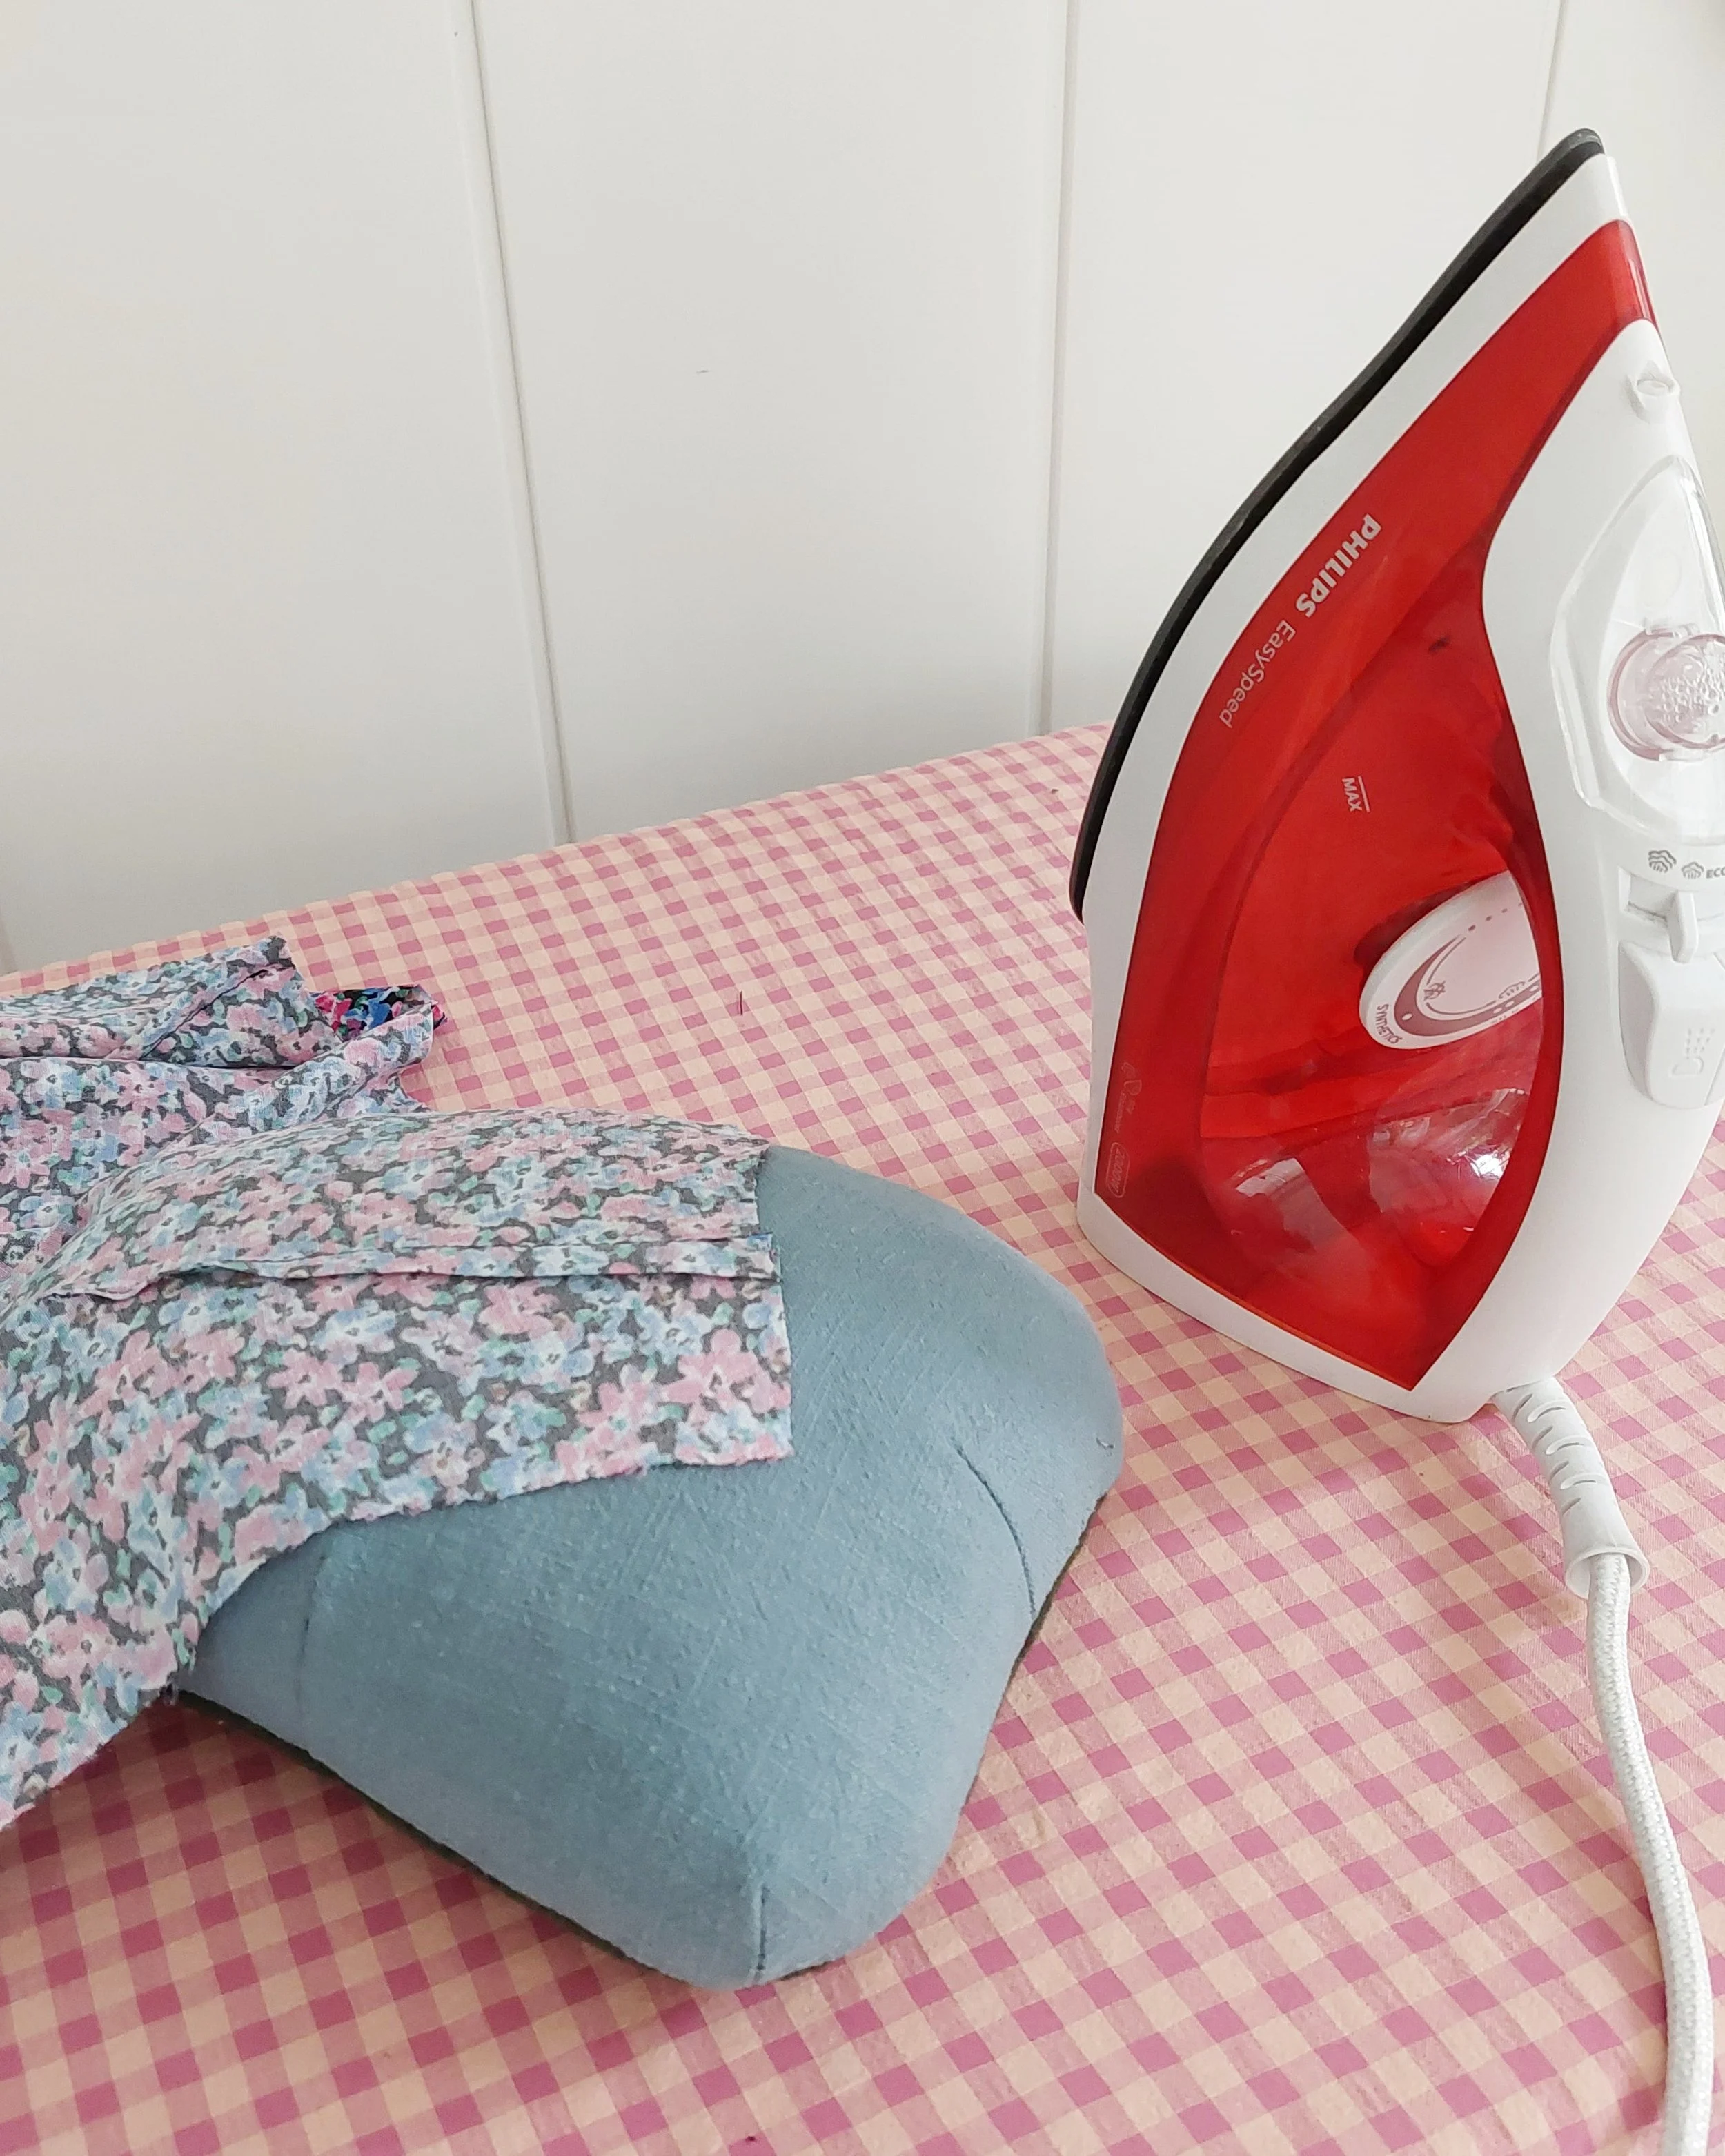
Darts, sleeves, all kinds of curved parts—they can be hard to press if you don’t have a curved surface. A sleeve board helps, but it’s still not truly a 3D solution. Enter the pressing ham! This little cushion helps you get great results because you can use its different parts to press curved projects.
Pinzas, mangas, todo tipo de piezas curvadas... Pueden ser difíciles de planchar si no tienes una superficie curvada para poder apoyarlas encima. Una tabla para mangas ayuda, pero sigue sin ser una solución 3D de verdad. Aquí entra en juego la almohadilla para planchar o también llamado el jamón de planchar (en inglés lo llaman pressing ham). Esta pequeña almohadilla te ayuda mucho con una buena plancha, ya que puedes utilizar sus diferentes partes para planchar diferentes curvas.
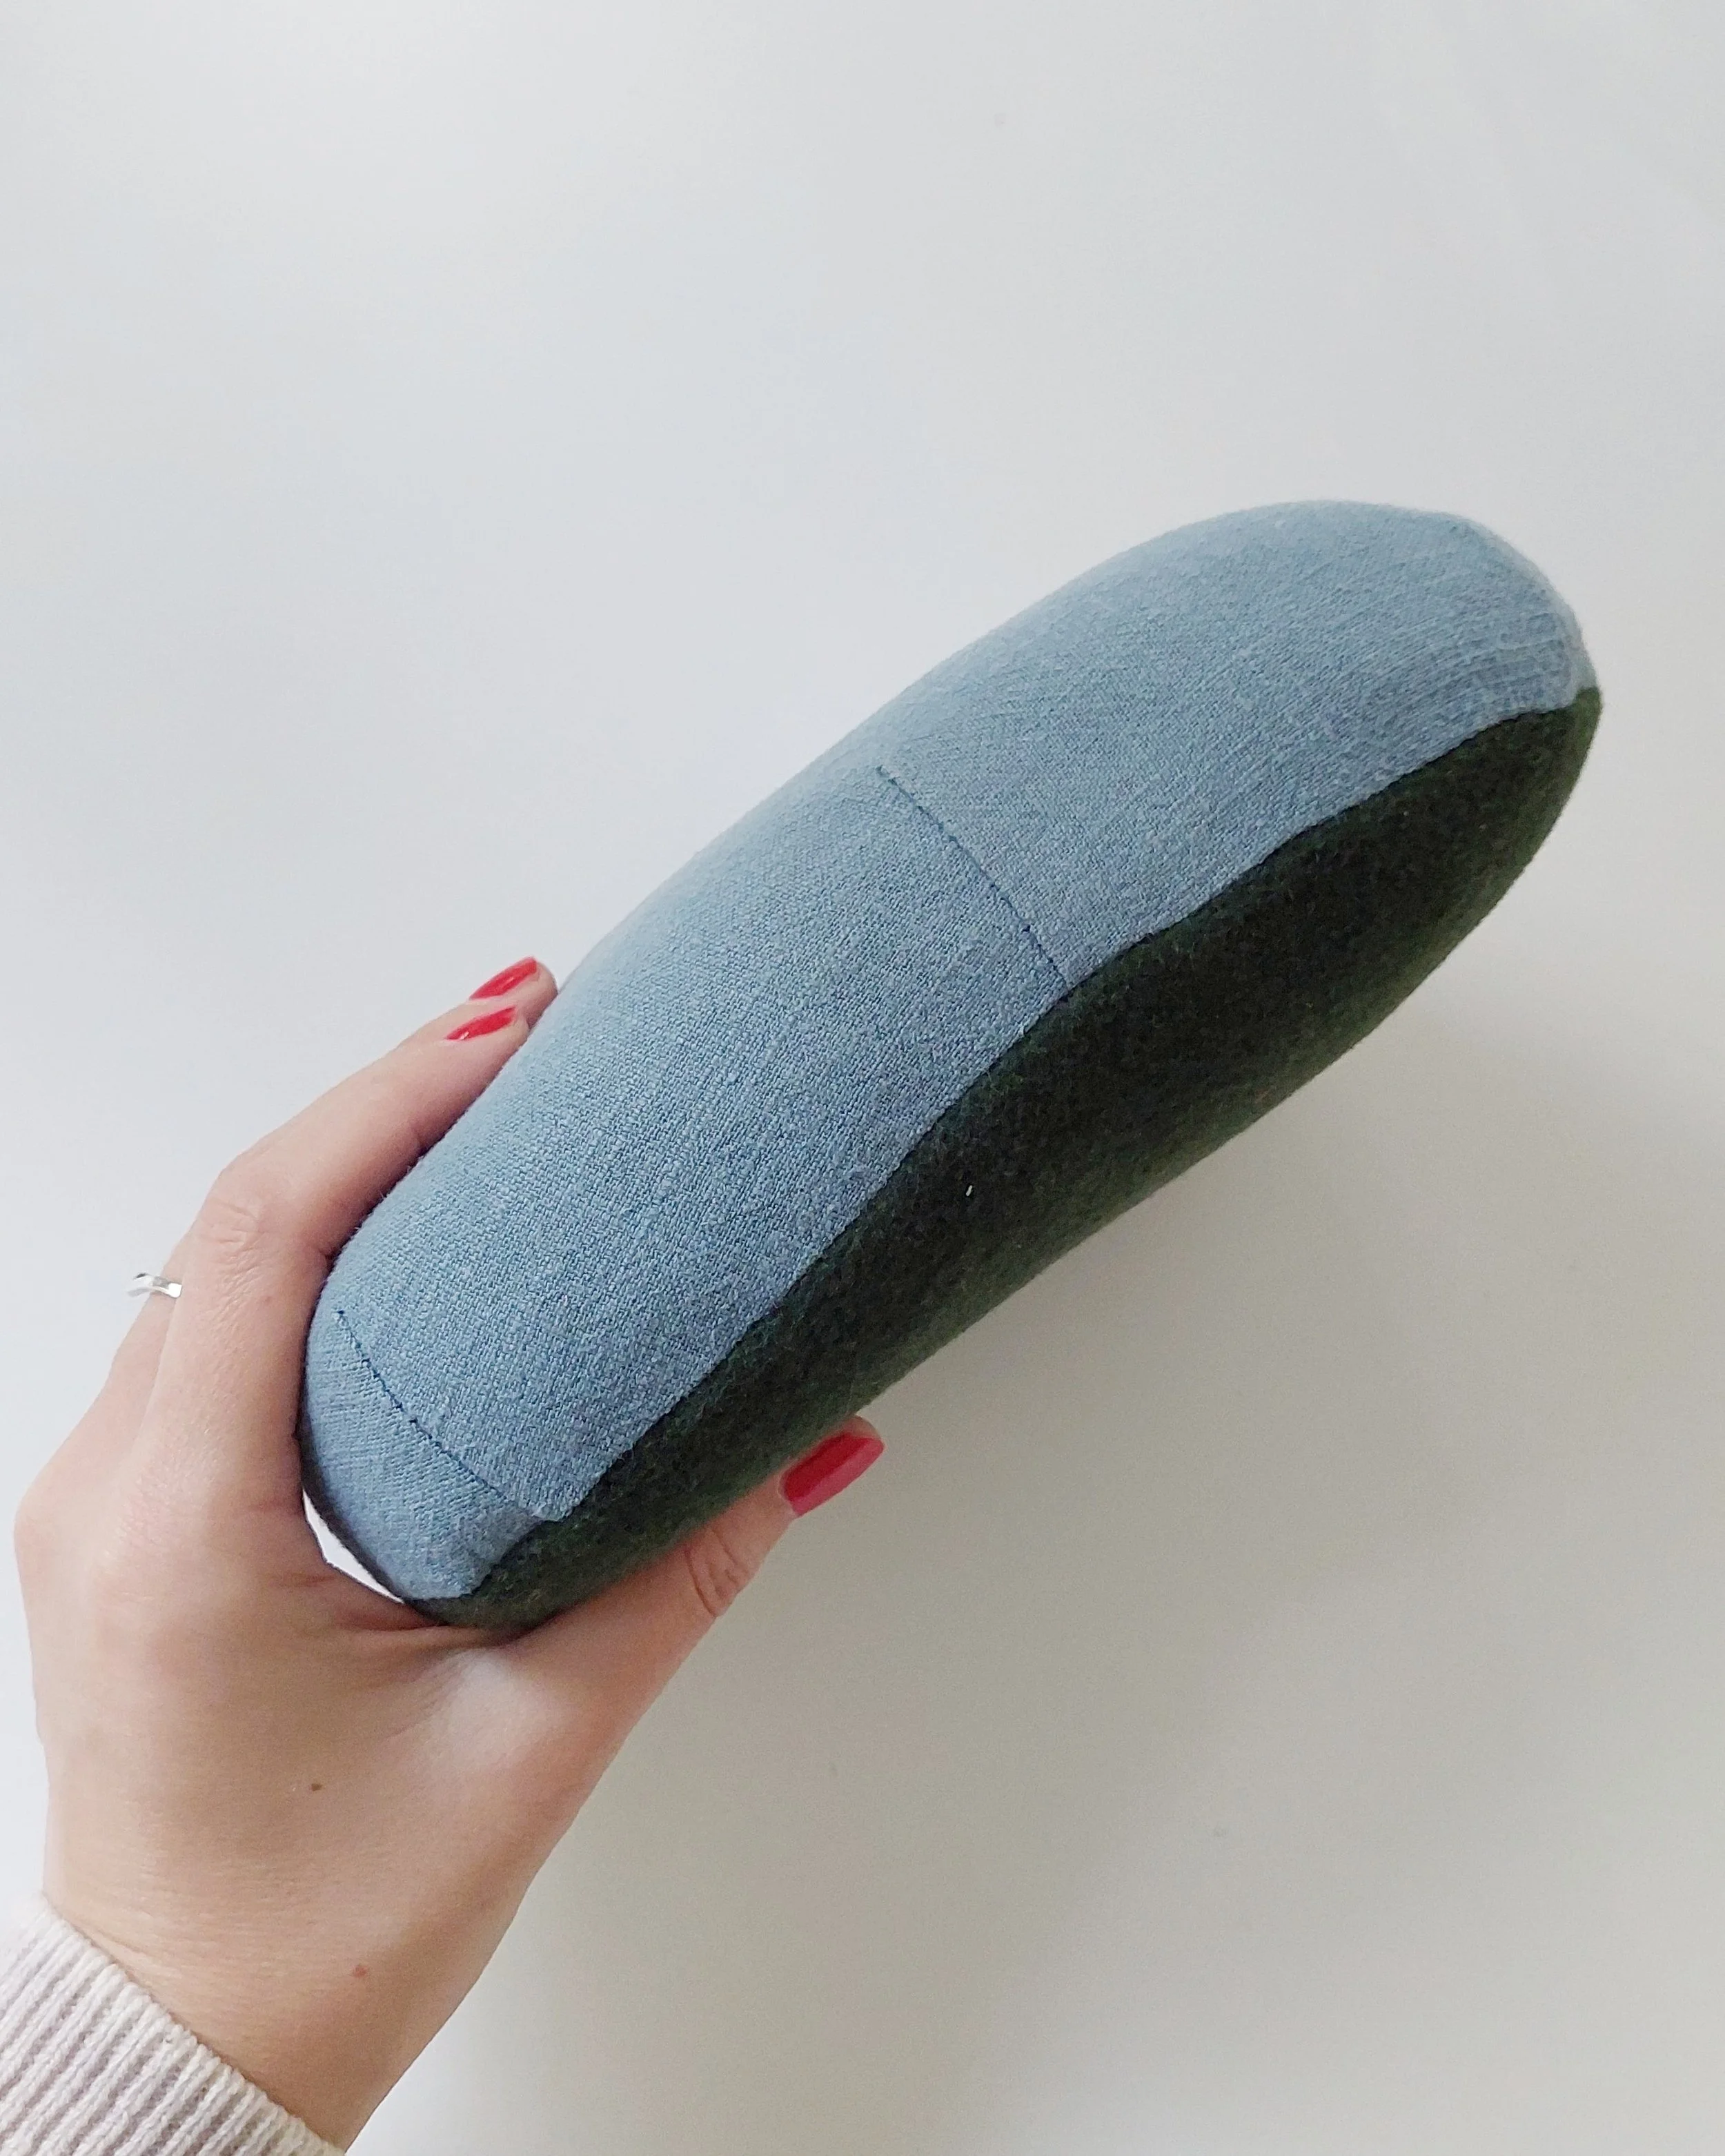
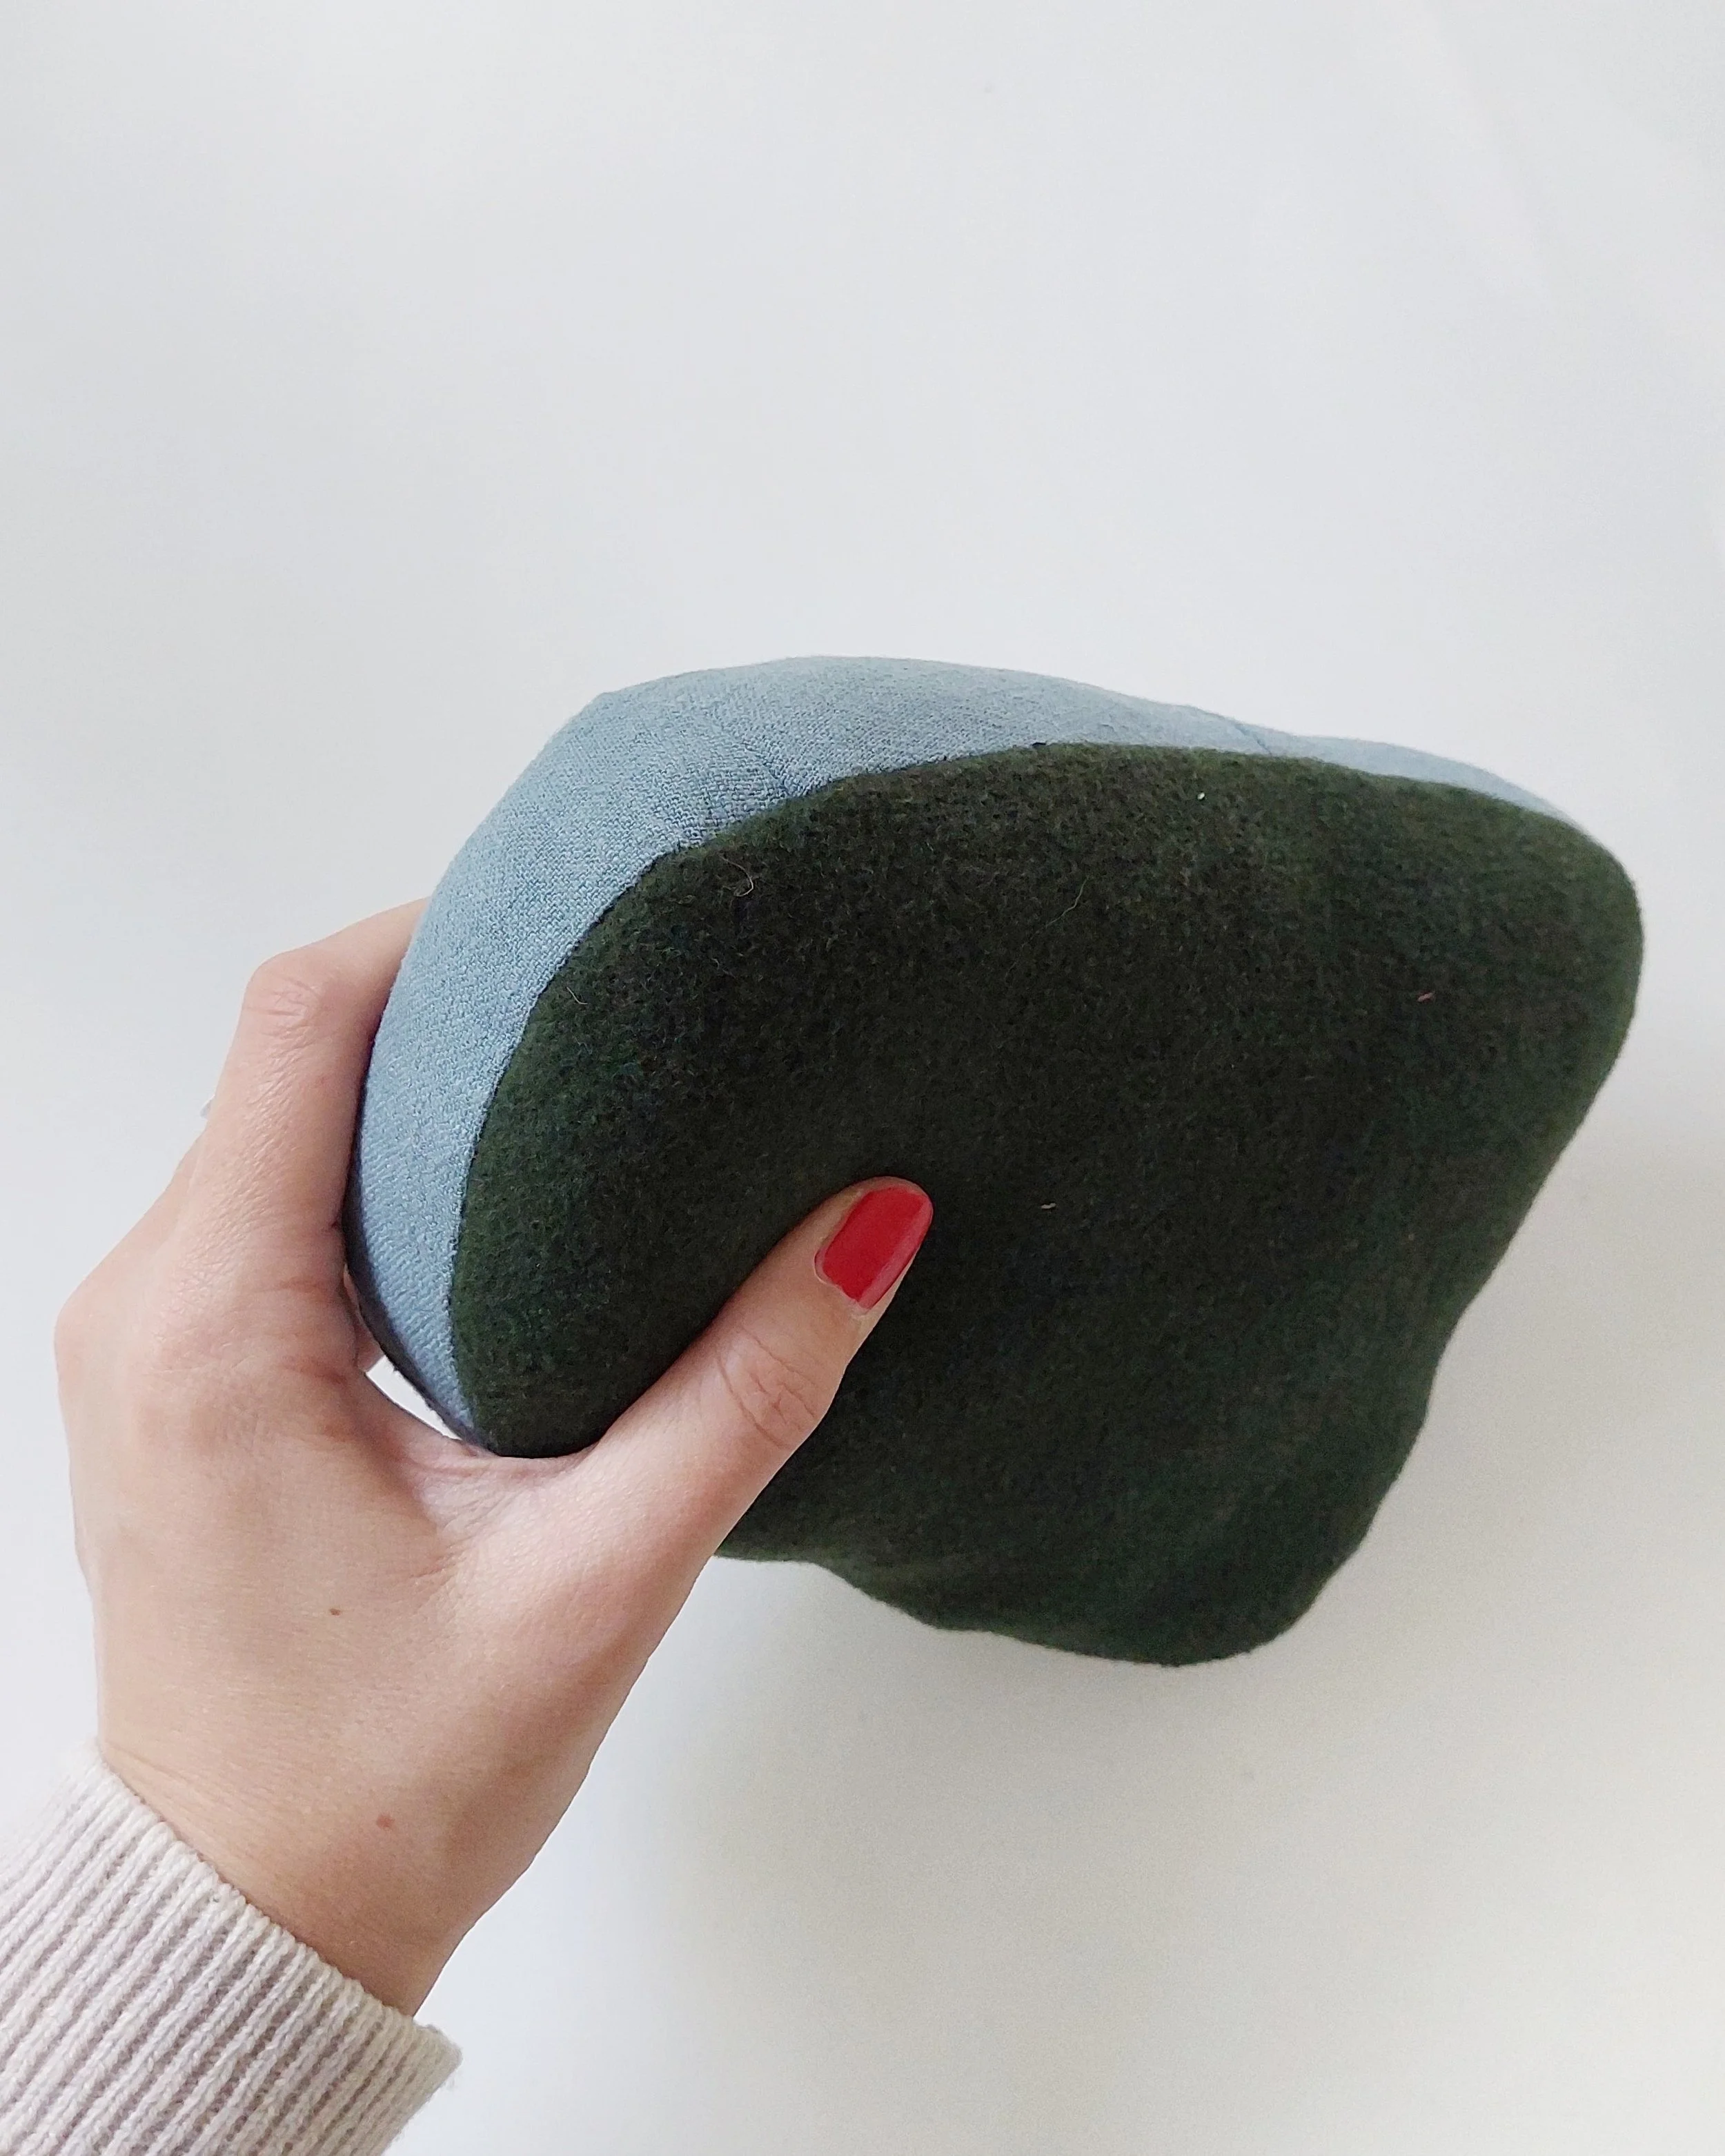
I recently made a new one for the studio using a free pattern from Cornelius Quiring (his video content is super interesting, by the way!). For my ham, I used linen for one side and wool for the other. I stuffed it with fabric scraps from class (only natural fibers like cotton, etc.), and it actually took a while to gather enough to get a nice, firm cushion, you need a bunch of scraps to fill it.
In the past, I’d used softer cushions with fluffier fillings for pressing, but that sturdy, packed-up ham is a total game changer. Treat yourself with this handy little tool and you’ll be happily pressing darts in the future!
Hace poco hice uno nuevo para el estudio utilizando un patrón gratuito de Cornelius Quiring (por cierto, sus vídeos son muy interesantes!). Para mi almohadilla, utilicé lino por un lado y lana por el otro. Lo rellené con retales de tela de clase (solo fibras naturales como algodón, etc), y la verdad es que me llevó bastante tiempo reunir lo suficiente para conseguir un cojín bien firme, ya que se necesitan muchos retales para rellenarlo.
Antes he utilizado cojines más blandos con rellenos más mullidos para planchar, pero esa almohadilla tan resistente y compacta lo cambia todo. Aparta un ratito de costura para hacerte esa pequeña herramienta tan útil y vas a ver lo bien que planchas las pinzas en el futuro!
Getting that nice, crisp press / Conseguir que las costuras queden planas
One thing I learned while making wool coats (apart from realizing that making a wool coat is an art form of its own) is that pressing isn’t just about holding your iron on top of the seam. Once you lift your iron, the leftover hot steam can be locked into the seam to make it even better.
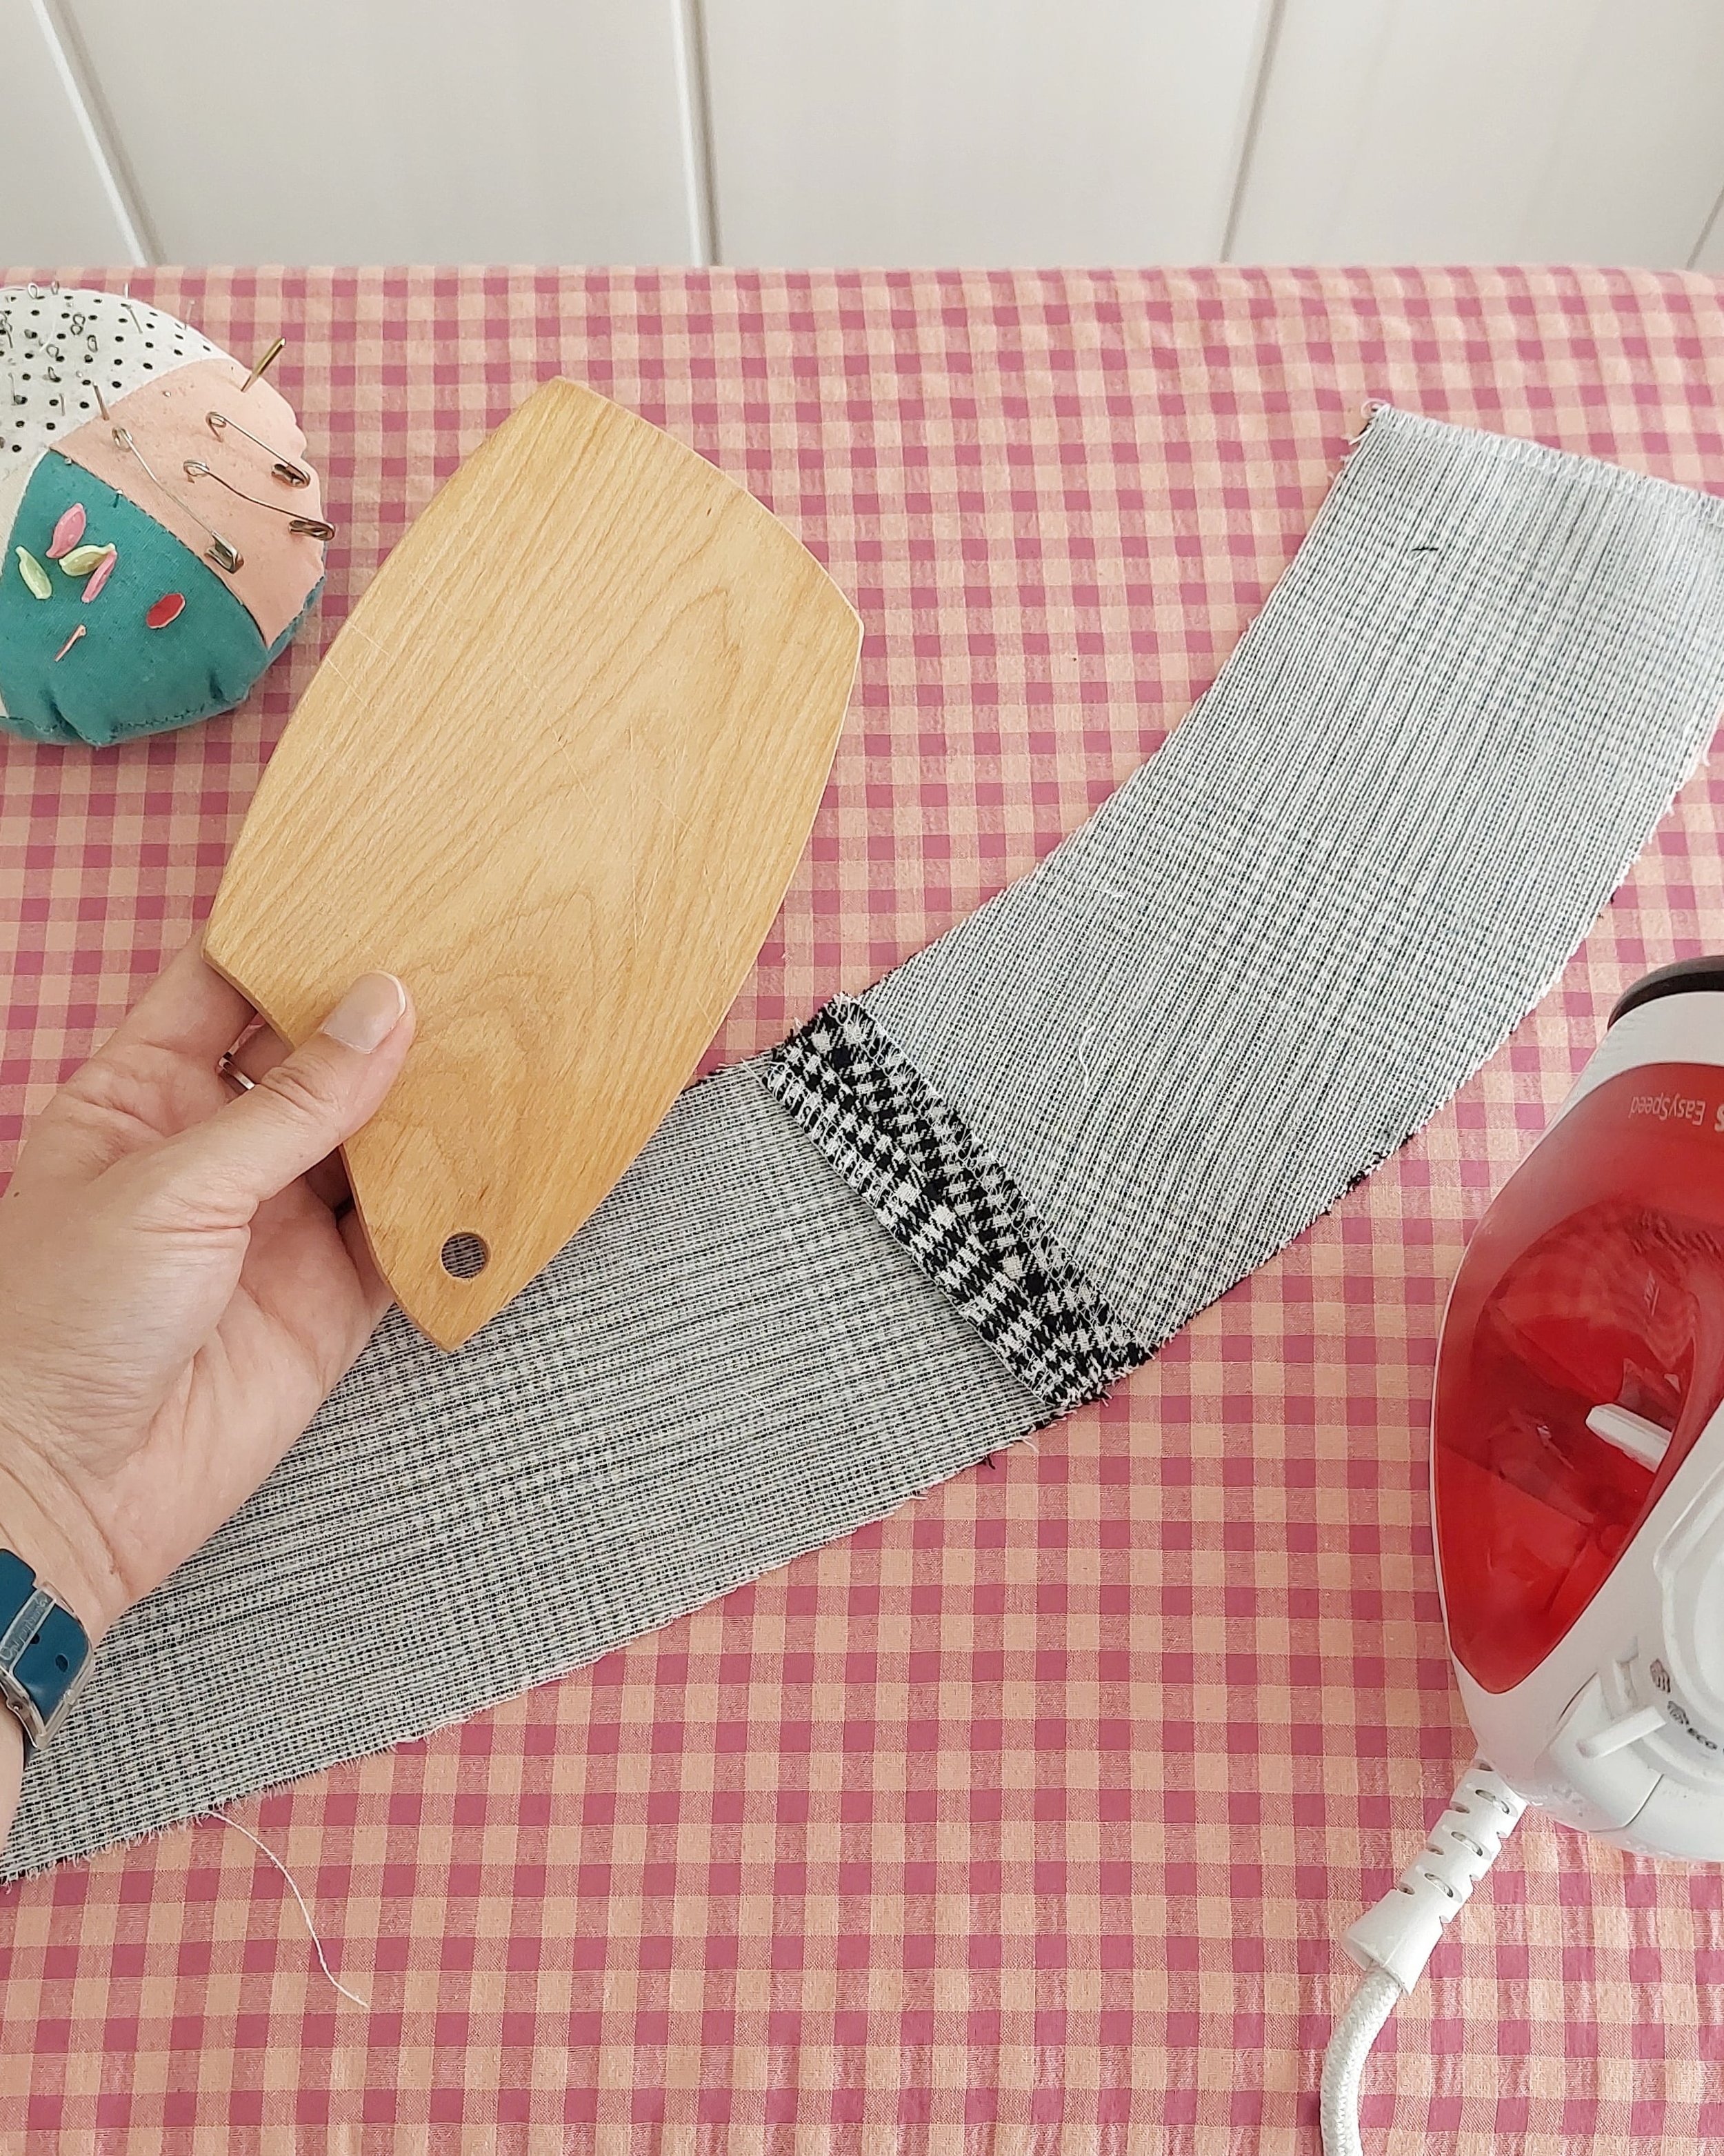
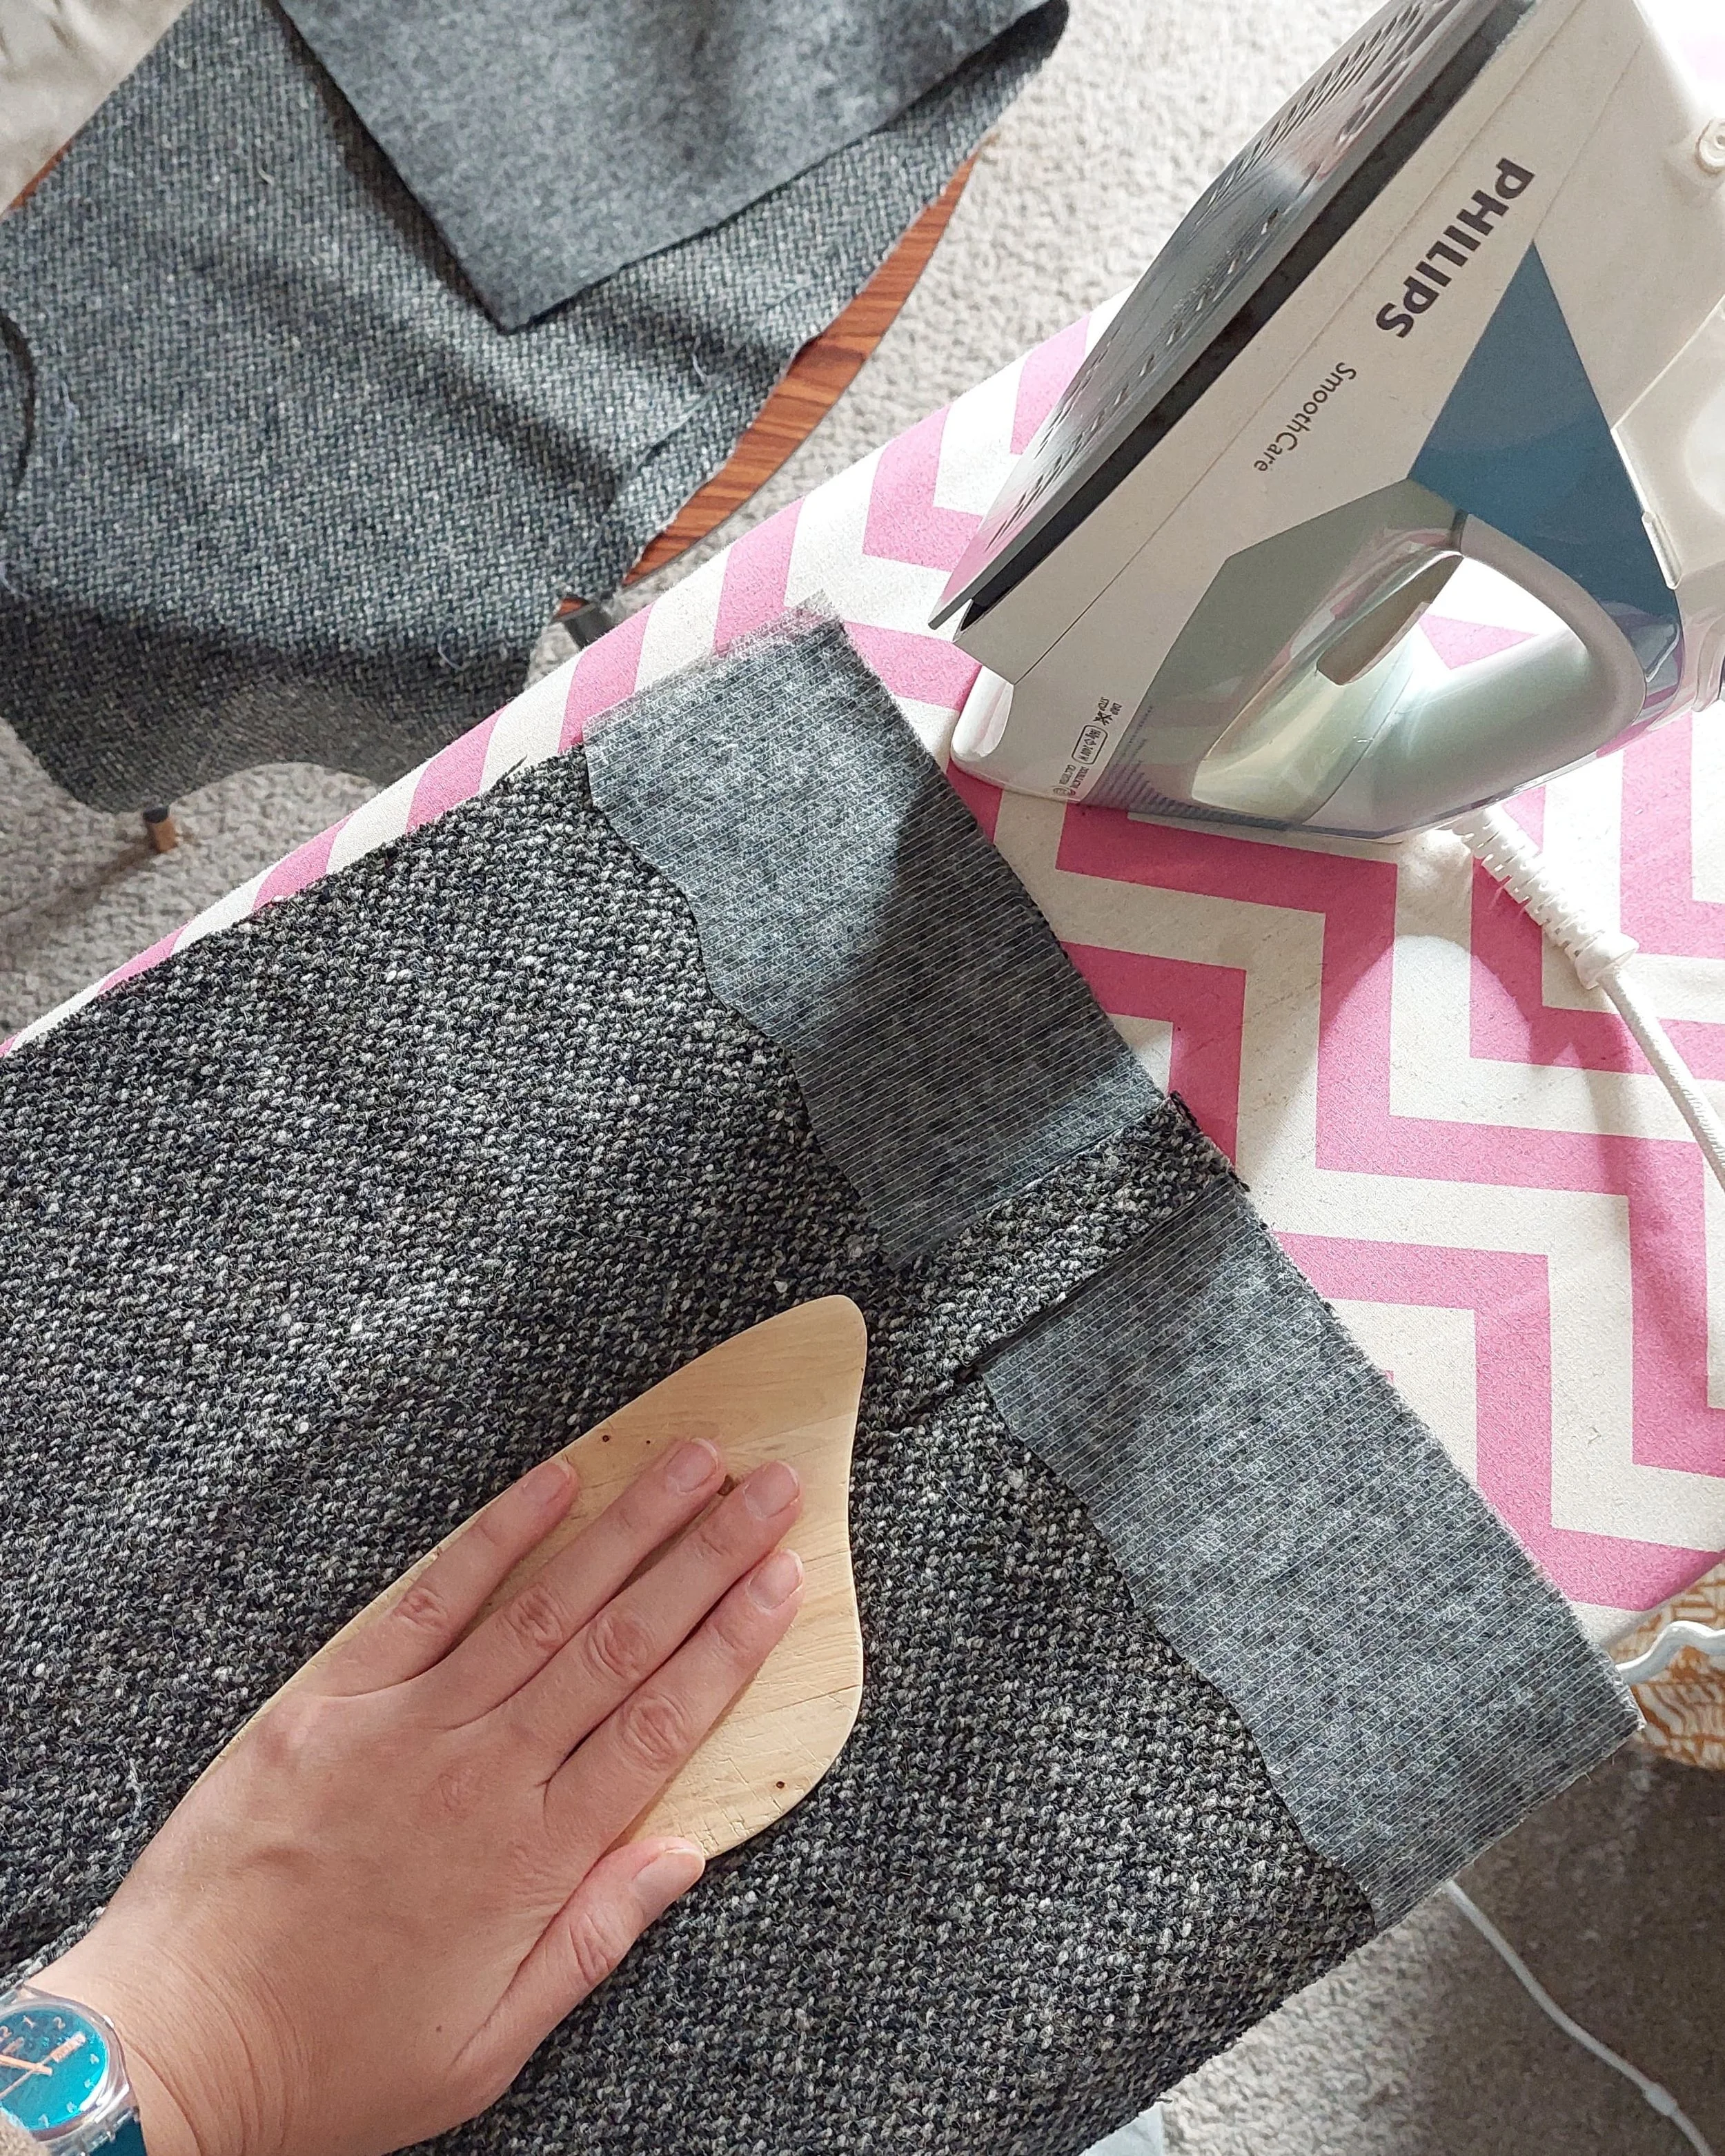
To do this without burning your hands (again, ask me how I know), it’s best to use a wooden tool. The pros use a wood clapper, but here’s a homemade solution until you get one: a wooden cutting board. You can use that and the pressure of your hand to do the same trick. I adopted a small board that I wasn’t going to use in the kitchen for the studio, and it works perfectly (pressing seams and cutting onions with the same tool is not suggested, for obvious reasons). I guess you could use any other wooden “tool” to get the trick done, maybe you have something around the house that could have a new purpose in sewing?
Locking steam in the seams isn’t only useful for thick wools—it’s great for denim and other sturdy fabrics that really benefit from a good press and make your sewing so much easier. Even lightweight fabrics stacked up in various layers at once, like a shirt collar stand for example, can be quite bulky, so this tool will help you make the sewing area flat and easy to work with.
Una cosa que aprendí mientras cosía abrigos de lana (aparte de darme cuenta de que hacer un abrigo de lana es una forma de arte) es que planchar no consiste solo en mantener la plancha sobre la costura para abrirla. Una vez que levantas la plancha, puedes dejar el vapor caliente restante en la costura para mejorar ese planchado aún más.
Para hacerlo sin quemarte las manos (de nuevo, pregúntame cómo lo sé), lo mejor es utilizar una herramienta de madera. Los profesionales utilizan el clapper de madera (no sé si en castellano hay una palabra equivalente, pero es un término para una herramienta alargada de madera para asentar costuras), pero aquí tienes una solución casera hasta que consigas una: una tabla de cortar de madera. Puedes utilizar la tabla y la presión de tu mano para hacer el mismo truco.
Yo utilizo una tabla pequeña que no iba a usar en la cocina, para el taller, y funciona perfectamente (por razones obvias, no se recomienda planchar costuras y cortar cebollas con la misma herramienta). Supongo que se puede utilizar cualquier otra “herramienta” de madera para hacer el truco, quizás tengas algo en casa que pueda tener un nuevo uso en la costura?
Retener el vapor en las costuras no solo es útil para las lanas gruesas, sino que también es ideal para el vaquero, las lonetas y otras telas resistentes que realmente se trabajan mejor con un buen planchado ya que esto facilita mucho la costura. Incluso las telas ligeras en varias capas a la vez, como el pie de cuello de una camisa, pueden llegar a ser bastante voluminosas con tantas capas. Esta herramienta te ayudará a que la zona de costura quede plana y sea fácil de trabajar.
I hope these pressing tips were useful for you! They’ve helped me a lot, so I figured I’d share them here in case you pick up something new. There’s obviously so much more to pressing, and I feel that I myself still have a lot to learn about more specific techniques, but here’s a good start with inexpensive tools.
If you’d like to be up to date with posts like this one on the blog, please subscribe to my newsletter here. Thanks for reading and following along!
Espero que estos consejos sobre planchado te hayan sido útiles! A mí me han ayudado mucho, así que pensé en compartirlos aquí por si aprendes algo nuevo. Obviamente, hay mucho más que aprender sobre el planchado, y creo que yo misma todavía tengo mucho que aprender sobre técnicas más específicas, pero aquí tienes un buen punto de partida con herramientas de andar por casa.
Si quieres estar al día con entradas como ésta en el blog, apúntate a mi newsletter aquí. Gracias por leer!