
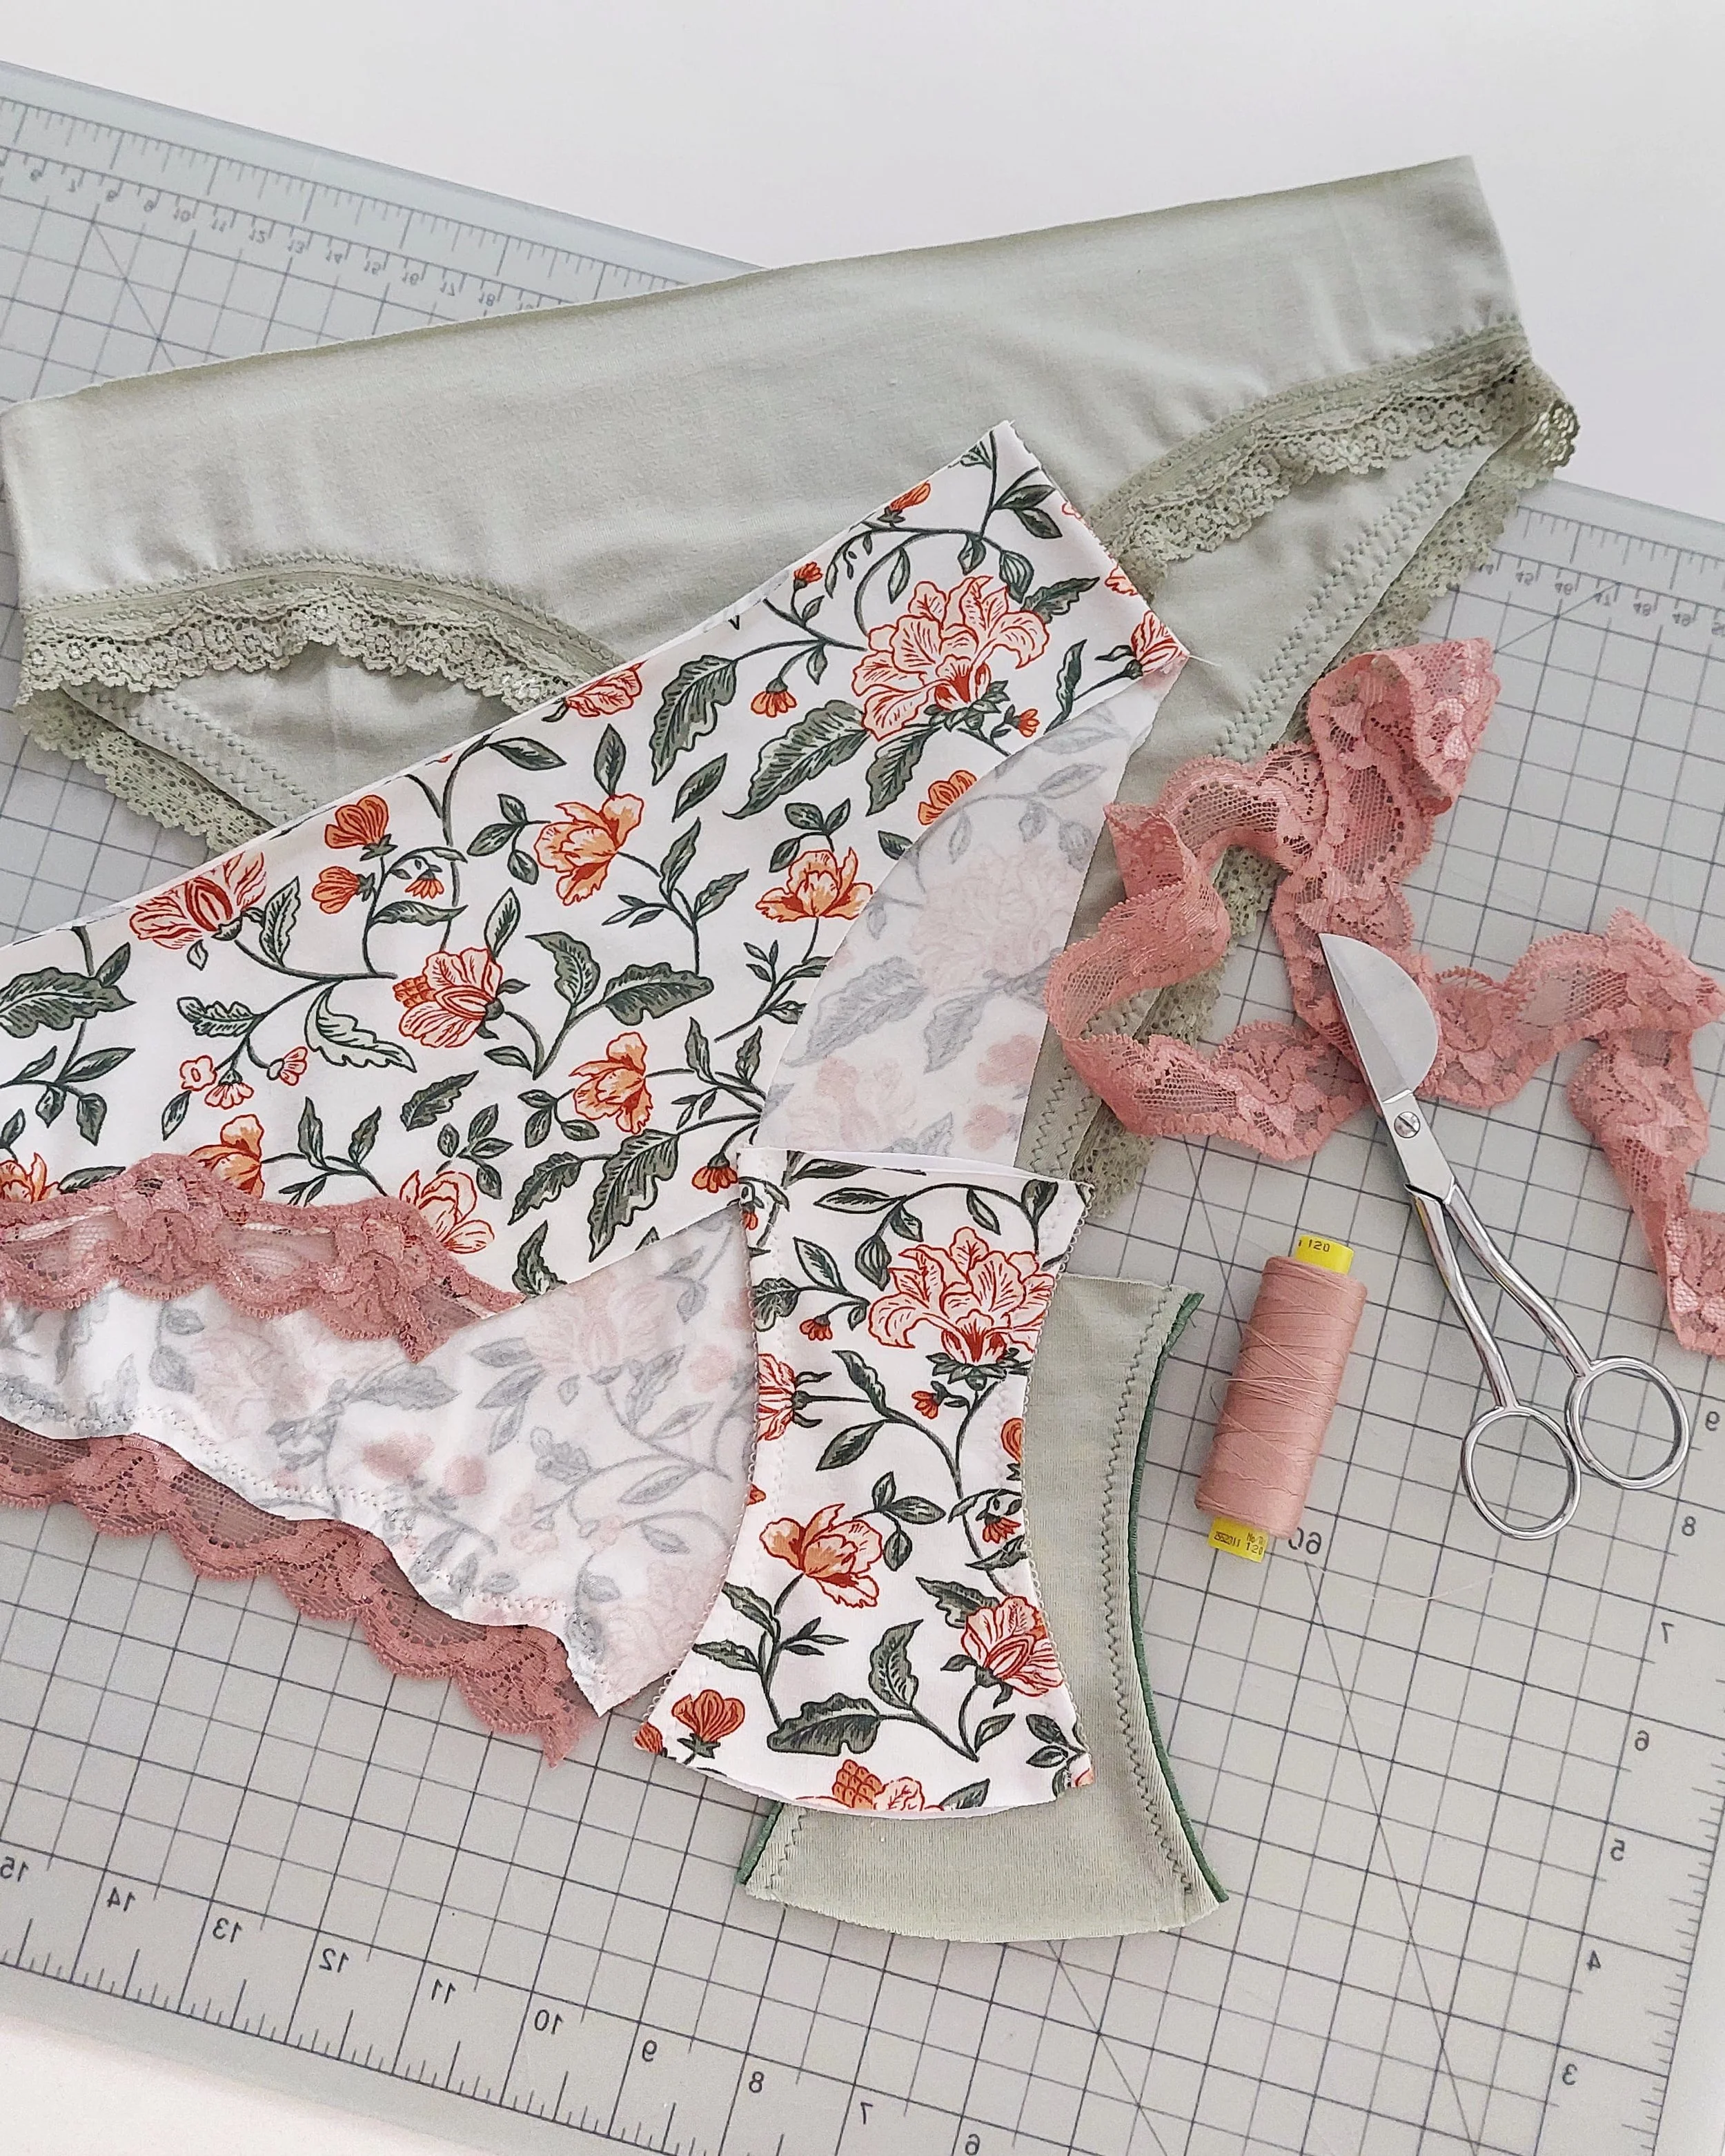
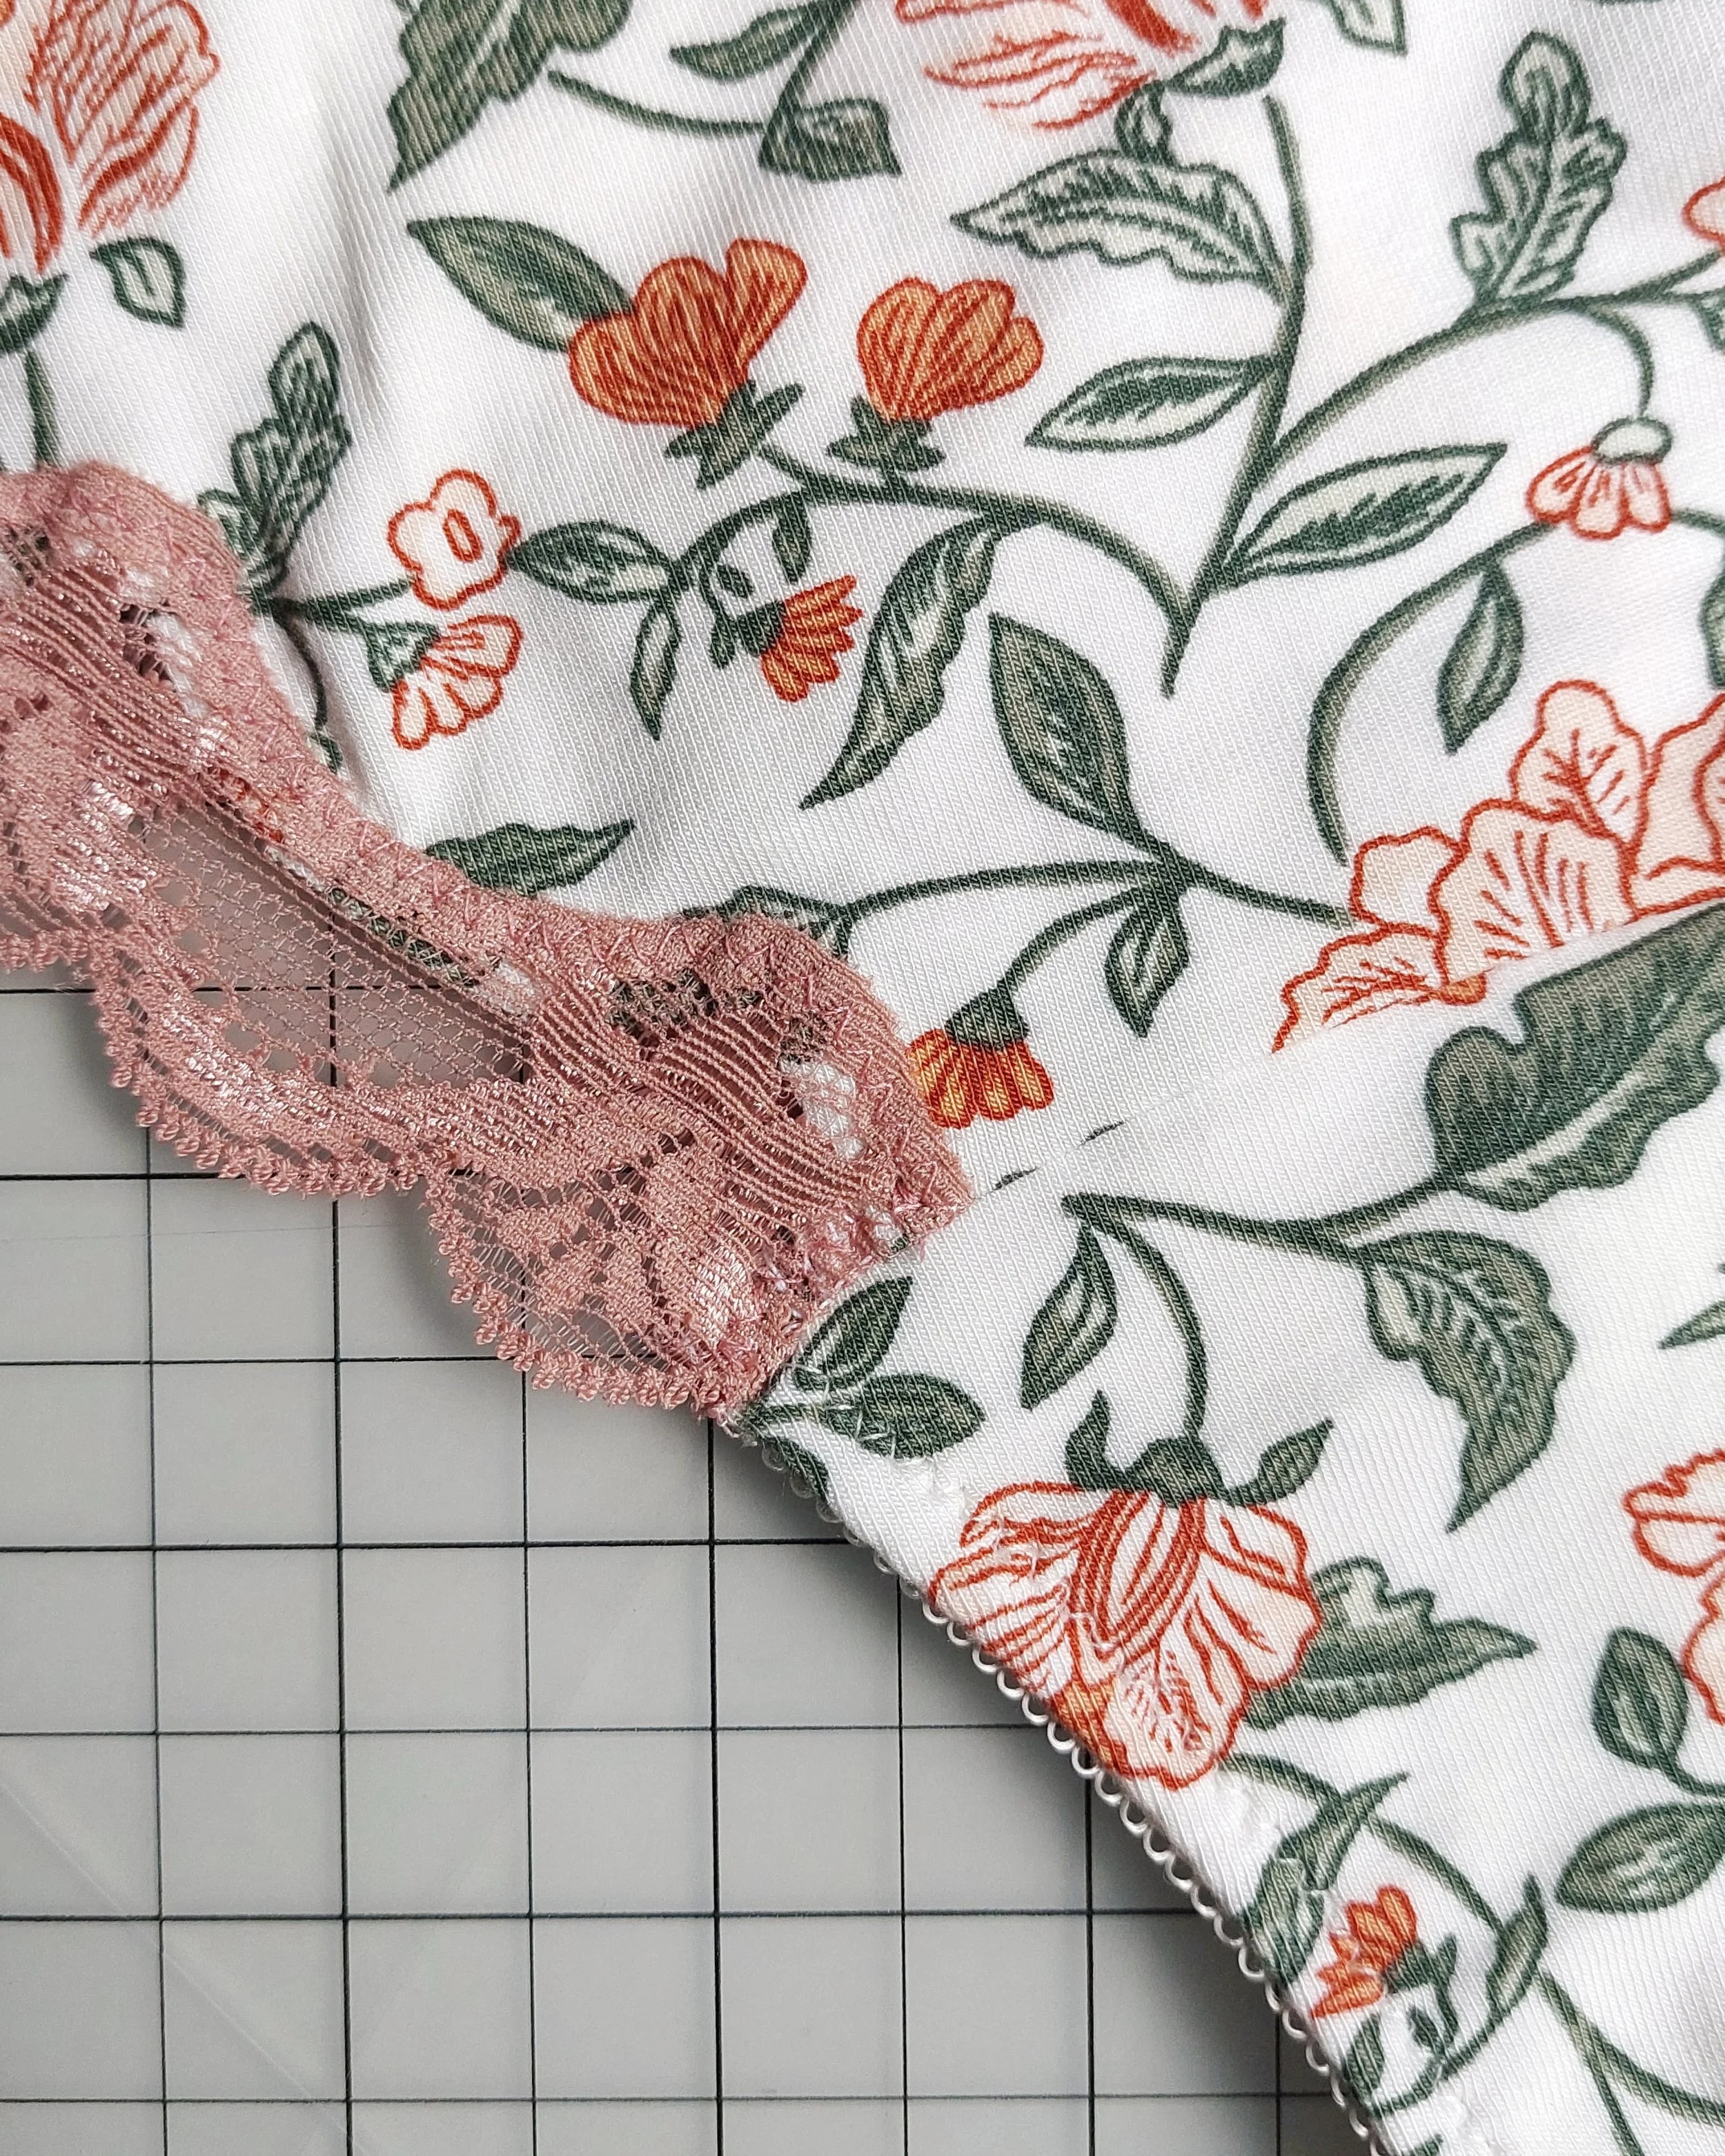
Today I’m bringing you a new tutorial about sewing lingerie! A good option to try something new using your favorite undies pattern is to add narrow stretch lace trims. These trims come in different widths, the most common one I use for this method is usually 2-3 cm wide. The trim can have a scalloped edge or it can have a straight edge on both sides. The method for sewing it is the same, and I'll explain it below.
Hoy os traigo un tutorial de lencería nuevo. Una forma de dar un toque diferente a las bragas de punto es usar puntillas elásticas. Son puntillas que pueden tener diferentes anchos, el ancho más común de puntilla que suelo usar para este método suele ser de 2-3 cm. Pueden tener un borde con ondas o también las hay rectas en ambos laterales. El método para coserlas es el mismo y te lo cuento debajo.
También puedes ver este tutorial en formato video dentro de mi curso online de bragas donde te cuento cada paso desde los materiales hasta los acabados en un formato claro y didáctico.
In the e-book about modifications for panties patterns (a free resource that you can download when you sign up for my newsletter here), there is already a tutorial about how to sew these lace trims in a circle, but in this tutorial, I will show you how to do it so that the crotch piece is separate.
My main reason for doing it this way is that I personally find it much more comfortable if the crotch piece has elastic sewn into the sides. This is something I've realized over the years, and since I can make underwear as I like, I can choose thefinishings I like best. So, I'll tell you how to do it this way, but if you want to follow the circle sewing format, which is a little faster, you can still follow the steps and see how I sew it, as it's similar.
En el libro electrónico sobre modificaciones de bragas (un recurso gratuito que puedes descargar al apuntarte a mi newsletter aquí) tienes un tutorial sobre cómo coser estas puntillas en formato de círculo pero en este tutorial te enseño cómo hacerlo de la forma que la entrepierna va por separado.
Mi principal motivo de hacerlo de esta forma es que a mí personalmente me resulta mucho más cómodo si la entrepierna tiene elástico cosido en los laterales. Es algo que me he dado cuenta con años y gracias a que puedo hacer la ropa interior a mi gusto, puedo elegir el formato que más me guste. Así que os cuento cómo hacerlo así, pero si tú quieres seguir el formato de coserlo en círculo que es un poco más rápido, aún así puedes seguir los pasos y ver cómo lo coso, ya que es similar.
For this type of panties, I use version one for knit fabrics that is included in all my patterns. I’m going to attach the trim in a way that it adapts to the curves of the pattern, so it makes sense to use the same base as for knits. I will use it here on the leg openings, but you can also use this trim for the waistband. It's up to you whether that lace provides enough support or if you want to add elastic underneath as well. For now, let's see how to use it on the leg openings.
Para este tipo de bragas uso la versión uno para telas de punto de mis patrones, ya que voy a unir la puntilla de la forma que se adapta a las curvas del patrón. Lo usaré aquí en las aberturas de las piernas pero también puedes usar esta puntilla para la cinturilla. Allí ya depende de cada una, si es suficiente sujeción con esa puntilla o queréis añadir también un elástico debajo. Por el momento vemos cómo usarlo en las aberturas de las piernas.

In this tutorial, I am using the Vera panties sewing pattern as a base. First, sew the sides together to join them. Next, sew the elastic to the sides of the crotch piece. To do this, simply place your outer crotch piece on top of the lining crotch piece, with wrong sides together, and sew the lingerie elastic as usual.
En este tutorial uso de base el patrón Vera. Primero cose los laterales para tenerlos unidos. Por otro lado junta las piezas de entrepierna con el elástico de lencería. Para eso simplemente ten tu pieza de entrepierna exterior junto a la pieza de forro, reveses juntos, y cose el elástico de lencería como siempre.

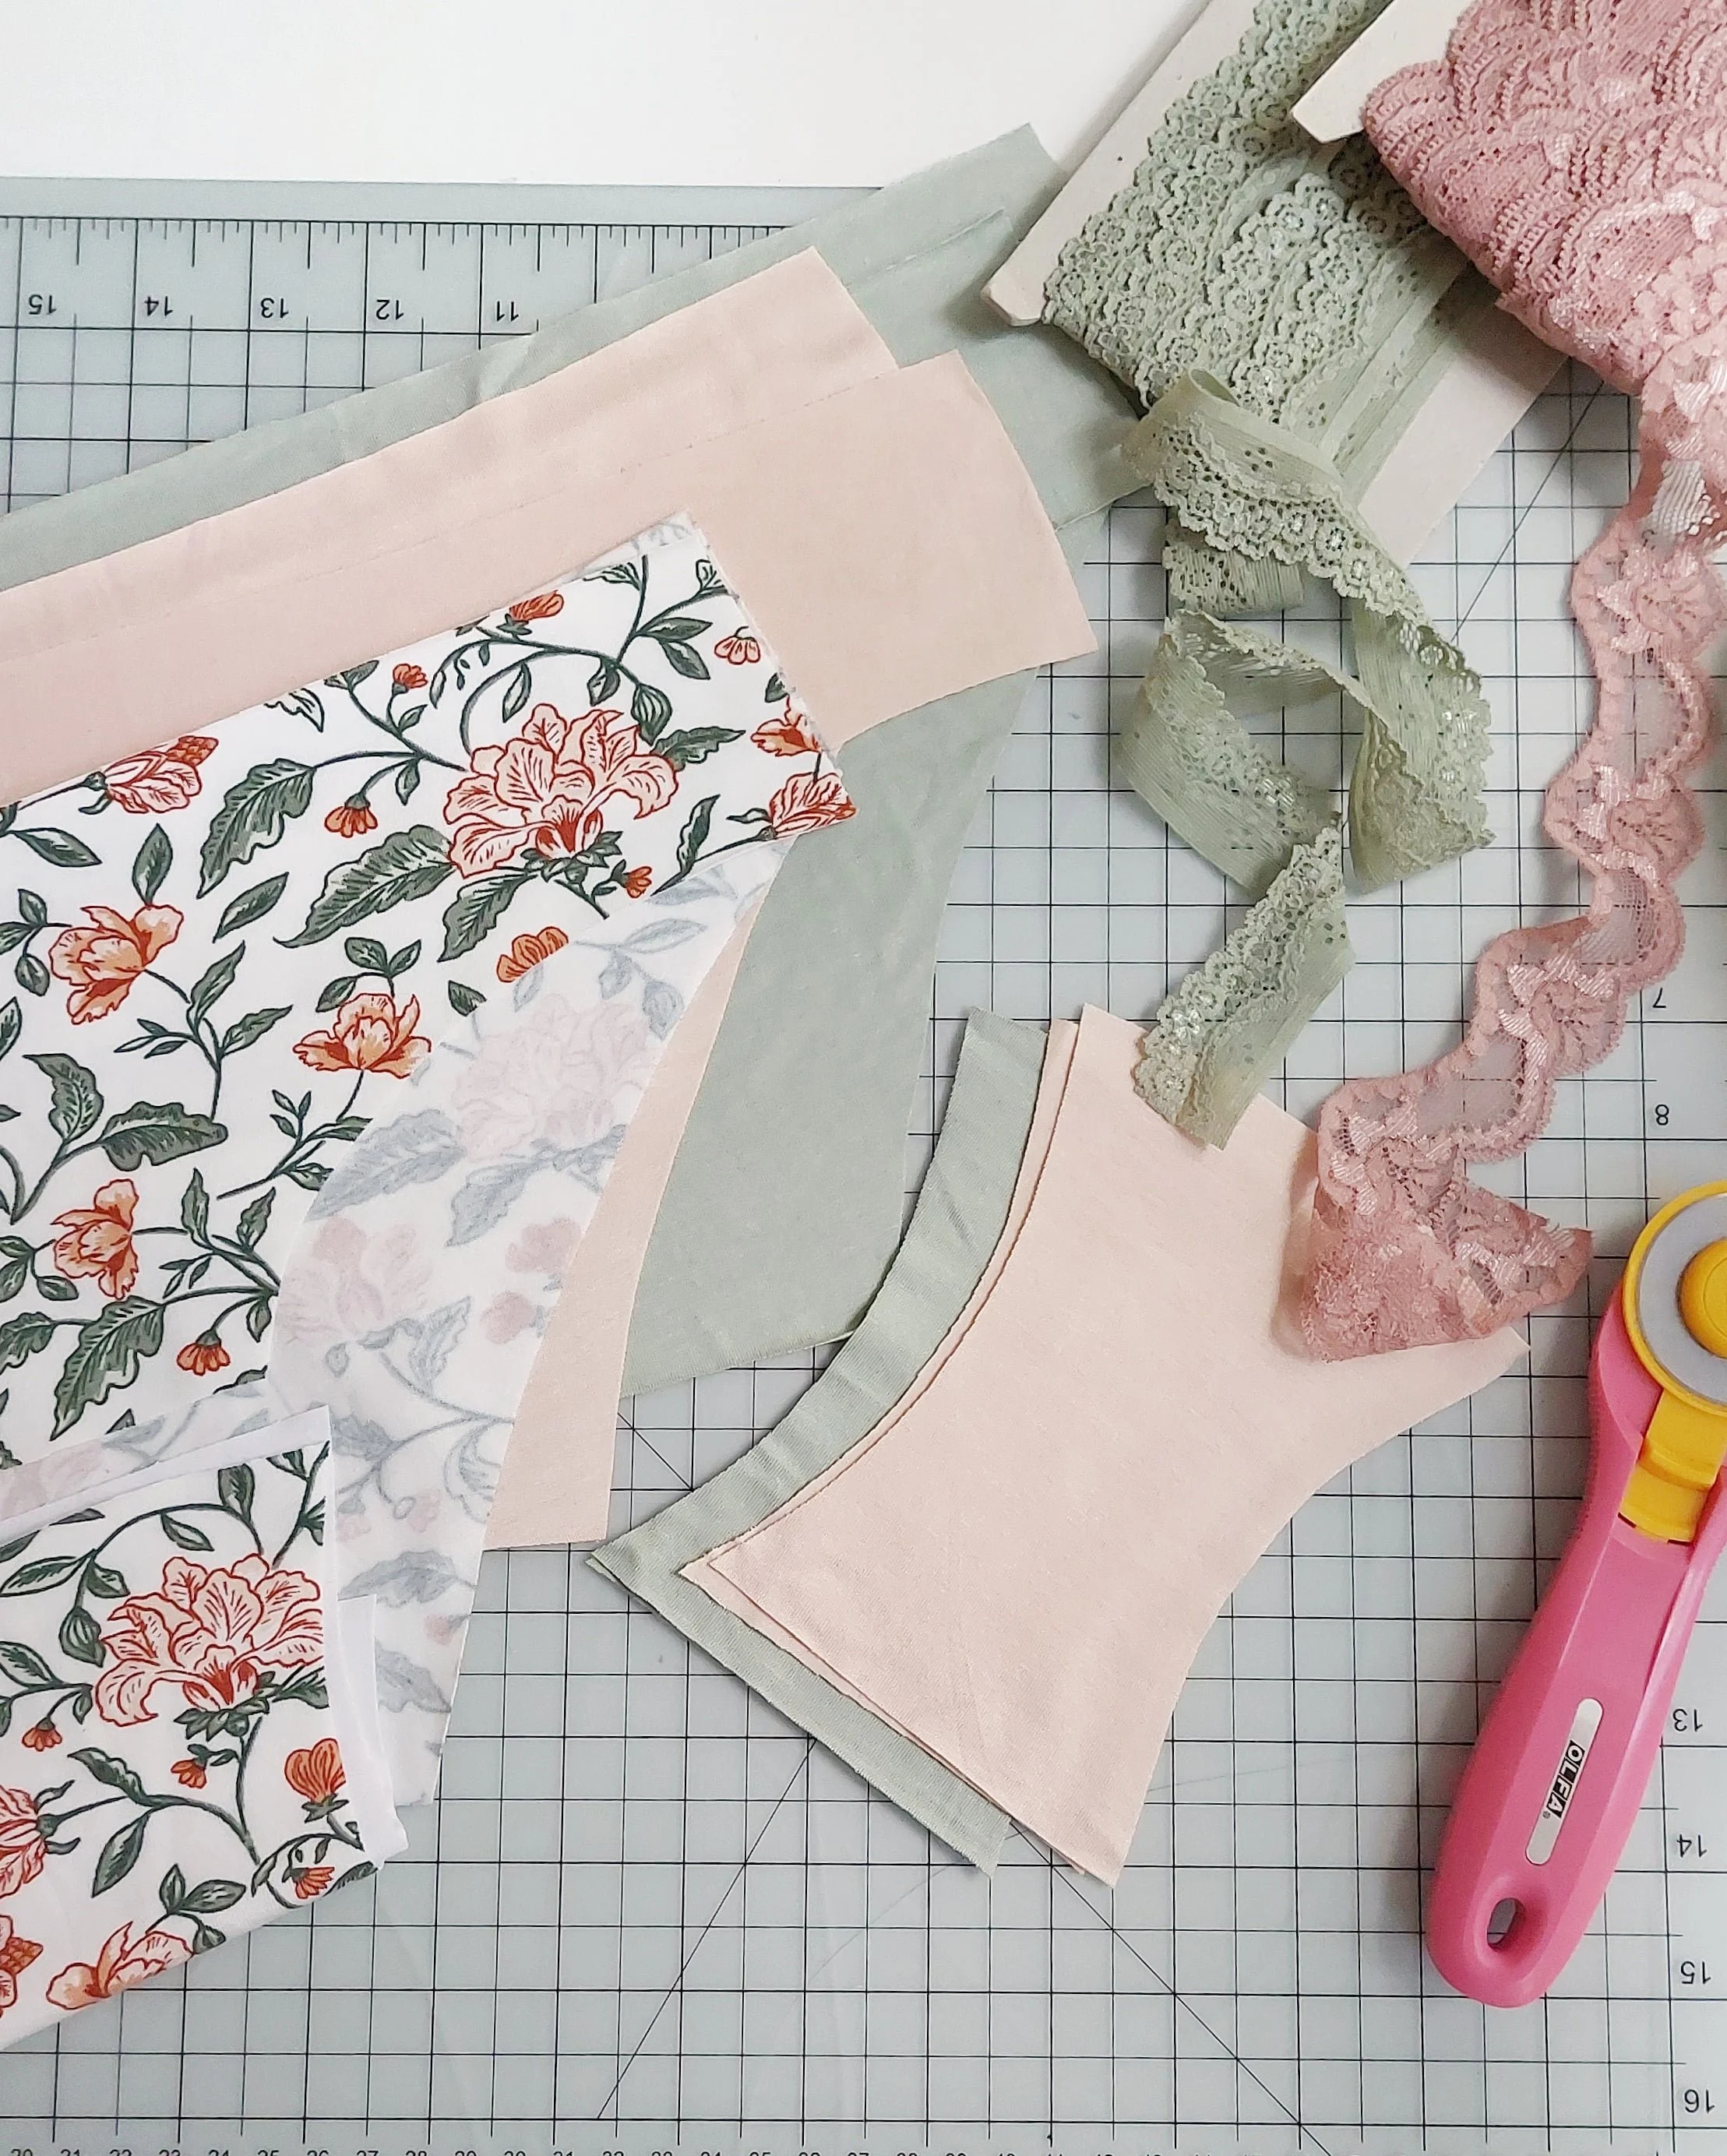
Now we can start sewing the lace trim. Since we are working with the knit base and we have already used the seam allowance for the elastic in the crotch, now is a good time to check the width of the crotch and the width of the front and back pieces.
There should be a little fabric left over on both sides, and this part needs to be trimmed down. When we sew the lace trim, we will be sewing it on the edge of the leg opening, and this may mean that we no longer have the same width on both pieces, making it much more difficult to get them to line up. Even out these pieces so that they are the same width.
Ahora podemos empezar a coser la puntilla. Ya que estamos trabajando con la base de punto y en la entrepierna hemos ya usado el margen de costura para el elástico, es bueno momento de comprobar el ancho de la entrepierna y el ancho del delantero y la espalda.
Nos debería sobrar un poco de tela en ambos lados y esta parte hay que recortar, porque al coser la puntilla, la vamos a coser en el borde y así puede que no tengamos ya el mismo ancho entre las piezas y cuesta mucho más hacerlo cuadrar. Iguala estas piezas para que tengan el mismo ancho.

If your trim has scallops, place the beginning of the scallop 6 mm from the beginning of the front piece. By doing that, we know that when we join the crotch piece later on, the scallop will begin nicely from that point.
If that scallop point doesn't quite fit, it's not the end of the world, and you don't need to worry too much about it. As long as you leave the edge of the trim flush with the fabric at that 6 mm point, you're fine. The important thing is that both widths, the front and the crotch, fit together, and the same goes for the back.
Si tu puntilla tiene ondas, coloca el comienzo de la onda a 6 mm desde el comienzo de la pieza delantera. Dejando el comienzo de la onda a 6 mm desde el borde, sabemos que al unir luego la pieza de entrepierna, saldrá justo de ese punto la onda de forma bonita.
Si no te cuadra bien ese punto, tampoco es el fin del mundo y no hace falta gastar mucha puntilla para cuadrarlo allí. Con que dejes el borde de la cinta al ras de la tela en ese punto de 6 mm, vas bien. Lo importante es que te cuadren luego ambos anchos, ese delantero y la entrepierna, y lo mismo con la espalda.
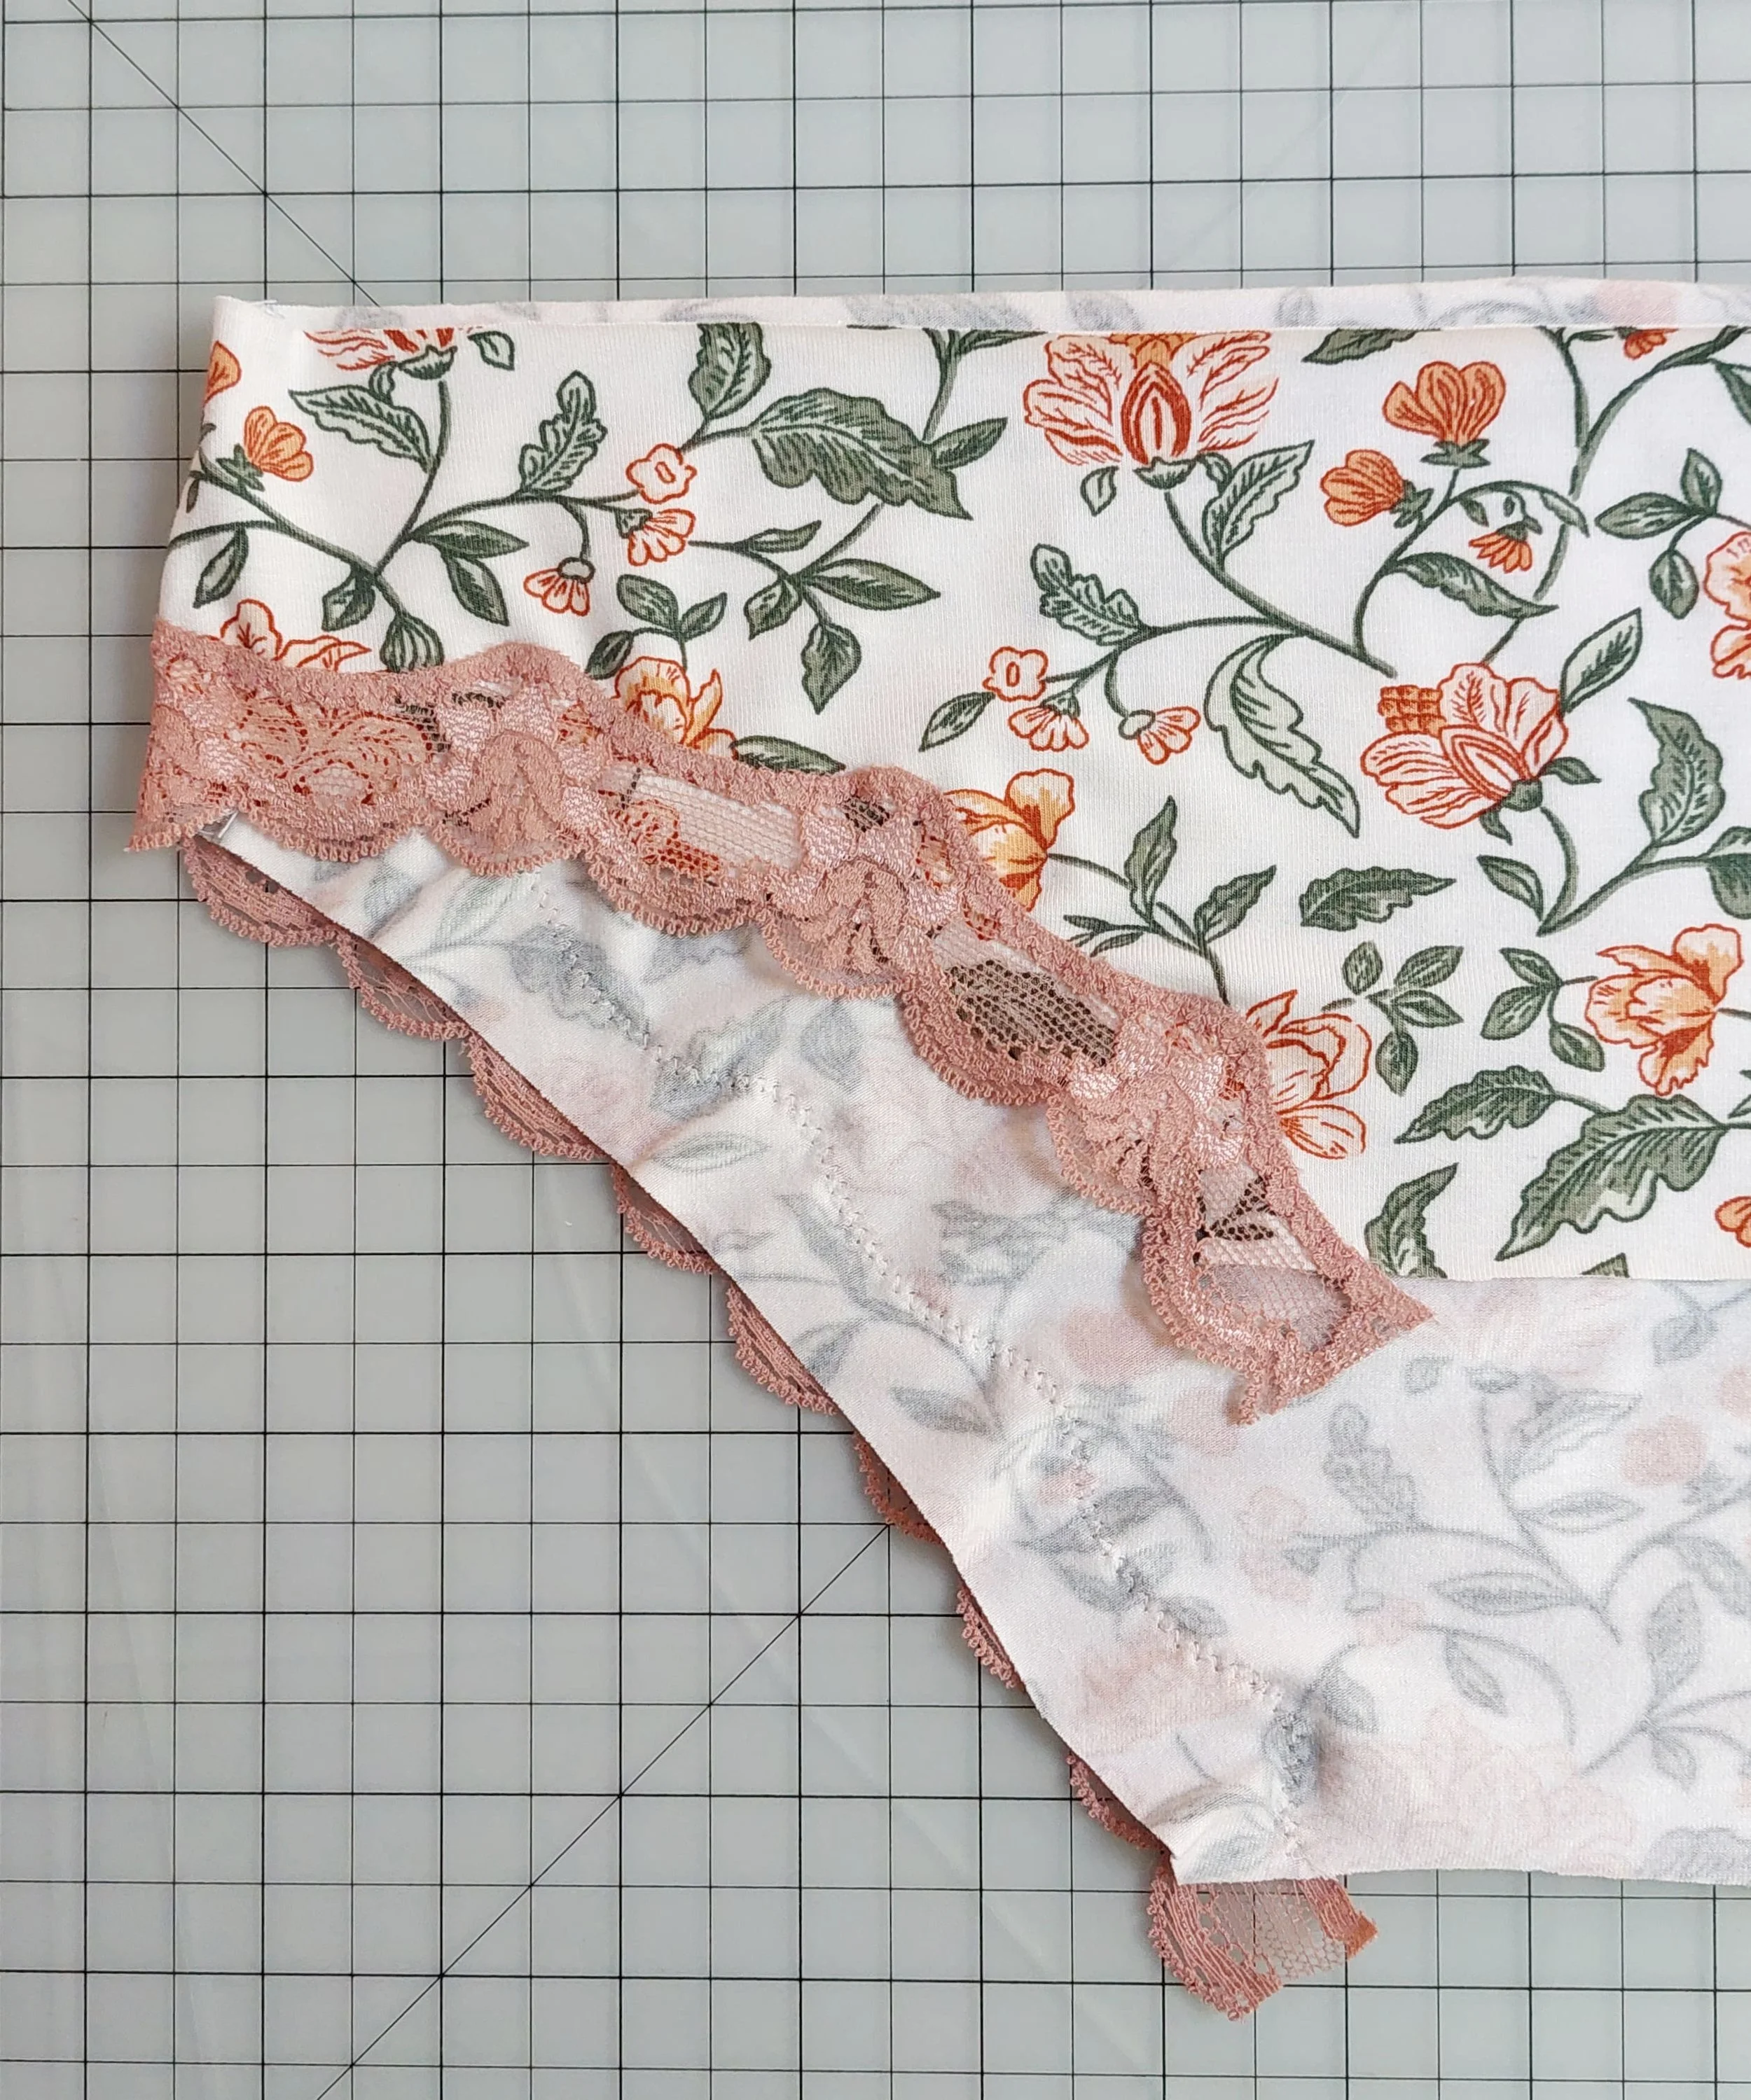
Now sew the lace using a zigzag stitch 2.5 wide and 2.5 long, following the inner shape of your lace and leaving its edge flush with the edge of the opening where you are sewing it. As you sew, pull the trim slightly, just as we do when sewing lingerie elastic, so that the lace has a slight tension. When you reach the side seam, make sure it is folded towards the back.
When you reach the other end, position your lace again so that it is 6 mm from the end, with the edge at the appropriate width. This point may or may not line up with the beginning of the scallop, which is not so important, as the priority here is to stretch the trim evenly. However, the width of the piece is important, so make sure that point is positioned correctly, just like on the front.
Ahora cose la puntilla usando un zigzag de 2,5 de ancho y 2,5 de largo, siguiendo la forma interior de tu puntilla y dejando su borde al ras del borde de la abertura donde lo coses. Mientras coses, estira ligeramente de la puntilla, igual que hacemos al coser elásticos de lencería, así la puntilla tiene una ligera tensión y hace que se sienta mejor. Al pasar por la costura lateral, asegúrate de que esté doblado hacia la parte de la espalda.
Cuando llegas al otro extremo, coloca tu puntilla de nuevo de la manera que a 6 mm desde el final, esté con el borde para un ancho adecuado. Puede que te cuadre con el comienzo de la ola o no, eso ya es muy aleatorio porque aquí prima el hecho de tensar la puntilla encima de la colocación de las ondas. Pero el ancho de la pieza sí que es importante así que asegúrate de que ese punto esté bien colocado igual que en el delantero.

Now you can either trim the excess fabric, leaving a few millimeters of seam allowance, or sew another line to secure the trim in place while also leaving more fabric underneath it.
I have sewn quite a few pairs of panties using this technique, as I really like the combination of knit fabric and lace, and for me, one zigzag stitch is enough. Sometimes, depending on the lace design, I do sew a second zigzag line, but that's usually because I like it better, not so much because I need it.
Ahora puedes o recortar el sobrante de tela dejando unos milímetros de margen o hacer otra línea de costura para asegurar más la puntilla mientras también dejas más tela debajo de la puntilla.
Yo he cosido bastantes pares de bragas con esta técnica ya que me gusta mucho la combinación de punto con puntilla, y para mí con una pasada de zigzag es suficiente. A veces, por motivos del diseño de puntilla, sí que hago también una segunda línea de zigzag, pero suele ser porque me gusta más, no tanto porque lo necesite.

To cut off the excess fabric, simply try to trim following your zigzag as best you can, always leaving a few millimeters of margin.
Para cortar la tela sobrante simplemente intenta seguir lo mejor que puedas tu zigzag, siempre dejando unos milímetros de margen.

To sew the other leg with the same amount of trim, I usually measure the same quantity I used on the first one and cut the lace to size. I didn't measure anything when sewing the trim to the first leg opening and just stretched it while I was sewing. But on this second pass, to have the lace at the same height at all points, I do cut it to size and pin it right at the starting point, on the side, and at the end. That way, when I sew, I know that both leg openings will look the same.
Para hacer la otra pierna igual, suelo medir lo que usé en la primera y cortar la puntilla a medida. Si en la primera pasada no he medido nada y he ido estirando, en esta segunda pasada para tener la puntilla en la misma altura en todos los puntos, lo corto a medida y le pongo unos alfileres justo en el punto de comienzo, en el lateral y en el final. Así al coser yo ya sé que ambas aberturas de las piernas van a quedar iguales.
Then I join the pieces right sides together with the crotch and finish them as usual. To keep the seam allowance nice and flat, I sew zigzag topstitching over the lace edges on the right side to hold the seam allowance in place.
Después ya uno las piezas derecho con derecho con la entrepierna y hago los acabados de siempre. Para que el margen de costura se quede bien plano, coso con el zigzag costuras de carga encima de las puntillas para sujetar el margen en su sitio.

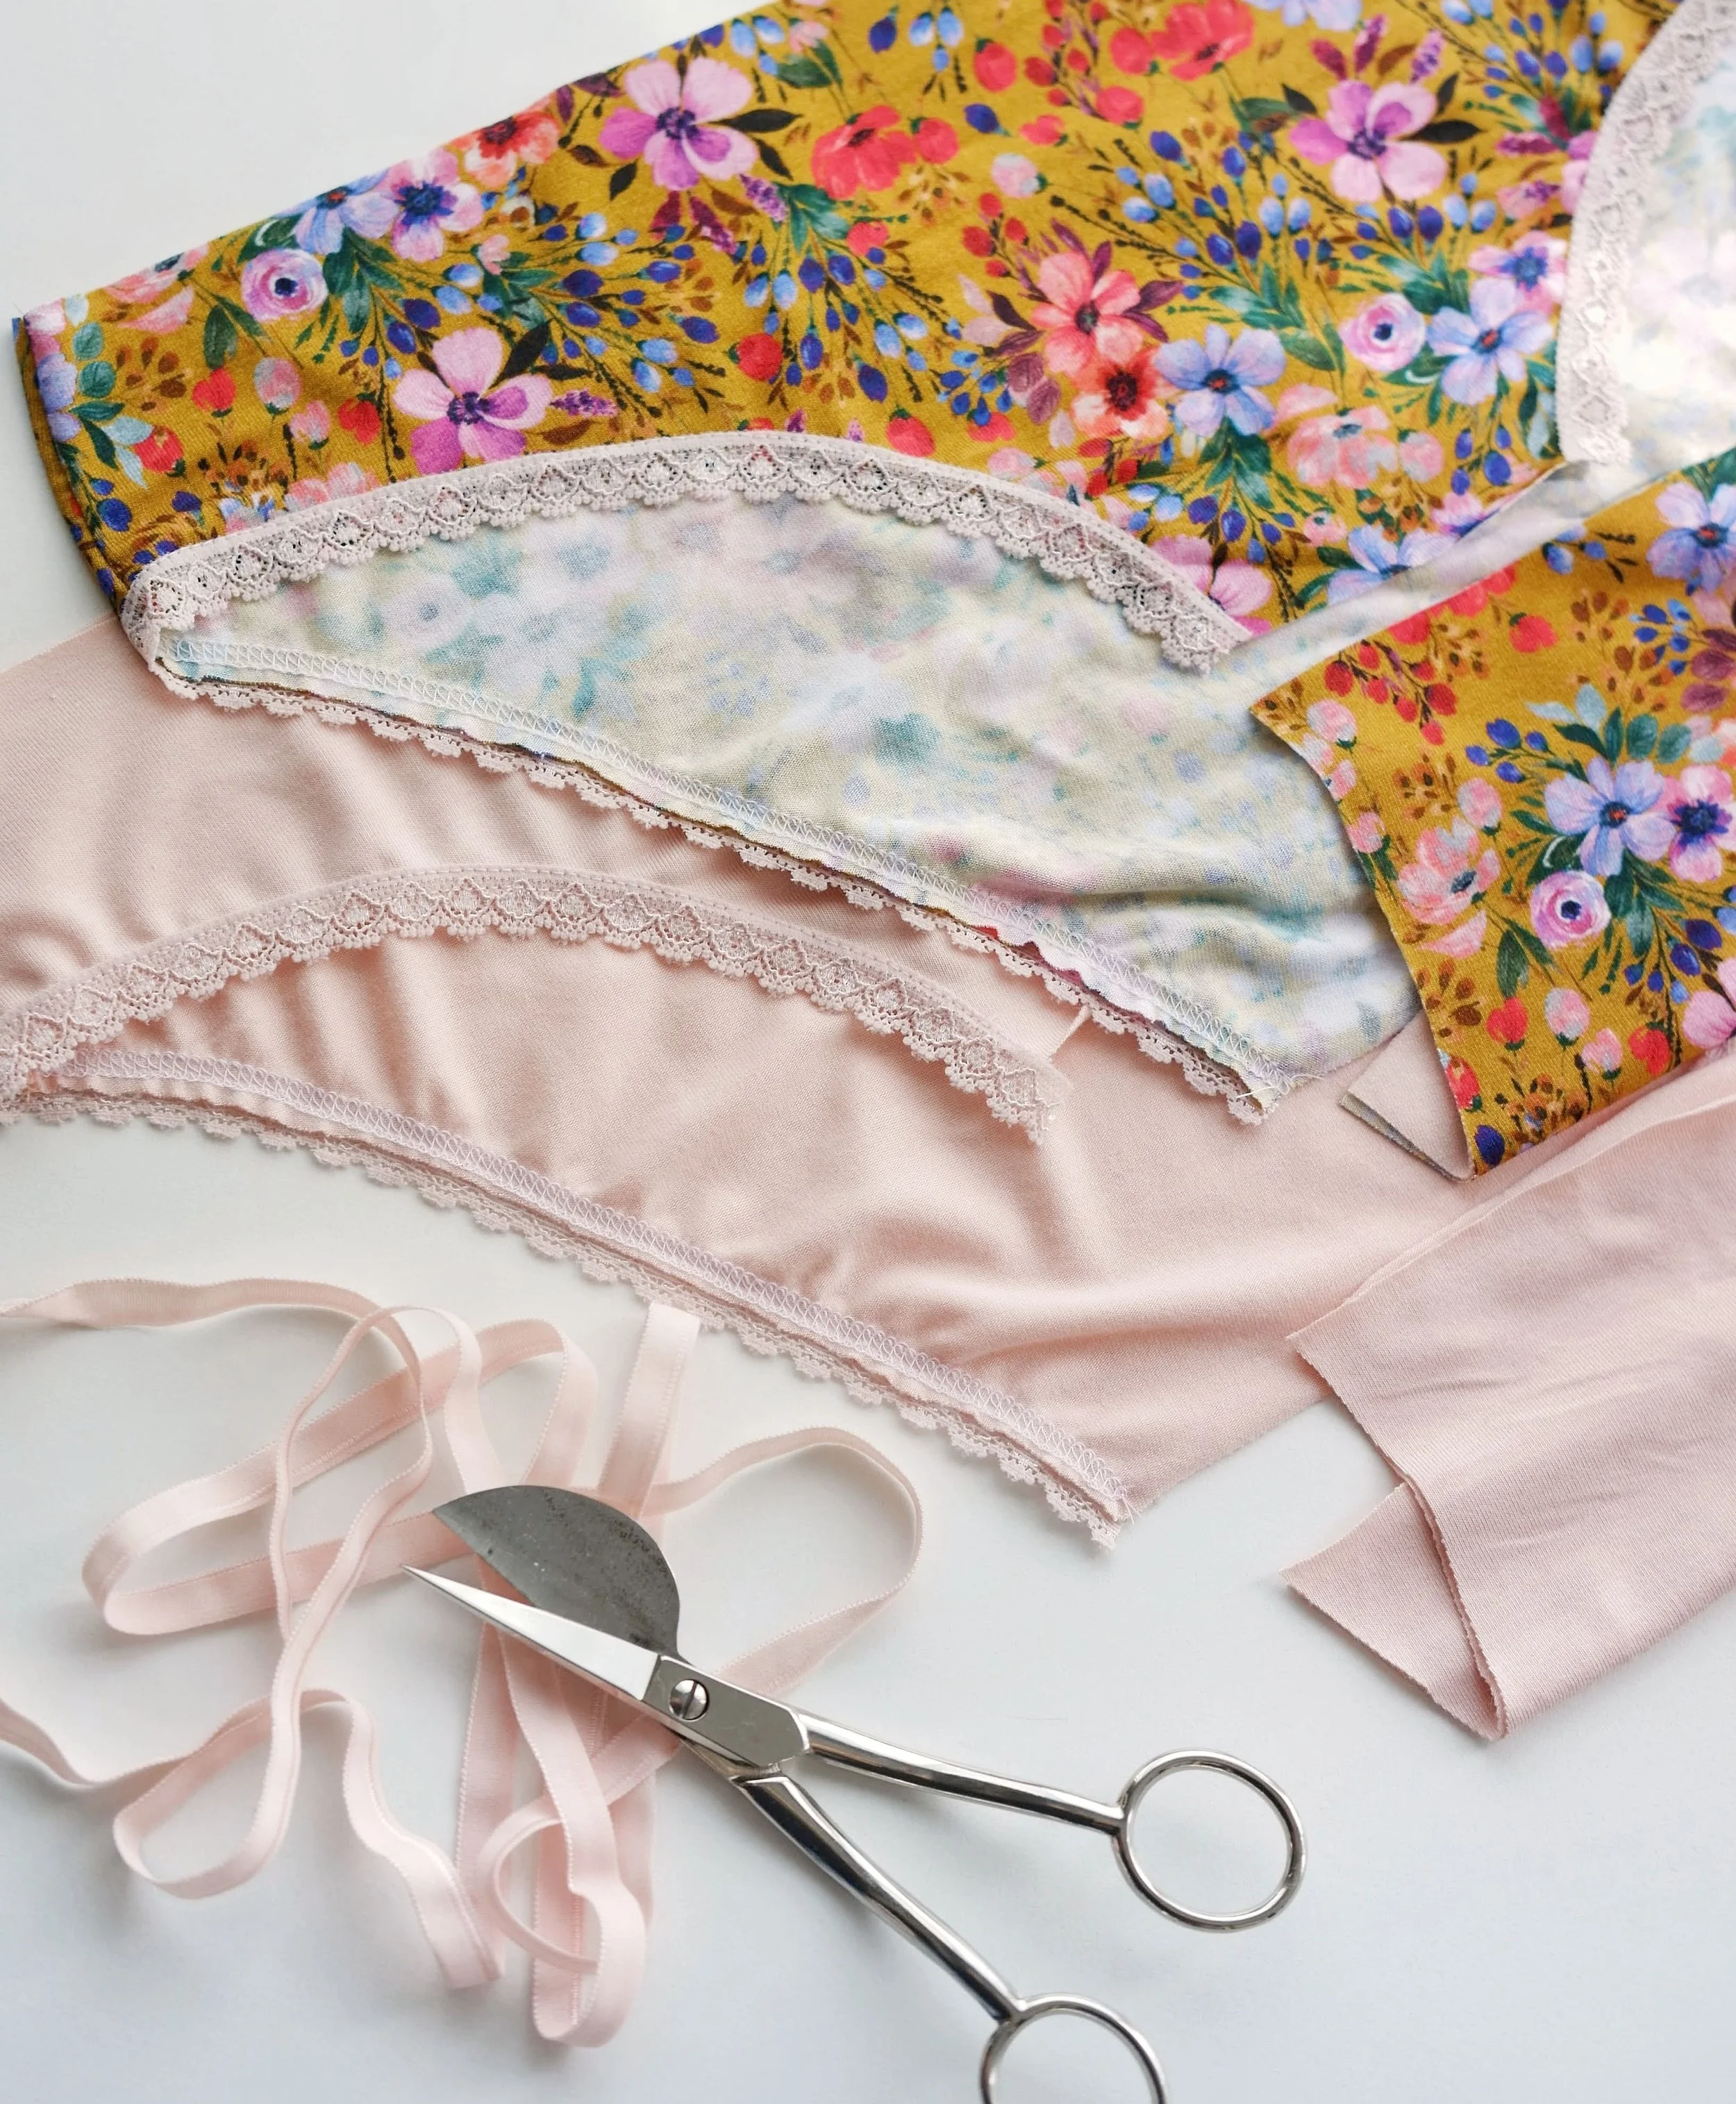
And here is the final result. I hope you like it and that you can find these pretty lace trims to use in your projects. They can also be used on bras and to embellish all kinds of hems and necklines on garments. To find out where to buy these types of materials, read this blog post.
If you want to stay up to date with the latest news from this blog, sign up for the newsletter! To see more on different topics related to sewing lingerie, take a look at this page where you will find all the blog posts on this topic.
Y así queda el resultado final. Espero que te guste y que le puedas dar uso a estas puntillas que quedan muy bonitas. También se pueden usar en sujetadores y para adornar todo tipo de bajos y escotes de prendas. Para saber de dónde comprar este tipo de materiales, lee esta entrada del blog.
Si quieres estar al tanto con las novedades de este blog, apúntate a la newsletter! Para ver más sobre diferentes temas relacionados con coser lencería, puedes echar un ojo a esta página donde encuentras todas las entradas del blog sobre este tema.

Hanna bralette, Vera panties
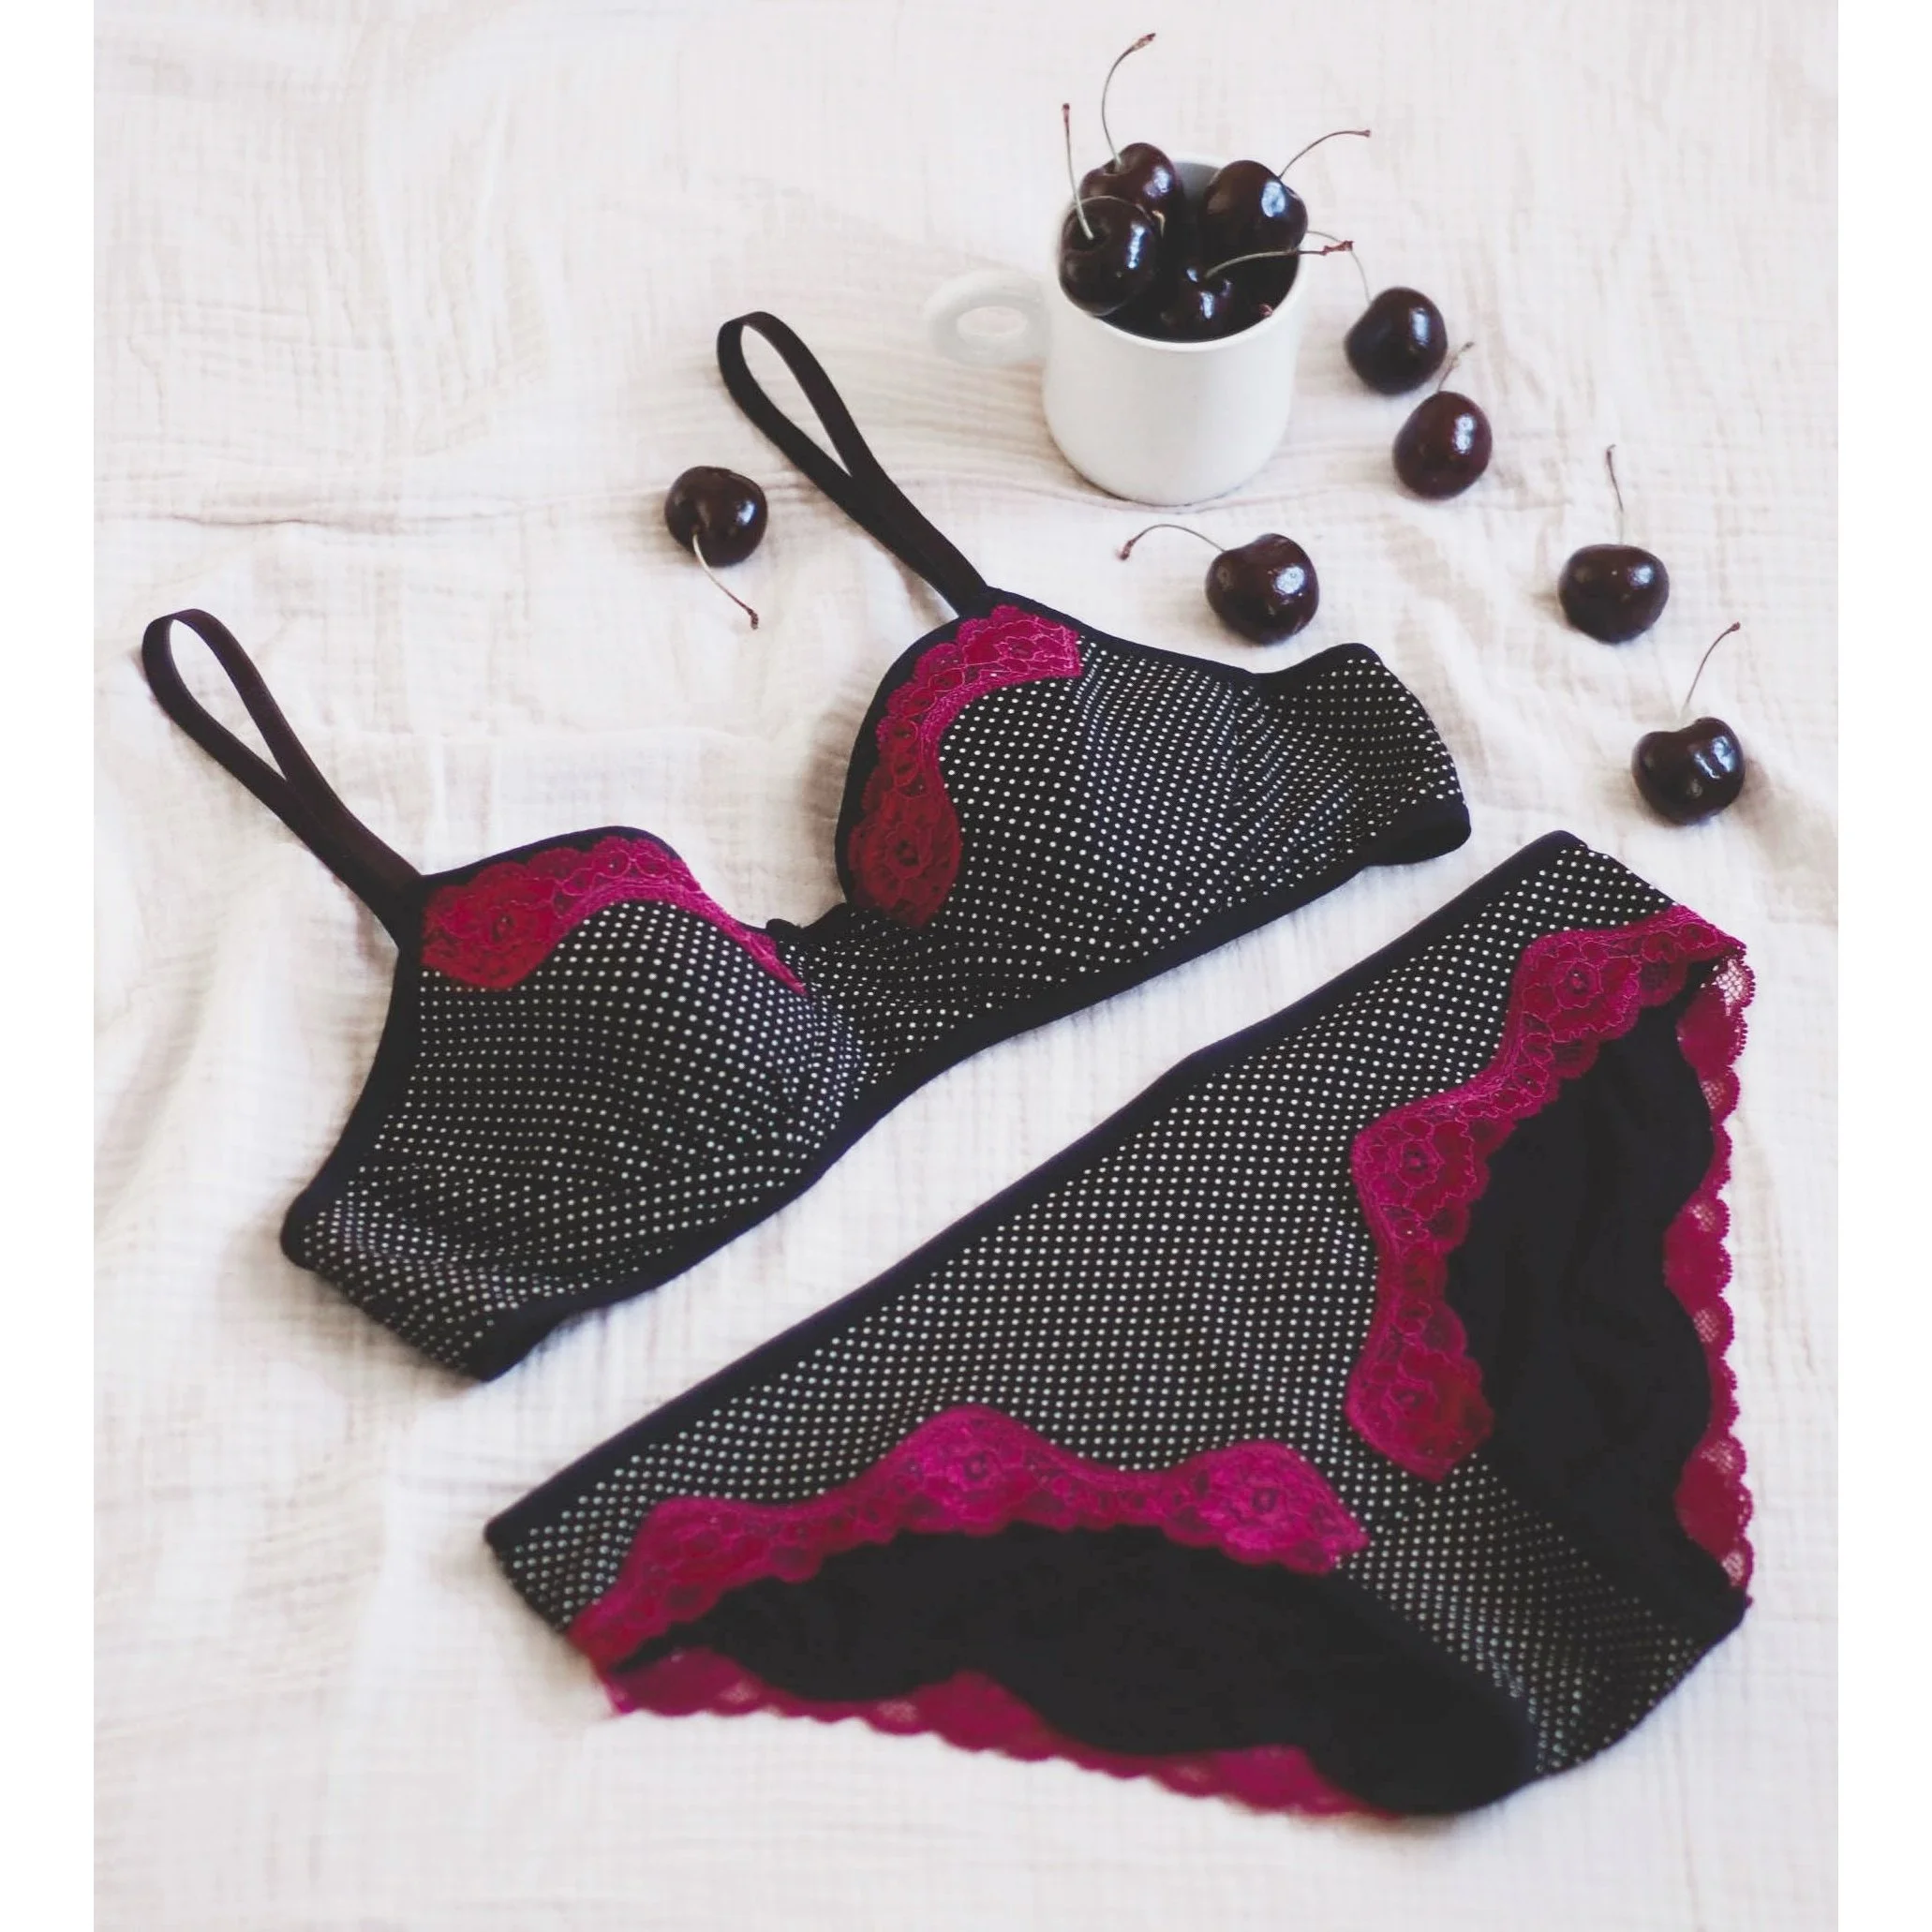
Black Beauty bra, Vera panties