Inspiración y materiales para Stella // Stella inspiration and supplies

 
STELLA SUPPLIES & INSPIRATIONINSPIRACIÓN Y MATERIALES PARA STELLA (1).png

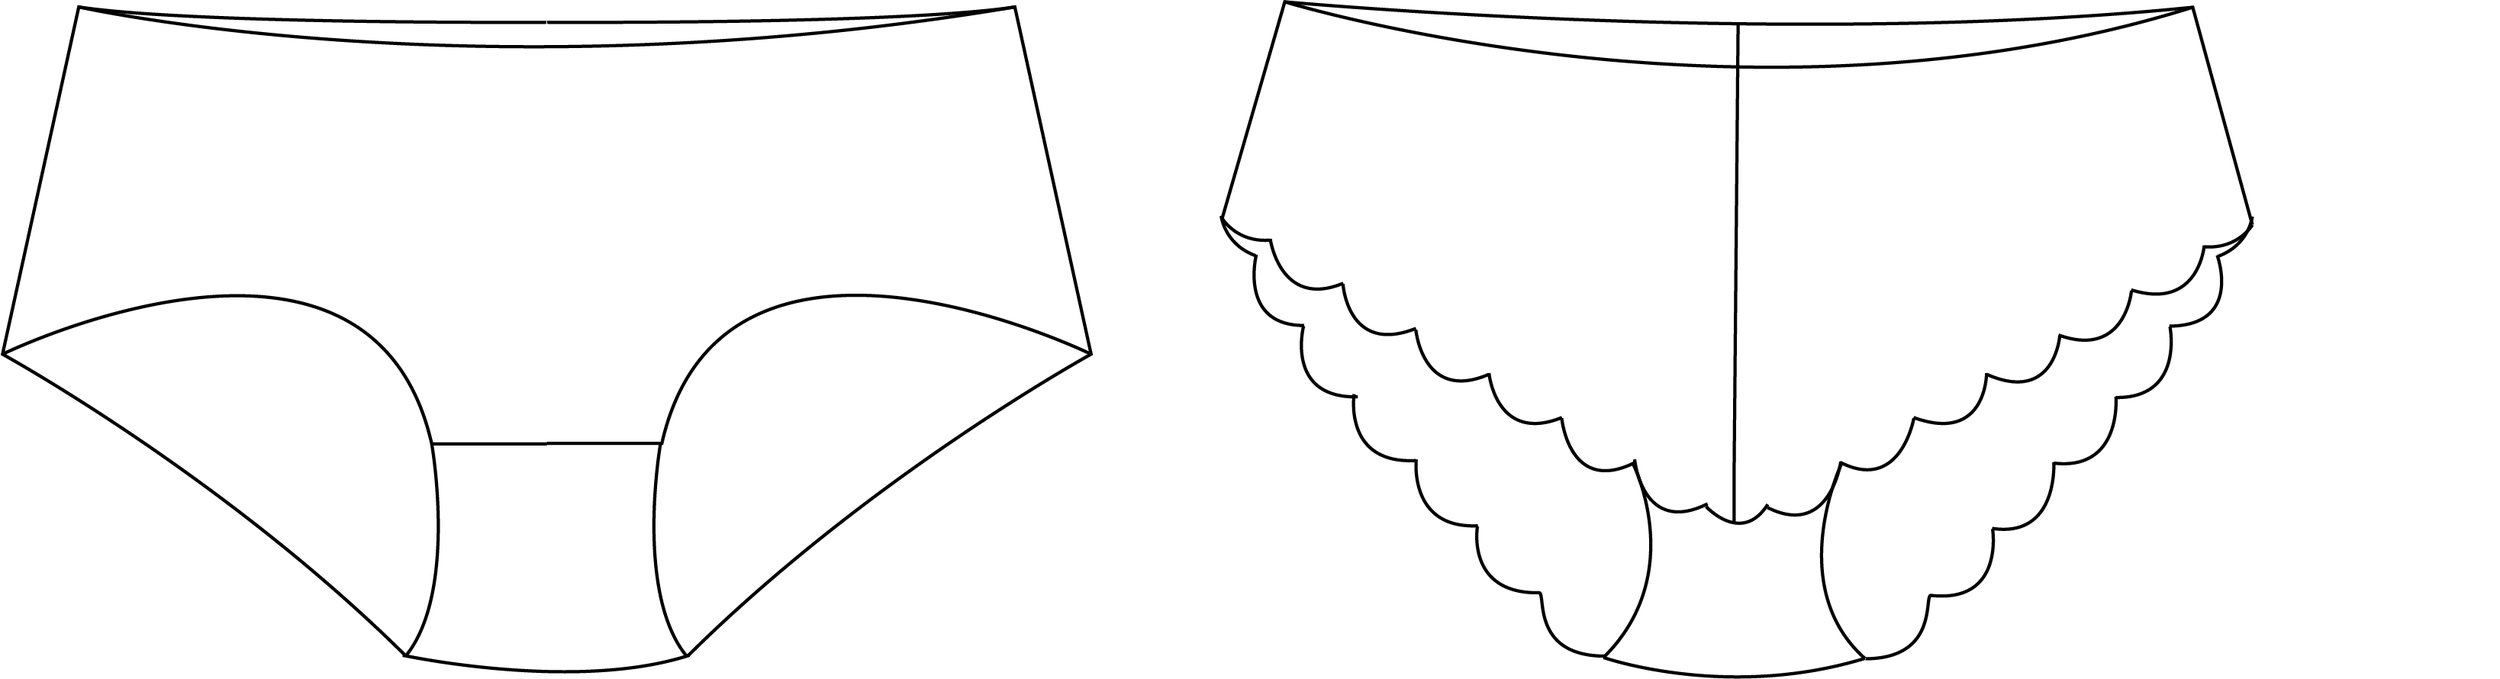
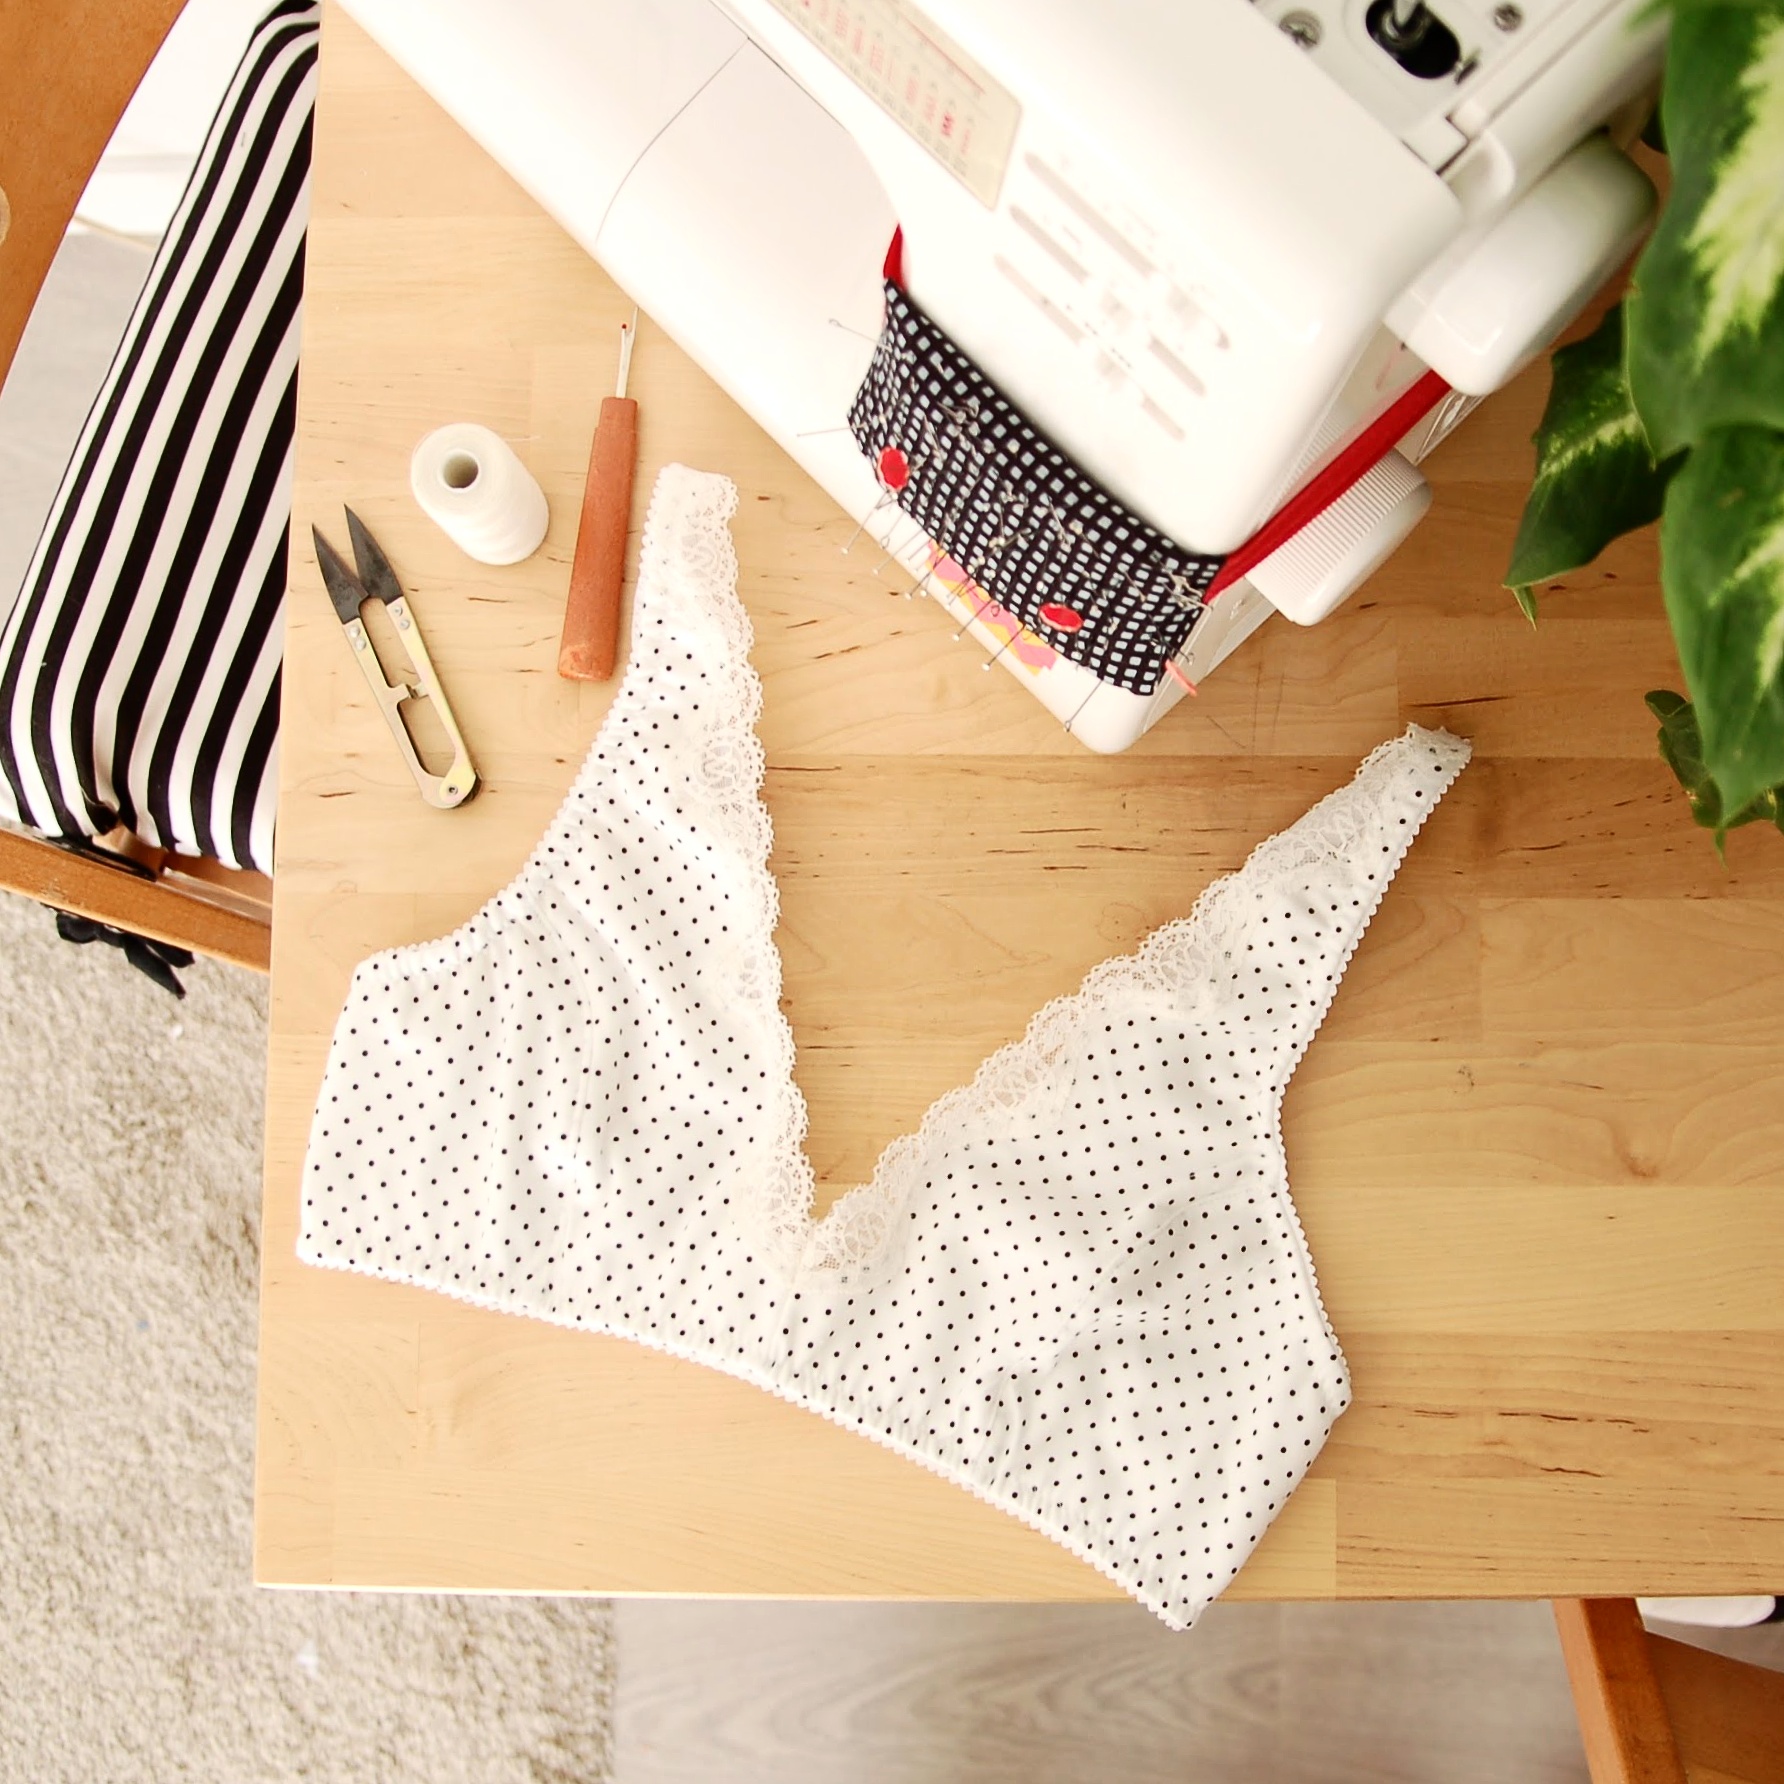
Hola! Hoy os traigo un pequeño post para empezar con el tema de las braguitas. Muchas gracias a todas que habéis comprado mi nuevo patrón Stella, tengo muchas ganas de ver lo que hacéis con él. Hoy quería escribir un poco sobre los materiales y enseñaros varias muestras de diferentes versiones que podéis hacer.

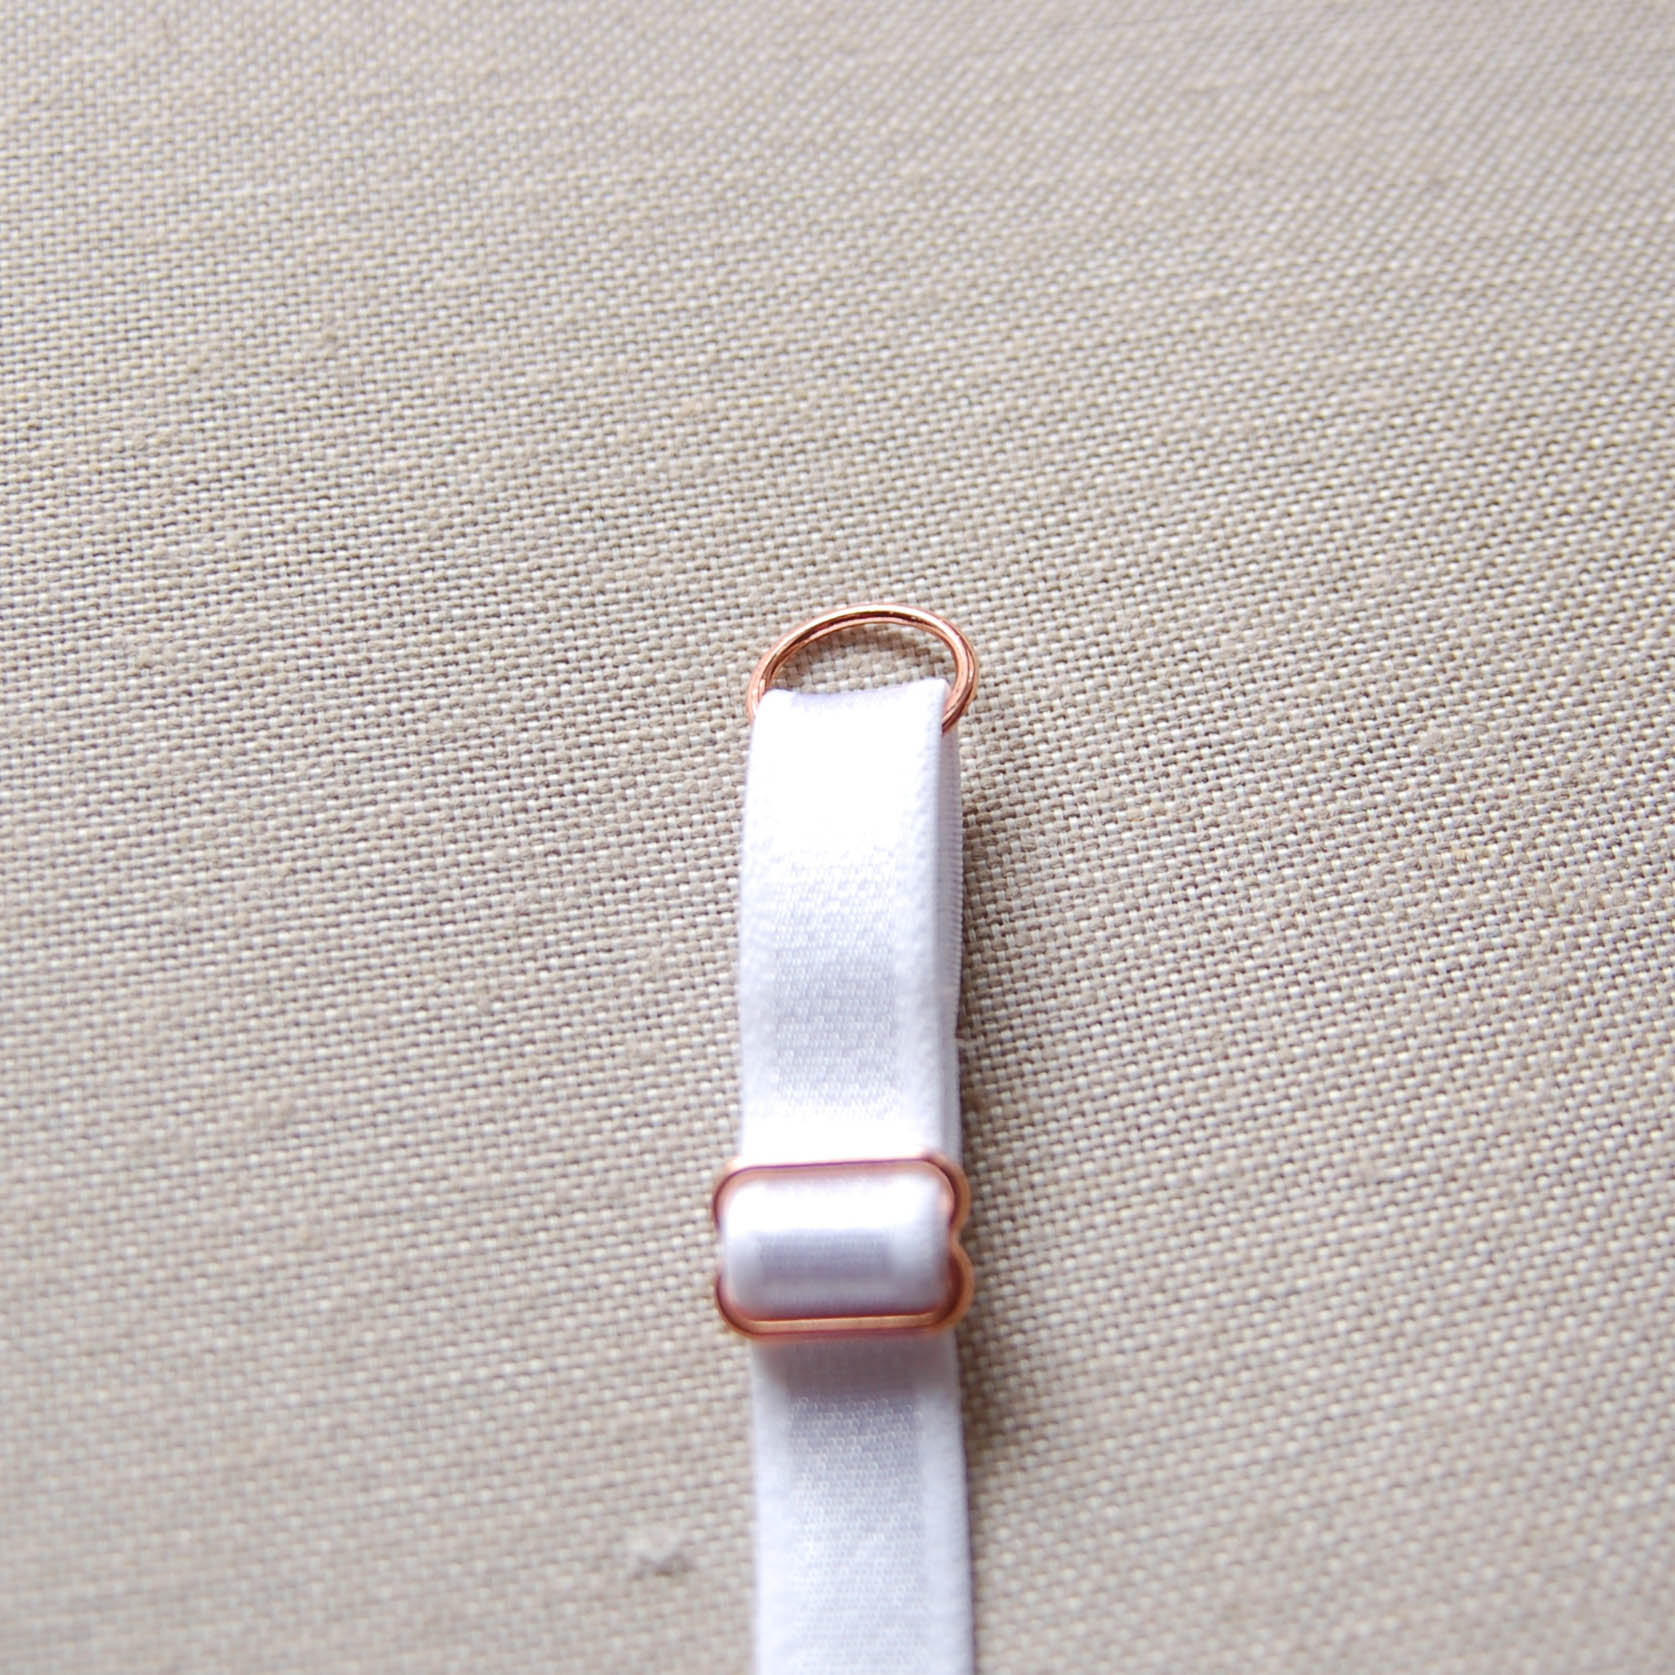
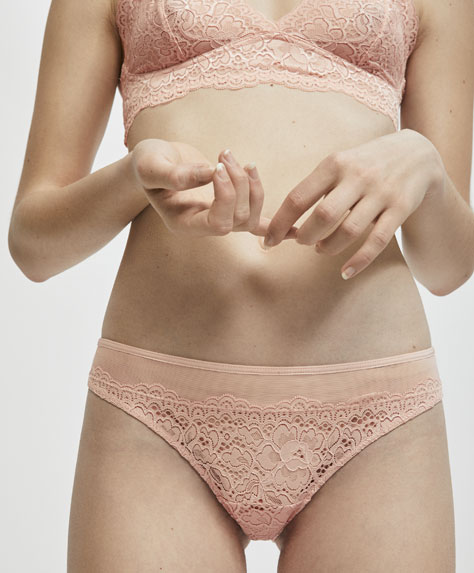
Para la versión 1 de las braguitas Stella podéis usar todo tipo de telas de punto que tengan elastano. También es posible usar puntos de 100% algodón pero allí el problema es que el material se da de sí en poco tiempo de llevar las bragas...se hacen anchas ya que no tienen elastano para mantener la forma. Mis telas favoritas para este proyecto son puntos de viscosa y poliéster porque se pueden encontrar en grosores finos y quedan muy bien. Muchas veces he tenido suerte con encontrar estampados de poliéster muy bonitos a buen precio...al principio miras la tela y piensas qué hacer con esto? Y de repente te das cuenta que van perfectos para las braguitas! En las tiendas no hay un apartado especial para telas de lencería así que una vez que sabéis lo que os gusta podéis mirar todas las telas de punto y si algo cuadra pues adelante. Para mí la clave es que sea un punto fino y que no abulte. Lo mejor para saber qué es lo que te gusta es mirar lo que ya tienes en tu cajón de ropa interior: mira las prendas y busca su composición, muchas veces así te haces mejor la idea.

Para el forro de las braguitas recomiendo siempre usar punto de algodón 100%. Aquí va un truco también: esa tela lo puedes muchas veces reciclar de camisetas que ya no usas! De hecho lo mejor que mejor es que sea una tela muchas veces lavada así que si tienes allí alguna camiseta de algodón vieja puedes darle un buen uso.

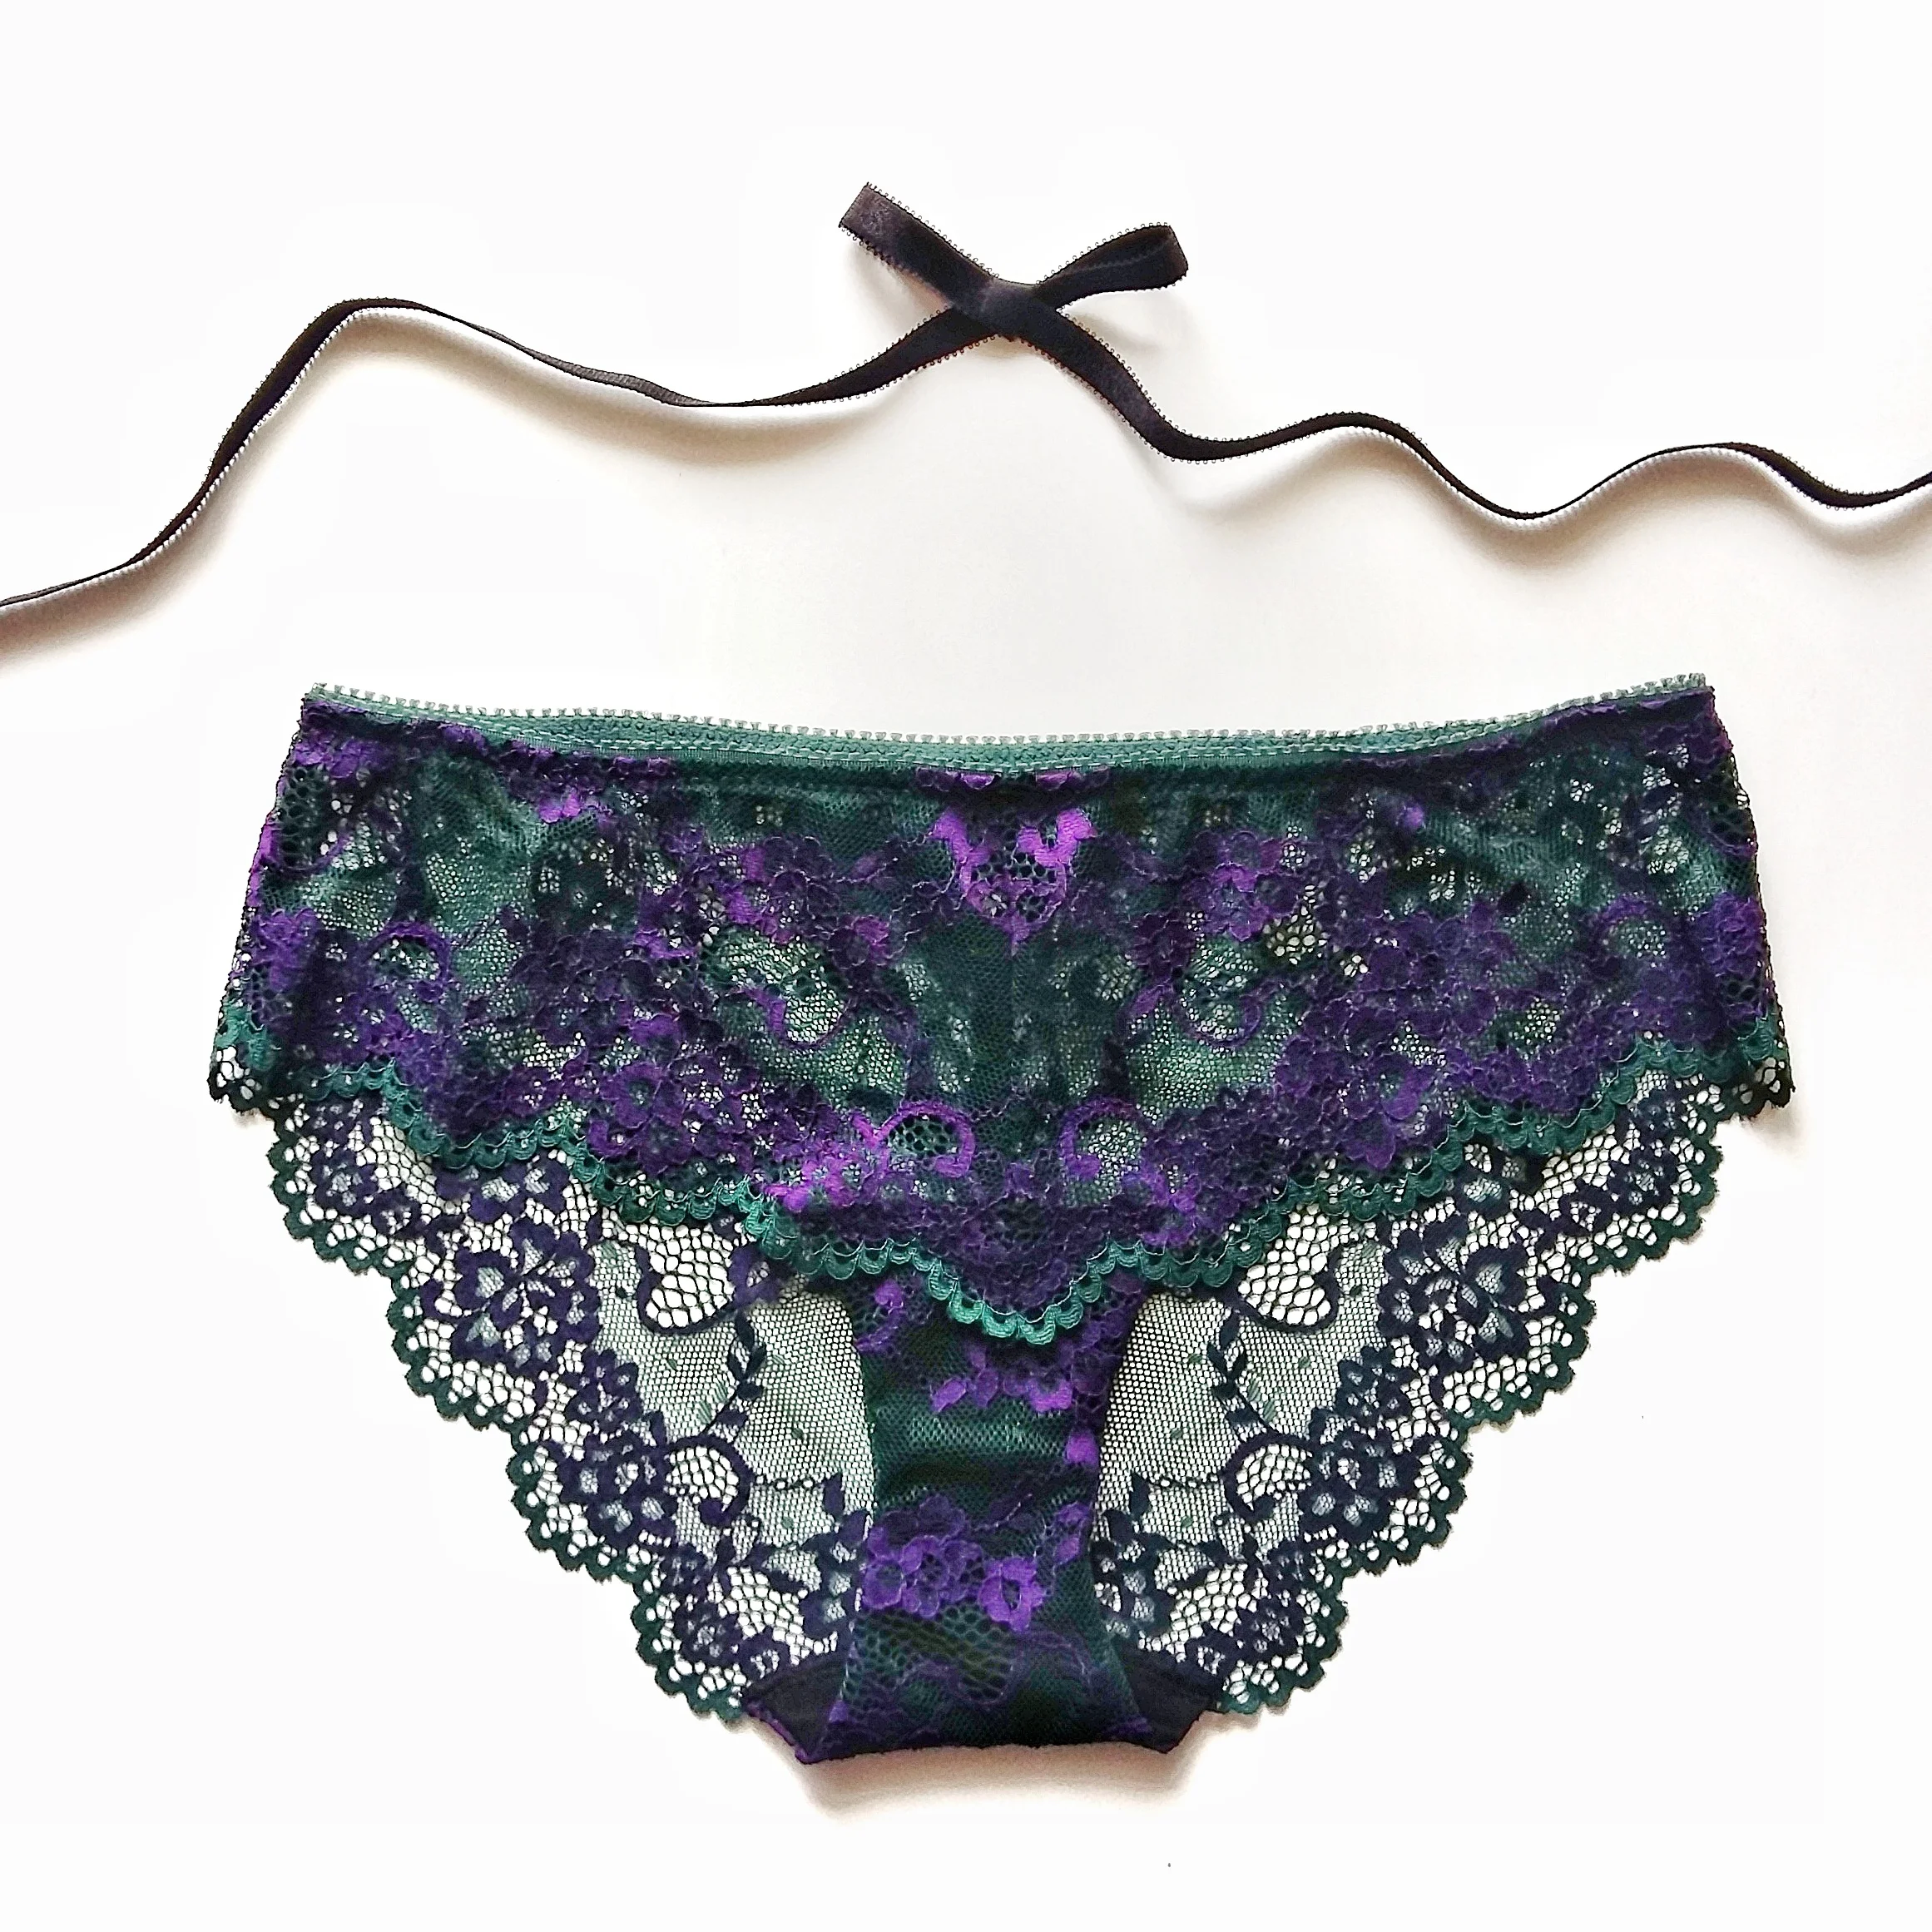
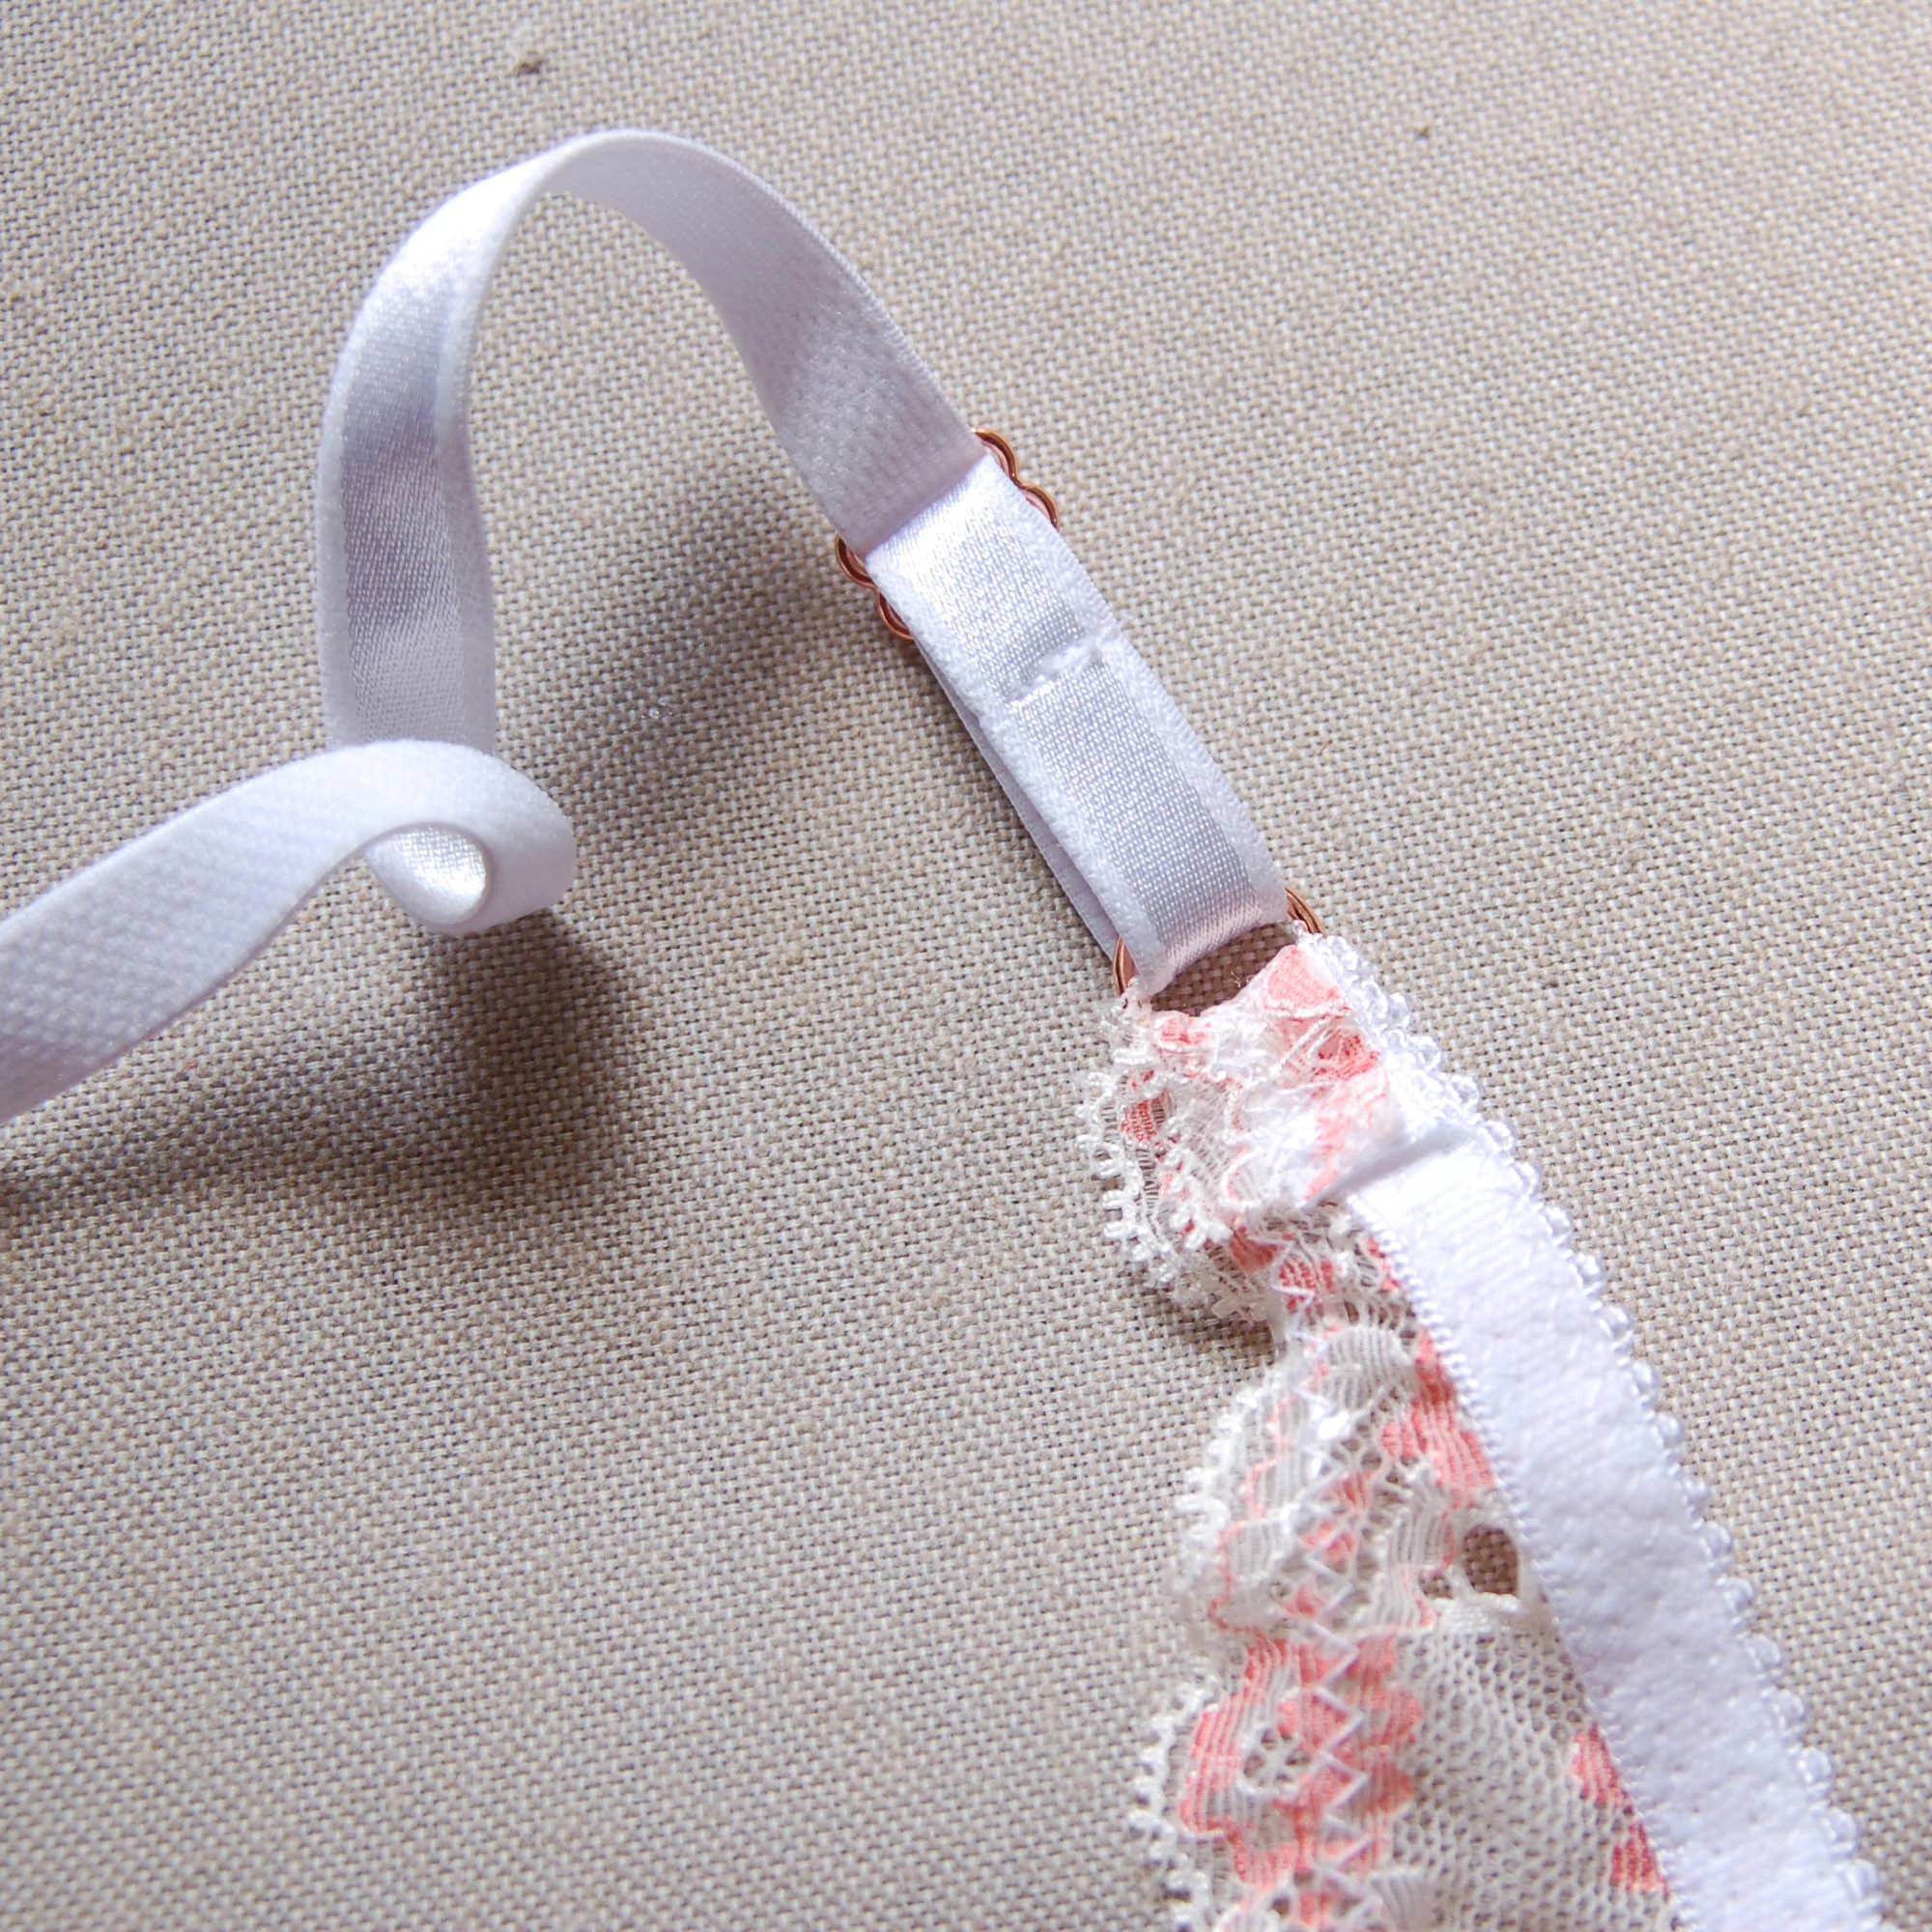
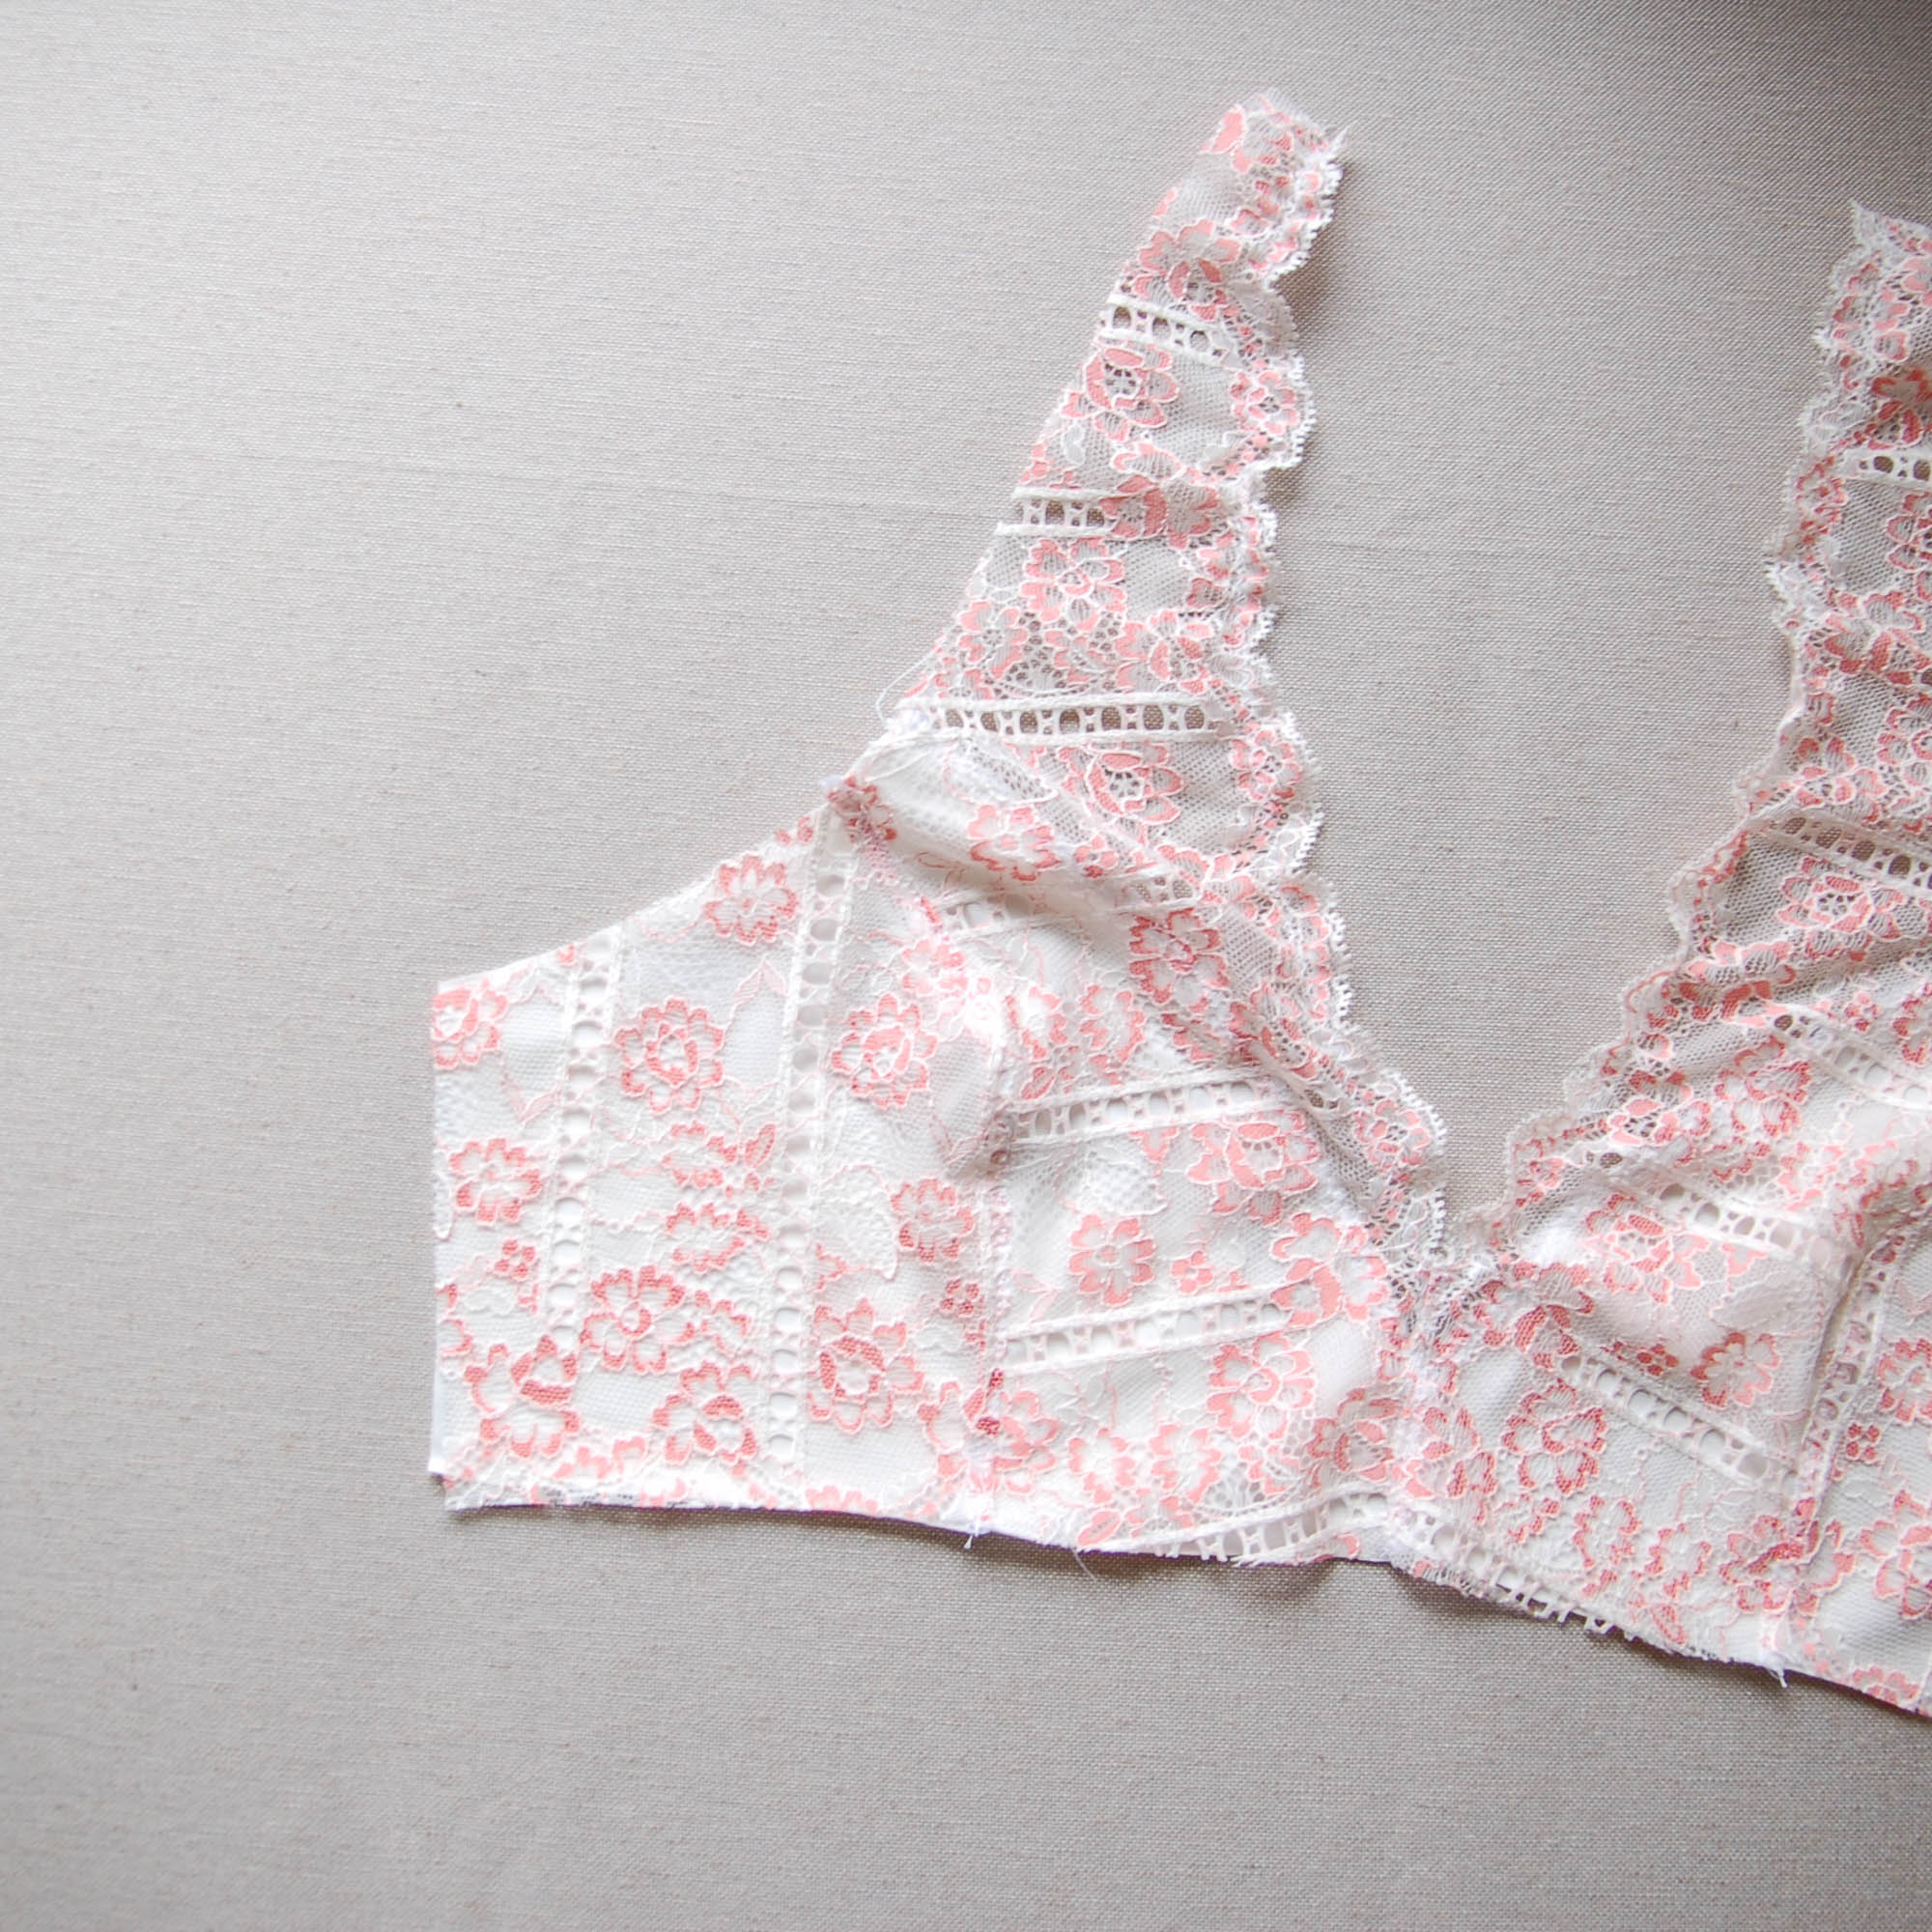
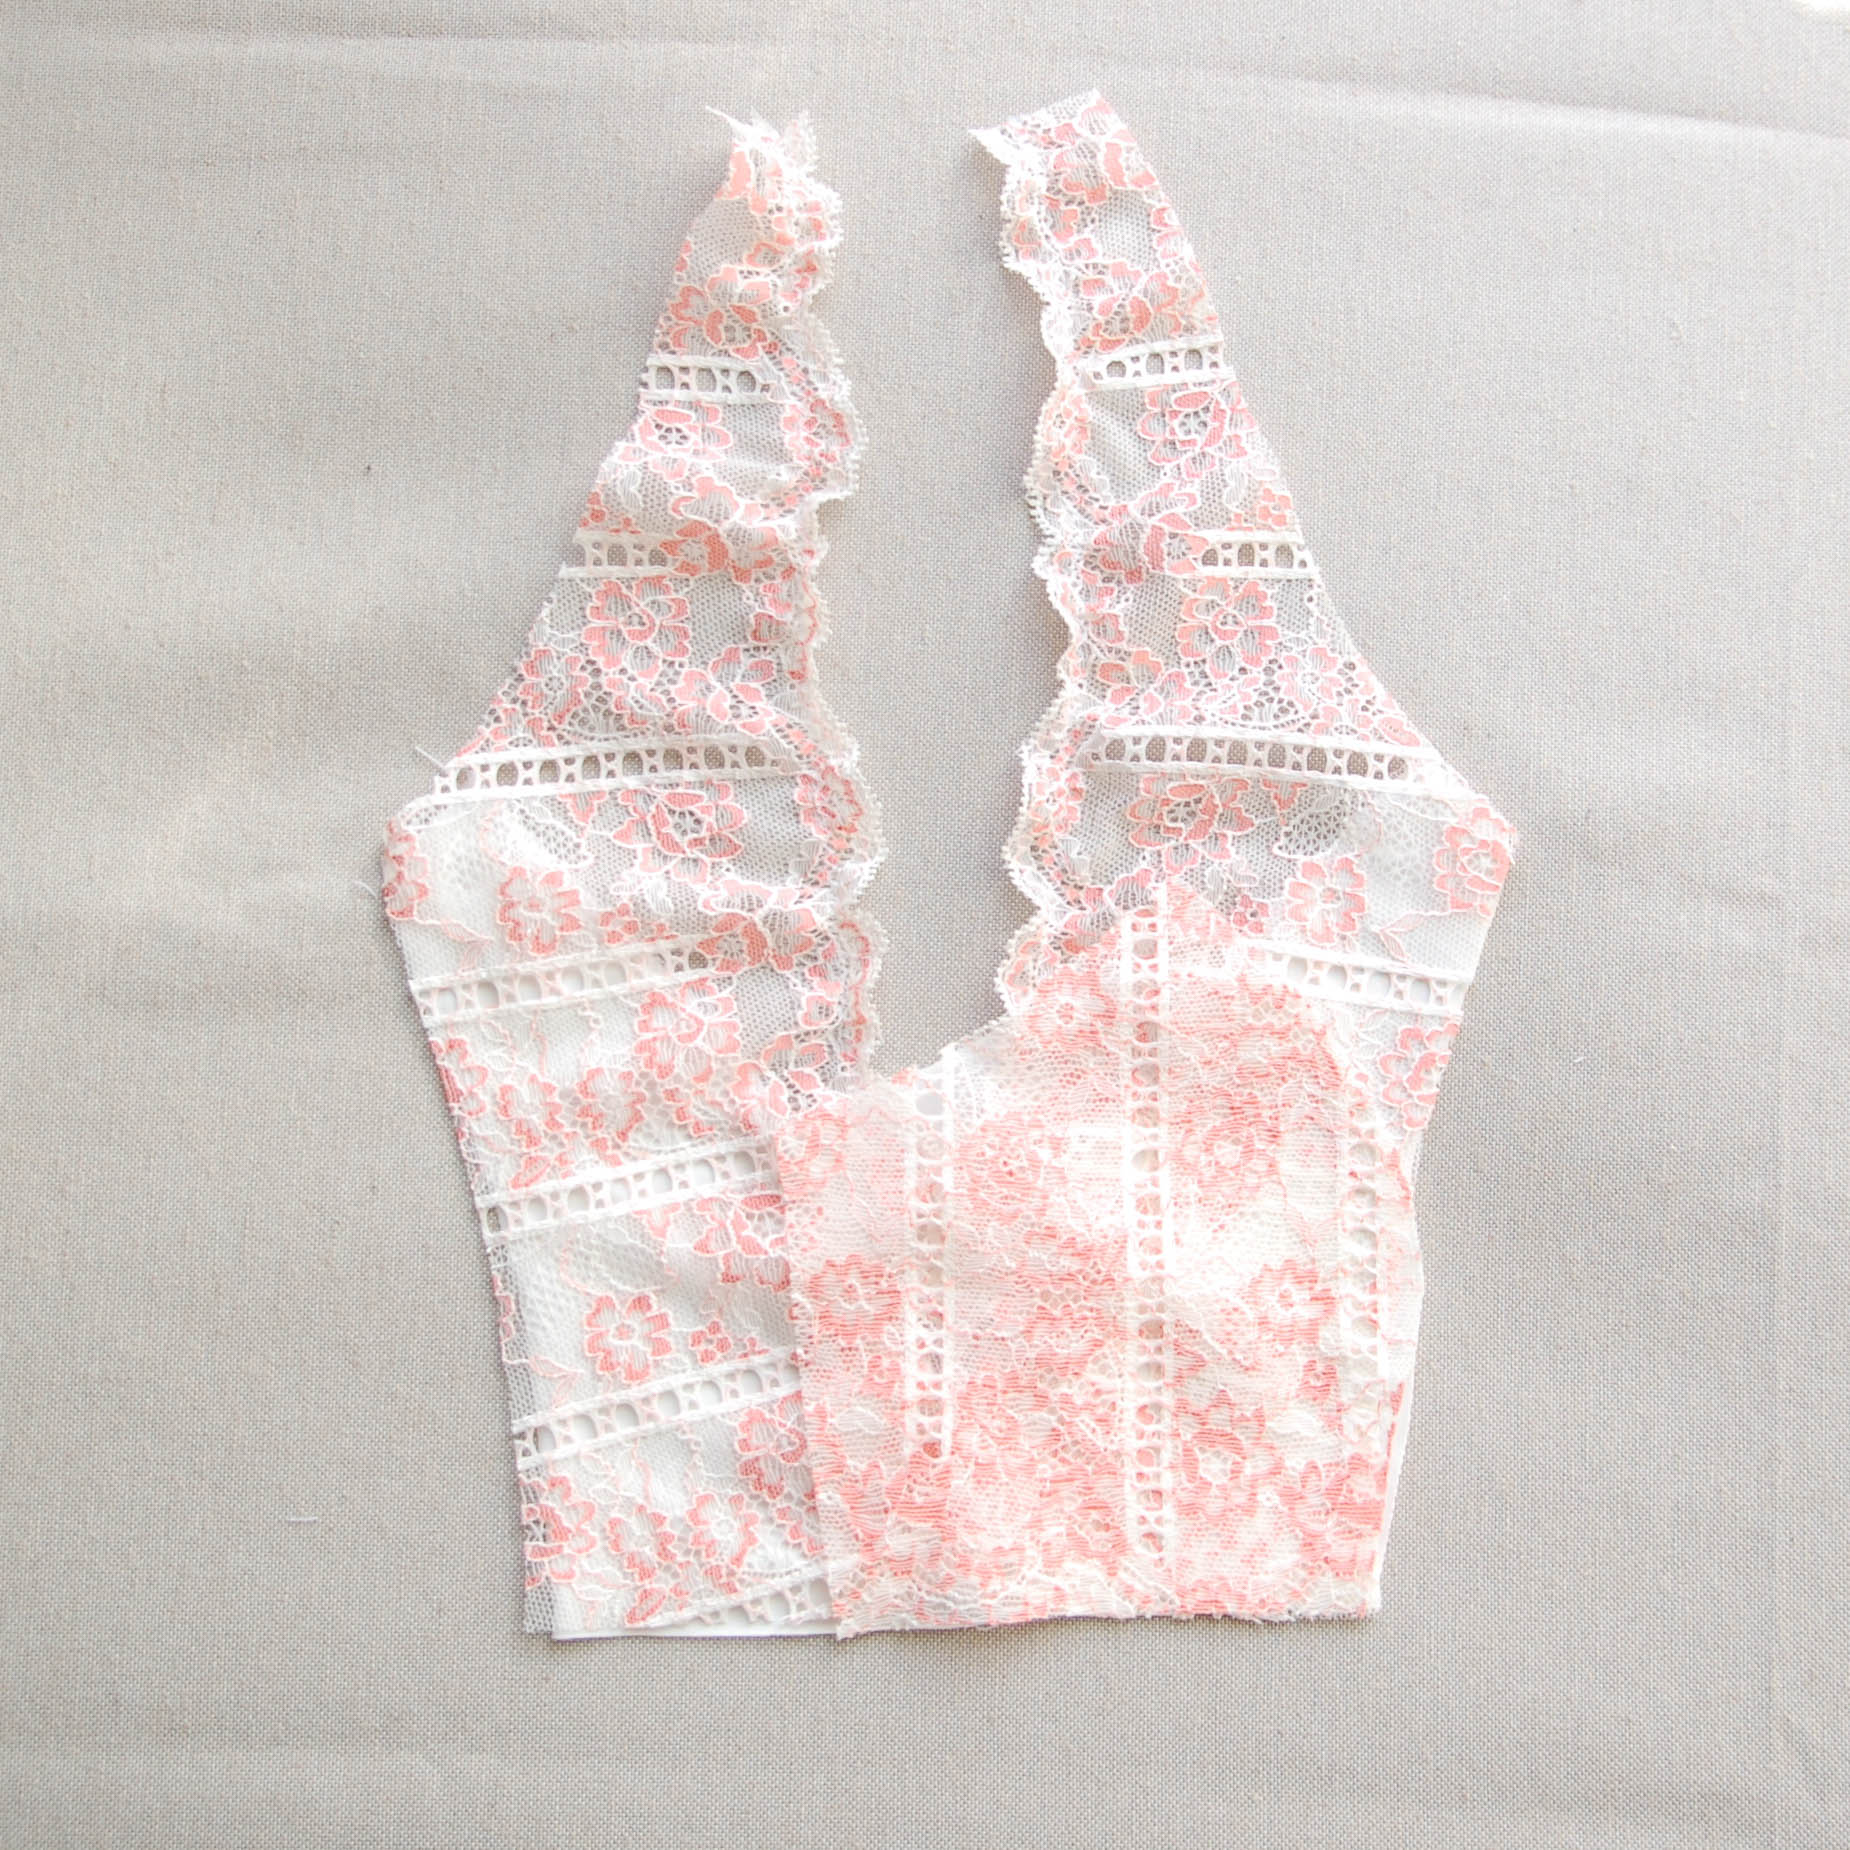
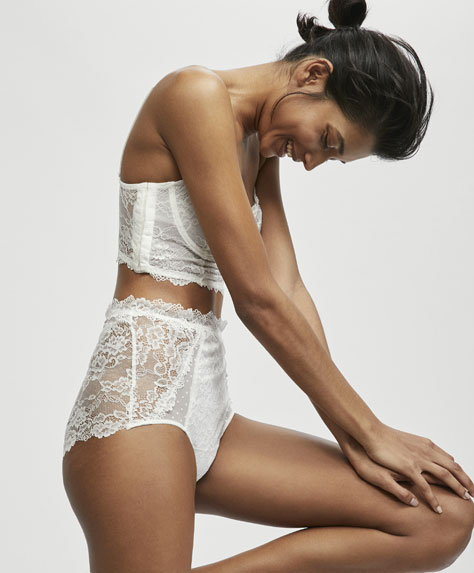
La versión 2 de encaje requiere encajes elásticos, en mi tienda de Etsy tienes bastantes por ejemplo. Ya lo dije en mi anterior post pero si quieres comprar solo el encaje por metros me puedes escribir en Etsy y te hago un pedido personalizado. Vamos con la inspiración ahora!


Hey! Today I'm bringing you a little post about panties. Thank you everyone who has bought my new Stella pattern, I can't wait to see your versions. I wanted to write a bit about materials today and show you some inspirational photos too.

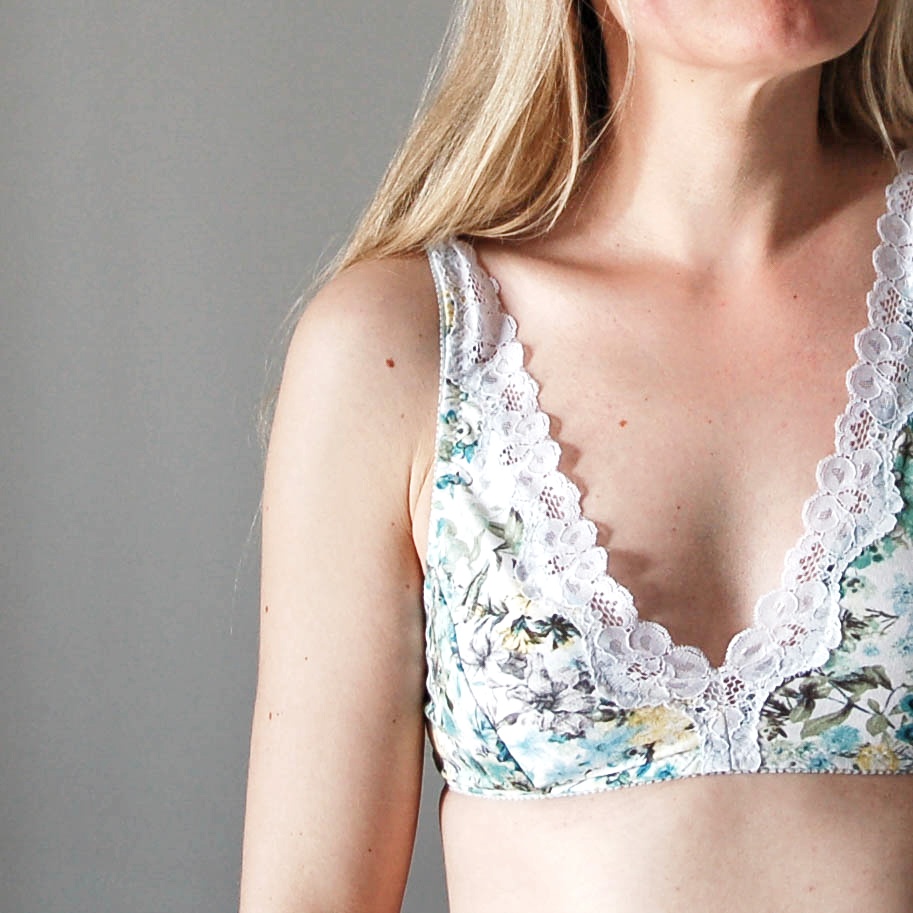
For the version 1 of Stella panties you can use many types of knit fabrics with spandex in them. You can use 100% cotton knits too but they will stretch out in no time once you wear them as there's no spandex to hold things tight. My favourite fabrics for making panties are viscose and polyester knits as you can find them in light weight format and they hold up very well. Many times I've been lucky enough to find nice poly prints with a good price...at first I saw the fabric and thought what could you make with it? And the it was like...of course, panties! There's no special section in the fabric shops about lingerie fabrics so once you know what you like just go and see what they've got and if something rings your bell go get it. For me the key is that the fabric is lightweight. The best way to know what you do like is to observe your underwear drawer to see what you already have and what you love, look for the composition of the fabric to give you a hint.

For the crotch lining I recommend 100% cotton knits. Here's a trick too: you can reuse old cotton t-shirts for this purpose. Actually as they have ben washed over and over it's even better for your body. So if you have some t-shirts that you don't use anymore give them another life!

The version 2 of these panties is designed for stretch lace, I have many in my Etsy shop for example. As I told you in my last post you can write me if you'd like to get a specific one per meter and I'll make you a custom order. Let's go with the inspiration now!

www.studiocostura.com

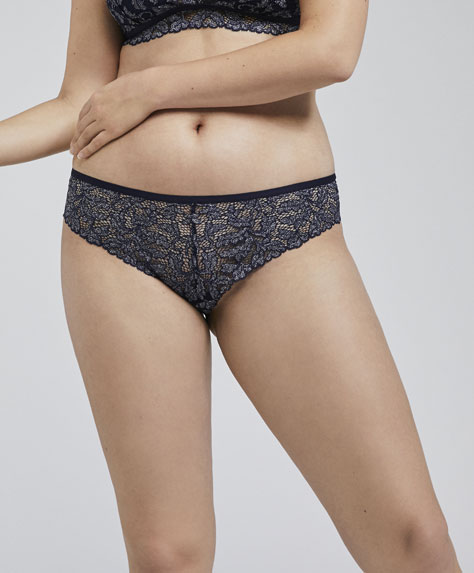
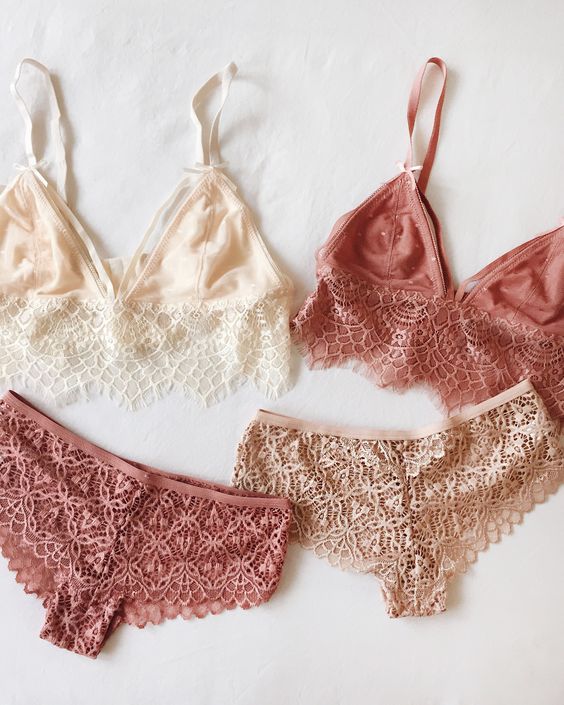
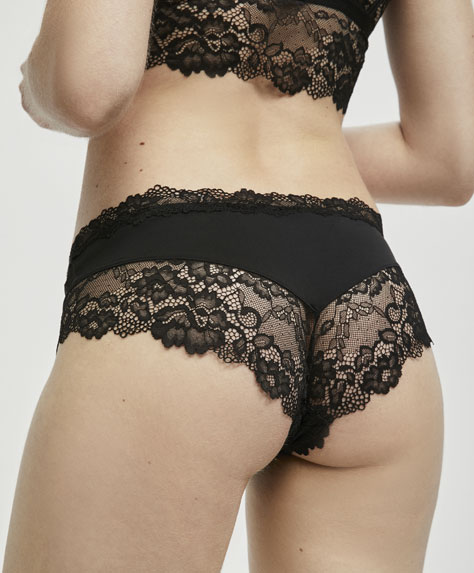
Encaje da un montón de posibilidades y me gusta también la combinación con tul elástico.

Lace gives you so many possibilities and I love the combination with stretch mesh too.

www.studiocostura.com

Realmente puedes usar el patrón Stella como base porque de allí puedes sacar muchas más variaciones que las que yo he hecho. Haré en breve un tutorial cómo modificar el patrón para usar diferentes tejidos a la vez pero ya puedes ver con estos ejemplos que combinando materiales el resultado mola mucho.


You can actually use Stella pattern as a base because you can get so many different variations out of the same pattern. I'll make a tutorial about hacking this pattern soon so you can use different fabrics and combine as you like.

www.studiocostura.com
14 oysho.jpg
www.studiocostura.com

Me encanta esta idea de usar punto en el medio y encaje en los laterales, esto os voy a enseñar pronto pero vamos, es cortar el patrón y modificar márgenes de costura!

I love the idea of using the knit fabric in the middle and lace on the sides, I'll show you the hack also but it's really easy: just cut and modify the pieces as you like adding the seam allowance!

www.studiocostura.com

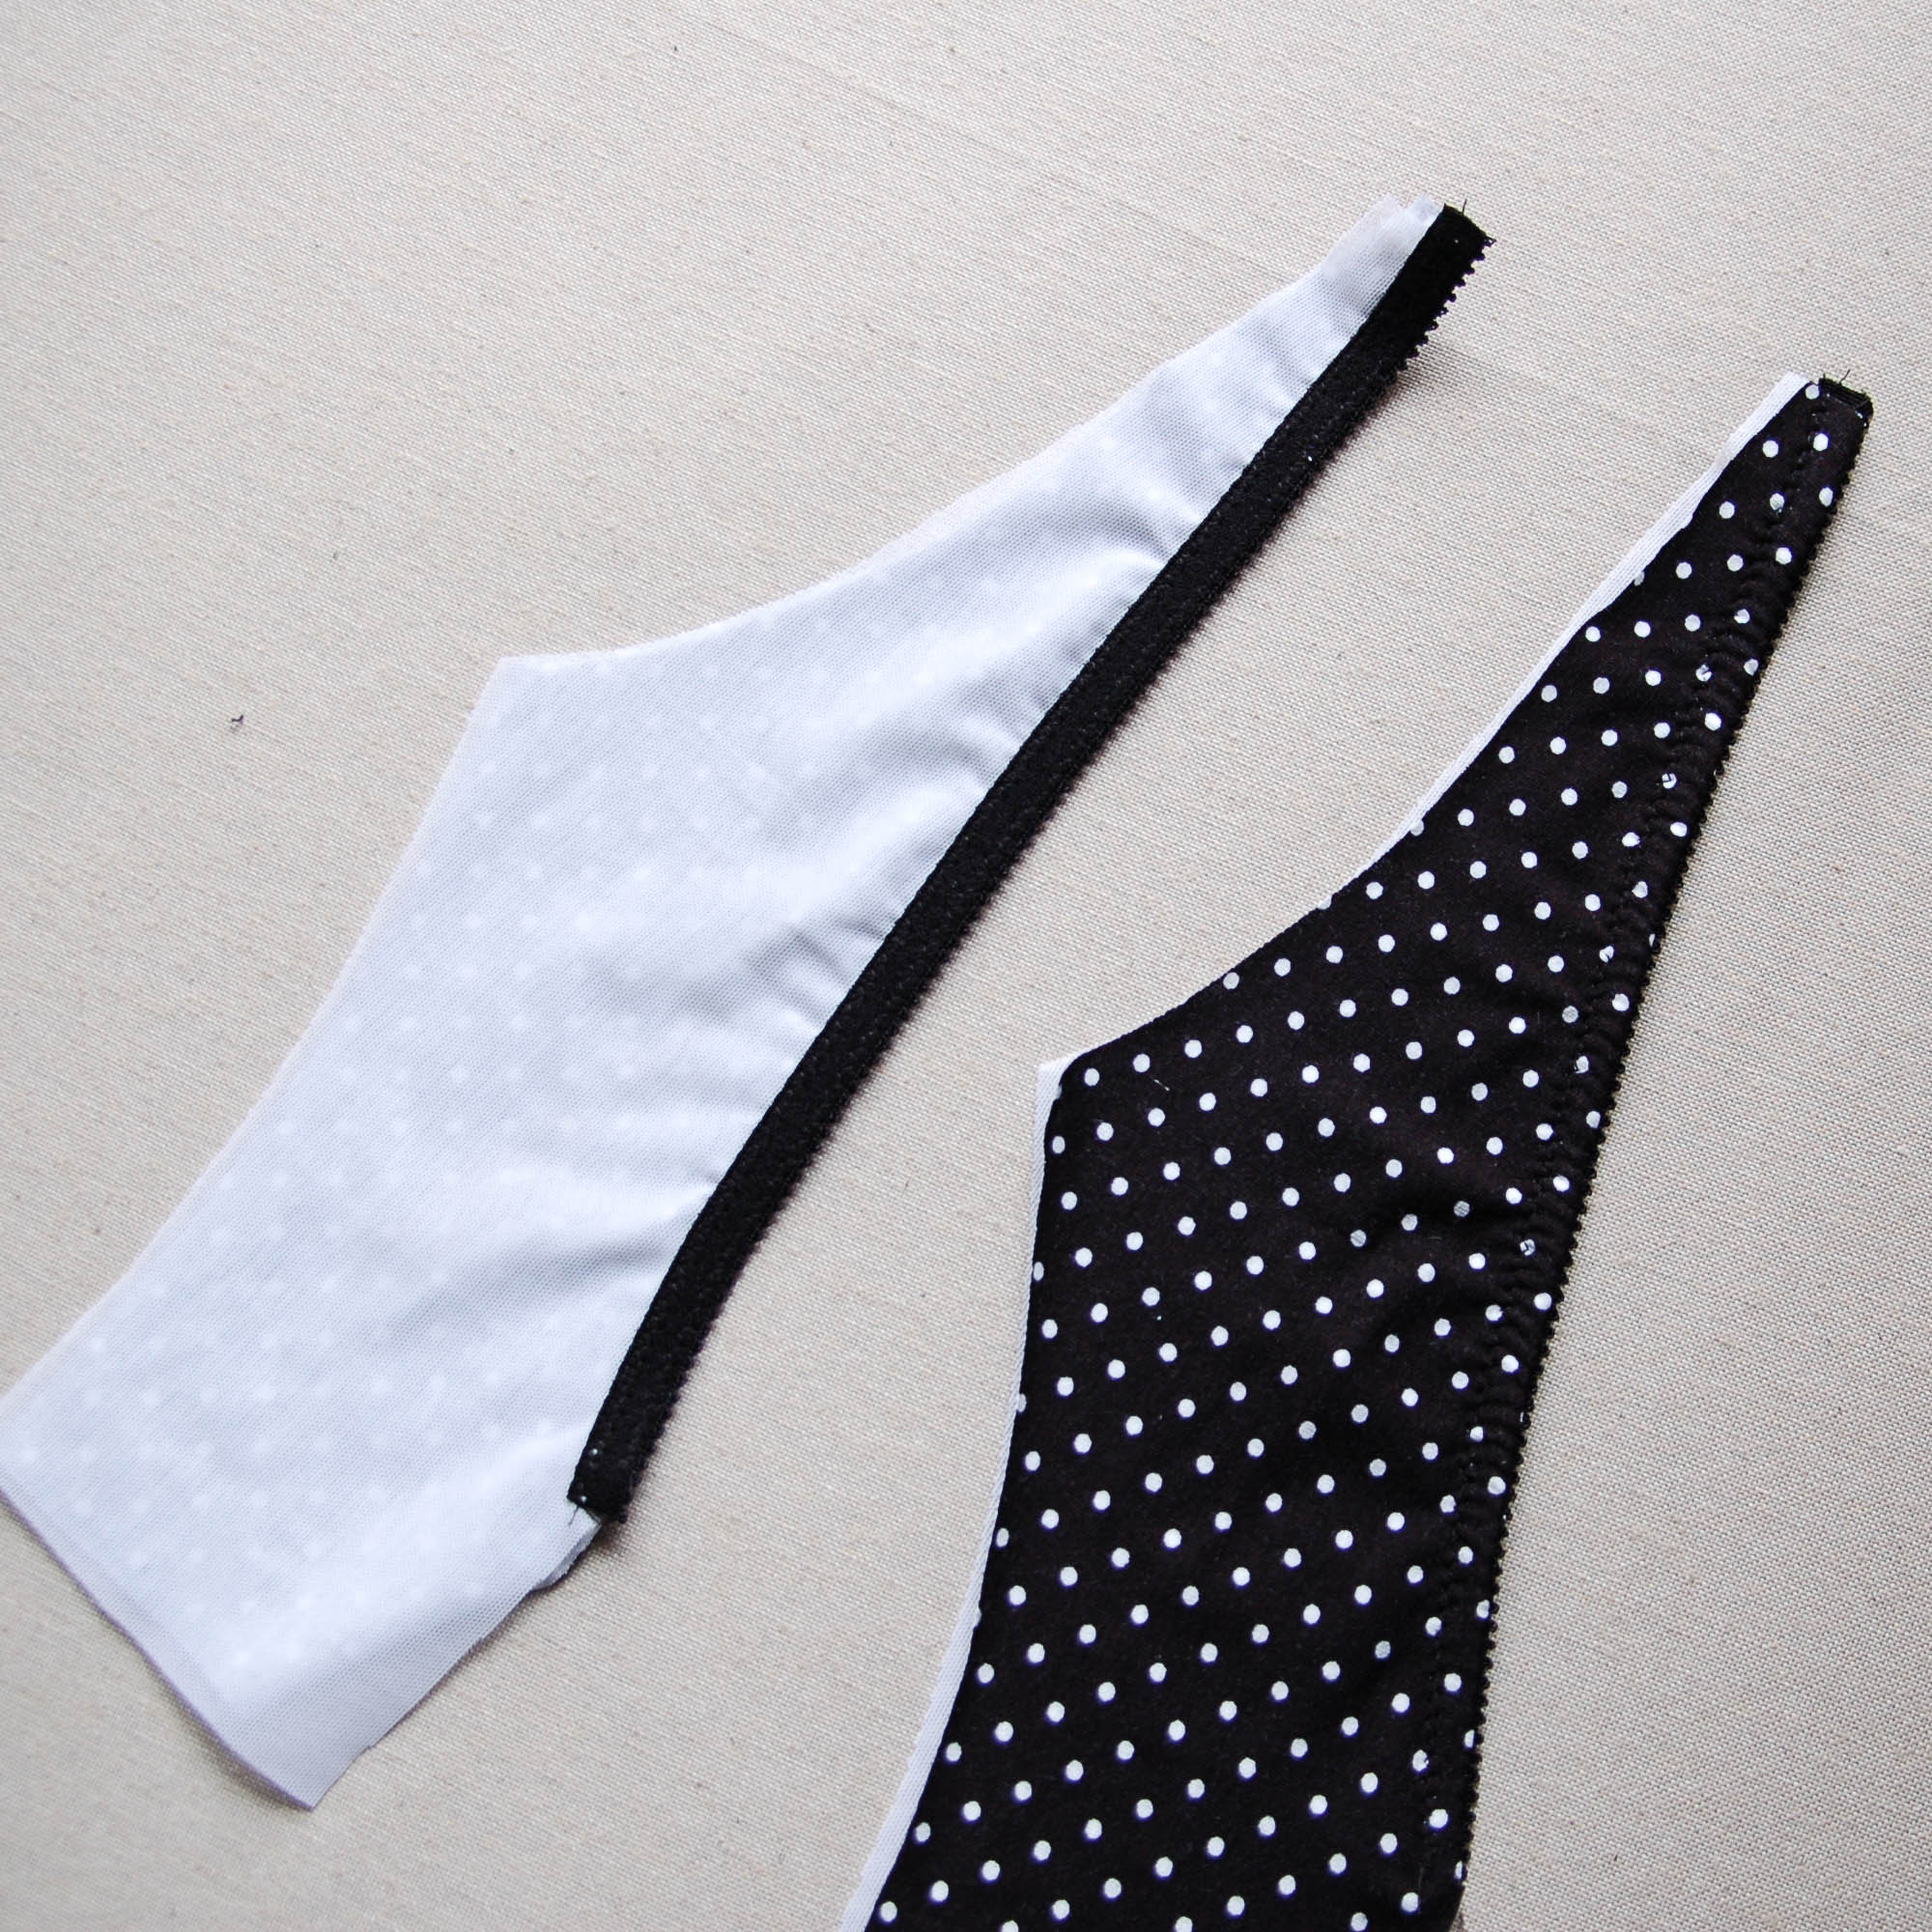
A veces solo un detalle de encaje puede cambiar todo el modelo. Me gusta usar pequeños trozos de encaje que me van quedando de los sujetadores para este tipo de modelos y así aprovecho al máximo todo el material. Sobre eso también haré un tutorial.

Sometimes only a small lace detail can change up the panties. I like to use small lace leftover scraps from the bramaking projects and that way I'll get the most out of the materials. I'll post one tutorial about that too.

www.studiocostura.com

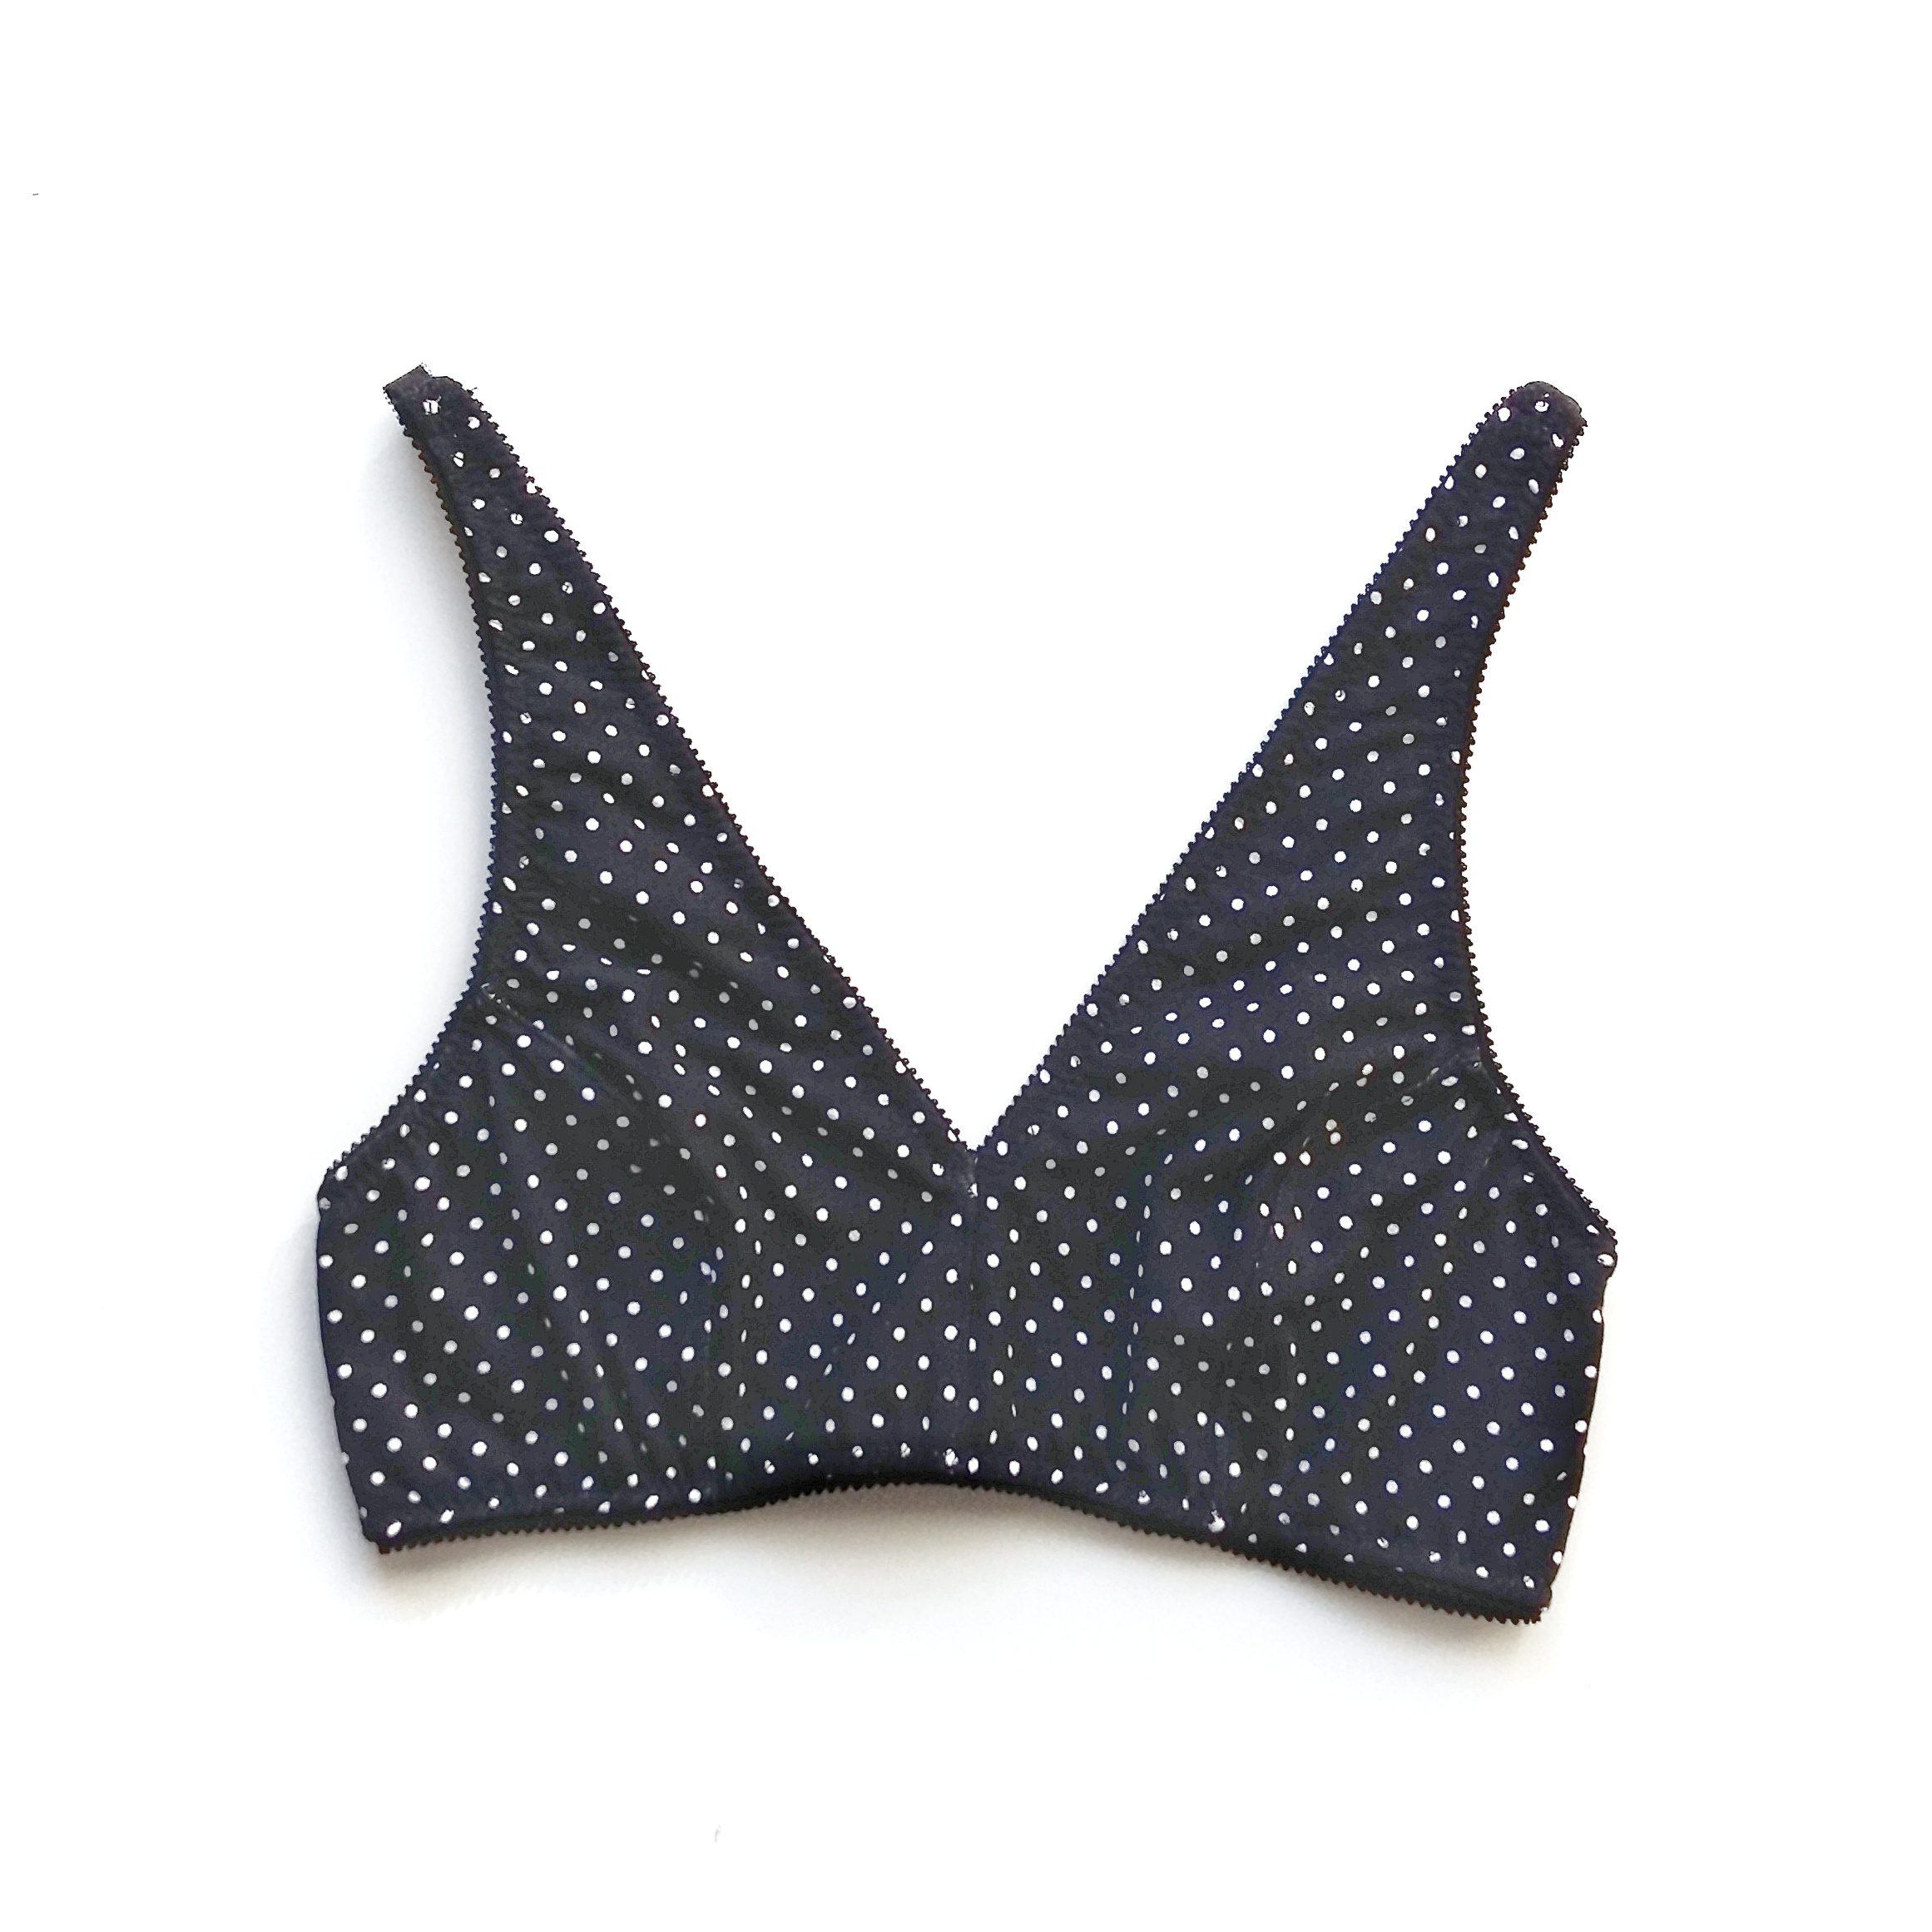
Lo bueno de coser tus propias braguitas es que puedes elegir tú donde quieras la transparencia y donde no...así que va a ir 100% a tu gusto.

The great thing about sewing your own undies is that you choose where you'll have transparencies...so it all goes 100% as you like.

www.studiocostura.com

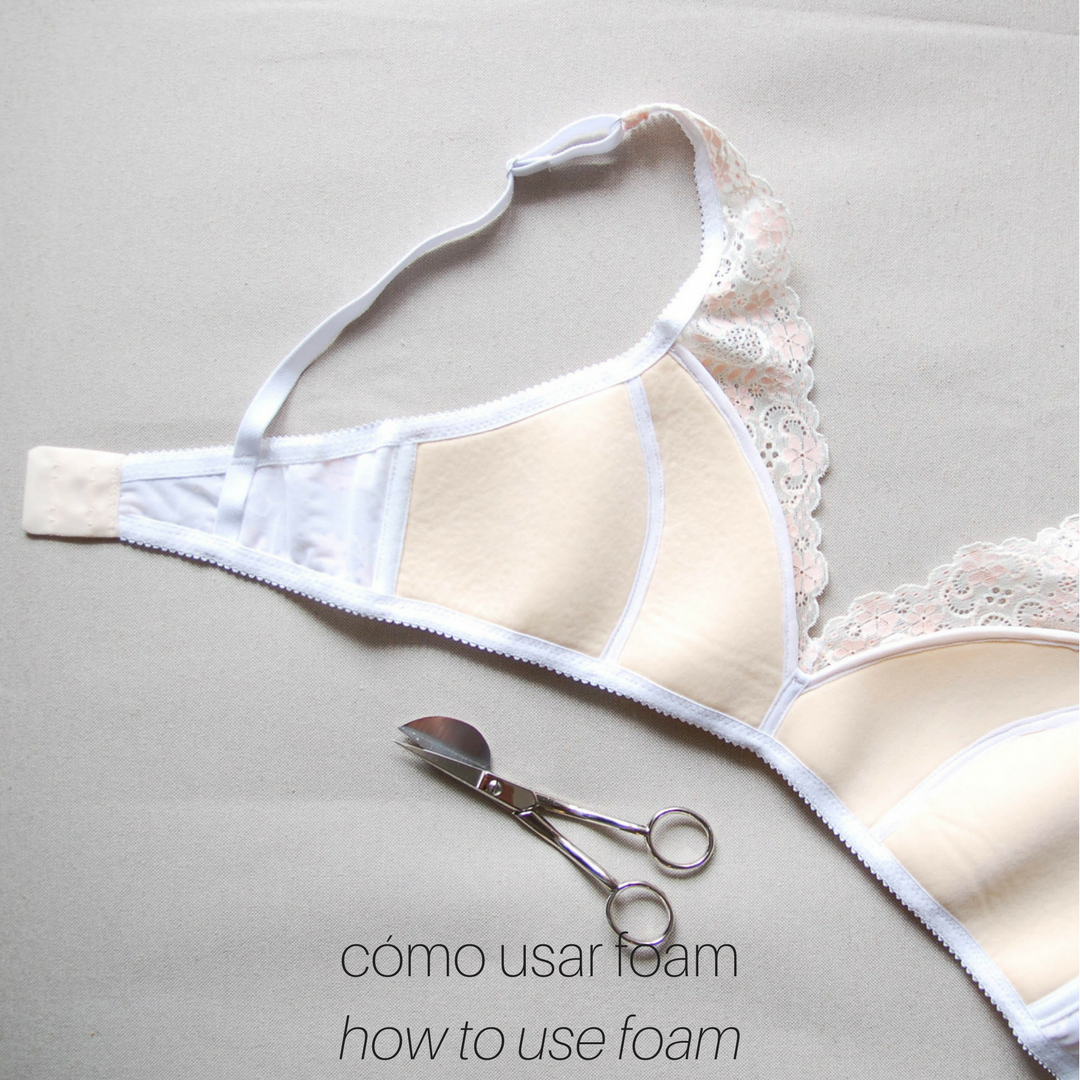
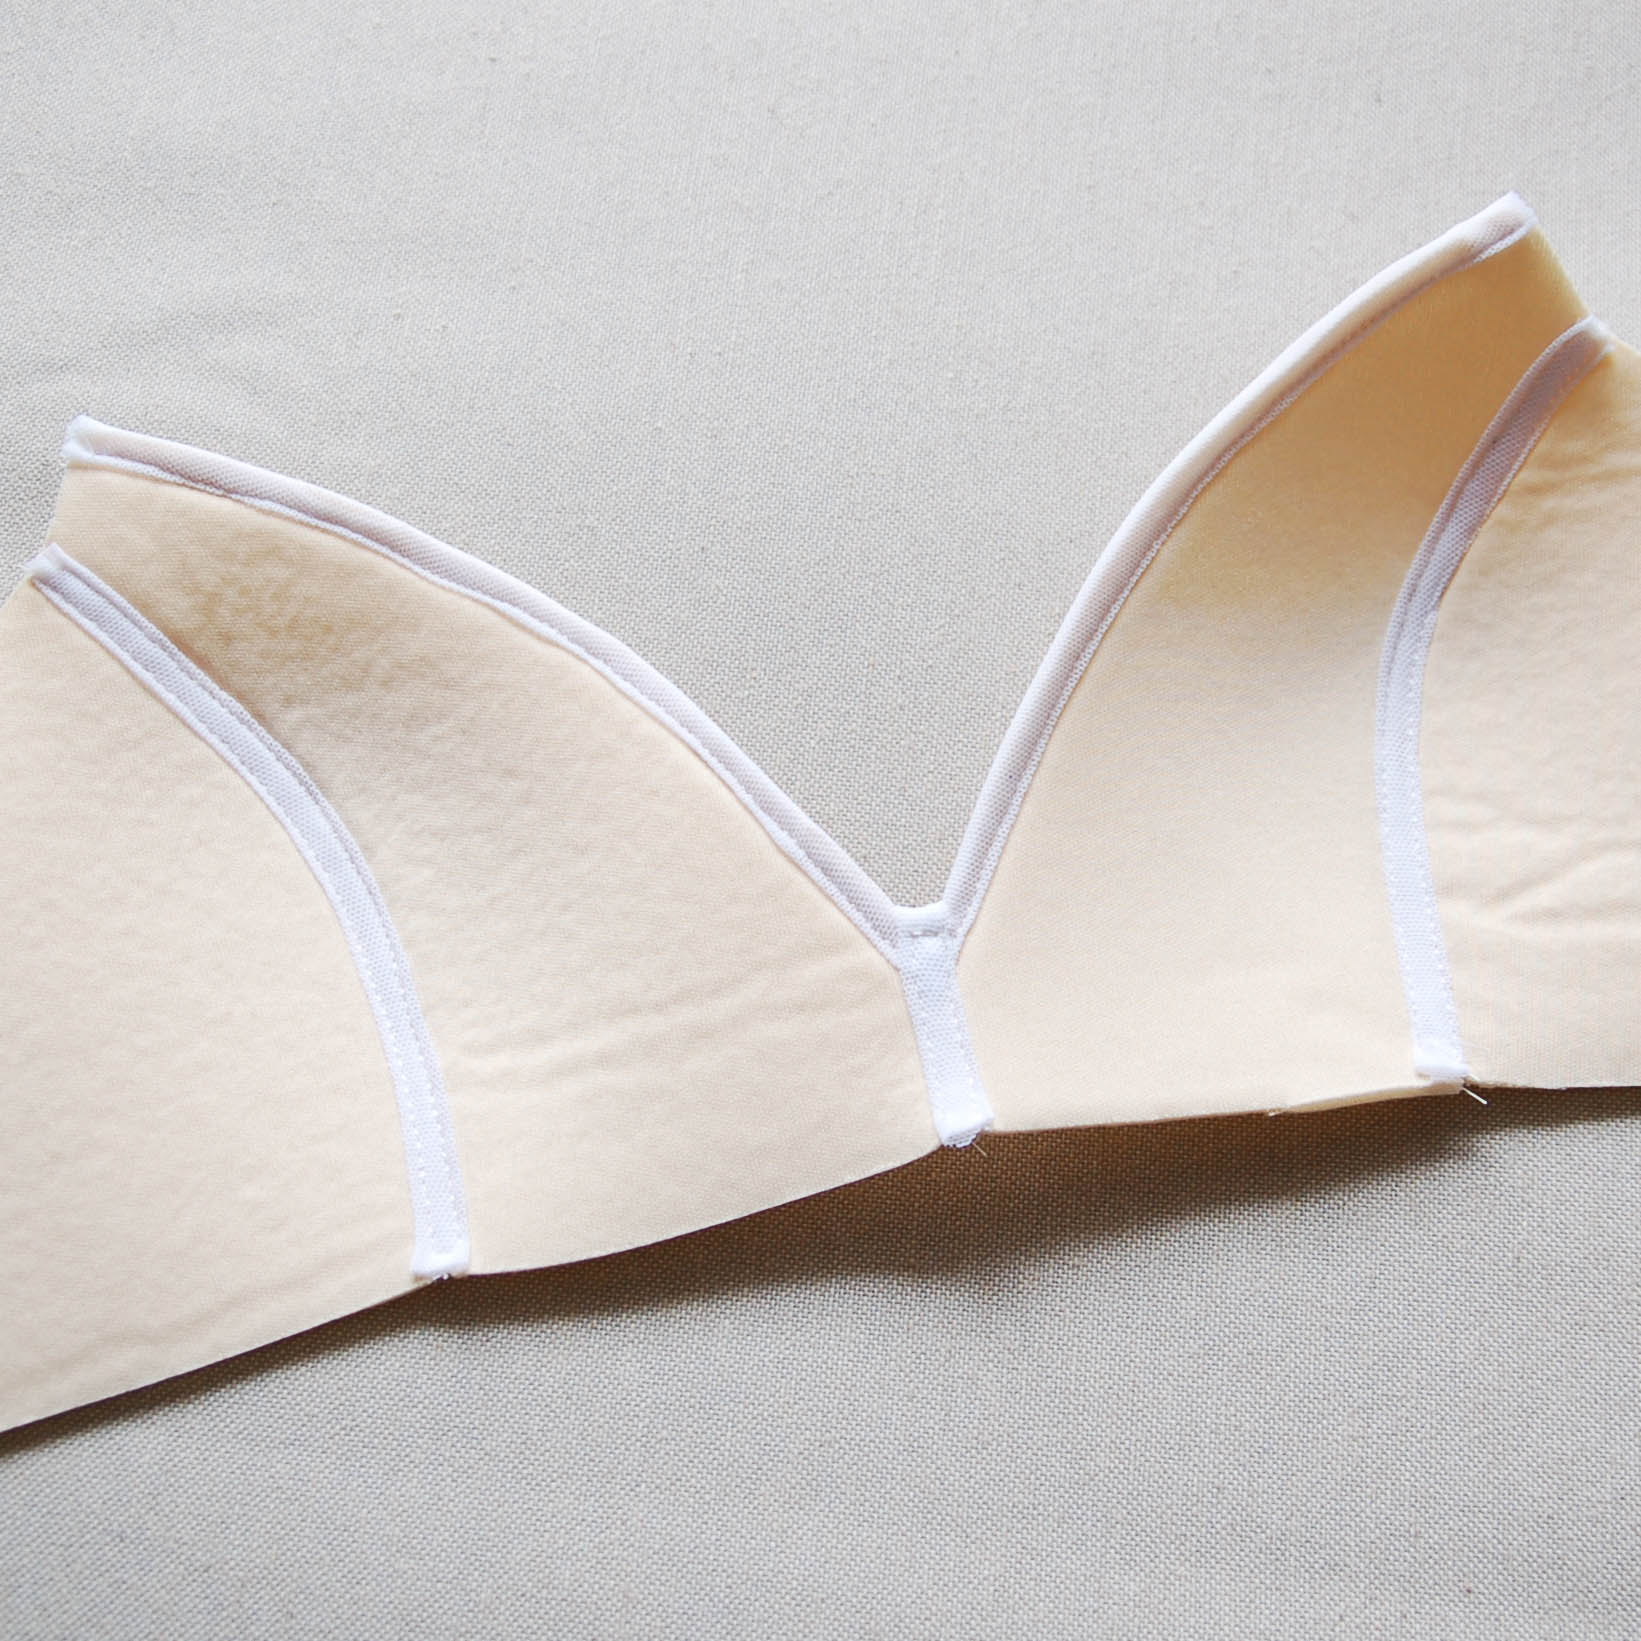
Jugar con los estampados y rayas es otra buena idea y un toque con las puntillas elásticas también da un aspecto muy diferente a unas braguitas de punto. Os enseñaré el tema de las puntillas también en un tutorial aunque ya las usé en este post del bralette Hanna si quieres mirarlo ya.

Así que os dejo con estos ejemplos para que hagáis el par de braguitas totalmente a vuestro gusto...hay tantas posibilidades! Durante las próximas semanas subiré varios tutoriales así que estaros atentas.

(Todas las fotos de este post son de Pinterest, Oysho y Women'secret)


Playing with prints and stripes is another good idea and using narrow lace trims gives such a different look to your knit panties. I'll show you how to sew them in a tutorial but I already used them in the Hanna bralette, so you can check out this post too.

So I'll leave you with these examples for the inspiration for your own projects...there are endless possibilities! During the next weeks I'll post many tutorials over here so I hope you'll follow along.

(All the photos in this post are from Pinterest, Oysho and Woman'secret)


Nuevo patrón: la braguita Stella // New pattern: Stella panties

 
www.studiocostura.com

Hola! Hoy es el día que os presento mi nuevo patrón de costura: la braguita Stella! Viene con las instrucciones en castellano y en inglés y como de costumbre tienes todos los pasos bien explicados para que puedas coser tu propia lencería.

Hey! Today I'm presenting you my new sewing pattern: Stella panties! It comes with instructions in English and Spanish and as usually you have all the step-by-step instructions included for making your own lingerie.

www.studiocostura.com

Stella es un patrón de braguitas con el cómodo corte culotte. La versión 1 está diseñada para telas de punto para máxima comodidad y la versión 2 queda muy bonito con bordes de puntilla. Este patrón es perfecto para un proyecto rápido de lencería y llenará tu cajón de braguitas.

Stella is a pantie pattern with a comfortable hipster cut. Version 1 is designed for knit fabrics for ultimate comfort and version 2 shows off the best of scalloped edge lace. This pattern makes a perfect quick lingerie project to fill up your underwear drawer.

www.studiocostura.com

En las instrucciones tienes un montón de información paso a paso para que puedas coser estas braguitas. La dos versiones vienen bien explicadas y luego hay un apartado especial para que puedas usar encajes más estrechos para la versión 2. También esta vez hice un apartado extra sobre cómo coser los elásticos de lencería, especial para los principiantes. Si hasta ahora tenías miedo a empezar a coser lencería puedes comenzar con un par de braguitas y verás que no es nada difícil!

In the pattern booklet there's a lot of information and step-by-step instructions for sewing these panties. Both of the versions are well explained and there's also a special chapter about using narrower laces for the version 2. This time I also made an extra chapter about sewing lingerie elastics specially for new sewers. If you were a bit afraid about starting to sew your own lingerie this is a perfect pattern to start with, you'll see it's not difficult at all!

www.studiocostura.com

Esta vez no haré un CoseConmigo entero sobre las braguitas porque creo que las instrucciones te guiarán bien. Eso sí, haré varios tutoriales para que veas los diferentes acabados que puedas hacer + cambios en el patrón para sacar el máximo partido de un mismo patrón. En breve empiezo a sacr posts así que estáte atenta!

This time I won't make a full Sewalong about sewing the panties as I think that the instructions are pretty clear. However I will write many posts about different finishings you can make for the panties + pattern hacks so you can get the most out of this pattern. I'll start with the tutorials soon so you can follow along here!

www.studiocostura.com

Espero que os guste este patrón igual que a mí, me parecen super cómodas! He puesto mucho trabajo (y mucho amor, jaja) en este proyecto así que tengo muchísimas ganas de ver vuestras versiones! También quiero agradecer a mis testers que han sido maravillosas y me han ayudado muchísimo :)

I hope you like this pattern as much as I do, I think these panties are very comfortable! I've put lots of work (and love, hehe) into this project and I can't wait to see your versions! I'd also like to thank my testers who have been amazing with helping me with this pattern.

www.studiocostura.com

En mi tienda de Etsy tienes un montón de materiales que puedes usar para este modelo y este fin de semana subiré algunos encajes y telas especialmente pensados para eso. De todas maneras si te interesa algún encaje que tengo en el kit puedes escribirme en Etsy y te lo puedo vender aparte, sin que esté en un kit. Por otra parte si quieres comprar el kit para hacer el sujetador y necesitas más encaje para las braguitas en conjunto, también escríbeme y te hago un pedido especial!

In my Etsy shop you have lots of supplies you can use for this pattern and over this weekend I'll post some more lace and fabrics especially for this pattern. Anyhow if you'd like to buy just the lace from some of the kits available at the shop you can write me on Etsy and I'll make you a custom order. In a same way, if you'd like to make a bra and matching panties with the same kit and need more lace you can tell me on Etsy and I'll arrange a custom order.


Cómo usar foam // How to use foam

 
www.studiocostura.com

Hola! Hoy os traigo el tutorial que muchas me habéis pedido: cómo usar foam en el bralette Hanna. Para empezar quiero contaros un poco más sobre cuando se puede y cuando no se puede usar foam en los sujetadores. 

Si me preguntan si se puede usar foam en este patrón la respuesta en principio sería que no. Por qué? Porque el patrón está diseñado para telas de punto y encajes elásticos y el foam no es elástico en general. Usar un material no elástico en las copas afecta a como queda la prenda. Ahora sí, se puede experimentar, y por eso va aquí el tutorial. Ya sabéis que este modelo ya que está hecho para tejidos elásticos se da de sí y adapta bastante bien. Dicho eso si tú no tienes mucho pecho puedes aprovechar y usar el foam porque lo más probable es que te quede bien. Pero hay riesgo que al no ser tan elástico como el encaje solo pues se te aplasta el pecho. 

Yo he usado el foam que compré en Tailor Made Shop y éste es el que más me ha gustado porque sí que tiene un poco de elasticidad a lo ancho así que te deja un poco de margen ya que no es tan rígido. En el pasado también he usado el foam de Make Bra pero éste sí que no tiene nada de elasticidad.

Editado octubre 2019: ahora tenemos también foam en Studio Costura Shop!

En mi caso hice la misma talla M que uso normalmente en el patrón Hanna y usé foam y me queda bien. También es porque soy copa A y tengo poco pecho. Igual tú eres copa C pero igualmente has usado la talla M porque se da de sí y si intentas usar el foam notas que te aprieta, eso es porque no tienes tanto margen para "jugar". Una solución sería probar usar una talla más en las copas dejando la banda en la misma talla que usas normalmente. De verdad, es cuestión de experimentar y no te puedo garantizar que va a quedar bien, aún así te recomiendo probar porque a mí personalmente me gusta mucho el resultado. De todas maneras te recomiendo antes que nada hacer este patrón tal como está sin foam para ver cómo te sienta. Si después quieres probar el foam pues adelante. Así ya sabes qué esperar y además ya sabes cómo coserlo y las siguientes modificaciones que te voy a contar no te resultan tan difíciles de entender.


Hey! Today I'm sharing a tutorial that many of you have been asking for: how to use foam for the Hanna bralette pattern. I'd like to start with telling you abit about when you can and when you can't use foam on bras.

If you ask me if you can use foam with this pattern the short answer would be no. Why? Because this pattern is designed for knit fabrics and stretch laces and foam in general has no stretch. Using a non stretch material in the cups does affect how the garment fits. But you can experiement and that's why here's the tutorial. You already know that this pattern is made for stretchy fabrics that have give and it fits quite well for different sizes. Saying that means that if you don't have a large bust you can try out foam and it probably will fit well. But there is the risk that as the foam does not stretch that much as the lace it can flatten your breast.

I have used a cut and sew foam that I buy from Tailor Made Shop and that's the one I like the most because it has a bit of give in one direction so it gives you a bit wiggle room as it's not so rigid. I have also used other type of foam from Make Bra in the past but this one does not have any give in it.

Edited: we now also carry foam at Studio Costura Shop!

In my case I made the same size M as I usually use for the Hanna pattern and used foam which turned out great. This is mainly because I'm an A cup and I have a very little bust. Maybe you are a C cup and you also used the M size in this pattern and it fit well but when using the same size with foam you'll see that it's too small because you won't have that much room "to play with". One solution might be using a bigger size in the cups and maintain the same size in the band. It really is about experimenting and I can't guarantee that it will fit well. I still recommend you to try it out as I really like using foam in this bralette. Anyhow I recommend you to first try out this pattern without foam as in the original version and see how it fits. If you then want to try foam you can absolutely do it. Then you'll already know what to expect and also you'll know how to sew the bralette so the modifications I'll explain in this tutorial won't be so confusing.

www.studiocostura.com

Dicho todo eso vamos a hablar de los materiales extra que necesitas. Necesitas foam y un poco de cinta de recubrearos. El foam como te dije puede variar y a veces he encontrado en las tiendas materiales que se le parecen y me han dado buenos resultados aunque no están pensados específicamente para esto. Una vez usé un neopreno gordito y estaba muy bien, es cuestión de probar.

El recubrearos que normalmente se usa en los sujetadores con aros lo vamos a usar aquí en la parte de la unión de la banda con copa. Ya que este patrón es un poco ancho en esa parte y el foam da más forma puede pasar que luego se forma como una "curva" en esa parte, es difícil de explicar. Si cosemos allí el trozo de recubrearos, lo va a  estabilizar y le da más rigidez y así el problema se suele quitar. Igual lo habéis visto también en otros sujetadores en las tiendas, a veces llevan de hecho dentro una parte metálica o de plástico similar a los corsets. En mi caso no ha hecho falta poner nada dentro pero eso también es una opción si el problema persigue.


After the introduction I'd like to tell you a bit about the materials you need. These would be the foam and some underwire channeling. As I told you the foam can vary and sometimes I've found similar materials in normal fabric shops that have given me good results altough they are not specially made for this purpose. Once I found a thick scuba fabric that worked out well, you'll need to try them out of course.

The underwire channeling is a tape used in underwired bras and we'll use it here on the seam that joins the cup with the band. As this pattern is wider in that part and foam gives more body to the garment you might see that a "curve" appears once you finish your bralette, it's a bit difficult to explain. If you sew a piece of channeling there it will stabilize the area and make it more rigid usually avoiding this issue. Maybe you've also seen it in the rtw bras, sometimes it also has a metal or plastic boning inside, similar to the corsets. In my case I didn't put the boning inside but it is an option if the problem persists.

www.studiocostura.com

El método que te voy a enseñar es específico a este patrón ya que es un poco distinto a otros sujetadores con foam, principalmente porque el forro de la copa no cubre la parte interior del todo y vamos a hacerlo un poco distinto. Anteriormente he hecho otro tutorial sobre cómo poner foam al sujetador Watson y allí lo hice de otra manera por si le quieres echar un vistazo.

Para las piezas de foam hay que modificar las piezas de patrón de la copa que normalmente usamos para el forro (B y D). Hay que modificar por dos partes: por un lado donde el foam se une entre sí y por otra parte donde se cose el elástico. Las piezas de foam se unen entre sí con un zig-zag y no necesitan margen de costura de 6 mm que lleva el patrón así que se lo vamos a quitar en los bordes que se unen entre sí. Serían en B el lado derecho y en el D tanto el lado derecho como el izquierdo (la costura central). Luego hay que quitar el margen de costura para coser el elástico. Eso lo hacemos porque el foam no se dobla encima de sí mismo porque se abulta demasiado. Luego te explico más pero lo que se hace es que la primera pasada de zig-zag se hace sólo en el encaje y la segunda pasada de zig-zag de poner el elástico ahora sí se dobla encima del foam y se cose allí. Como ese patrón tiene margenes de 10 mm para los elásticos se lo vamos a quitar tanto en la parte de arriba como abajo en las piezas B y D. Donde no se va a tocar el patrón es en el lado izquierdo de la pieza B porque ese margen lo necesitamos para unirlo con la banda y en la curva en el lado derecho de la pieza D porque este no tiene margen.

Así que copia las dos piezas en un papel separado y quita estos margenes, luego marca los patrones para que sepas que son de foam para no mezclarlos con los de encaje.


The method I'm showing in this tutorial is specific for this pattern as the style lines are a bit different than other foam cup bras, basically because the inner cup lining does not cover the whole cup piece and we'll sew it differently. I've made another tutorial about how to add foam to the Watson bra in the past if you'd like to check out the other method too.

For the foam pieces you need to modify the pattern pieces we normally use for the lining (B and D). You need to alter two parts of the pattern: first where the foam pieces are sewn together with each other and second where the elastics will be sewn in. The foam pieces will be sewn together using a wide zig-zag and you don't need the 6mm seam allowance included in the pattern there. Take away the seam allowance on the right side of the piece B and both the right and left side of the piece D (in the center seam). Then you need to take away the elastic seam allowance. We do it because foam does not fold on itself as it would generate too much bulk. I'll give you a detailed explination when we get there but basically the first row of zig-zag will be sewn only on the lace layer and the second row of zig-zag stitching will be then sewn on both layers. As this pattern has 10 mm seam allowance for elastics you need to take this amount away on the both pieces on the upper and lower edges. You don't modify the pattern on the left side of the picece B because you need that seam allowance to be able to sew the cup together with the band and you also leave the right side curve of the piece D as it is as this piece does not have seam allowance.

Copy the cup pieces onto a separate paper and take away the indicated seam allowances, then mark them as foam pieces in order to not get confused and use them for the lace.

www.studiocostura.com

Corta dos piezas tanto del B como del D.

Cut two pieces from both B and D.

www.studiocostura.com
  1. Ahora vamos a unir las copas. Me encanta este paso porque como foam tiene más forma que la tela es muy fácil ver cómo una pieza en 2D se convierte en 3D una vez que se unen las curvas. Usando un zig-zag ancho y corto (yo use 5 de ancho y 1.5 de largo) y juntando bien las piezas de foam uno justo al lado del otro cose de la manera que zig-zag va a pillar las dos piezas. Con las manos junta las piezas mientras coses uniendo el comienzo, los piquetes y el final.


  1. Now let's sew the cup pieces together. I love this step as foam has more body and you can see how something in 2D converts into a 3D format once you join the curves. Using a wide and short zig-zag stitch (I used 5 width and 1.5 length) sew both pieces together putting them side by side so that the zig-zag will join both of them. Use your hands to maintain the pieces together while you join the beginning, the notches and the end.

www.studiocostura.com

Así es como queda una vez unido con el zig-zag. Para el siguiente paso yo voy a cubrir esta costura con una tira de tul elástico pero si no quieres hacerlo puedes obviar el paso, a mí sí que me gusta el resultado porque me parece más limpio.


This is how the zig-zag stitch looks like. For the next step I'll cover this seam with some stretch mesh tape but if you don't want to do it you can skip this step. I like doing it because it will give a neater result.

www.studiocostura.com

He usado tul elástico porque luego también voy a cubrir la parte de la curva de la pieza D en modo similar a bies y así como el tul es elástico corto la tira en cualquier dirección y listo. También puedes usar el forro de lencería (sheer lining) cortandolo en bies. Si quieres un efecto de más contraste incluso puedes usar alguna tela fina de colores, he visto ejemplos muy guays con eso también. Yo suleo cortar la tira con el ancho de unos 3.5 cm pero si crees que te costará coser algo fino lo puedes hacer más ancho. El largo pues aproximadamente lo que necesitas para las dos copas, el centro y los bordes de curva en la pieza D.


I used stretch mesh because I'll use the same tape to cover also the curve on the piece D in a way like using a bias tape. As the mesh is stretchy I can cut it on any direction and use it for all the seams. You can also use sheer lining cut on bias for that purpose. If you want a more contrasting effect you can actually use any lightweight fabric for this purpose, I've seen many cool versions out there. I usually cut a strip of mesh with aprox 3.5 cm width but if you feel that a narrow tape will be harder for you to work with you can cut it wider. The length would be aprox what you need for both of the cup seams, the center and the curves on both pieces D.

www.studiocostura.com

2. Dobla la tira de tul en tres partes, así no se va a ver el borde de la tira sin rematar y colocalo justo encima del zig-zag que acabas de hacer en la copa. Cose con una puntada recta encima de los dos bordes.


2. Fold the tape in three parts so once you sew it the raw edge won't be visible. Put it exactly on top of the zig-zag stitching you made and sew with a straight stitch over both of the edges.

www.studiocostura.com

Así queda una vez terminado.

This is how it looks when done.

www.studiocostura.com

3. Otro paso que me gusta hacer es también rematar el borde de la pieza D que no tiene luego elástico con bies de tul. De nuevo, ese paso no es obligatorio porque el foam no se deshilacha. Sino también se puede remallar por dejalo más limpio y ya está. Yo prefiero hacer lo de bies porque luego veis que dejo ese borde de foam libre sin juntarlo con la copa de encaje y de esa manera aunque se mueve un poco se ve igualmente bonito en los dos lados. Coloca la tira de tul en el revés de la copa de foam y cose a 0.5 cm del borde con puntada recta.


3. The other step I like to do here is to cover the curved edge of the piece D as it doesn't have any elastic on later. Again you can skip this part as foam does not fray. You can also just overlock this edge. I prefer this bias tape method as you can see later on that I won't join the foam piece together with the lace layer so using bias makes it pretty on both sides in case the foam moves a bit and you can see the reverse side of the piece. Put the mesh tape on the wrong side of the cup piece and on the curved edge sew the tape with a straight stitch 5 mm from the border.

www.studiocostura.com

Así queda la primera pasada.

Here's the first pass.

www.studiocostura.com

4. Después gira el bies al lado derecho y cose doblando el margen hacia abajo para que no se vea nada. Queda como un bies normal.


4. Then fold the bias tape on the right side and sew it on folding the raw edge under. Looks like a regular bias tape finish.

www.studiocostura.com

5. Una vez que has hecho lo mismo en la otra copa junta el centro y coselo con el zig-zag ancho y corto igual como hicimos en las copas.


5. Once you've done the same things with the other cup, join the center seam with zig-zag as we did on the cup pieces.

www.studiocostura.com

6. De nuevo cose encima la tira de tul doblandolo en tres partes. Yo suelo dejar arriba un margen y luego doblo un poco hacia el revés y doy unos pespuntes para que se quede allí firme, luego corto la tira que me sobra.


6. Again put the mesh tape on top of the zig-zag and sew on both edges while folding it in three parts. I usually leave a small part of the tape on the upper part of this seam and then fold it back on the wrong side and stitch it in place to make everything neat.

www.studiocostura.com

Así queda la pieza de foam terminada. Ahora vamos a juntarlo con el encaje.

This is how the foam piece looks like. Now we'll join it with the lace layer.

www.studiocostura.com

El resto de las piezas se cortan con el patrón original: A, B y C de encaje y el C de forro también. Prepara las copas igual que normalmente usando elástico transparente. Esta vez solo juntas las piezas A y B derecho con derecho porque no tienes forro, para eso hicimos ya el foam. Haz el pespunte en las copas y une el centro igual que en la versión original.


The rest of the pattern pieces are cut as in the original version: A, B and C form lace and another C from lining. Prepare the cups as usually using the clear elastic on the neckline. This time as there is no lining (we'll use foam for that) you only need to join A and B with right sides together. Sew a row of topstitching on the cup seams and join the center seam as always.

www.studiocostura.com

Coloca la capa de encaje con el derecho hacia abajo y la capa de foam encima de ella con el derecho hacia arriba. Ves que el foam es más pequeño en la parte de abajo y arriba pero tiene el ancho igual que el encaje, eso es como tiene que ser.


Put the lace layer with the right side facing down and the foam layer with the right side facing up. You'll see that the foam layer is smaller both on the upper and lower part but the general width is the same. This ishow it should be at that point.

www.studiocostura.com

La banda se junta de la misma manera que en la versión original, sólo que la pieza B que antes era de forro ahora es de foam. Fijate que el foam es más corto por 10 mm tanto abajo y arriba pero el resto de las piezas cuadran. Remalla o cose con una puntada recta a 6 mm (ya que el foam es estable no hace falta usar zig-zag aquí) uniendo todas las piezas.


The band pieces will be sewn together with the cup in the same way as in the original version, just that the cup lining piece is now made from foam. You'll see that the foam piece is 10 mm shorter both on the upper and lower part but the rest of the pieces will match up. Overlock or sew a straight stitch (as it's with foam you don't need to use a zig-zag stitch here) to join all the pieces.

www.studiocostura.com

Así queda la banda ya unida a la copa.

This is how the band piece looks once joined with the cup.

www.studiocostura.com

Es el paso de añadir la cinta recubrearos. Yo prefiero hacerlo ahora porque me gusta luego doblar el elástico encima de él para que no se vea ningún borde suelto por allí pero hay otros patrones que te indican que cosas el recubrearos en esta parte lo último. Será para reducir el bulto y si prefieres también puedes hacerlo al final de todo (una vez que el bralette está terminado) especialmente si tu máquina resiste en coser cosas gordas. Yo te cuento cómo coserlo ahora porque me gusta más como queda. Corta la pieza igual de largo que el foam en la parte de la copa donde se una con la banda (ya que de nuevo doblamos luego el elástico encima y para que no abulte).


It's time to add the channeling tape. I prefer to do it now as then later on I'll fold the elastic on top of it and there won't be any visible raw edges on the inside of the bralette. There are other patterns that indicate you to add the channeling in the end after you've finished sewing your bralette probably because you'll have less bulk in this area. This is helpful if your machine also doesn't like to go on top of bulky seams. I'll show you how to do it in a way that it goes under the elastic as I find it prettier on the inside. Cut a piece of channeling with the length of the foam piece that is inside the seam where the cup and band meet (as we'll fold the elastic on top of the cahennling you don't want it to be too long in a similar way as we cut down the foam).

www.studiocostura.com

Colocando el recubrearos justo encima de la costura de unión cose con la puntada reta en los dos lados de él para sujetarlo.


Put the channeling exactly on top of the band and cup joining seam and sew it in place with a straight stitch on both of the edges.

www.studiocostura.com

Repite en el otro lado y ya tenemos listo el bralette para coser los elásticos.

Repeat on the other side and the bralette is ready for the elastics to be sewn in.

www.studiocostura.com

Como ya dije antes, la idea de hacer las piezas de foam más pequeñas era porque ahora vamos a hacer la primera puntada de zig-zag solo en la capa exterior de encaje. Empiezas con coser el elástico de bajo y al principio empezando en la banda sí que tienes todo normal como en la versión original porque allí no hay foam pero una vez que llegas a las copas tienes que apartar un poco el foam para no pillarlo. Cómo el margen de costura de 10 mm lo quitamos antes deberías justo tener tu espacio para poder coser con facilidad.


As I told you before we took the elastic seam allowances away from the foam pieces so we can now sew the first pass of zig-zag on only the lace layer of the bralette. Start with sewing the band elastic in place as you normally do, starting in one end of the bralette where everything will be as usual. Once you arrive to the cup part you need to push the foam away a bit in order not to sew on top of it. That's why we took away the 10 mm and you should have exactly the room to do so.

www.studiocostura.com

Una vez hecho la primera pasada ves que el encaje tira más que el foam. Eso pasa porque a la hora de coser el elástico había que tirarlo ligeramente y ahora se nota la diefrenecia. No pasa nada de eso, para tener todo en su sitio sujeta con alfileres las costuras de copa en encaje y en el foam entre sí, haz lo mismo con los centros. Así sabes que ahora en la segunda pasada se coloca todo en su sitio.


Once you finish the first zig-zag you'll see that the lace part is smaller than the foam as it's shirred a bit when using the elastic. This is normal as we need to pull the elastic when we sew it, you'll now adapt it to the foam. Put some pins in to match all the parts: pin the cup seams on both lace and foam pieces and the center front too. This way you'll know how much to pull once we sew on the second pass of the zig-zag.

www.studiocostura.com

Engancha también los tirantes como siempre y empieza coser la segunda puntada de zig-zag en el revés. El comienzo es igual porque no tienes foam y caundo llegues a la copa sujeta el elástico justo encima de foam. Ya que tienes los alfileres puestos sabes cuánto tienes que tirar de elástico para que todo quede bien plano y las dos capas estén en su sitio.


Put the straps in place and  start sewing on the second pass on the wrong side as you always do. The beginning is the same, once you arrive to the foam part just fold the elastic directly on top of the foam. You have the pins in place so you'll know how much you need to pull the elastic in order to match both layers. 

www.studiocostura.com

Así queda el elástico de bajo puesto. Ahora vuelve a hacer lo mismo en la sisa y ya está, a seguir con los pasos como en la versión original.


This is how the band elastic looks like once sewn in. Now sew the elastic in the same way in the underarm area and finish the bralette in the same way as in the original version.

www.studiocostura.com

Eso sería casi todo. Igual te parece raro que el foam no vaya unido en la parte de arriba con la copa de encaje porque en la versión original sí que unimos el forro de la pieza D con un zig-zag. Después de coser este bralette con foam decidí no juntar las capas porque de nuevo, los materiales son distintos, uno se da de sí y otro casi no. Así que vi que si dejo el foam en la parte de arriba libre, se ajusta mejor al cuerpo porque el foam no obstaculiza la copa de encaje. Desde luego si tú quieres unir las copas puedes probar y hacerlo. Lo que sí hago es para que no esté del todo libre, luego hago unas puntadas a mano en la parte del centro donde se acaba el foam para unirlo con encaje. De esa manera cuando lo lavas etc no se abre tanto. Luego estaba pensando que se podría también dar unas puntadas en el centro de la costura de la copa para unir las capas entre sí pero voy a darle un par de vueltas para ver.


This would be almost it. Maybe you find strange that the foam part is not joined with the lace on the upper part of the inner cup (like we do with the lining piece D, using a zig-zag). After sewing the bralette with foam I decided not to sew the layers together as the materials are different, one has give and the other one doesn't. I saw that when I leave the curved edge of the piece D free it fits better with the body and leaves the lace layer in its place and allows it to stretch. Of course you can join the layers together if you want and try it out. To finish the bralette off I do make some handstitches on the upper part of the center front seam where the foam ends to join both the foam and the lace layers. That way it's not so open and when you wash the bralette etc the foam layer stays n place. I was thinking about some stitching also on the cup seam in the center for example to join the layers but I'll check it out when wearing the bralette to see if that's necesary.

www.studiocostura.com

Pues eso, ya está terminado...vaya tutorial más largo me ha salido, jaja. Espero que te ha sido útil y que incluso usando otros patrones puedes aprovechar los trucos de aquí. Esta es una versión de hacerlo y seguramente existen muchas más posibilidades, experimenta y ve cómo te gusta más hacerlo. Vuelvo a repetir que este patrón realmente no está pensado para foam pero con algunos trucos puedes probar a hacerlo. Los patrones que están realmente pensados para foam son los que tienen las copas patronadas para materiales no elásticas como por ejemplo el sujetador Boylston que yo también he hecho (puedes ver el post aquí).

Espero ver vuestras versiones en breve y si tenéis cualquier pregunta dejadlo aquí en los comentarios! En esta versión de bralette Hanna usé este kit de la tienda.


We'll that's it, it's finished...what a long tutorial it was, hehe. I hope it was useful for you and you can use these tricks for making other patterns as well. This is only one version how to do it, I'm sure there are many more so you can experiment and find your favourite way. I want to repeat again that this pattern is not directly designed for foam but you can give it a try with some modifications. The patterns that are designed for foam are the ones with rigid materials in the cups, for example the Boylston bra that I have also made (you can see a post here).

I hope to see your versions and if you have any questions just leave them on the comments! Iused this kit from my shop for that version of the Hanna bralette.


Coser bralette Hanna con telas de punto // Sewing Hanna bralette with knit fabrics

 
inspiración & materialesinspiration & supplies (18).png

Hola! Como prometido aquí tenéis el tutorial para coser el bralette Hanna con telas de punto. Aunque el patrón original está diseñado para encajes se puede perfectamente usar solo telas de punto para coserlo. Solo hay que hacer unas pequeñas modificaciones en una de las piezas.


Hey! As promised here's a tutorial about how to sew the Hanna bralette with knit fabrics. Altough the original pattern is designed for lace you can easily sew it with knits too. You only need to modify one pattern piece.

www.studiocostura.com

Primero un poco sobre los tejidos. Podéis usar todo tipo de telas de punto, cada uno dará un resultado distinto ya que unos son más elásticos, otros menos etc. Mi tela favorita para este tipo de proyectos es punto de viscosa con elastán. Los kits que tenemos en la tienda vienen justo con estas telas. Viscosa respira y es muy suave, al mismo tiempo también ligero. Pero podéis usar puntos de algodón, lycra, neopreno, lo que queráis realmente, el caso es que hay que probar cada tejido.

Para forrar el bralette de punto también tenéis varias posibilidades. Yo prefiero usar tul elástico para que las dos telas no abulten mucho. Pero podéis usar forro de viscosa o algodón o directamente forrarlo con la misma tela de punto que usáis para el exterior.


First some words about fabrics. You can use all kinds of knit fabrics, every one of them will give different results as some have more stretch than others etc. My favourite fabric for this kind of projects is a viscose elastan blend. The kits we have at the shop all come with viscose fabrics. Viscose is breathable and soft, at the same time it's also lightweight. But you can also use cotton knits, lycra, scuba, whatever you want really, you just need to try out the fabric.

For the lining part you also have different options. I prefer using stretch mesh so the two fabrics together won't be very bulky. But you can also use a viscose or cotton knit for the lining or even the same exterior fabric you are using.


www.studiocostura.com

Vamos con el tutorial. La pieza A tiene el borde largo sin margen de costura porque allí se coloca en el versión original la puntilla de encaje. Como ahora hay que poner allí el elástico necesitamos que haya el margen de costura. El cambio en el patrón es muy fácil: mide el ancho de elástico que vas a usar en el escote (recomiendo de 5-10 mm) y añade ese margen al lado largo de la pieza A.


Let's start with the tutorial then. The long edge of the inner cup piece (A) doesn't have seam allowance as there goes the lace edge on the original version of this pattern. As we need to put elastic there, there needs to be a seam allowance. The modification on the pattern piece is easy: measure the width of the elastic you are going to use on the neckline (I recommend 5-10 mm) and add this same seam allowance to the long side of the pattern piece A.

www.studiocostura.com

Esta vez corta dos veces cada pieza del patrón A, B y C tanto en la tela del exterior como en la tela del forro. La pieza D que es el forro de la copa interior en la versión original no hace falta cortarlo porque vamos a usar la pieza A direcatmente como forro.


This time you need to cut each pattern piece A, B and C twice from the exterior fabric and from the lining. You don't need the piece D as we're directly using the piece A for the lining of the inner cup.

www.studiocostura.com

Empieza con colocar las piezas de la copa interior (A): el forro con el derecho hacia abajo y encima la tela exterior con el derecho hacia arriba. Colocamos el elástico con el lado suave y el borde decorativo hacia el interior de la pieza justo en el borde del escote.


Start with putting the lining with the right side down and the exterior fabric with the right side up on both inner cup (A) pieces. Put the elastic with the plush side up and the decorative edge towards the center of the bralette.

www.studiocostura.com

Cose el elástico primero en el derecho y luego en el revés (igual como en los tutoriales anteriores de versión con encaje). Repite con la otra copa.


Sew the elastic first on the right side and then fold it under on the wrong side of the bralette (like in the previous tutorials about the original version). Repeat with the other cup.

www.studiocostura.com

Pon las piezas derecho con derecho y haz la costura central con la remalladora o con un zig-zag pequeño. Ya está! Ahora ya sigue los mismos pasos que la versión original. La única diferencia es que si el original tiene casi todas las costuras ocultas pues aquí por dentro se ve esta costura central, sino no podríamos poner el elástico de escote.


Put the pieces with right sides together and sew the central seam with the overlock or with a small zig-zag stitch. That's it! Now just follow the same steps as in the original version. The only difference is that when making this bralette with lace you almost can't see any visible seam allowances but here you'll have this central seam visible on the inside. As we need to apply the neckline elastic it would be difficult to do it otherwise.

www.studiocostura.com

Nada más, el bralette terminado y queda super cómodo! Este mismo kit con la tela de lunares lo puedes comprar en la tienda.


That's it, the bralette is finished and this version is very comfortable! You can buy the kit with the same polka dot knit fabric at the shop.

www.studiocostura.com

También os quería contar cómo hacer el bralette con punto y la puntilla elástica que viene en tiras más estrechas. En la tienda tenemos varios colores que se pueden combinar con telas de punto para tener un toque lencero pero sin que todo el bralette sea de encaje. Voy a enseñar cómo se cose y de la misma manera se puede coser la puntilla en las braguitas, bajos de las blusas etc. (El kit con esta tela de lunares en blanco lo tienes aquí)


I also wanted to show you how to use knit fabrics and narrow lace trim together for this pattern. In my shop there's a selection of lace trims that can be combined with knits to have a beautiful result with a touch of lace. I'll show you how I sew it and you can use the same method for panties or hems etc to add a little lace detail. (Buy the kit with this polka dot fabric on white here)

www.studiocostura.com

En el caso de usar la puntilla no hay que cambiar el patrón porque no vamos a poner el elástico en el escote. Corta las piezas A, B y C de la tela exterior y del forro (de nuevo no hace falta la pieza D). Coloca la pieza de la copa interior (A) en ese orden: el forro con el derecho hacia abajo y la tela de punto con el derecho hacia arriba, luego encima la puntilla.


When using the lace trim you don't need  to alter the pattern as we don't apply elastic to the neckline. Cut the pieces A, B and C from the knit fabric and the lining (again you don't need the piece D). Put the inner cup pieces (A) in this order: the lining with the right side down and the knit fabric with the right side up, then on top the lace trim.

www.studiocostura.com

Asegúrate que la puntilla coincide con el piquete del patrón, que justo en ese punto igual que en la versión original empiece la parte de la puntilla que sube (luego se cose allí y que salga justo la parte bonita). Además cuando colocas la puntilla en la otra copa tienes que ver que coincide el dibujo de puntilla en ese punto para que todo sea simétrico entre las dos copas.

En el derecho, cose encima de la puntilla en la parte de las ondas (en la parte de la puntilla que queda hacia "dentro") con un pequeño zigzag (2 de ancho, 2 de largo) a través de tela de punto y el forro.


Make sure that the lace trim is correcly positioned with the notch. Like in the original version you want the scallop of the lace to start exactly there (you'll sew the seam there later and then you'll have a beautiful neckline starting point). Apart from that you need to put the lace trim in the same way on the other cup so everything will be symmetric. Use the notch to be able to see where the lace "drawing" has to be on both of the cup pieces.

On the right side and on top of the lace trim sew a small zig-zag stitch (2 width, 2 length) following the curves on the the lace trim (on the side that will be towards the "inside" of the bralette).

www.studiocostura.com

En el revés se ve así el pequeño zig-zag.

This is how the zig-zag is seen on the inside.

www.studiocostura.com

Ahora recorta el sobrante de la tela debajo de la puntilla dejando aprox 5 mm de tela en el borde de la costura que has hecho. Ten cuidado al hacerlo para no cortar el encaje.


Now cut away the extra fabric under the lace trim leaving aprox 5 mm from the seam you just made. Be careful in order to not cut the lace underneith.

www.studiocostura.com

Recorta bien la puntilla en la parte de abajo para que la pieza tenga de nuevo su forma original. Repite con la otra copa.


Cut the extra part of the lace trim on the lower part to maintain the original form of the pattern. Repeat with the other cup.

www.studiocostura.com

Remalla o un con un pequeño zig-zag la costura central derecho con derecho y sigue con los mismos pasos que la versión original.


Overlock or sew a small zig-zag stitch to sew the central seam with the right sides together and continue with the same steps as in the original version.

www.studiocostura.com

Ya está! Esta versión me gusta mucho ya que puedes combinar de tantas maneras tejidos y puntillas. El kit con esta tela lo tienes aquí.


That's it! I really like this version as there are so many ways to combine the fabrics with lace. Buy the kit with this fabric here.

www.studiocostura.com

Espero que os haya gustado el tutorial y que probéis a coser este patrón con telas de punto. Tenemos varios nuevos kits en la tienda y podéis combinarlos con puntillas a vuestro gusto (con 1 m de puntilla es suficiente para este patrón). En la próxima entrada hablaré sobre cómo usar foam y algunos trucos para coser neopreno y que no abulte tanto la costura.


I hope you liked the tutorial and that you'll try out knits with this pattern. We have some new knit fabric kits also available and you can combie them with lace trims as you like (1 m of lace trim is enough for this pattern) In my next post I'll tell you more about foam and about how to sew with scuba fabric.